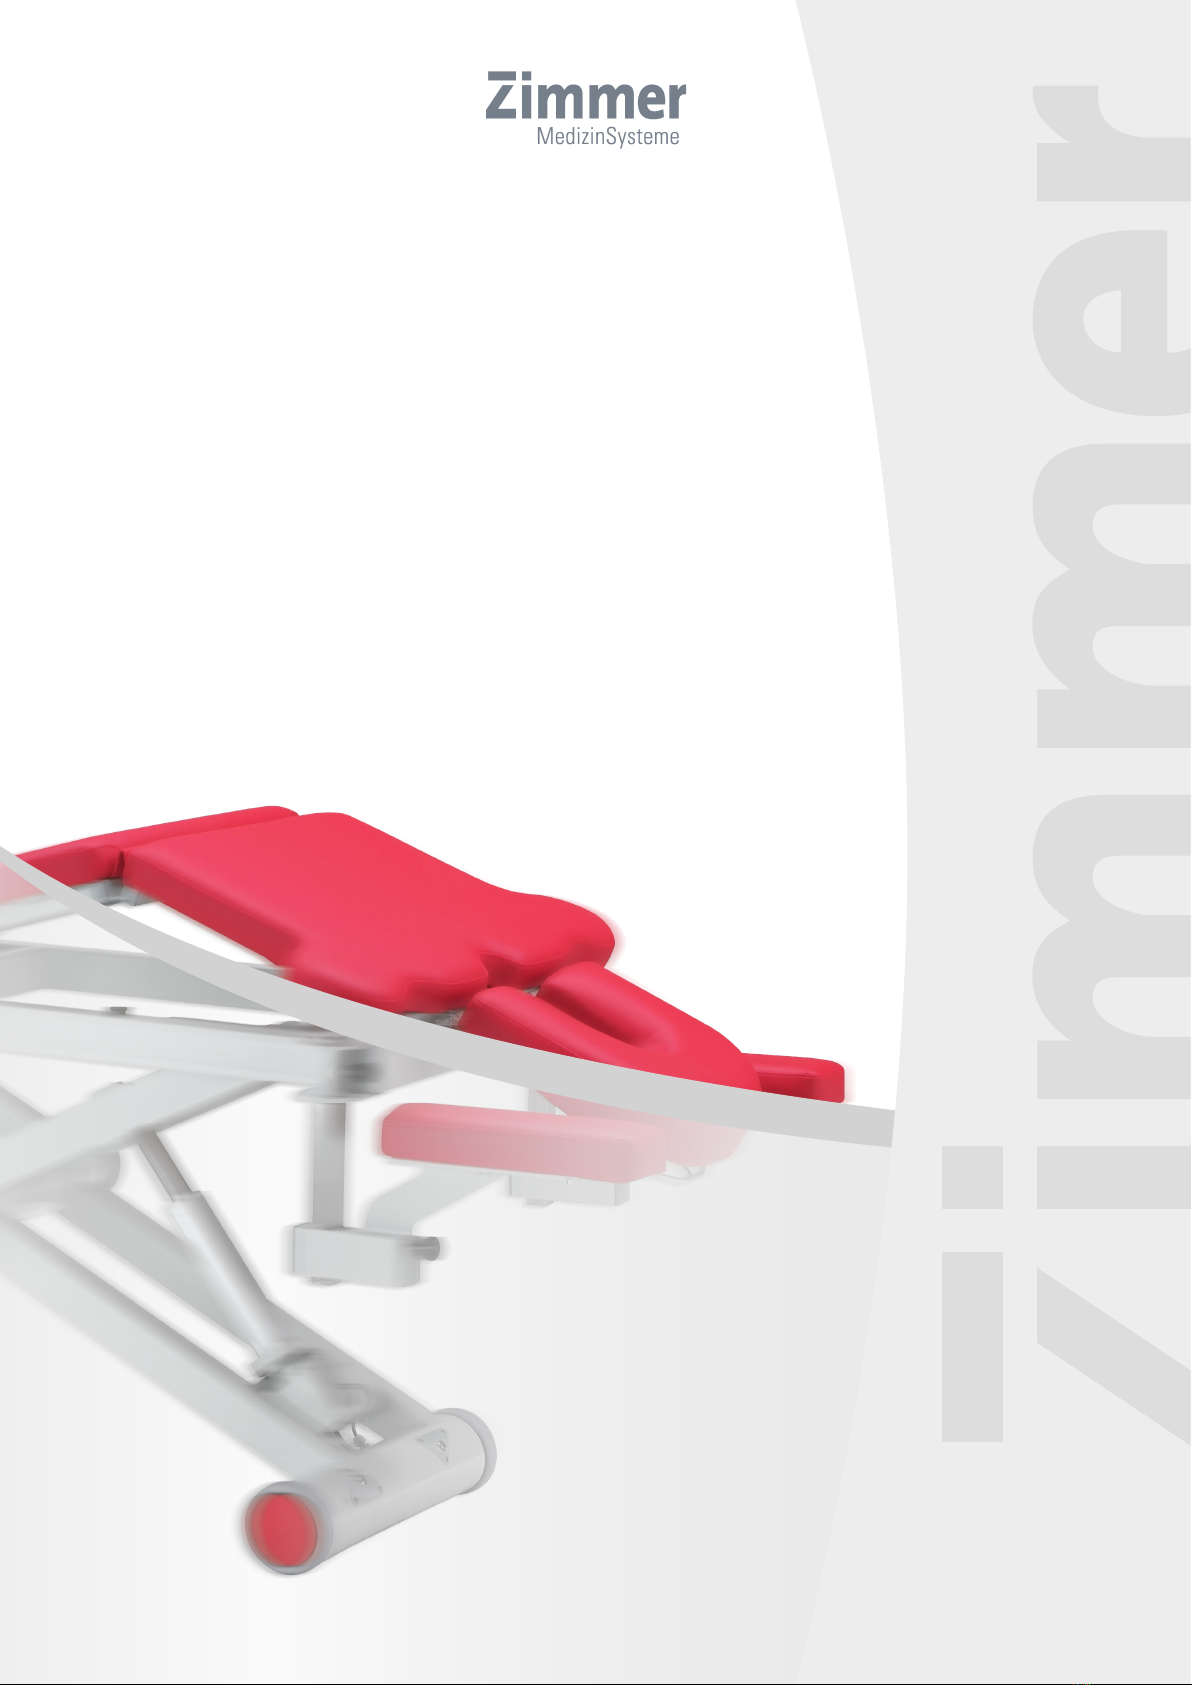
Zimmer aXon User manual

User Manual
aXion
GB

1
Contents
1
Foreword 2
2
Zimmer MedizinSysteme GmbH 3
3
Symbols 4
4
Important information 5
4.1 arnings
5
4.2 Hazards 6
5
Delivery and opening 7
6
arranty
8
7
Intended use
9
8
Regulations
10
9
First use and function test
11
9.1 Connecting the bench
11
9.2 Removing the transport lock 11
10
Complete drawing 12
11
Description of functions
14
11.1 Adjusting the height of the bench
14
11.2 Moving the bench with all direction wheel system (optional)
15
11.3 Adjusting the headrest position 16
12
Accessories and features 19
13
Possible faults and how to correct them
22
14
Maintenance and care
23
14.1 Cleaning the padded surface
23
14.2 Tested and recommended cleaning agents
24
14.3 Cleaning the frame
24
14.4 Cleaning the piston rod of the linear drive
24
14.5 Disposal 24
15
Specifications 25
16
Manufacturer's EMC declaration
26
17
Declaration of conformity
30
These instructions are an integral part of the device. Strict adherence to these instructions is a
prerequisite for the prescribed use and correct handling of the device as well as to ensure the safety of
the patient and the user.

2
Foreword
1
This manual contains general information on safety, operation, maintenance and care for owners and
users of aXion benches.
These instructions are up to date at the date of printing. Because the requirements for the product and
therapeutic techniques are continuously changing, we reserve the right to make technical and design
changes.
Please follow all instructions and information in this manual to ensure safe and successful operation.
As the owner of the device you are required to comply with all current instructions and precautions for
electrically, height-adjustable, treatment benches.
The aXion series benches are not designed or intended for patient transport.
Patients are not permitted on bench during position adjustment or transport.

3
Zimmer MedizinSysteme GmbH
2
Zimmer MedizinSysteme has more than 40 years of experience in working closely with therapists to
develop devices that are "Made in Germany" in all aspects – efficient, innovative, easy-to-use, long
service life – an investment in the present and the future of your work and its value. Professional
equipment for professionals.
Zimmer MedizinSysteme is a CE / ISO-certified company and is continuously working on improving the
availability of therapy systems and aids in physical medicine.
Our experience, continuous development and observation of innovations, coupled with close contact to
medicine throughout the world, mean safety and trust for the present and future of the work of
dedicated therapists.

4
Symbols
3
The instructions are highlighted by special symbols. Please familiarise yourself with the symbols and
their definitions before using the bench.
Definition of symbols
Explosion Hazard
A section highlighted by the explosion hazard symbol, describes possible violations of safety
regulations if this device is operated in the vicinity of flammable anaesthetics.
Hazard
A section highlighted by the hazard symbol, describes possible violations of safety regulations that may
result in imminently dangerous situations, which may cause death or severe injury.
arning
A section highlighted by the warning symbol, describes possible violations of safety regulations that
may cause injury to persons or damage to devices.
Caution
A section highlighted by the caution symbol, describes possible violations of safety regulations that
may cause minor to moderate injury to persons or minor to moderate damage to devices.
Note
Sections highlighted by notes, will be encountered throughout this manual. The notes contain useful
information on the area or function that is currently being described.

5
Important information
4
Read and apply the instructions and directions. Familiarise yourself with the limitations and hazards involved
with the operation of electrically, height-adjustable, treatment benches.
Follow all precautions and instructions displayed on labels on the bench.
During any adjustments the moving parts of the bench must be closely watched and supported by the user or
therapist if necessary. The patient must always be monitored during adjustments.
4.1 arnings
•
Do not exceed the maximum static weight capacity of the table of 180 kg (approx. 400 lb) and the
dynamic weight capacity of 160 kg.
•
Ensure that the bench is electrically grounded by plugging it into correctly installed power outlets only.
•
Do not allow unauthorised persons access to the bench. Children must be supervised at all times.
•
There is a risk to patient when adjusting the height. The therapist or user is always responsible for
preventing uncontrolled or unwanted adjustments. Patients are not permitted on bench during adjustment
or transport.
•
The bench must be kept clear of any obstacles above or below the range of movement (e.g., window sills,
stools).
•
hen conducting therapy using heaters, infrared lamps or other products, keep the devices clear of the
bench to prevent a fire hazard or the risk of injury.
•
hen adjusting the bench ensure that the patient's weight is not on the bench section being adjusted.
• Patients are not permitted on bench during position adjustment or transport.
•
Patients or therapists must not sit on the headrest of the bench. The headrest is not designed for this
weight and may be damaged or cause injury. The maximum load on the headrest is 30 kg (65 lb).
•
The bench may be connected to mains power only during treatment.
•
The patient must be kept clear of the entire range of movement of all parts of the bench during adjustment
to prevent injury or danger to patient.

6
Important information
4
•
The bench is fitted with a special safety lock for improved safety. The personal magnetic pin for
the safety lock may only be inserted by the authorised person and must always be carried or
stored in a safe place by this person.
•
The magnetic pin must be inserted to activate the motor to allow the height of the bench to be
adjusted. The bench may be activated by the user or therapist only during treatment or therapy.
Once treatment is completed, the user must remove the magnetic pin from the safety lock
immediately. This will prevent unintentional height adjustments.
•
To completely eliminate the possibility of unwanted movements of the bench, do not activate the
safety lock (do not insert magnetic pin) or unplug the bench. e recommend leaving the bench
disconnected when not in use for complete safety. Unplug the power cord to disconnect the
bench from mains power.
•
Benches must be operated with the installed power cord only. Do not run over the power cord
with the bench wheels.
•
hen using add-on devices or third-party devices (e.g. infrared lamps), the user must check that
they are compatible and also ensure that the bench cannot be accidentally moved or adjusted.
Observe any product-specific safety clearances and instructions. Uncontrolled adjustments may
reduce the distance enough to cause burns by proximity or direct skin contact.
•
The cushion must never be exposed to temperatures above 100°C (such as being too close to
heaters, infrared lamps, etc.). There is a risk of fire or injury.
•
Always observe all safety instructions in the relevant manuals and the relevant local and national
regulations for use and safety.
•
The aXion bench may only be used as intended for therapy and treatment.
• e recommend that users and therapists always wear closed shoes during treatment (safer foot
operation and prevention of injury).
4.2 Hazards
Risk of explosion when used in the vicinity of flammable anaesthetics. The warning symbol for
this risk is clearly visible on the label with the serial number.
The bench must only be used by trained and qualified persons who are familiar with the precautions
and the operation of the bench.

7
Delivery and opening
5
Your aXion bench has been carefully inspected mechanically, electrically, visually and functionally
before shipping and has left the factory in perfect condition.
Delivery
1. Check that package is complete (number of packages).
2. Check packaging for damage.
If there are parts missing or defects are found (including minor damage to the packaging), these must
be noted on the freight documents presented by the transport company before acknowledging receipt.
Please send information about shipping damage to Zimmer MedizinSysteme GmbH immediately.
Opening
The shipment must be checked for damage immediately on receipt. If any damage is found, inform
Zimmer MedizinSysteme GmbH in writing within two business days.
Any claims for shipping damage cannot be accepted after this period.
Removal of the packaging materials
Do not use sharp or pointed objects when opening the packaging. They may damage the
bench, particularly the cushions.

8
arranty
6
Zimmer MedizinSysteme GmbH guarantees that this device has been shipped without any defects in
materials and processing. e also guarantee that the device has been thoroughly tested and all
functions checked before shipping.
Zimmer MedizinSysteme GmbH offers a two-year warranty on the complete bench with the exception of
the upholstery on the headrest (wear part), which has a six-month warranty.
Zimmer MedizinSysteme GmbH must be immediately notified of any parts that prove to be defective
within the warranty period and (after prior arrangement) these must be returned to us for assessment
of damages. No further warranty or liability – specifically for consequential damages and use other than
the intended use – can be accepted.

9
Intended use
7
This product is exclusively intended for professional use by trained and qualified users for
physiotherapy, rehabilitation, occupational therapy and medical treatment. The manufacturer does not
guarantee the suitability of this product for a specific therapeutic and diagnostic purpose. The therapist
is responsible for its use.
This medical device is intended for use in enclosed rooms at an ambient temperature between 15°C
and 35°C.
It must not be used in wet areas. If it is used in wet areas, significant damage may result, and patients
and users may be endangered.
The aXion series benches are not designed or intended for patient transport.
Patients are not permitted on bench during position adjustment or transport.

10
Regulations
8
Observe the applicable national laws and regulations when setting up and using this therapy bench. In
Germany, the applicable regulations are the MPBetreibV (Medical Devices Operator Regulations) in
the current version and BGV A3.

11
First use and function test
9
9.1 Connecting the bench
Before connecting the device, check that the voltage required to operated the device is the same as
the available mains voltage.
Install the plug required for your country and plug it into a correctly installed power socket.
Lay out the power cable so it is not a hazard (trip hazard).
All aXion benches are fitted with a safety lock as recommended by the German Federal Institute for
Drugs and Medical Devices (BfArM).
To activate the safety lock, insert the magnetic key (pin) into the slot on top of the safety lock. The
bench is now ready for use.
Now, sequentially activate all the controls for adjusting the height of the bench, ensuring that it cannot
be moved beyond the end positions.
Note: the height of the bench can only be adjusted with the safety lock activated (magnetic key
inserted).
After the function test, either remove the magnetic key from the safety lock or unplug the power cord to
prevent operation of the bench. Always observe the warnings and instructions for use of the safety lock
for therapeutic operation.
9.2 Removing the transport lock
Any transport locks and packaging materials must be removed and disposed of as specified by
environmental regulations.

12
Complete drawing
10
aXion 6 bench
Parts
1 Head rest, adjustable
2 Lock for head rest
3 Arm rest, swivelling, height-adjustable, left + right
4 Lock for arm rest height adjustment
5 Upper torso cushion
6 Middle torso cushion
7 Leg cushion
8 Scissor frame
9 Centre axis
10 Lift motor
11 Activation lever for all-direction wheel system (optional)
12 heel (standard)
13 Foot switch for height adjustment
14 Hand switch for height adjustment (position)

13
Complete drawing
10
aXion 2
aXion 3
aXion 4
aXion 5
aXion 6
80°
30°
aXion 3, aXion 5
90°
30°
20 cm
aXion 6
90°

14
Description of functions
11
Raising the bench
Lowering the bench
Use the original controls only.
They are installed at the factory.
11.1 Adjusting the height of the bench using the touch switch or hand switch
The buttons on the hand switch and foot switch* are marked with symbols. Press the
appropriate button until the bench is at the desired height.
Releasing the button stops the adjustment immediately.
* Alternative foot switch, see list of accessories.
Replaces hand switch if required.
The hand switch can be attached to the holder on the bench frame with the fixed
retainer.
Adjusting the height with the foot switch (standard with Comfort model,
otherwise optional):
The bench height can also be adjusted using a foot switch. Press the appropriate
membrane button with the foot to raise or lower the bench.
Note: the membrane buttons should only be operated using light pressure. Foot
contact should be even and not forceful.
Do not press down hard or press on a small part of the button only (sections).
Always stop operating the switch at the end of the movement range. Incorrect
operation may cause damage, which will not be covered by the warranty.

15
Description of functions
11
Adjusting the bench height with the touch buttons under the centre section
(standard with aXion 6 Comfort, otherwise optional)
The touch buttons are factory-installed. The left arrow points up and when touched,
raises the bench and the right arrow points down and when touched, lowers the
bench. For safety, the top switches are located under the upholstery (to prevent
accidental movement, e.g. by the knee when treating in a seated position).
Note: Always observe all warnings and instructions described previously, for use of
the safety lock for therapeutic operation.
Caution!
Adjustments or repairs to the membrane buttons must be conducted by authorised
dealers and service representatives of Zimmer MedizinSysteme GmbH only.
11.2 Moving the bench with all-direction wheel system
(optional)
The universal wheels are combined with an integrated wheel lifting system. Press
the foot lever down to be able to move the bench. The wheels are locked in this
pos
ition. Lift the foot lever up again after moving the bench to move it into its parked
position.
Patients are not permitted on bench during position adjustment or transport.
Therapy and treatment benches are not designed for transporting patients!

16
Description of functions
11
11.3 Adjusting the head rest position
The head rest can be locked at any position within a range of -90° to +30°.
Patients or therapists must not sit on the head rest of the aXion bench. The
headrest is not designed for this weight and may be damaged or cause injury. The
maximum load on the head rest is 30 kg (65 lb).
Releasing head rest adjustment
Press the release handle up (underneath head rest).
Adjusting head rest
Hold the handle and move the head rest to the desired position between +30°
and –90°
Locking head rest
Release the handle to lock the head rest at the desired position between +30°
and –90°.
The head rest is fitted with a face insert. The face insert can be attached or removed
as required.

17
Description of functions
11
Head rest with arm rests
e have developed a special head rest with two side arm rests for optimum
positioning in a supine or prone position. The three-part head rest consists of a head
piece that can be positioned vertically between +30° and –90° and two separately
adjustable arm rests. The arm rests can be adjusted in height and also swivelled to
the side.
Note: To prevent injury, any adjustments should be made by only one person.
a) Lift the arm rest forward to adjust the height.
b) Move the arm rest to the desired height.
c) The arm rest is automatically locked in position when it is released. It can
also be fixed in position with the clamping screw.
d) As well as separate height adjustment, the arm rests can be swivelled
to any position (with a lock function in the forward position). The lock function
is triggered simply by pulling the locking pin, and the arm rest can then be
moved to the side.
Adjusting the roof position
(only available with aXion 6)

18
Description of functions
11
Push lever to the side and up. This releases the gas spring and raises the
upholstery. ith recumbent patients the upholstery must be lifted slightly with the
other hand (depending on the weight of the patient).

19
Accessories and features
12
standard
optional
Features
aXion 2
aXion 2
comfort
aXion 3
aXion 3
comfort
aXion 4
aXion 4
comfort
aXion 5
aXion 5
comfort
aXion 6
aXion 6
comfort
Item no. Zimmer MedizinSysteme GmbH 3110 3120 3130 3140 3150 3160 3170 3180 3190 3195
Steel scissor frame with pinch guard
2 front wheels, on ends of crossbar, non-
steerable
Electrical height adjustment 10 kN
Safety lock compliant with BfArM regulations
Head rest with face insert, adjustable -90° to
+30°
6 cm upholstery with synthetic leather cover
and undercover fastening
6 cm comfort upholstery with additional
durable edge stitching
Seam and box shape, synthetic leather cover
Arm rests, height-adjustable and swivelling
One-section bench top
Bench top, two-section, leg rest adjustable
80° with gas spring, 50/50 divided
Bench top, three-section, flexion position 20
cm with gas spring, fixed leg rest
Foot switch for height adjustment, front and
rear, membrane buttons in lower crossbar
Hand sensor button for height adjustment,
membrane buttons under bench top left +
right
Table of contents
Other Zimmer Medical Equipment manuals

Zimmer
Zimmer Meshgraft II User manual

Zimmer
Zimmer ergo k User manual

Zimmer
Zimmer SD Edition PhySys User manual

Zimmer
Zimmer emFieldPro User manual

Zimmer
Zimmer ThermoTK User manual

Zimmer
Zimmer OptonPro User manual

Zimmer
Zimmer enPuls User manual

Zimmer
Zimmer Opton User manual

Zimmer
Zimmer emFieldPro User manual

Zimmer
Zimmer Soleo SonoStim User manual

Zimmer
Zimmer Z Wave Pro User manual

Zimmer
Zimmer ThermoTK User manual

Zimmer
Zimmer enShock User manual

Zimmer
Zimmer Sonido Smart User manual

Zimmer
Zimmer enPulsPro User manual

Zimmer
Zimmer emFieldPro User manual

Zimmer
Zimmer Z Lipo Med User manual

Zimmer
Zimmer ZLipo Med User manual

Zimmer
Zimmer SonoOne User manual

Zimmer
Zimmer Cryo 6 User manual