manuals.online logo
Brands
  1. Home
  2. •
  3. Brands
  4. •
  5. Zodiac
  6. •
  7. Radio
  8. •
  9. Zodiac D80 User manual

Zodiac D80 User manual

LOGO KOMMER
VER.NR: 1: 14.03.22
MANUAL
ENGLISH
www.zodiac.se
www.zodiac.no
VER. 1.0
2
ENGLISH
CONTENTS OF THE BOX
• Radio unit
• Rechargeable 2000 mAh Li-Poly battery
• Desktop rapid charger
• Power supply
• Antenna
•Hand strap and belt clip
INTRODUCTION
Thank you for choosing a Zodiac radio product.
Zodiac D80 is a digital and analog professional radio.
Please read the manual carefully before you start using
the radio, so that you have the necessary knowledge
about the various functions.
ACCESSORIES
Accessories can be found on www.zodiac.no/
www.zodiac.se
KEY FEATURES
• 2000 mAh Li-Poly battery
• Volume adjustment
• Encryption*
• Scanning - searches for activity across di󰀨erent
communications channels
• Signal strength indication
• Battery level indicator
• Power output setting H:L
• Alarm*
• Text message*
• IP67 certied and MIL STD 810F. Water and dust
protected.
*The radio needs to be programmed with digital
channels in order for these functions to work. Your
dealer can help you with this.
3
VER. 1.0
ENGLISH
CONTROLLS AND INDICATORS
VER. 1.0
4
ENGLISH
1. On/O󰀨/volume
control knob
2. Channel selector knob
3. Antenna
4. Emergency button
(programmable)
5. Speaker
6. Push-to-Talk
(PTT) button
7. Side button 1
(programmable)
8. Side button 2
(programmable)
9. LED indicator
10.Universal connector
for accessories
11. Microphone
12. Display
13. Ok/Menu button
14. 2-way navigation button
left
15. Return/home button
16. Front button P2
(programmable)
17. 2-way navigation button
right
18. Front button P1
(programmable)
TO GET STARTED
5
VER. 1.0
ENGLISH
1. On/O󰀨/volume
control knob
2. Channel selector knob
3. Antenna
4. Emergency button
(programmable)
5. Speaker
6. Push-to-Talk
(PTT) button
7. Side button 1
(programmable)
8. Side button 2
(programmable)
9. LED indicator
10.Universal connector
for accessories
11. Microphone
12. Display
13. Ok/Menu button
14. 2-way navigation button
left
15. Return/home button
16. Front button P2
(programmable)
17. 2-way navigation button
right
18. Front button P1
(programmable)
Attaching the antenna
1. Turn the antenna clockwise to attach it. To remove
the antenna, rotate it counterclockwise.
Powering on
1. Rotate the On/O󰀨/Volume control knob clockwise
until you hear a click. A brief tone sounds, indicating
that the power up test is successful.
2. To turn o󰀨 the radio, rotate the knob counter-
clockwise until you hear a click.
Attaching the battery
1. While laying at, slide the battery into the radio.
Horizontally push to the top along the aluminum slot,
sliding it up until the battery latch clicks.
2. When removing the battery, press down the release
button and slide battery down.
Charging the battery
1. Plug the adapter’s AC connector into the AC outlet
socket.
2. Plug the adapter’s DC connector into the DC socket
on the back of the charger.
3. Place the radio with the battery attached, or the
battery alone in the charger.
4. Make sure the battery contact is touching the
charging terminals. The charging process begins when
the red LED light illuminates.
VER. 1.0
6
ENGLISH
5. The green LED light will illuminate approximately two
hours later, indicating the battery is fully charged.
LED indication Charging status
LED ashes red slowly Standby (no charging)
LED glows red Charging
LED glows orange 85 % charged
LED glows green Fully charged
LED ashes red rapidly Error
Attaching/removing belt clip
1. Rotate the screws counterclockwise to remove them.
2. Align the screw holes on the belt clip with those on
the radio’s body. Then insert and tighten the screws
clockwise.
3. To remove the belt clip, loosen the screws.
Attaching audio accessory
Open the accessory jack cover. Align the plug with the
accessory jack, then connect it.
Accessing the programmed functions
You can access various radio functions on one of the
following ways; a short or long press of the relevant
programmable buttons or you can do the following.
7
VER. 1.0
ENGLISH
BASIC OPERATION
Turning On/O󰀨 radio
Rotate the On/O󰀨/Volume control knob clockwise until
you hear a click.
To turn o󰀨 the radio, rotate the knob counterclockwise
until you hear a click.
Adjusting the volume
After turning the radio on, rotate the radio On/O󰀨/
Volume knob clockwise to increase the volume or
counterclockwise to decrease the volume.
Selecting a channel
Locate the channel number on the channel knob by
rotating it to select the desired channel. While rotating
the knob, there is an automatic channel number voice
promt.
1. To access the main menu, press the (–) button. To
toggle through the menu options, press (<) or (>).
2. To select a function or access a sub-menu press the
(–) button.
3. To go back one menu level or return to the previous
screen, press the (– –) button. Your radio will exit the
menu after a period of inactivity and return to main menu.
VER. 1.0
8
ENGLISH
Transmitting
Group call: Talk group can be set by the dealer in
advance and the operations methods are the same
under DMO and TMO mode.
1. Transmitting a group call
- Select the desired talk group through channel knob.
- Press down (PTT) key to transmit a group call.
2. Receiving and replying a group call
You can receive the group call without any key
operation. If reply is needed, press down (PTT) key
after the speech of the other side and then speak to
microphone.
Radio LED indicator
LED indication Radio status
LED solid red Transmitting the call
LED solid green Receiving call or carrier is busy
channel
LED ashes green quickly Receiving privacy enabled call
or data
LED ashes red Radio is scanning. Radio is
transmitting at low battery
condition, receiving an emergency
transmission or has failed the self
test upon powering on.
LED ashes green Radio powering up
9
VER. 1.0
ENGLISH
LCD icons
Icon Description
Battery indicator. Icon blinks when the battery is
low
The number of bars displayed represents the radio
signal strenght and is only displayed while the
radio is in receiving mode
New message /unread message
Sending of text message failed
Sending of text message is in progress
Indicates a private call in progress
Indicates a group call or all call in progress
Lor HRadio is set at Low Power (L) or High Power (H)
Inbox full
The text message is sent successfully
VER. 1.0
10
ENGLISH
Scan feature is enabled
Priority scan detects activity on channel/group;
designated as Priority 1(if - is blinking) or as
Priority 2 (if - is steady)
Selected channel is being monitored
Tones are turned o󰀨
Radio is in emergency mode
The privacy feature is enabled
The radio is currently congured for direct
radio to radio communication
11
VER. 1.0
ENGLISH
Care and cleaning
To guarantee optimal performance as well as a long
service life of your radio, please follow the tips below.
• Keep the radio away from substances that can corrode
the electronic circuit.
• Do not hold the radio by its antenna or headset cable
directly to prevent damage to its normal use.
• Attach the accessory jack cover when the radio is not
in use.
• Clean up the dust and ne particles on the radio
surface and desk charger with a clean and dry lintfree
cloth or a brush regulary.
• Use neutral cleanser and a non-wowen fabric to clean
the buttons, control knobs and front case.
• If the radio is dropped into water, remove the battery
and rinse in fresh water. Let the radio air dry.
VER. 1.0
12
ENGLISH
Notice! The channels may have been changed by your
dealer. Please contact your dealer for more information.
CHANNEL
NAME
FREQUENCY
Riks 1 85.9375
Riks 2 85.9625
Riks 3 86.6625
Riks 4 87.2875
Kanal 1 69.0125
Kanal 2 69.0375
Kanal 3 69.0625
Kanal 4 69.0875
Kanal 5 69.1125
Kanal 6 69.1375
Kanal 7 69.1625
Kanal 8 69.1875
CHANNEL PLAN
Analog channels
CHANNEL
NAME
FREQUENCY
Kanal 9 69.60625
Kanal 10 69.63125
Kanal 11 69.65625
Kanal 12 69.68125
Kanal 13 69.70625
Kanal 14 69.61875
Kanal 15 69.64375
Kanal 16 69.66875
Kanal 17 69.69375
Kanal 18 69.71875
Notice!
Kanal 9 - Kanal 18: 12.5 kHz / Narrow
13
VER. 1.0
ENGLISH
WASTE OF ELECTRONIC EQUIPMENT
Electric and electronic equipment can contain substances
that are harmful for humans, animals and nature, if not
handled properly. Equipment marked with the WEEE
symbol, shall not be thrown together with
normal waste, but should be delivered to the
communitys recovery- or environment
stations. Used batteries shall be
delivered to recovery- or environment
stations for recycling.
(WEEE = waste of electric and electronic equipment).
WARRANTY
The warranty from Zodiac covers failures and errors in
materials, design and execution in a period of 36 months
from the date the equipment was bought. For products
with a limited lifetime, as for instance battery, antenna and
other accessories,12 months warranty applies.
A receipt or other proof of purchase is necessary for
proper warranty handling. For professional use, other
rules apply. If a failure occurs during normal operation of
the product, it shall be returned to the Kanal 8 dealer where it
was originally bought, or an authorized service centre.
All freight costs will be paid by the owner. The equipment
must be carefully packed in its original box or similar.
Failures that are related to wrong use, wear and tear,
overvoltage, moist damage or other damage and repair
by unauthorized persons, will not be covered by warranty.
The product will then be repaired by payment after the
owners order.
Notice!
Kanal 9 - Kanal 18: 12.5 kHz / Narrow
LOGO KOMMER
www.zodiac.se
www.zodiac.no

Other Zodiac Radio manuals

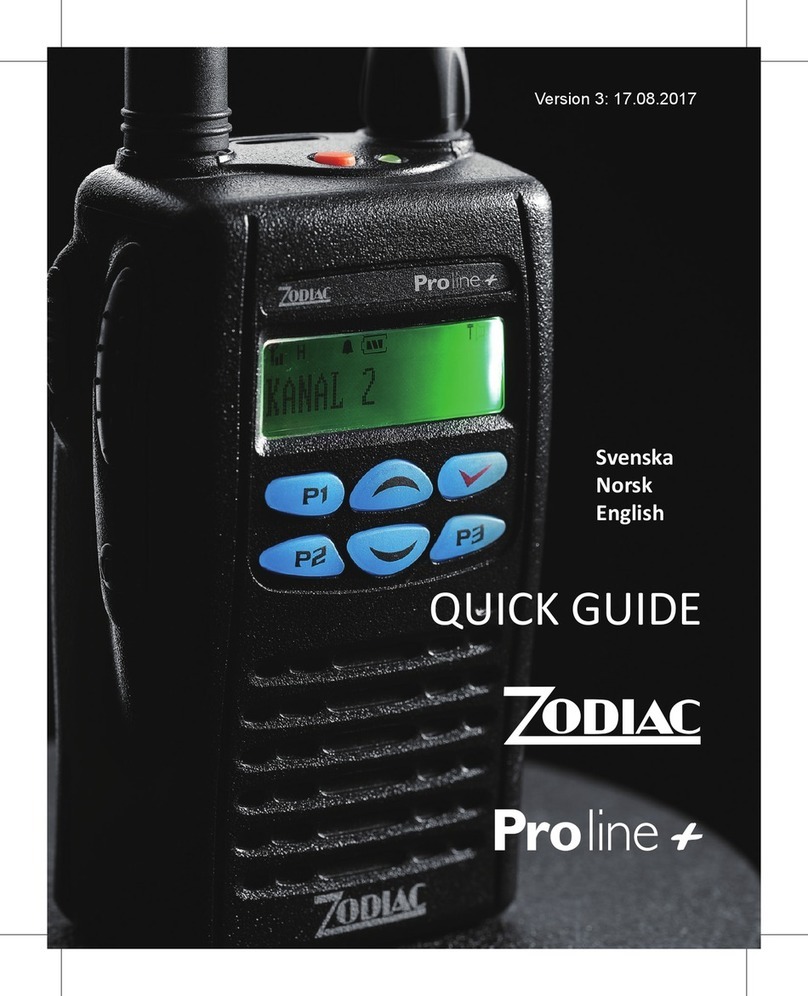
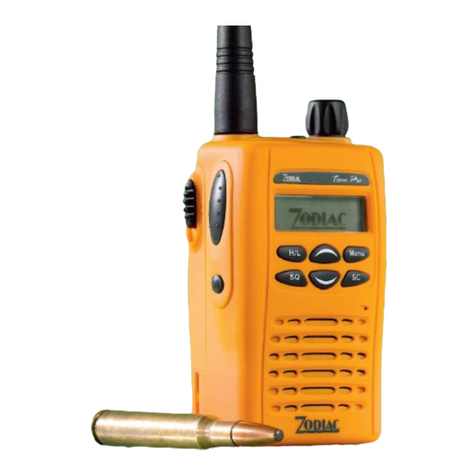
Zodiac Transport 80 User manual

Zodiac

Zodiac Transport 80 User manual

Zodiac Freetalk Mini User manual

Zodiac

Zodiac Freetalk Mini User manual

Zodiac Freetalk PRO User manual

Zodiac

Zodiac Freetalk PRO User manual

Zodiac Proline+ 400 User manual

Zodiac

Zodiac Proline+ 400 User manual

Zodiac Freetalk PRO User manual

Zodiac

Zodiac Freetalk PRO User manual

Zodiac Easy Hunt II User manual

Zodiac

Zodiac Easy Hunt II User manual

Zodiac Team Pro + User manual

Zodiac

Zodiac Team Pro + User manual

Zodiac Team Pro 140 User manual

Zodiac

Zodiac Team Pro 140 User manual

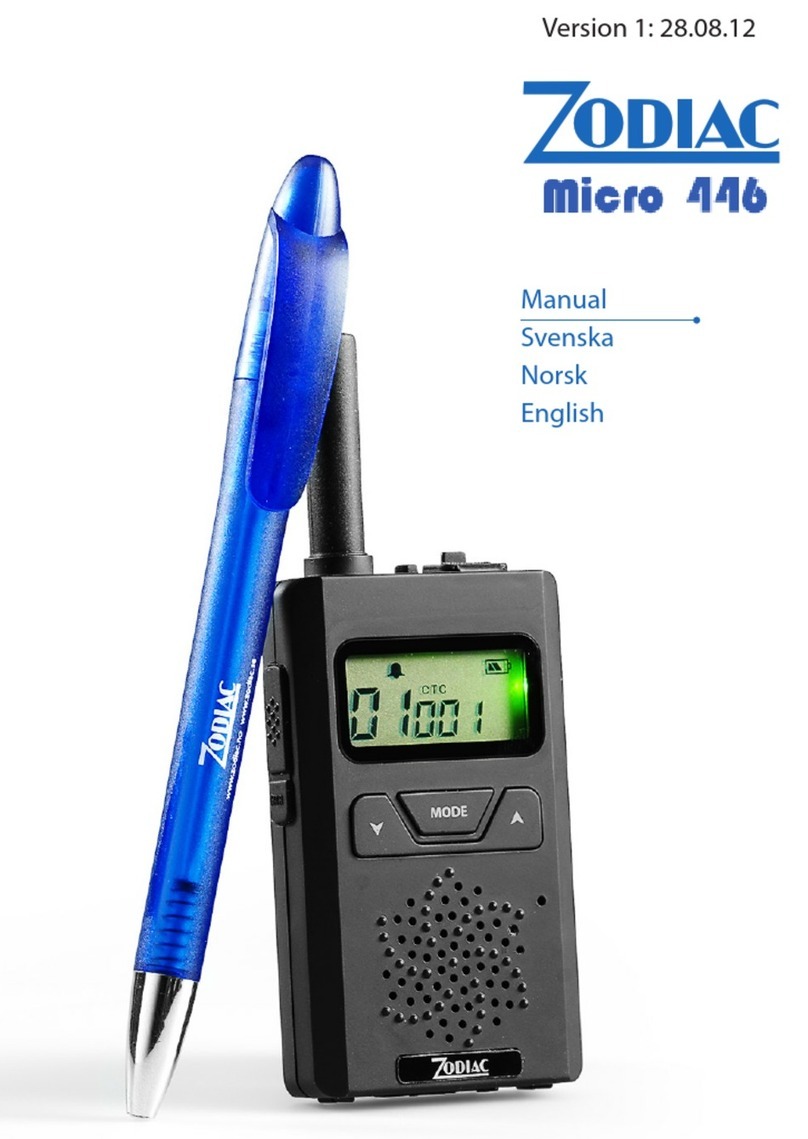
Zodiac micro 446 User manual

Zodiac

Zodiac micro 446 User manual

Zodiac MICRO WATERPROOF User manual

Zodiac

Zodiac MICRO WATERPROOF User manual

Popular Radio manuals by other brands

Motorola Syntor X9000 instruction manual

Motorola

Motorola Syntor X9000 instruction manual

Vertex Standard VX-537 Specifications

Vertex Standard

Vertex Standard VX-537 Specifications

Sandstrom S3DABBI11E instruction manual

Sandstrom

Sandstrom S3DABBI11E instruction manual

DEVA DB44 Maintenance and operation instruction manual

DEVA

DEVA DB44 Maintenance and operation instruction manual

Emerson RP188 owner's manual

Emerson

Emerson RP188 owner's manual

Blaupunkt BCR-9 DABi instruction manual

Blaupunkt

Blaupunkt BCR-9 DABi instruction manual

Beyerdynamic Opus 100 Mk II operating instructions

Beyerdynamic

Beyerdynamic Opus 100 Mk II operating instructions

Tangent CINQUE CD-FM manual

Tangent

Tangent CINQUE CD-FM manual

Eddystone EC10 instruction manual

Eddystone

Eddystone EC10 instruction manual

Uniden PRO 520XL owner's manual

Uniden

Uniden PRO 520XL owner's manual

DM TECH Starry7 user manual

DM TECH

DM TECH Starry7 user manual

LENCO SR-02 user manual

LENCO

LENCO SR-02 user manual

Manta RDI102 user manual

Manta

Manta RDI102 user manual

Imperial DABMAN i205 instruction manual

Imperial

Imperial DABMAN i205 instruction manual

Archos 35 Home Connect user guide

Archos

Archos 35 Home Connect user guide

Coby CX-8 operating instructions

Coby

Coby CX-8 operating instructions

Kaide KK-848 user manual

Kaide

Kaide KK-848 user manual

Sangean DT-180V brochure

Sangean

Sangean DT-180V brochure

manuals.online logo
manuals.online logoBrands
  • About & Mission
  • Contact us
  • Privacy Policy
  • Terms and Conditions

Copyright 2025 Manuals.Online. All Rights Reserved.