manuals.online logo
Brands
  1. Home
  2. •
  3. Brands
  4. •
  5. Zoeller
  6. •
  7. Water Pump
  8. •
  9. Zoeller Water Solutions 3098 Series User manual

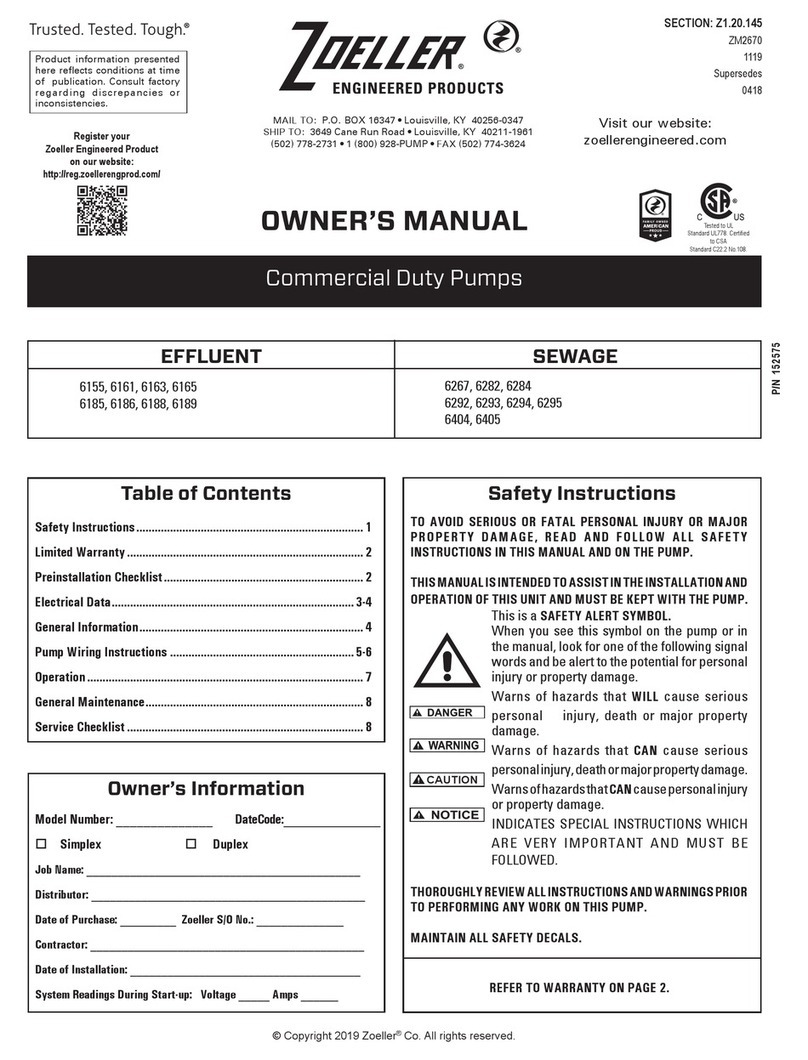
Zoeller Water Solutions 3098 Series User manual

© Copyright 2012 Zoeller Co. All rights reserved.
SECTION: 6.10.055
FM0807
0809
Supersedes
0407
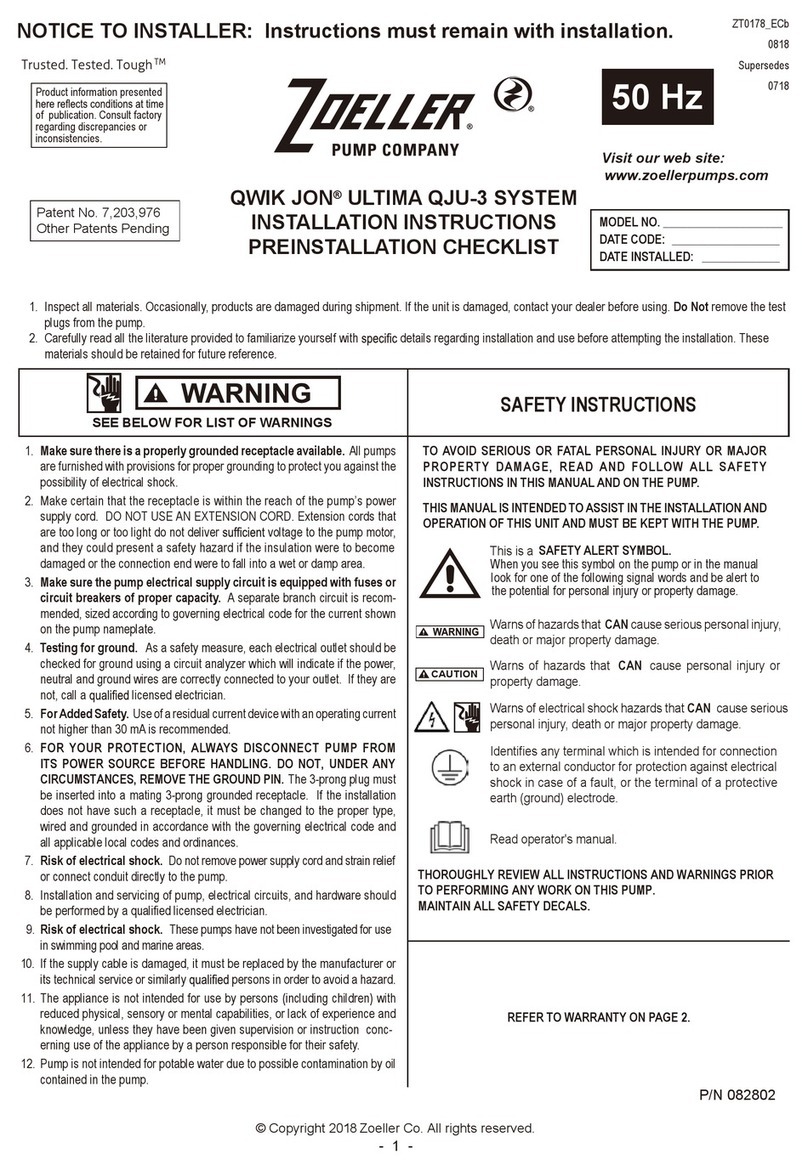
INSTALLATION INSTRUCTIONS
AVAILABLE MODELS HIGH TEMPERATURE PUMPS
P/N 006357
PREINSTALLATION CHECKLIST - ALL INSTALLATIONS
1. Inspect your pump. Occasionally, products are damaged during shipment. If the unit is damaged, contact your dealer before using. DO NOT remove the test plugs in the cover
nor the motor housing.
2. Carefully read the literature provided to familiarize yourself with specic details regarding installation and use. These materials should be retained for future reference.
SERIES H.P. DISCHARGE SOLIDS PH MATERIAL
3098 Series ½ 1½" ½" 1 Cast Iron
3137 Series ½ 1½" 5/8" 1 Cast Iron
3139 Series ½ 1½" 5/8" 1 Bronze
3161 Series ½ 1½" or 2" or 3" 3/4" 1 Cast Iron
3163 Series ½ 1½" or 2" or 3" 3/4" 1 Cast Iron
3282 Series ½ 2" or 3" 2" 1 Cast Iron
Nonautomatic (N or E) models with a watertight junction box (for outdoor or above ground installations) are available in all series.
1. Check to be certain your power source is capable of handling the voltage requirements
of the motor, as indicated on the pump name plate.
2. Check valves used in High Temperature service must be all metal swing type check
valves.
3. Repairandserviceshouldbeperformedby Zoeller Pump CompanyAuthorizedService
Station only.
4. Dewatering and efuent sump pumps are not designed to handle raw sewage.
5. Maximum continuous operating temperature for high temperature pumps must not
exceed 200°F - 93°C.
6. Cable from disconnect to control box (consumer furnished) should be rated 105°C.
1. Make sure there is a properly grounded receptacle available. All pumps are
furnished with provisions for proper grounding to protect you against the possibility
of electrical shock.
(SEE WARNING BELOW)
2. Make certain that the receptacle is within the reach of the pump’s power supply cord.
DO NOT USE AN EXTENSION CORD. Extension cords that are too long or too light
do not deliver sufcient voltage to the pump motor. But, more important, they could
present a safety hazard if the insulation were to become damaged or the connection
end were to fall into the sump.
3. Make sure the pump electrical supply circuit is equipped with fuses or circuit
breakersofpropercapacity. Aseparate branch circuit is recommended, sizedaccord-
ing to the “National Electrical Code” for the current shown on the pump nameplate.
4. Testing for ground. As a safety measure, each electrical outlet should be checked
for ground using an Underwriters Laboratory Listed circuit analyzer which will indicate
if the power, neutral and ground wires are correctly connected to your outlet. If they
are not, call a qualied licensed electrician.
5. For Added Safety. Pumping and other equipment with a 3-prong grounded plug must
be connected to a 3-prong grounded receptacle. For added safety the receptacle
may be protected with a ground-fault circuit interrupter. When a pump needs to be
connected in a watertight junction box, the plug can be removed and spliced to the
supply cable with proper grounding. For added safety this circuit may be protected
by a ground-fault circuit interrupter. The complete installation must comply with the
National Electrical Code and all applicable local codes and ordinances.
6. FOR YOUR PROTECTION, ALWAYS DISCONNECT PUMP FROM ITS POWER
SOURCE BEFORE HANDLING. Single phase pumps are supplied with a 3-prong
grounded plug to help protect you against the possibility of electrical shock. DO
NOT UNDER ANY CIRCUMSTANCES REMOVE THE GROUND PIN. The 3-prong
plug must be inserted into a mating 3-prong grounded receptacle. If the installation
does not have such a receptacle, it must be changed to the proper type, wired and
grounded in accordance with the National Electrical Code and all applicable local
codes and ordinances. Pumps must be installed in accordance with the National
Electrical Code and all applicable local codes and ordinances. Pumps are not to be
installed in locations classied as hazardous in accordance with National Electrical
Code, ANSI/NFPA 70.
7. “Risk of electrical shock” Do not remove power supply cord and strain relief or
connect conduit directly to the pump.
8. Installation and servicing of electrical circuits and hardware should be performed by
a qualied licensed electrician.
9. Pump installation and servicing should be performed by a qualied person.
10. Risk of electric shock - These pumps have not been investigated for use in swimming
pool and marine areas.
11. According to the state of California (Prop 65), this product contains chemicals known to
the state of California to cause cancer and birth defects or other reproductive harm.
SEE BELOW FOR LIST OF WARNINGS
SEE BELOW FOR LIST OF CAUTIONS
REFER TO WARRANTY ON PAGE 2.
Product information presented
here reects conditions at time
of publication. Consult factory
regarding discrepancies or
inconsistencies.
MAIL TO: P.O. BOX 16347 • Louisville, KY 40256-0347
SHIP TO: 3649 Cane Run Road • Louisville, KY 40211-1961
(502) 778-2731 • 1 (800) 928-PUMP • FAX (502) 774-3624
visit our web site:
www.zoeller.com
®
Your Peace of Mind is Our Top Priority
®
© Copyright 2012 Zoeller Co. All rights reserved.
EASY DO’S & DON'T’S FOR INSTALLING A SUMP PUMP
1. DO read thoroughly all installation material provided with the pump.
2. DO inspect pump for any visible damage caused by shipping. Contact dealer if pump appears to be damaged.
3. DO clean all debris from the sump. Be sure that the pump will have a hard, at surface beneath it. DO NOT install on sand, gravel or
dirt.
4. DO be sure that the sump is large enough to allow proper clearance for the level control switch(es) to operate properly.
5. DO Always Disconnect Pump From Power Source Before Handling.
DO always connect to a separately protected and properly grounded circuit.
DO NOT ever cut, splice, or damage power cord.
DO NOT carry or lift pump by its power cord.
DO NOT use an extension cord with a sump pump.
6. DO install a metal check valve and an all metal union in the discharge line.
DO NOT use a discharge pipe smaller than the pump discharge without rst
consulting pump manufacturer.
7. DO NOT use a sump pump as a trench or excavation pump, or for pumping sewage, gasoline, or other hazardous liquids.
8. DO test pump immediately after installation to be sure that the system is working properly.
9. DO cover sump with an adequate sump cover.
10. DO review all applicable local and national codes and verify that the installation conforms to each of them.
11. DO consult manufacturer for clarications or questions.
12. DO inspect and test system for proper operations at least every 3 months.
YOUR ASSURANCE
OF QUALITY
Manufacturer warrants, to the purchaser and subsequent owner during
the warranty period, every new product to be free from defects in material
and workmanship under normal use and service, when properly used
and maintained, for a period of one year from date of purchase by the
end user, or 18 months from date of original manufacture of the product,
whichever comes rst. Parts that fail within the warranty period, one year
from date of purchase by the end user, or 18 months from the date of
original manufacture of the product, whichever comes rst, that inspections
determine to be defective in material or workmanship, will be repaired,
replaced or remanufactured at Manufacturer's option, provided however,
that by so doing we will not be obligated to replace an entire assembly,
the entire mechanism or the complete unit. No allowance will be made
for shipping charges, damages, labor or other charges that may occur
due to product failure, repair or replacement.
This warranty does not apply to and there shall be no warranty for any
material or product that has been disassembled without prior approval
of Manufacturer, subjected to misuse, misapplication, neglect, alteration,
accident or act of God; that has not been installed, operated or main-
tained in accordance with Manufacturer's installation instructions; that
has been exposed to outside substances including but not limited to the
following: sand, gravel, cement, mud, tar, hydrocarbons, hydrocarbon
derivatives (oil, gasoline, solvents, etc.), or other abrasive or corrosive
substances, wash towels or feminine sanitary products, etc. in all pump-
ing applications. The warranty set out in the paragraph above is in lieu
of all other warranties expressed or implied; and we do not authorize
any representative or other person to assume for us any other liability in
connection with our products.
Contact Manufacturer at, 3649 Cane Run Road, Louisville, Kentucky
40211, Attention: Customer Service Department to obtain any needed
repair or replacement of part(s) or additional information pertaining to
our warranty.
MANUFACTUREREXPRESSLYDISCLAIMSLIABILITYFORSPECIAL,
CONSEQUENTIAL OR INCIDENTAL DAMAGES OR BREACH
OF EXPRESSED OR IMPLIED WARRANTY; AND ANY IMPLIED
WARRANTY OF FITNESS FOR A PARTICULAR PURPOSE AND OF
MERCHANTABILITY SHALL BE LIMITED TO THE DURATION OF THE
EXPRESSED WARRANTY.
Some states do not allow limitations on the duration of an implied war-
ranty, so the above limitation may not apply to you. Some states do not
allow the exclusion or limitation of incidental or consequential damages,
so the above limitation or exclusion may not apply to you.
This warranty gives you specic legal rights and you may also have other
rights which vary from state to state.
LIMITED WARRANTY
© Copyright 2012 Zoeller Co. All rights reserved.
All installations must comply with all applicable electrical and plumbing codes, including, but not limited to, National Electrical Code, local,
regional, and/or state plumbing codes, etc.
TYPICAL HIGH TEMPERATURE PUMP INSTALLATION
Most 200°F. installations do not involve efuent or sewage. (Consult factory)
CAUTION: High temperature pumps must be installed in a steel or concrete basin. (Do not use polyethylene or berglass type basins.)
Typical High Temperature Automatic Installation. Typical High Temperature Nonautomatic Installation.
1. Electrical wiring and protection must be in accordance with National Electrical Code and any other applicable state and local electrical
requirements.
2. Install unicheck (combination union and check valve) preferably just above the basin to allow easy removal of the pump for cleaning or repair.
Use all metal swing type check valve.
3. When a Unicheck is installed, drill a 3/16" dia. hole in the discharge pipe even with the top of the pump. NOTE: The hole must also be below the
basin cover.
4. All installations require a basin cover to prevent debris from falling into the basin, and to minimize accidental injury.
5. Securely tape power cord to discharge pipe clear of the oat mechanism.
6. Use a full-size discharge pipe.
* 7. Pump must be level and oat mechanism clear of sides of basin before starting pump.
8. Install blocks or bricks under pump to provide a settling basin.
9. Basin must be clean and free of debris after installation.
Switch housing and cord must not be exposed to high temperature water or steam for extended periods. Do not install below the lid
or in the pit. If a longer oat rod is required for deep pit installations, consult factory.
* Check specic control installation instruction for other type control usage.
FLOAT ROD ASSEMBLY INSTRUCTIONS
(AUTOMATIC ONLY)*
“OFF” “ON”
High Temperature “On-Off”
Float Positions
High Temperature
Float Rod Assembly
1. Slide (2) oat stops (6) and small oat (7) onto lower oat
rod (1) as shown. If an extender kit P/N 10-0656 is being
used, add additional lower oats provided with the kit.
2. Slide lower oat rod (1) thru oat rod guide (9).
3. Apply loctite sealant (5) to 1" long stud (2) and insert 1/2"
into threaded hole in lower oat rod (1).
4. Attach middle section of oat rod (3) to lower oat rod (1).
(Reference step 3.) If an extender kit is being used repeat
steps 3 and 4 for each kit used. Each kit adds one oat and
one foot of oat rod length.
5. Slide large oat (8) and remaining oat stop (6) onto oat
rod as shown. (Do not tighten oat stop set screw at this
time.) (Reference step 10.)
6. Attach upper section of oat rod (4) to middle oat rod sec-
tion (3). (Reference step 3.
7. Attach oat rod assembly to control box switch arm.
8. Attach control box to discharge pipe at desired level using
pipe clamp (10) provided.
9. Attach oat rod guide (9) to discharge pipe using pipe
clamp provided as shown.
10. Adjust oat stops (6) to desired “on-off” levels and tighten
set screws.
11. Check oat mechanism for free movement. Float must clear
pump, discharge pipe, pit, or pit cover.
12. Check your installation. Fill pit with water and check for cor-
rect operation and correct ”on-off” levels.
13. Do not touch unit or piping with unit
connected to the power source. Adjust as required.
* The "On" point can be extended in one foot increments using P/N 10-0656. The wire and conduit
from pump to switch must be lengthened accordingly, at time of order. Check pump for proper
cord/conduit length before starting assembly. Standard cord/conduit length is 3'.
SK772
6
8
9
6
7
6
5
5
10
4
2
3
2
1
10
SK773
1
2
3
5
6
4
9
7
SK756
1
4
2
5
6
3
9
8
7
SK754
© Copyright 2012 Zoeller Co. All rights reserved.
If the above checklist does not uncover the problem, consult the factory - Do not attempt to service or otherwise disassemble pump. Service must
be performed by Zoeller Authorized Service Stations. Go to www.zoellerpumps.com/servicestations to nd the Authorized Service Station in your
area.
CONDITION
A. Pump will not start or run.
B. Motor overheats and trips overload or blows fuse.
C. Pump starts and stops too often.
COMMON CAUSES
Check fuse, low voltage, overload open, open or incorrect wiring, open switch, impeller or seal
bound mechanically, defective capacitor or relay when used, motor or wiring shorted. Float
assembly held down. Switch defective, damaged, or out of adjustment.
Incorrect voltage, negative head (discharge open lower than normal) impeller or seal bound
mechanically, defective capacitor or relay, motor shorted.
Float tight on rod, check valve stuck or none installed in long distance line, overload open,
level switch(s) defective, sump pit too small.
Debris under oat assembly, oat or oat rod bound by pit sides or other, switch defective,
damaged or out of adjustment.
Check strainer housing, discharge pipe, or if check valve is used vent hole must be open.
Discharge head exceeds pump capacity. Low or incorrect voltage. Incorrect motor rotation.
Capacitor defective. Incoming water containing air or causing air to enter pump.
Increased pipe friction, clogged line or check valve. Abrasive material and adverse chemi-
cals could possibly deteriorate impeller and pump housing. Check line. Remove base and
inspect.
D. Pump will not shut off.
E. Pump operates but delivers little or no water.
F. Drop in head and/or capacity after a period of use.
SERVICE CHECKLIST
ELECTRICAL PRECAUTIONS - Before servicing a pump, always shut off the main power breaker and then unplug the pump - making sure you are wearing
insulated protective sole shoes and not standing in water. Under ooded conditions, contact your local electric company or a qualied licensed electrician for disconnecting
electrical service prior to pump removal.
Submersible pumps contain oils which becomes pressurized and hot under operating conditions - allow 2½ hours after disconnecting before attempting ser
vice.
009789A
009789B
0
10 20 30 40 50 60 70 80 90 100 110 120
0
5
10
15
20
25
30
35
40
45
50
55
65
LITERS
GALLONS
FEET
METERS
40 80 120 160 200 240 280 320 360 400 440
2
4
6
8
10
12
14
16
18
PUMP PERFORMANCE CURVE
MODELS 3098-3137-3139-3161-3163-3282
200°F. WATER TEMPERATURE
3163 3098 3137/
3139
3161 3282
FLOW PER MINUTE
TOTAL DYNAMIC HEAD
60
Feet
MODEL
Shut-off Head:
Meters LitersGal. Gal. Liters Gal. Liters Gal. Liters Gal. Liters
3098 3137/3139 3161 3163 3282
5 1.5
10
15
20
25
30
40
50
4.6
15.2
12.2
9.1
7.6
6.1
3.0
21 ft.(6.4m) 25 ft.(7.6m) 51 ft.(15.5m) 60 ft.(18.3m) 24 ft.(7.3m)
41 155
23 87
66
56
250
212
20153
30 114
90
75
341
284
34892
84 318
106
100
401
378
41 155
308
246
28074
65
19351
189
182
170
132
20
35
76
45
48
50
201
197
53
52
20855
25 95
115
85
435
322
-- -- -- --
--
--
----
--
----
--
----
--
--
-- --
--
--
----
--
--

Other manuals for Water Solutions 3098 Series

1

This manual suits for next models

7

Other Zoeller Water Pump manuals

Zoeller FM2102 User manual

Zoeller

Zoeller FM2102 User manual

Zoeller 55/59 Series User manual

Zoeller

Zoeller 55/59 Series User manual

Zoeller QLS Series User manual

Zoeller

Zoeller QLS Series User manual

Zoeller BASEMENT SENTRY II User manual

Zoeller

Zoeller BASEMENT SENTRY II User manual

Zoeller 4290 User manual

Zoeller

Zoeller 4290 User manual

Zoeller 62 HD Series User manual

Zoeller

Zoeller 62 HD Series User manual

Zoeller 810 User manual

Zoeller

Zoeller 810 User manual

Zoeller AQUANOT 508 Fit User manual

Zoeller

Zoeller AQUANOT 508 Fit User manual

Zoeller 63 User manual

Zoeller

Zoeller 63 User manual

Zoeller 222 User manual

Zoeller

Zoeller 222 User manual

Zoeller 300 Series User manual

Zoeller

Zoeller 300 Series User manual

Zoeller Basement Sentry Series User manual

Zoeller

Zoeller Basement Sentry Series User manual

Zoeller 63 User manual

Zoeller

Zoeller 63 User manual

Zoeller ProPak 507 User manual

Zoeller

Zoeller ProPak 507 User manual

Zoeller The Shark Series Installation and maintenance instructions

Zoeller

Zoeller The Shark Series Installation and maintenance instructions

Zoeller X621 User manual

Zoeller

Zoeller X621 User manual

Zoeller 1463-0006 User manual

Zoeller

Zoeller 1463-0006 User manual

Zoeller X161 User manual

Zoeller

Zoeller X161 User manual

Zoeller Mighty Mover 311 User manual

Zoeller

Zoeller Mighty Mover 311 User manual

Zoeller 820 User manual

Zoeller

Zoeller 820 User manual

Zoeller 1099-0001Q User manual

Zoeller

Zoeller 1099-0001Q User manual

Zoeller ProPak 507 User manual

Zoeller

Zoeller ProPak 507 User manual

Zoeller 71 Series User manual

Zoeller

Zoeller 71 Series User manual

Zoeller Qwik Jon Ultima 204 User manual

Zoeller

Zoeller Qwik Jon Ultima 204 User manual

Popular Water Pump manuals by other brands

SuperFlow SF-1020I Operator's manual

SuperFlow

SuperFlow SF-1020I Operator's manual

ARO ARO 6661AX-X-C Operator's manual

ARO

ARO ARO 6661AX-X-C Operator's manual

Pentair CX series Instruction and service manual

Pentair

Pentair CX series Instruction and service manual

Pressol 13003 Installation and operating instructions

Pressol

Pressol 13003 Installation and operating instructions

StormPro 2100DC Operation manual

StormPro

StormPro 2100DC Operation manual

SMC Networks LSP Series Operation manual

SMC Networks

SMC Networks LSP Series Operation manual

EINHELL BG-WW 1140 NN Original operating instructions

EINHELL

EINHELL BG-WW 1140 NN Original operating instructions

Allweiler SPF series operating manual

Allweiler

Allweiler SPF series operating manual

Gormann-Rupp Pumps PA6B60-6068H FT4 Installation, operation and maintenance manual

Gormann-Rupp Pumps

Gormann-Rupp Pumps PA6B60-6068H FT4 Installation, operation and maintenance manual

Johnson Pump SPX Flow CombiLine Series instruction manual

Johnson Pump

Johnson Pump SPX Flow CombiLine Series instruction manual

battioni Pagani ELBA Instruction manual for use and maintenance

battioni Pagani

battioni Pagani ELBA Instruction manual for use and maintenance

Growonix BP-1000 owner's manual

Growonix

Growonix BP-1000 owner's manual

DRENO KAPPA K420.2.80 N Instruction for installation and maintenance

DRENO

DRENO KAPPA K420.2.80 N Instruction for installation and maintenance

Ismatec Pumphead 380 AD operating manual

Ismatec

Ismatec Pumphead 380 AD operating manual

KSB WKT operating instructions

KSB

KSB WKT operating instructions

Hacker Motor PowerFuel RX V2 Quick reference guide

Hacker Motor

Hacker Motor PowerFuel RX V2 Quick reference guide

Utilitech 148137 manual

Utilitech

Utilitech 148137 manual

Grundfos CRIE Installation and operating instructions

Grundfos

Grundfos CRIE Installation and operating instructions

manuals.online logo
manuals.online logoBrands
  • About & Mission
  • Contact us
  • Privacy Policy
  • Terms and Conditions

Copyright 2025 Manuals.Online. All Rights Reserved.