Digital Recorders / Seite 7
Important: Check the sound
level before every recording!
If it’s clipping (“Input” buttons
are ashing red), decrease the
recording volume.
Attention: If the “Rec” button is
ashing, this means the device is
paused and not recording!
Tip: Remember the name of the
recording so you can nd it more
easily later.
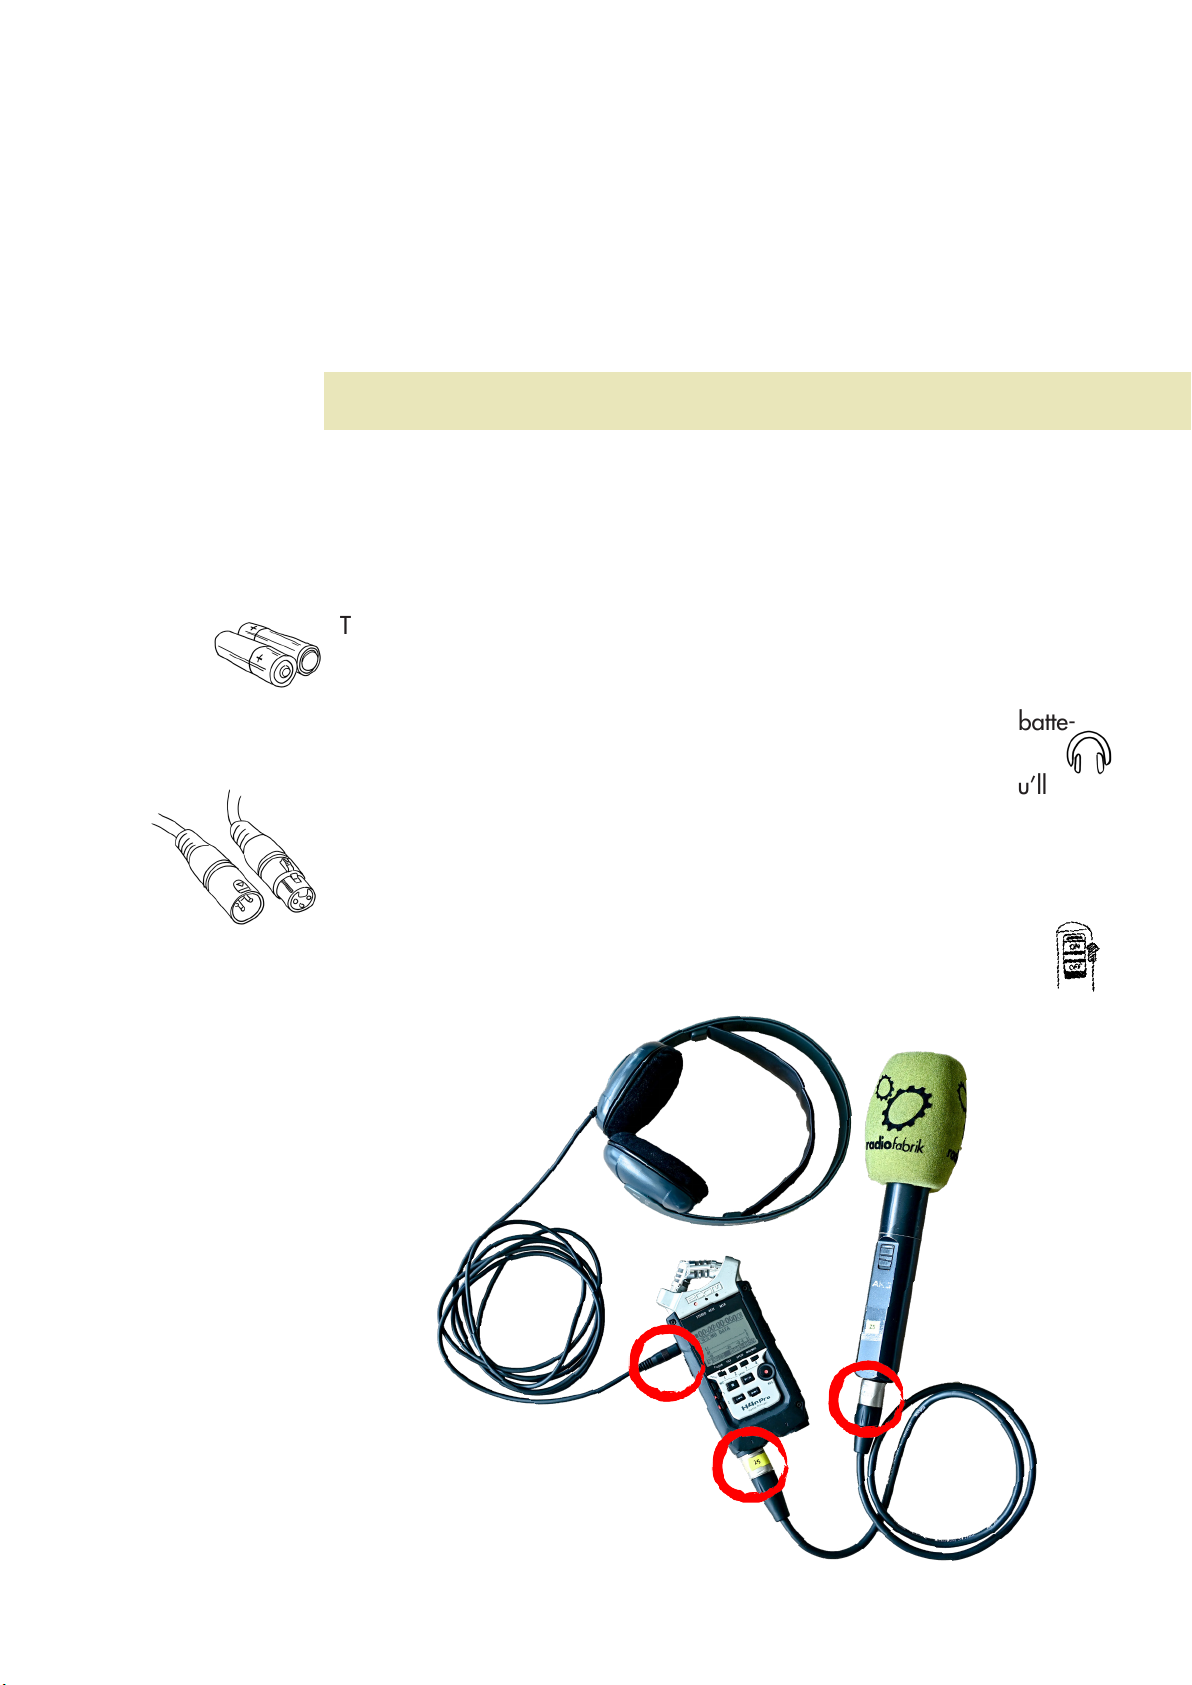
Attention: Press
the “Stop” button
after each recording!
This is the only way to save the
le onto the device! If the device
is switched off during recording
or in pause mode, the current
recording will not be saved!
Please note! Wearing rings can
also lead to unpleasant noises
when you accidentally tap on the
mic with them.
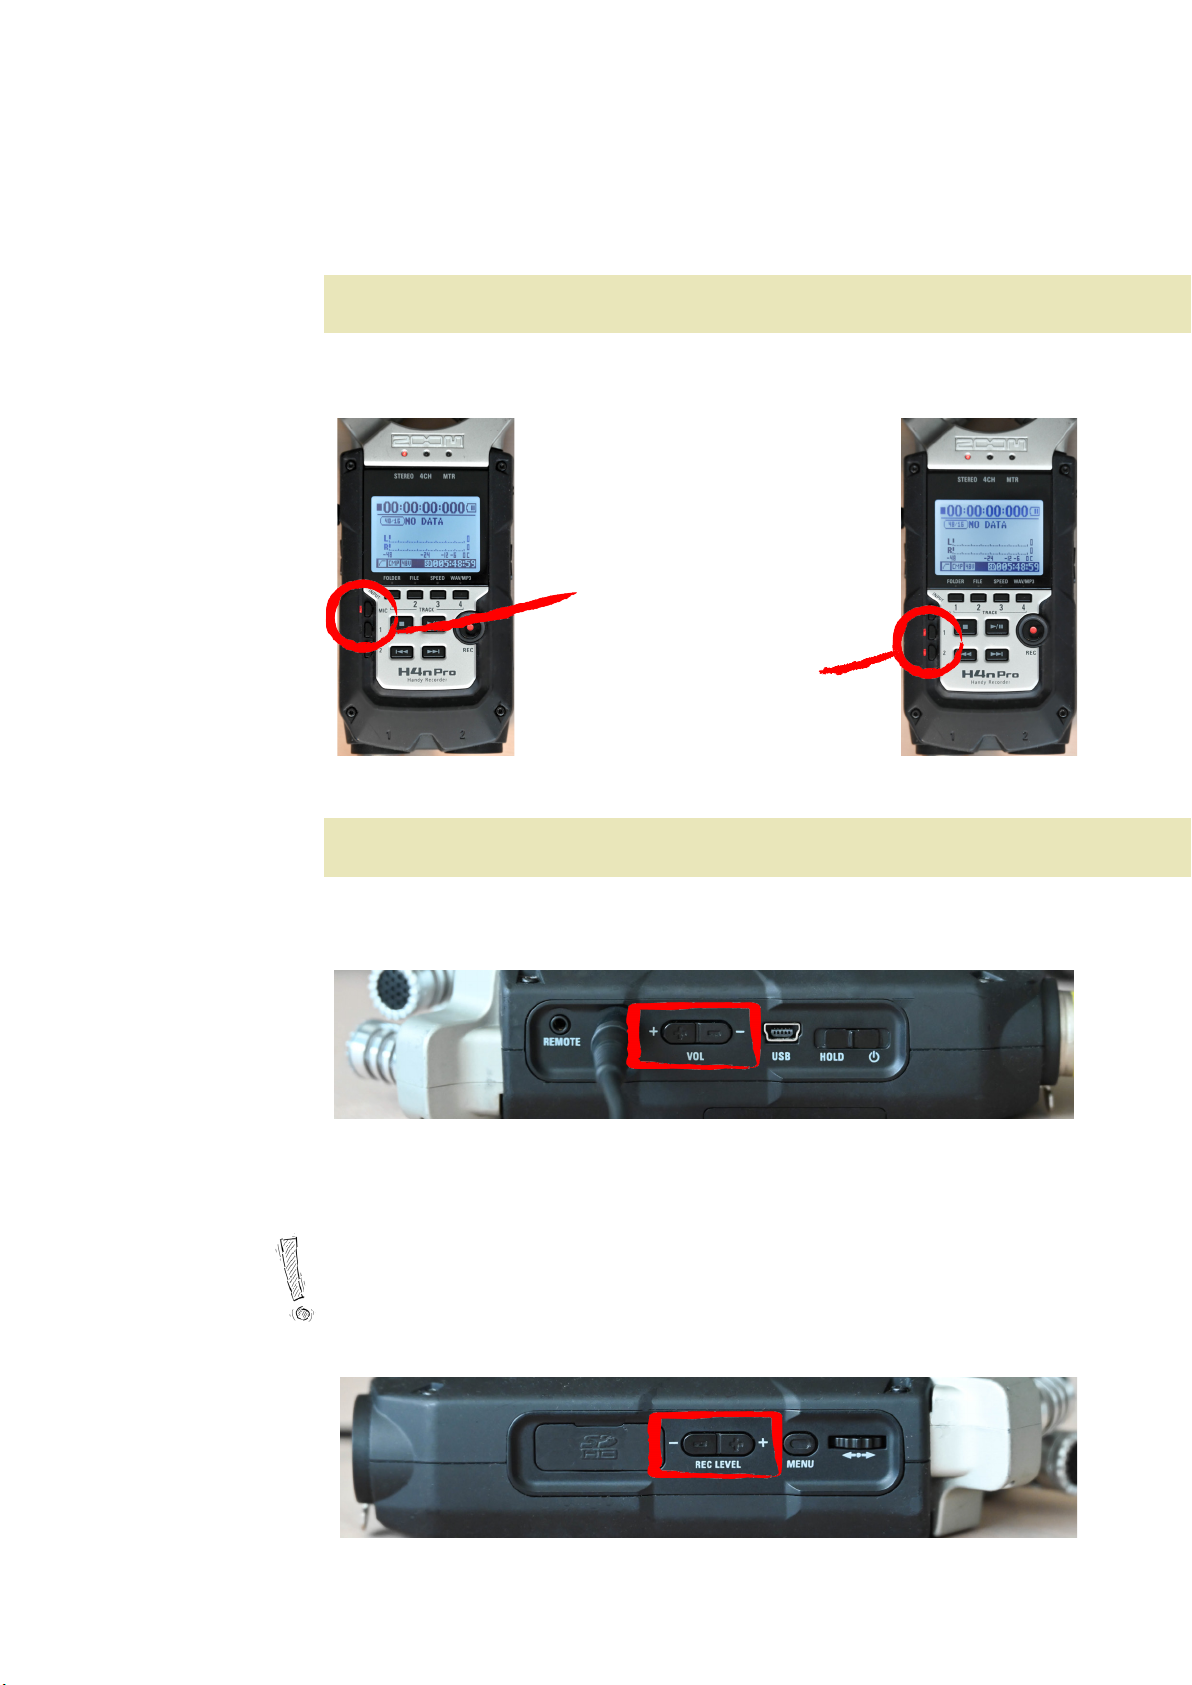
You can adjust this level with the buttons mar-
ked “Rec Level +/-” located on the right side
of the device.
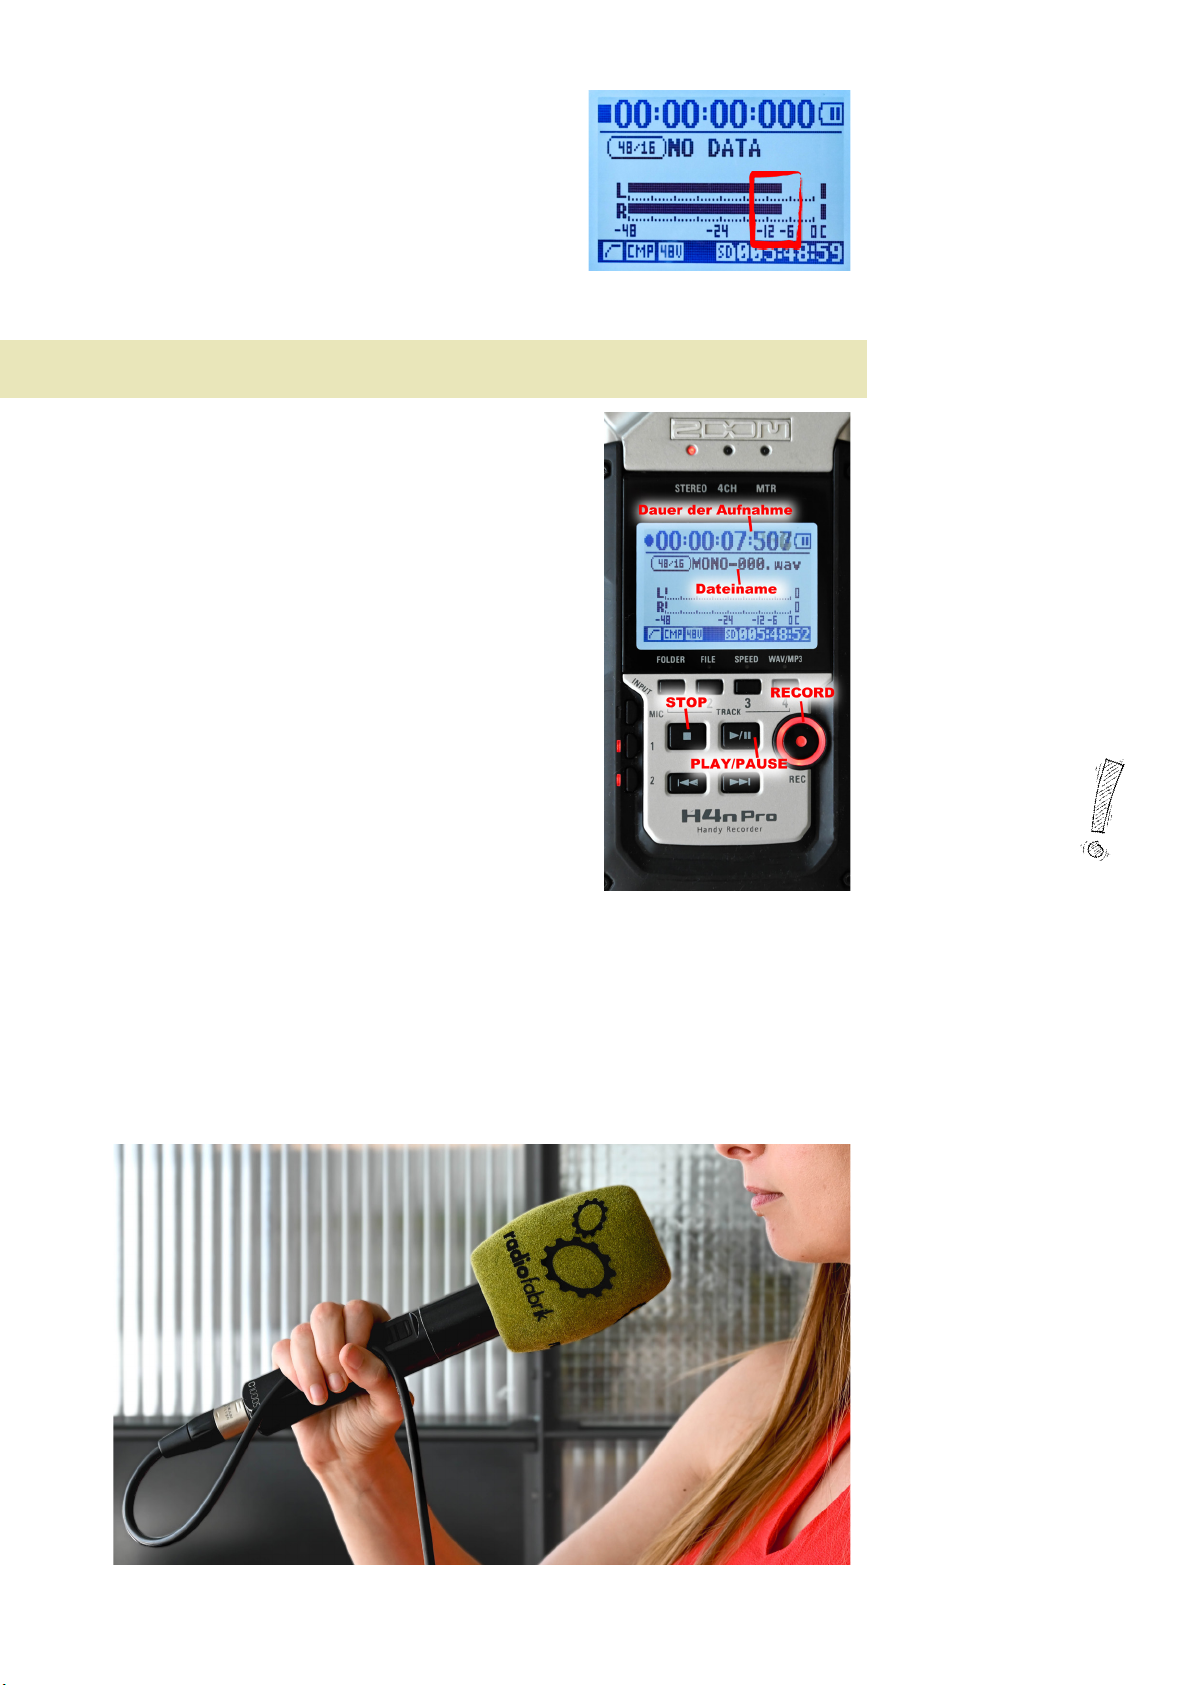
The spoken word should register between
-12dB and -6dB. Sound level and dB are
visible on the display.
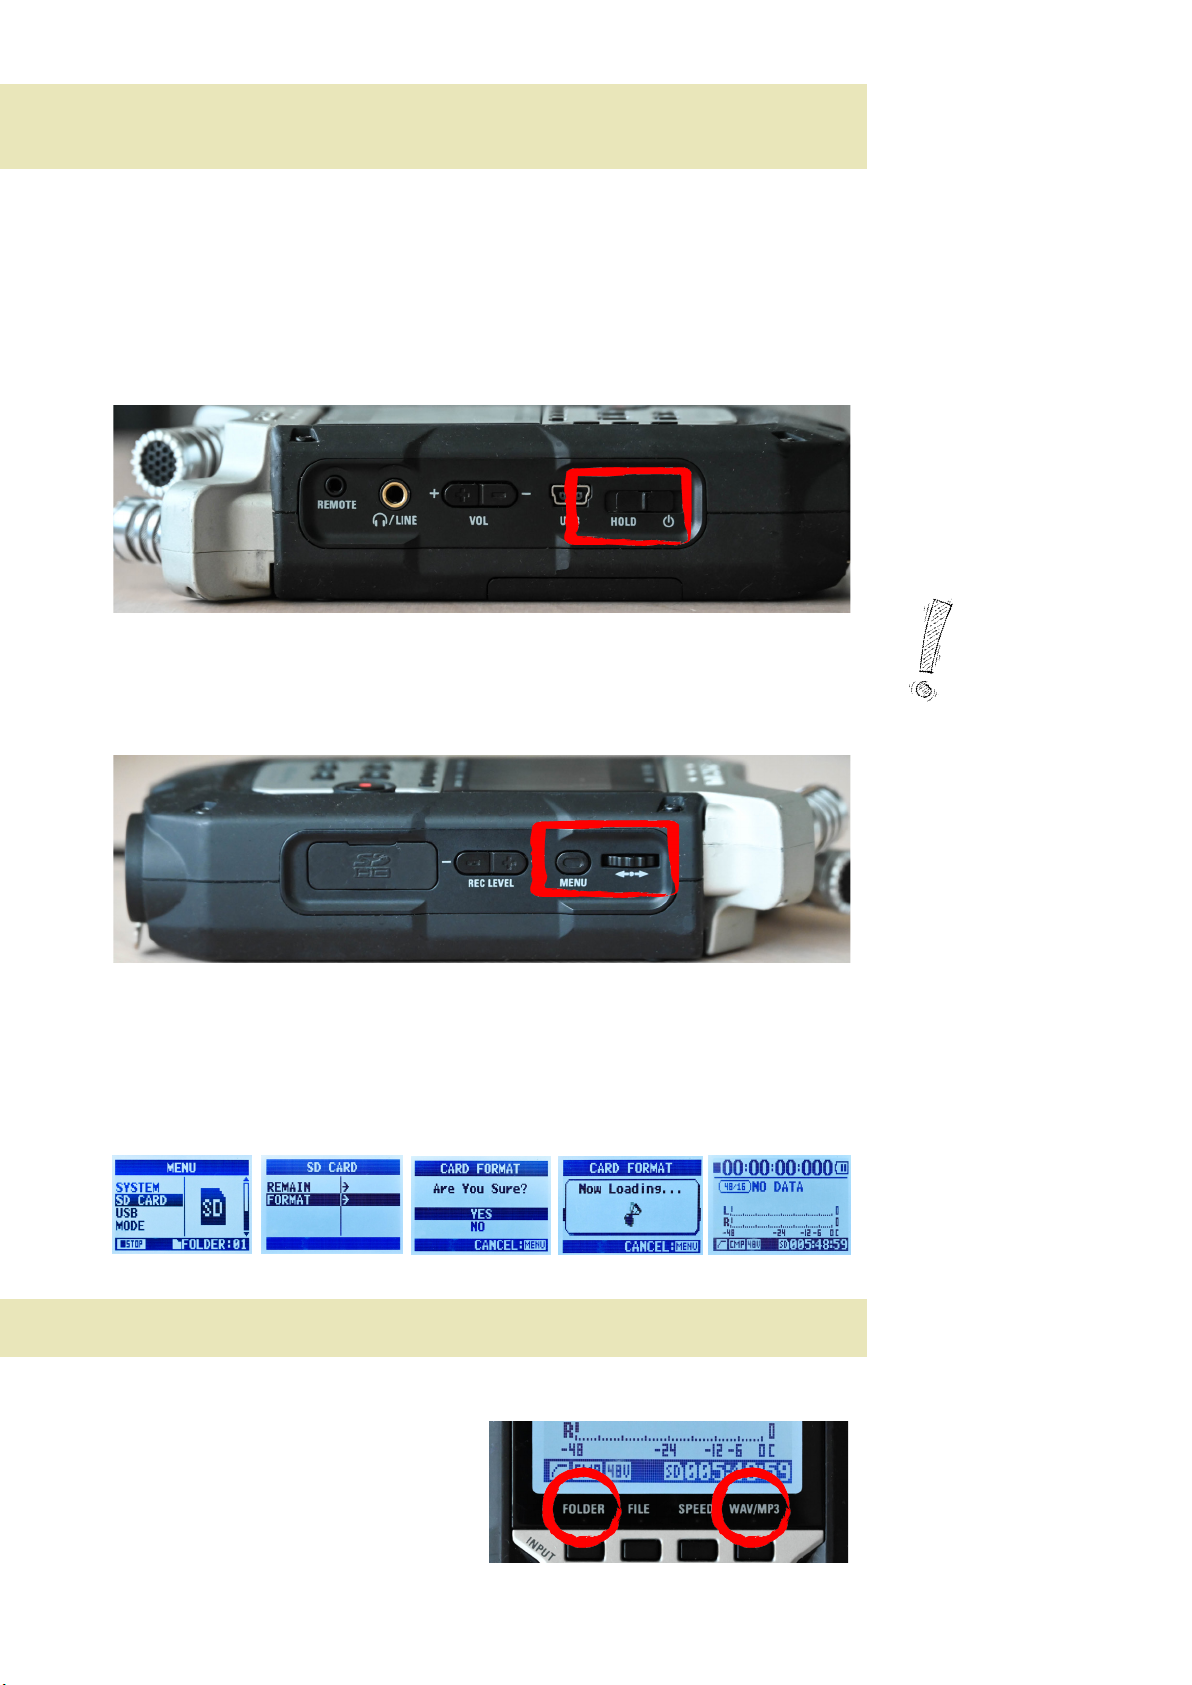
STEP 6: RECORDING
The recording will start as soon as you press
the “Record” button on the front of the device
2 times. You’ll know that it has started if the
“Record” button emits red light and the timer
on the display is running. At the same time
you’ll also see the name of the current le on
the display.
To pause the recording, press the “Pause/
Play” button to the left of the “Record” button.
The “Record” button will ash to show that the
recording is paused. Pressing the “Pause/Play”
button again continues the recording.
Pressing the “Stop” button ends the recording
and saves it as either a WAV or a MP3 le.
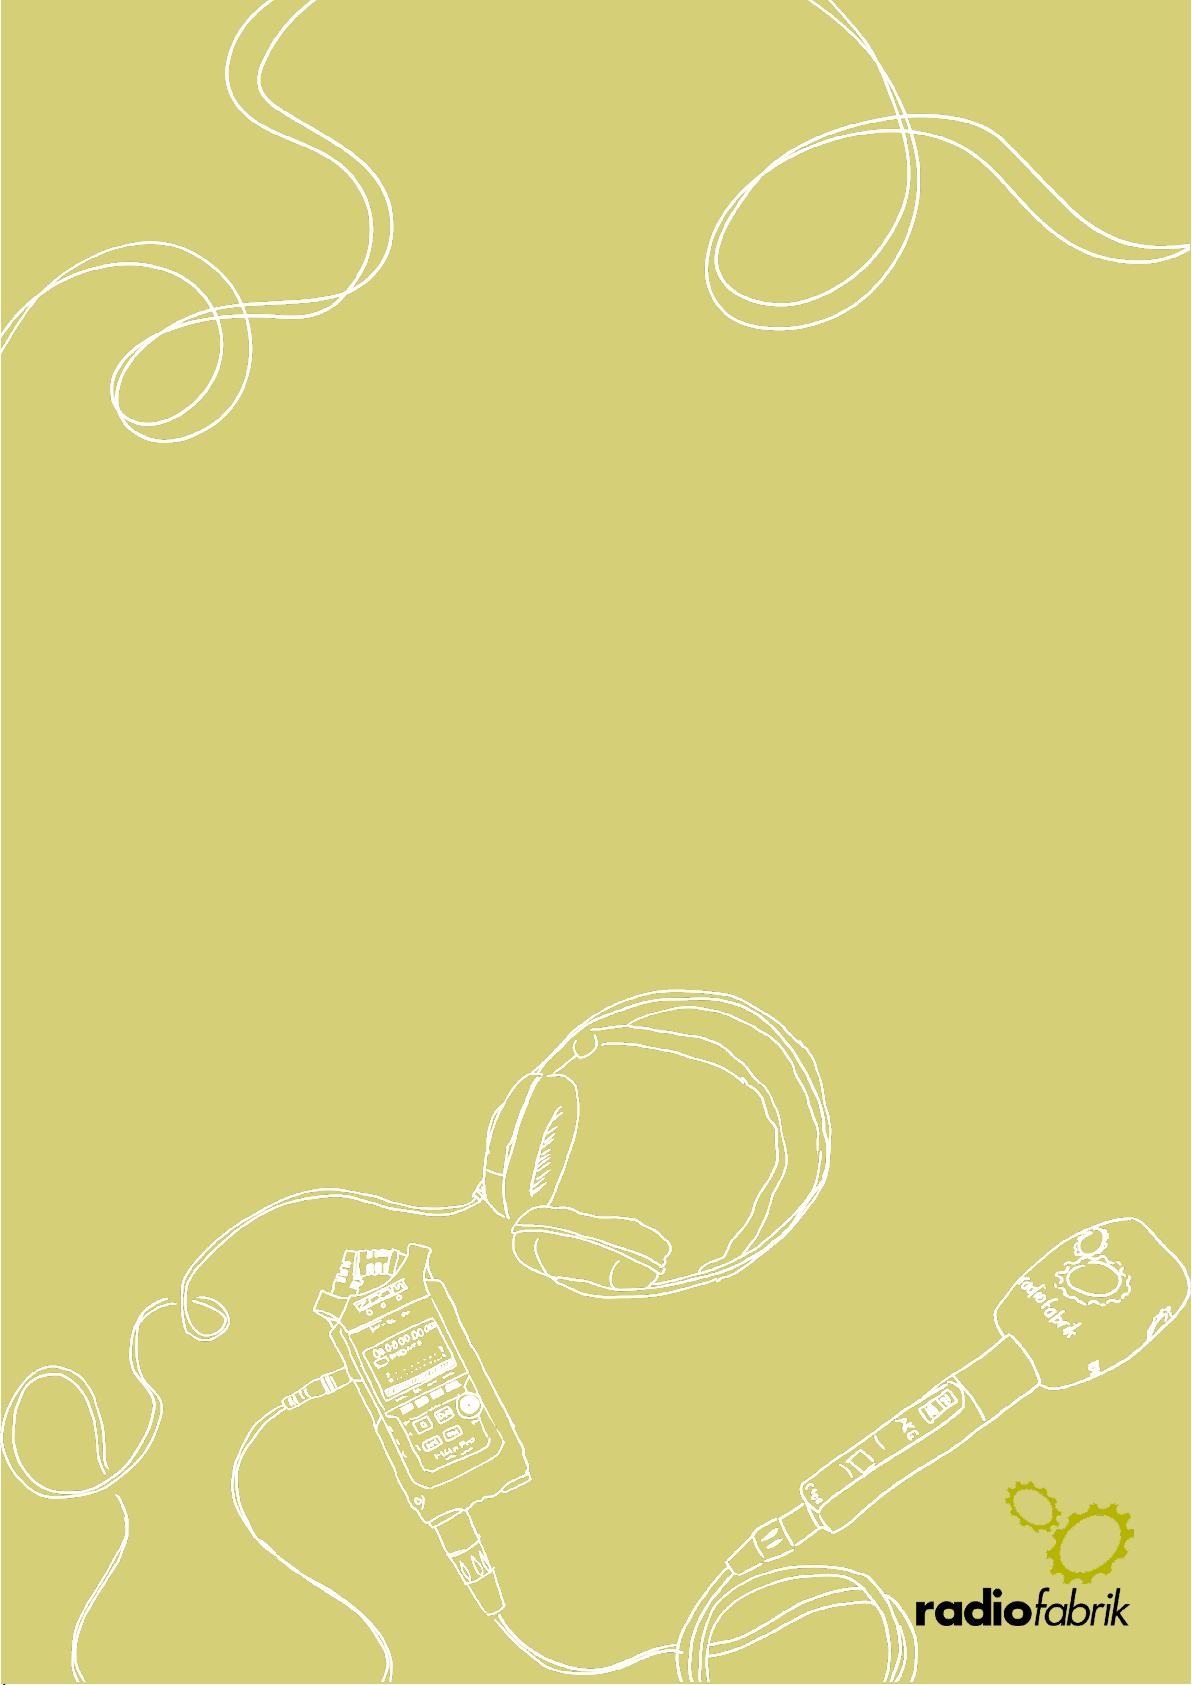
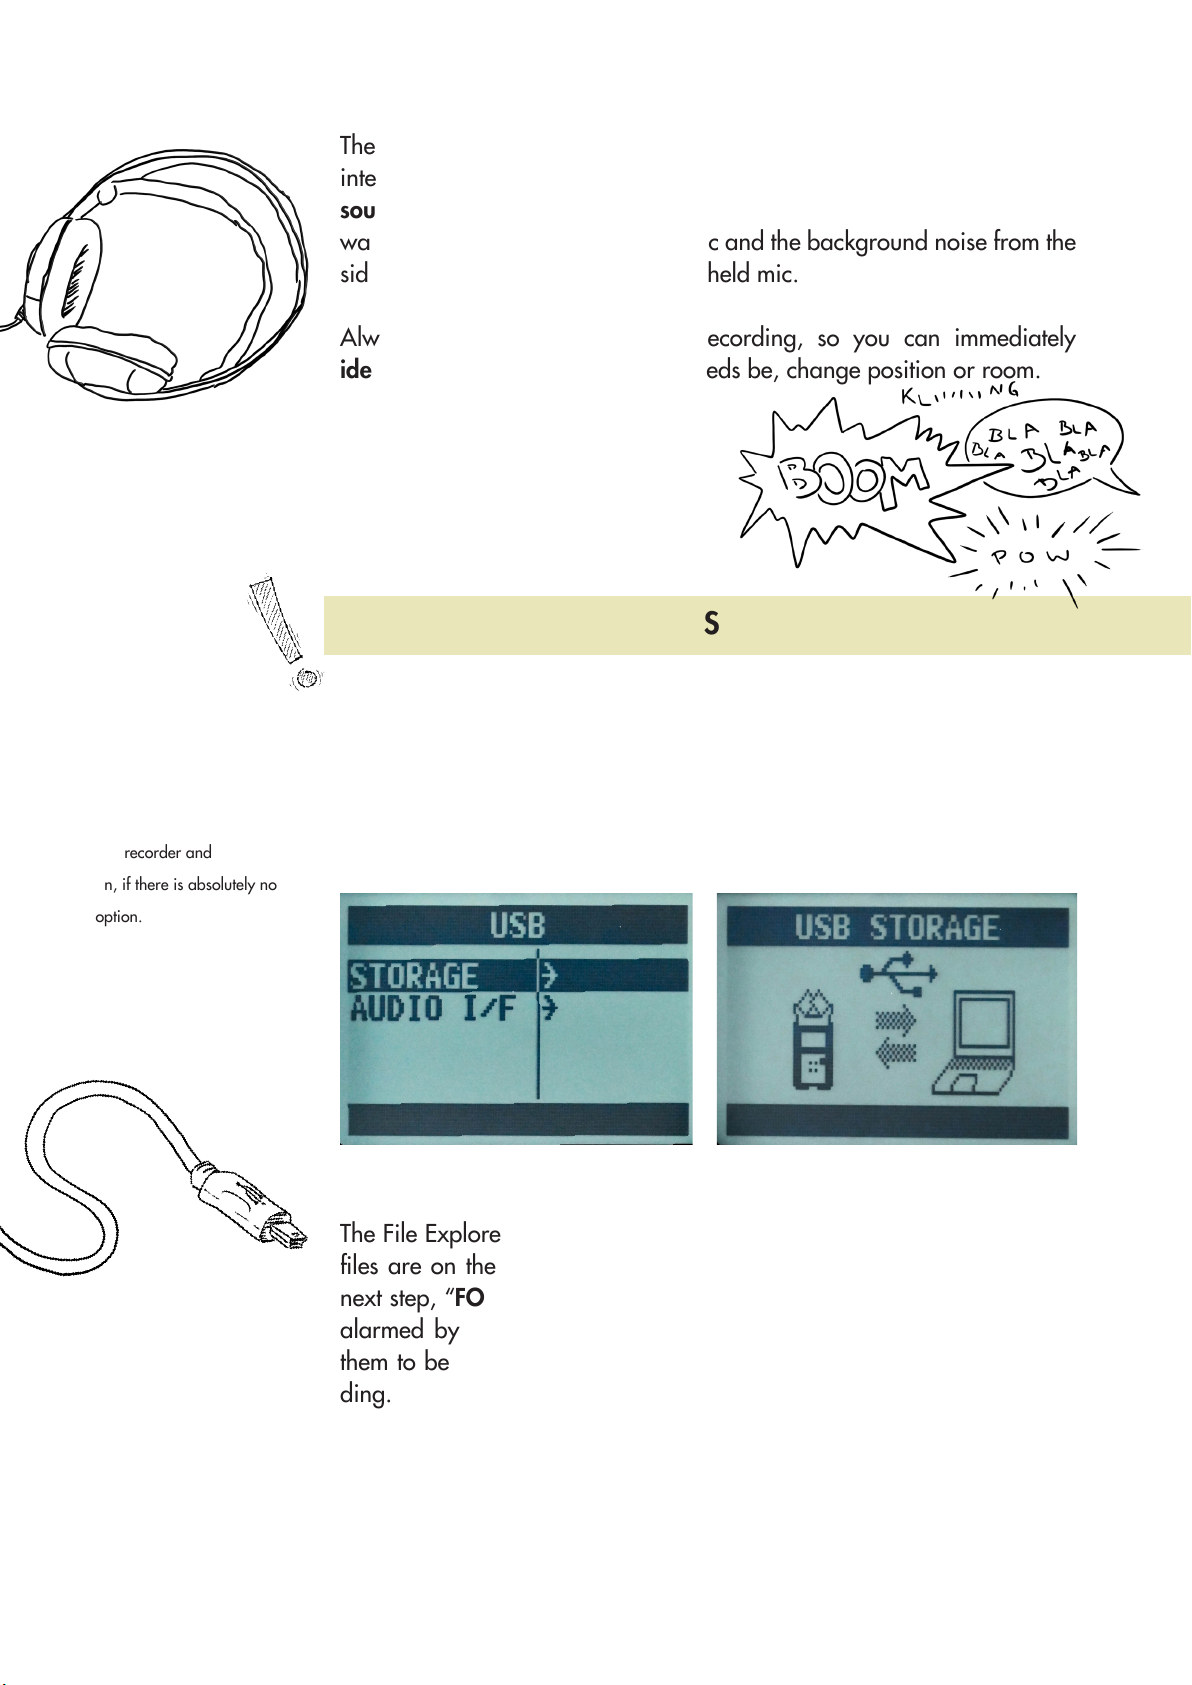
To capture voices as well as possible and at the same time have as little
background noise as possible, the handheld mic should be held about a
st’s length apart from the mouth.
To avoid cable noises when moving the mic, hold the mic cable in a loose
loop (see picture for better illustration).