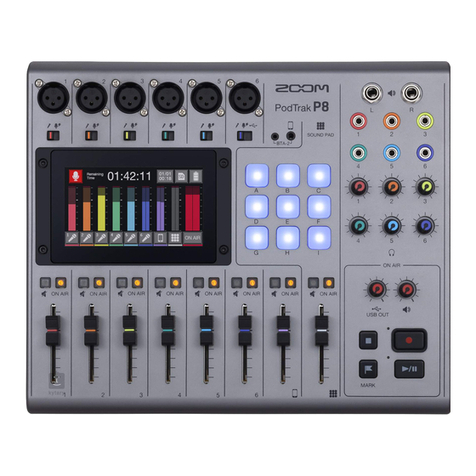
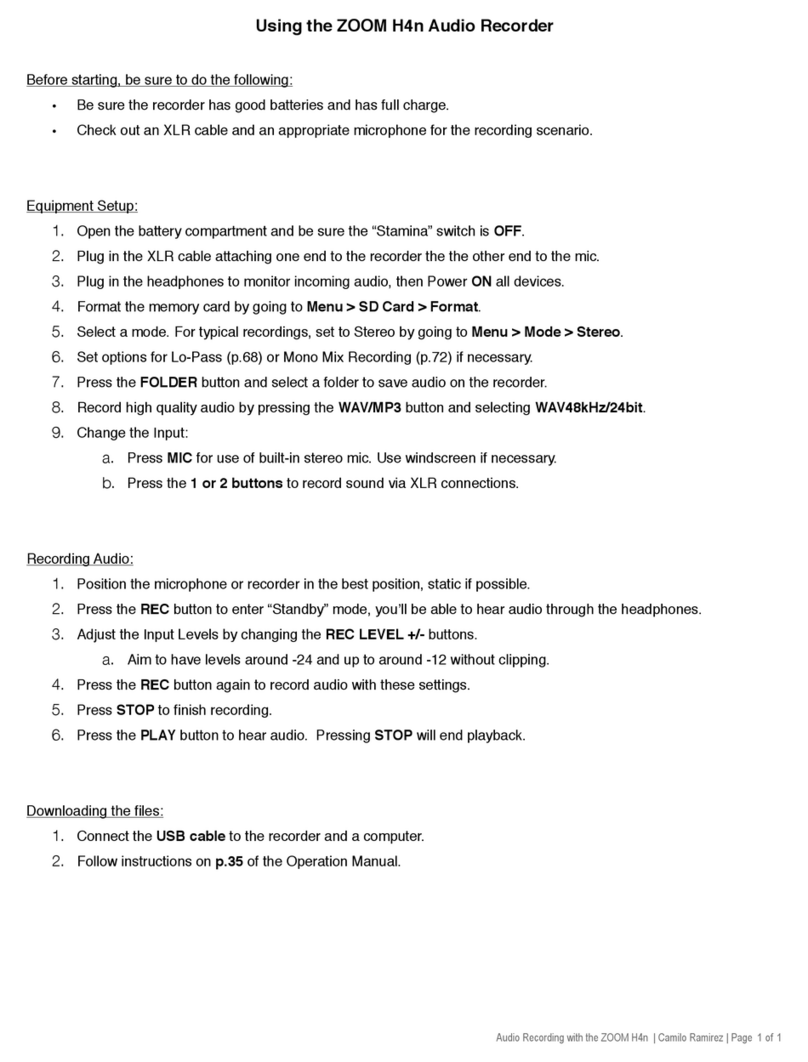
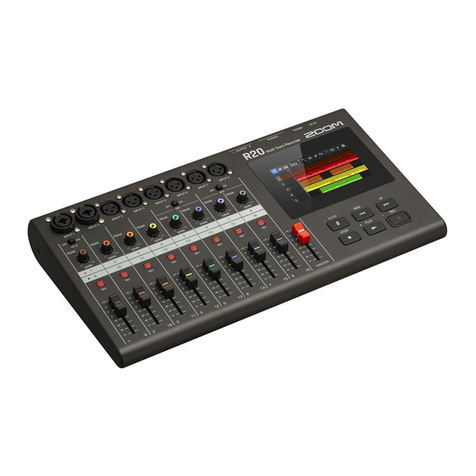
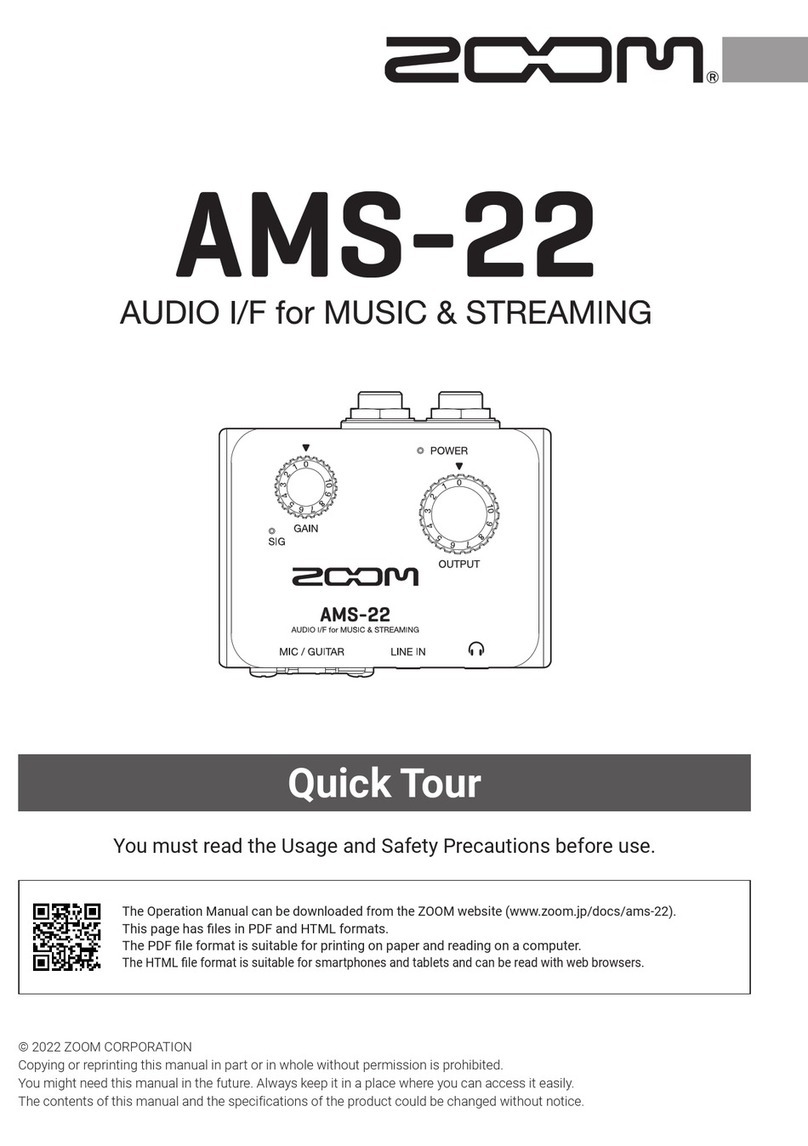
Zoom PodTrak P8 User manual

P8
You must read the Usage and Safety Precautions before use.
Operation Manual
© 2020 ZOOM CORPORATION
Copying or reprinting this manual in part or in whole without permission is prohibited.
Product names, registered trademarks and company names in this document are the property of their respective companies. All trademarks and regis-
tered trademarks in this document are for identification purposes only and are not intended to infringe on the copyrights of their respective owners.
Proper display is not possible on grayscale devices.

Notes about this Operation Manual
You might need this manual in the future. Always keep it in a place where you can access it easily.
The contents of this document and the specications of the product could be changed without notice.
Items that appear on the touchscreen are shown with a gray background in this operation manual.
Example: Noise Reduction
•Windows® is a trademark or registered trademark of Microsoft® Corporation.
•iPadOS is a trademark or registered trademark of Apple Inc.
•iOS is a trademark or registered trademark of Cisco Systems, Inc. in the USA and other countries and is
used under license.
•The SD, SDHC and SDXC logos are trademarks.
•Other product names, registered trademarks and company names in this document are the property of
their respective companies.
Note: All trademarks and registered trademarks in this document are for identication purposes only and
are not intended to infringe on the copyrights of their respective owners.
Recording from copyrighted sources, including CDs, records, tapes, live performances, video works and
broadcasts, without permission of the copyright holder for any purpose other than personal use is prohib-
ited by law. Zoom Corporation will not assume any responsibility related to infringements of copyrights.
2

Introduction
Thank you very much for purchasing a ZOOM P8 PodTrak.
The P8 is a multitrack recorder designed for podcasting. After connecting mics and headphones, high-quality audio
recording can be started right away.The P8 combines all the functions necessary to produce podcasts, including
audio enhancement and episode editing in a single device, so we can recommend it to all podcasters from
beginners to veterans. We hope you will enjoy recording and producing polished episodes in a variety of locations.
Main features of the P8
Multitrack recording of up to six people at once
The sound qualities and levels of the 6 mic inputs can be adjusted for the voices of the participants.The 6
headphone outputs allow everyone participating to monitor the sound that is being recorded. In addition to a
stereo le ready to be used for podcasting, separate les for the audio of each channel can also be recorded
and utilized for editing after recording.
Mic sounds can be adjusted optimally
In addition to dynamic mics, the high-quality built-in mic preamps support condenser mics that require
phantom power (+48 V). With a single switch, the level of an input can be set optimally according to the mic
type. Moreover, in addition to a limiter and low-cut lter, tone adjustment, a compressor that evens out the
volume, a de-esser that suppresses sibilance and noise reduction can be applied to the mic sound. All the
signal processing is tailored for voices, and each feature is simply turned on/off or adjusted with a single
parameter, enabling settings to be made easily even without previous expertise in sound mixing.
Every necessary editing function is built in
The P8 has every necessary editing function to complete episodes for distribution.These include deleting unnecessary
parts of recorded data, optimizing levels automatically, and combining opening and ending les. Intuitive operation
using the large 4.3-inch color touchscreen allows anyone to easily complete podcasts without using a computer.
Instant playback of jingles and recorded interviews
The SOUND PAD function includes nine pads with four banks that can be switched even during recording.
These pads can be used to play built-in sounds and other audio les in real time. When creating multiple
programs, different banks can be prepared for each program. In addition, since the colors that the SOUND PAD
buttons light can be set, le assignments can be made easy to see. For example, they could be set blue for les
with recorded interviews. Use these to enhance podcasting and live streaming.
Remote recording
If all the podcasters cannot gather in one place or you want to invite guests who are far away, you can use
smartphones and computers to enable remote participation in recording. A Mix Minus function prevents echoes
from occurring in the audio of remote participants. By connecting a BTA-2 specialized wireless adapter to the P8, a
smartphone can also be connected to it wirelessly.
Live streaming
The 2-in/2-out USB audio interface functions of the P8 can be used for live streaming and recording with computers,
smartphones and tablets. Since it supports class compliant mode, installation of a dedicated driver is not necessary.
Optional accessory pack
We have prepared an optional Podcast Mic Pack with a dynamic mic (ZDM-1), headphones (ZHP-1) and related
accessories, along with software useful for editing on a computer after recording.
3

Notes about this Operation Manual������ 2
Introduction����������������� 3
Contents ������������������ 4
Podcasting process ������������� 5
P8 overview����������������� 7
Explanation of terms ������������ 7
Functions of parts ������������� 8
Connection examples ���������� 11
Use examples �������������� 12
Signal ow ��������������� 13
Touchscreen display ����������� 15
Preparing for use ������������� 17
Inserting SD cards ������������ 17
Providing power ������������� 18
Turning the power on ���������� 20
Making initial settings ���������� 22
Connecting ���������������� 24
Connecting mics������������� 24
Connecting headphones ��������� 25
Connecting smartphones ��������� 26
Connecting a BTA-2
(dedicated wireless adapter) ������� 27
Connecting a computer, smartphone or tablet
by USB ����������������� 28
Connecting powered speakers and other
output equipment ������������ 31
Recording����������������� 32
Adjusting input gain and sound quality �� 32
Balancing the mix of channel levels ���� 35
Recording ���������������� 36
Playing recordings������������� 37
Playing recordings on the Home Screen �� 37
Selecting les and playing them ����� 38
Using marks���������������� 40
Adding marks �������������� 40
Deleting marks ������������� 41
Using SOUND PAD functions�������� 42
Playing SOUND PAD buttons ������� 42
Assigning audio les to SOUND PAD
buttons ����������������� 43
Adjusting the levels of each SOUND PAD � 46
Setting playback modes for each SOUND
PAD ������������������� 47
Changing bank names ���������� 48
Managing les��������������� 49
Deleting les �������������� 50
Combining multiple les into one in specic
order ������������������ 52
Editing les ���������������� 55
Opening the File Editing Screen������ 56
Changing le names ����������� 57
Changing icons ������������� 58
Cutting unnecessary parts (trimming) ��� 59
Dividing les �������������� 61
Adding fade-ins and outs��������� 63
Adding music and other background
sound������������������ 66
Optimizing podcast volume
(loudness normalization) ��������� 69
Converting les to MP3 format ������ 71
Transferring les to a computer, smartphone or
tablet������������������� 72
Transferring les to a computer, smartphone
or tablet����������������� 72
P8 folder and le structure �������� 73
Modifying the date and time �������� 74
Changing the touchscreen display language� 75
Setting the battery type ���������� 76
Adjusting the brightness of the touchscreen� 77
Using noise reduction ����������� 78
Setting recording le types��������� 79
Testing SD cards�������������� 80
Formatting SD cards ������������ 83
Using SD cards to back up and load settings
� 84
Backing up ��������������� 84
Loading backup settings ��������� 85
Setting the automatic power off function �� 87
Restoring factory default settings������ 88
Updating the rmware����������� 89
Troubleshooting�������������� 90
General ����������������� 90
Audio interface ������������� 91
Specications��������������� 92
Mixer block diagram������������ 93
Contents
4
Podcasting process
1.
Prepare and conrm
connections
●Preparations
Install an SD card in the P8, provide it power, and set the date and time.
●Connecting and checking
Connect microphones and headphones.
• By using a single mic for each person, levels can be adjusted to suit each voice,
enabling clear recording of all voices.
• Adjust the distance between the participants and their mics so that they can
be recorded at stable levels. On the P8, the input gain can be set suitably for a
connected mic by setting its INPUT SELECT switch.
• Using the P8, tones of voices can be adjusted and compressors and de-essers
can be applied.
• Mute input channels that are not being used to prevent noise from being picked
up.
• Headphones are necessary to not only conrm the inputs from the mics,
but also to hear SOUND PAD playback and the voices of guests participating
remotely.
If a guest in a distant location is participating remotely in recording, connect the
P8 to a computer, smartphone or tablet.
• The smartphone connector is designed to prevent echo when used. When using
the USB port, turn on USB Mix Minus to prevent echo.
Conrm the levels and other settings of the SOUND PAD buttons, which can
be used for one-touch playback of background music, jingles and other sounds
during recording.
●Countermeasures for environmental noise in recording locations
• Attaching windscreens to mics can reduce noise caused by wind blowing.
Adjust the directions of mics so that they do not point toward other sources of
environmental noise.
• Touching mics and power cables during recording could result in handling noise
that sounds like crackling. Use mic stands and put cables in order beforehand.
Placing mic cables and power cables too close together can result in noise
being picked up.
• Enabling the Low Cut function on the P8 mic input settings screens can reduce
the amount of vibration, wind and other noise picked up by mics.
• When multiple mics are being used to record sound, turning on noise reduction
on the
P8
ON AIR settings screen can suppress background noise to a constant
level by automatically reducing the levels of the mic inputs not being used by
people.
2. Record
●Recording theme
To enable recording conversations at a good pace, conrm the discussion topics
with the other participants and prepare reference materials and other resources
so that they are at hand.
●Speaking tips
Try to speak clearly while avoiding making sibilant (hissing s) and plosive (p and d)
sounds too loud.
●SOUND PAD buttons
Use these to add excitement to programs with jingles and effects.
5

3. Publish
●Publishing
The P8 USB le transfer screen can be used to connect to a computer,
smartphone or tablet and transfer recorded les. Upload them to the podcasting
service* or server you are using.
*Service that provides servers for saving podcast les
●Editing before release
The P8 can be used to edit recorded stereo les for podcasting in the following
ways.
• Unnecessary parts can be cut, and fade ins/outs can be added.
• Background music can be added.
• The loudness normalization function can even out the volume ideally for
podcasting.
• Openings and endings that have been prepared in advance can be attached to
the beginnings and ends.
• Files can be converted to MP3s.
Moreover, the individual les recorded for each channel on the
P8
can be used
for detailed editing in a DAW and to make adjustments for the voices of each
participant.
6

P8 overview
Explanation of terms
Audio interface
The P8 enables sounds from mics and instruments, for example, to be input to a computer, smartphone
or tablet. It can also output sounds from that device to speakers and headphones.
USB audio return
When the P8 is connected as an audio interface, this is the signal output from the computer, smartphone
or tablet. Background music can be played from the connected device.
SOUND PAD buttons
Audio les can be assigned to these. Press one to play the assigned le.This is convenient for playing
interviews that have been recorded in advance, opening and ending music and jingles.
The 9 SOUND PAD buttons can have audio les assigned in 4 banks, for a total of 36 les.
USB Mix Minus
When using the P8 as an audio interface, signals input by USB can be set to not be output back to
USB.This can prevent feedback to the person at the other end when recording while calling through a
computer, smartphone or tablet.
ON AIR button
When ON AIR buttons are turned off, input sounds are not output to the USB port (streaming audio) or
SPEAKER OUT jacks, nor are they recorded to the podcast stereo le.This function is convenient, for
example, when participants are discussing the next topic among themselves while music is playing.
Podcasting
This is one way to share audio les publicly on the Internet. Podcasters make content and distribute it via
the Internet so people can listen easily on smartphones, computers and other devices.
Dynamic mic
This type of mic does not require phantom power and is strong and durable.
Condenser mic
This type of mic usually has high sensitivity and can capture audio with high quality. Phantom power
supply is necessary for use.
7

Functions of parts
■To p
INPUT jacks
INPUT SELECT
switches
Touchscreen
Channel
faders
BTA-2 power supply connector
Smartphone connection jack
PHONES jacks
PHONES knobs
SPEAKER OUT jacks
MUTE buttons
ON AIR buttons
SOUND PAD A–I buttons
USB OUT knob
SPEAKER OUT knob
STOP button
REC button
PLAY/PAUSE button
MARK button
INPUT jacks
These input jacks have built-in mic preamps.
INPUT SELECT switches
Set these according to the connected equipment.
Dynamic mic
Condenser mic (supplies +48V phantom power)
Computer, smartphone or tablet
Touchscreen
This shows the status of the P8, and can be operated by touch to make various settings and edit les.
MUTE buttons
Use to mute (lit) and unmute (unlit) signals.
ON AIR buttons
When lit, channel signals are recorded in the podcast stereo le and sent to the USB port, SPEAKER
OUT jacks, PHONES jacks and smartphone connection jack.
When unlit, channel signals are only sent to the PHONES jacks and smartphone connection jack.
8

Channel faders
These adjust channel signal levels in ranges from −∞ to +10 dB.
BTA-2 power supply connector
Use this power supply connector when connecting a BTA-2 wireless adapter.
Smartphone connection jack
Connect a smartphone here.
SOUND PAD A–I buttons
Use to play the sounds assigned to them.
SPEAKER OUT jacks
These output a stereo mix of the signals from all the channels. Connect them to a power amplier, a
PA system or speakers with built-in ampliers, for example.
PHONES jacks
These output a stereo mix of the signals from all the channels. Connect headphones to these.
PHONES knobs
Use to adjust the volumes of the signals output from the PHONES jacks.
USB OUT knob
Use to adjust the volume of the signal output from the USB port.
SPEAKER OUT knob
Use to adjust the volume of the signals output from the SPEAKER OUT jacks.
STOP button
Use to stop recording/playback.
REC button
Use to start/stop recording.
PLAY/PAUSE button
Use to play/pause recorded les.
MARK button
Press to add marks to recording les during recording/playback.These provide editing guides.
9

■Back
Power switch
DC IN 5V AC adapter connector
USB port (Type-C)
SD card slot
Power switch
Use to turn the power on and off.
DC IN 5V AC adapter connector
Connect the included AC adapter here.
USB port (Type-C)
This USB port is for connecting with a computer, smartphone or tablet.
SD card slot
Cards that conform to SDHC and SDXC specications are supported.
Format the SD card with the P8 before use. ( “Formatting SD cards” on page 83)
10

Connection examples
SD card
Mics
Dynamic and condenser
mics
Wireless adapter (ZOOM BTA-2)
This enables wireless connection
to smartphones and tablets.
AC adapter
(ZOOM AD-14)
Computer, smartphone or tablet
Using the audio interface function, audio can
be shared with a computer, for example, and
recordings on the SD card can be transferred
for editing.
This might not be usable with some
communication apps.
Smartphone
Guests can participate by phone
during podcasting.
Headphones
USBType-C
port
Speakers with
built-in ampliers
HINT
We have prepared an optional Podcast Mic Pack that is ideal for podcasting.The set includes a ZDM-1
dynamic mic and ZHP-1 headphones, enabling you to start podcasting right away.
11

Use examples
Podcasting with a guest participating by phone
By connecting a computer, smartphone or tablet to the P8, a guest in a remote location can participate in
a podcast by phone.
Internet
Live streaming
By connecting a P8 to a computer, smartphone or tablet, you can use it to stream audio in real time.
Internet
12

Signal ow
L/R
SOUND PAD
ON AIR button litON AIR button unlit
INPUT 1
MUTE FADER
Adjust volume
and audio quality
N.R.
INPUT 2
MUTE FADER
N.R.
INPUT 3
MUTE FADER
N.R.
INPUT 4
MUTE FADER
N.R.
INPUT 5
MUTE FADER
N.R.
INPUT 6
MUTE FADER
N.R.
PHONE
MUTE FADER
MUTE FADER
Adjust volume
and audio quality
Adjust volume
and audio quality
Adjust volume
and audio quality
Adjust volume
and audio quality
Adjust volume
and audio quality
Adjust audio
quality
Smartphone
connection jack
USB port
Channel 4
Channel 5
Channel 6
Channel 1
Channel 2
Channel 3
SPEAKER OUT
jacks
Smartphone channel
Headphones
Input sound. Channels 1–5 can be used to input sound from mics. Channel 6 can be used to input sound
from a mic or the USB audio return. The smartphone channel can be used to input sound from a smartphone.
Play SOUND PAD sounds.
Make settings for inputs on each channel. Input gain can be adjusted, and a function that cuts unwanted low
frequencies and a limiter can be turned on or off (mic inputs only). In addition, the sound quality of all inputs
can be adjusted.
Mute/unmute channels. Inputs not being used can be muted.
13

Use the faders to adjust the levels of each channel in the mix.
Turn ON AIR on or off. When the ON AIR button is off (unlit), sound will not be output to the podcast stereo
le, SPEAKER OUT jacks or USB port.
Turn noise reduction on or off. When multiple mics are being used to record sound, turning this on suppresses
background noise to a constant level by automatically reducing the levels of the mic inputs not being used by
people.
A recording le is made for podcasting. This combines all channels and the SOUND PAD sounds into a stereo
le.
Output the mixed sound of all channels
or the playback of audio les on an SD card to speakers with built-in
amplication, for example.
A mix of all channels is output to the computer, smartphone or tablet connected by USB. When the USB Mix
Minus setting ( page 30) is on, the sound input through channel 6 (the USB audio return) is not included.
A mix of all channels is output to the connected smartphone. The sound from the connected smartphone
itself, however, is not sent back to it.
Monitor the sound of the recording for podcasting through headphones.
Channels with ON AIR off will also be
output.
The volume can be adjusted separately for each pair of headphones.
HINT
Individual les can also be recorded for INPUT 1–6, PHONE and SOUND PAD channels. ( “Setting
recording le types” on page 79)
14

Touchscreen display
Home Screen overview
This screen appears on the touchscreen when the P8 power is turned on.
This shows the state of the P8, including recording conditions and input levels. In addition, various
functions can easily be accessed by tapping buttons on it.
Track buttons
Use these to make input settings for
each channel, including mic settings and
audio quality adjustments.The icons
depend on the selected input type.
Level meters
These show the output
levels of each channel
and the stereo mix for
podcasting.
Library button
This shows les on the
SD card, and enables le
management and editing.
Counter
This shows either the current elapsed
recording time or the remaining
available recording time.
Date and time
Use to make settings
related to the date/time
and display language.
SD card button
Use to make settings related to
the SD card.
ON AIR settings button
Use to turn Noise Reduction on/off and
make recording track settings.
Status icon
This shows the recorder status.
• Recording
• Recording paused
• Mark added
• Recording stopped
Power button
Use to make settings related to
the power.
• Powered by AC adapter:
• Powered by USB:
• Powered by batteries
Full Empty
Touchscreen operation overview
■Using various screens
Operate by tapping and sliding.
Slide to adjust
(move left/right while
touching)
Slide to scroll items
(move up/down while
touching)
Tap to select or turn on/off
On
Off
ON/OFF button
15

■Returning to the previous screen or the Home Screen
Tap at the top left of the screen.
To return to the Home Screen, tap repeatedly until it appears.
Character input screen
The character input screen appears on the touchscreen when changing the names of les and SOUND
PAD banks.
Tap the keyboard and input characters.
Delete characters.
Input characters and spaces.
Move the cursor.
Switch between upper and
lower case.
Character input area
A cursor shows the input position.
Change the character type.
Conrm the input name and
return to the original screen.
Cancel the input and return to
the original screen.
NOTE
The characters and symbols that can be used are as follows.
! # $ ' ( ) +, - ; = @ [ ] ^ _ ` { } ~ (space) A–Z, a–z, 0–9
16

Preparing for use
Inserting SD cards
SD card slot
1. With the power off, open the SD card slot cover, and insert an SD card all the way into the slot.
To remove an SD card, push it further into the slot and then pull it out.
NOTE
•Cards that conform to SDHC and SDXC specications are supported.
•Disable write-protection on the SD card before inserting it.
•Inserting or removing an SD card while the power is on could result in data loss.
•When inserting an SD card, be sure to insert the correct end with the top side up as shown.
•If an SD card is not loaded, recording and playback are not possible.
•Before using SD cards that have just been purchased or that have been formatted on a computer, they
must be formatted by the P8 ( “Formatting SD cards” on page 83).
17

Providing power
The P8 can be powered by an AC adapter, USB bus power or batteries.
The order of power supply priority is AC adapter rst, USB bus power next, and batteries last.
Using an AC adapter
Connect the dedicated AC adapter (AD-14) cable to the DC IN 5V AC adapter connector and the adapter to
an outlet.
DC IN 5V AC adapter connector
Installing batteries
To run the P8 on battery power, open the battery compartment cover on the bottom and install 4 AA
batteries.
Open while pressing up
NOTE
•Use only one type of battery (alkaline, NiMH or lithium) at a time.
•Set the type of battery used correctly so that the amount of remaining battery charge can be shown
accurately. ( “Setting the battery type” on page 76)
•The battery charge can be checked on the Home Screen ( page 15).
18

Turning the power on
1. Conrm that the output devices connected to the P8 are turned off.
2. Set all and faders to their minimum values.
3. Set to ON.
This turns the power on and opens the Home Screen on the touchscreen.
The rst time the power is turned on after purchase and after the P8 has been restored to its factory
default state, make initial settings. ( “Making initial settings” on page 22)
4. Turn on the output devices connected to the P8.
NOTE
When running on power from the AC adapter, the P8 will automatically turn off if it is unused for 10
hours.To keep the power on at all times, disable the automatic power saving function. ( “Setting the
automatic power off function” on page 87)
20
Other manuals for PodTrak P8
1
This manual suits for next models
1
Table of contents
Other Zoom Recording Equipment manuals

Zoom
Zoom PodTrak P4 User manual

Zoom
Zoom G5n User manual

Zoom
Zoom F8n Pro Mounting instructions

Zoom
Zoom RFX-2200 User manual

Zoom
Zoom GFX-707 User manual

Zoom
Zoom G6 User manual

Zoom
Zoom Palmtop Studio PS-02 User manual

Zoom
Zoom Handy Recorder H4 User manual

Zoom
Zoom MRS-4 User manual

Zoom
Zoom Q8n Control User manual