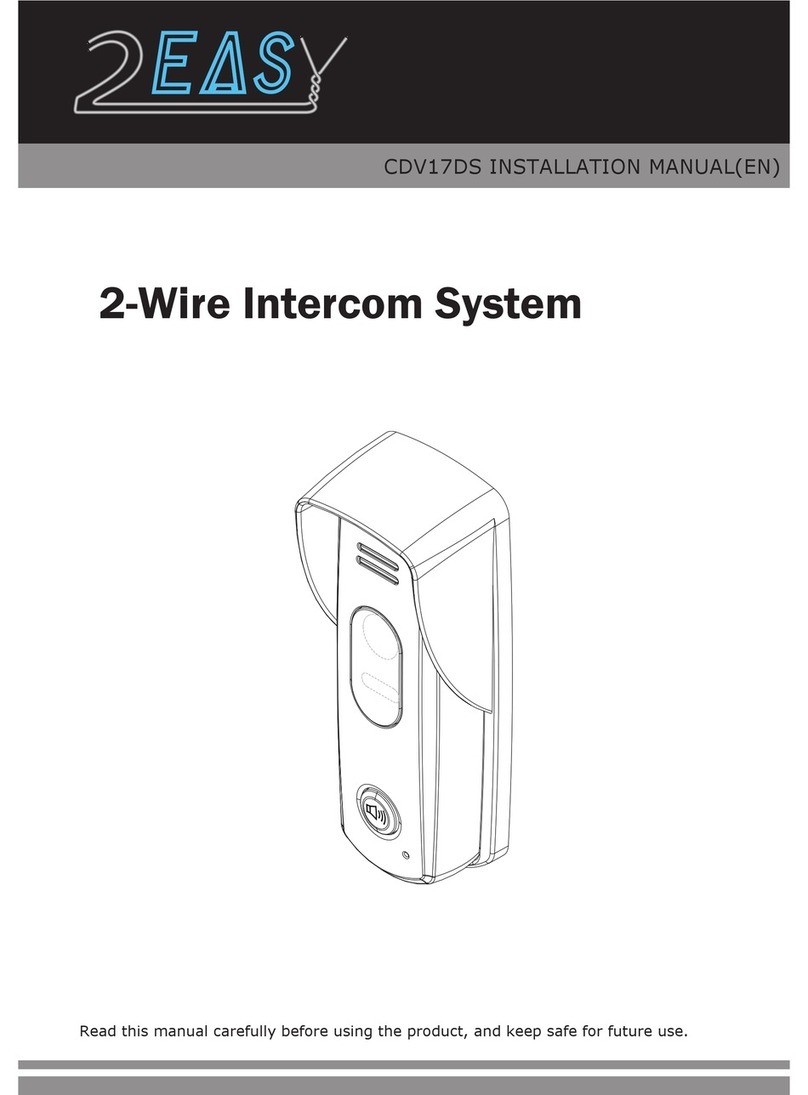
2easy 2-wire Series User manual

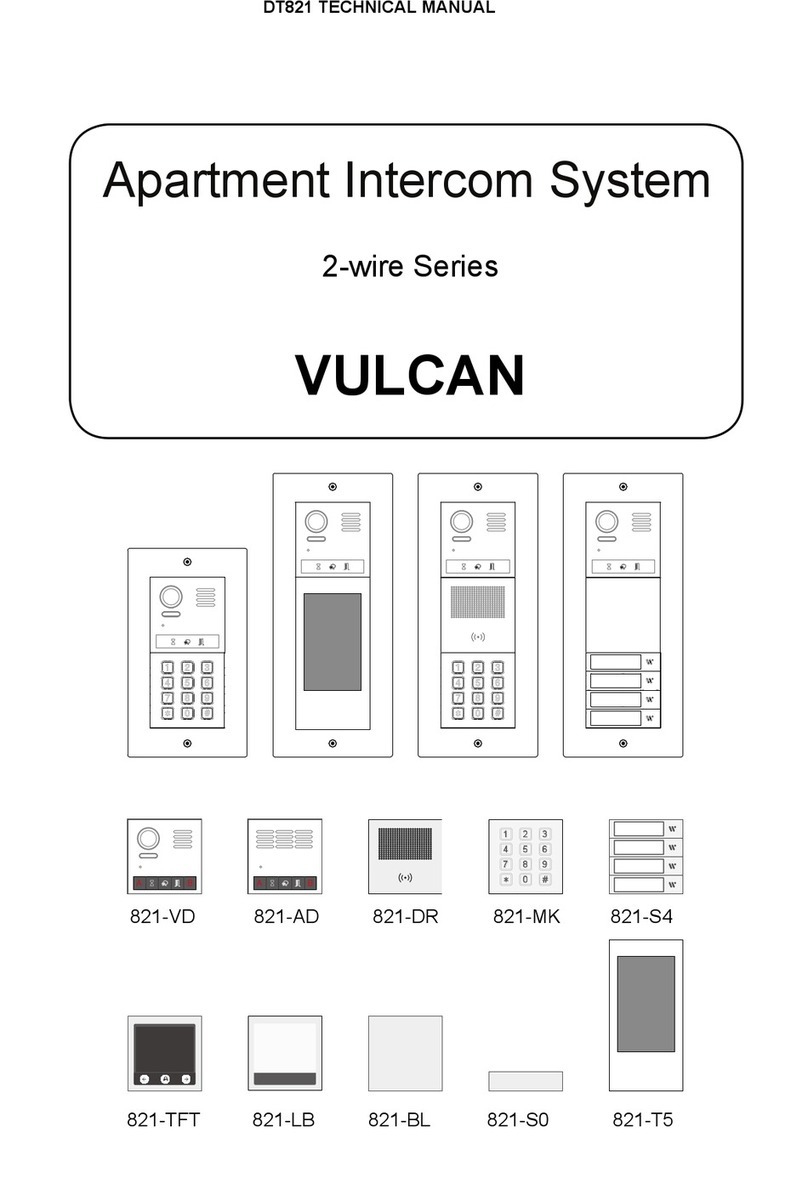
DT821 TECHNICAL MANUAL
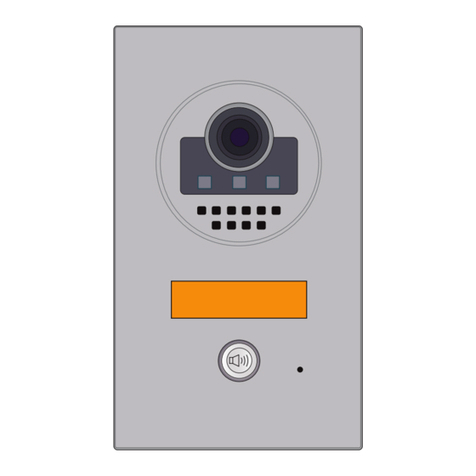
VULCAN 5-inch TFT Module
Apartment Intercom System
2-wire Series

2 EASY
-2-
1. Parts and Functions
L1 L2
1 2 3 4 5 6
ON DIP
Fisheye Lens
Speaker
Night View LED
Card Reader
Dot-matrix Display
Status Indicator
Microphone
Screw Hole
MK Module
Connection
Port
A B
Door Station
Flush mount wall boxSurface mount box
INSTALLATION GUIDE

2 EASY
-3-
2. Terminal Description
• +12V: 12VDC power output
• LK-: power ground
• LK+: relay common contact
• NO.: relay normally open contact
• EB+: exit button positive
• EB-: exit button negative
• JP-LK: electronic lock type setting
• SET :DIPswitchesforsystemcongurations
• CN/KMB: additional bell button connection port
• CN/T-COIL: reserved
• CN/FUN: Mechanical keypad module or TFT display module connection port
• CN/WGN: Card reader module connection port
• Bus(L1,L2): no-polarity bus line,connect to PC7(power supply)
CN-LK
JP-LK
LK-
+12V
LK+
NO
EB-
EB+
SET
12V
TX1
RX1
GND
RX3
TX3
GND
5CL
GND
5DA
RST
INT
GND
12V
CLK
DAT
STR
C2
C1
CTR
GND
GND
VIO
POW
WG0
WG1
GND
12V
CN/KMB CN/T-COIL
CN/FUN CN/WGN
L1 L2
1 2 3 4 5 6
ON DIP
3. Specication
Power supply: 24Vdc(supplied by PC7)
Camera:1/2.7’’sheyecamera,170owide angle
Power Consumption: 1W standby
5W working
Card Reader: Support 125KHz and 13.56MHz unencrypted RFID tag
Unlock Power output: 12Vdc,250mA
INSTALLATION GUIDE

2 EASY
-4-
4. Mounting
INSTALLATION GUIDE
Flush mounting
Surface mounting
1 2 34
Cut a hole and install the wall box Final result
Use the screws to fasten the panel
Connect and plug bus line connector with cable
1 2 34
Unlock timing: 1~99s
Working temperature: - 20ºC ~ +55ºC
Wiring: 2 wires (no-polarity)
Dimension: H316×W133×D48mm(3-Modules)
H232×W133×D48mm(2-Modules)

2 EASY
-5-
5. Connection Diagram
INSTALLATION GUIDE
Code=
1
OFF ON
OFF ON
DBC4A
A B C D
DBC4A
A B C D
Impedance
switch
Impedance
switch
Code=
3
Code=
2
Code=
4
Code=28
Code=30
Code=29
Code=31

2 EASY
-6-
VD MODULE
(1) DIP Switches Settings
There are 6 DIP- switches on the rear of door station. Allswitchescanbemodied
either before or after installation, but restarting the power is needed whenever
the switches havebeenmodied
ON(1)
=
OFF(0)
=
ON
ON
ON
123456
• DIP-1 and DIP-2 are for door station ID setting.When multiple door stations are
installed,therstdoorstationis00 (default); the second door station address is 01: DIP-2
is On; the third door station address is 10: DIP-1 is On, the fourth door station address is
11: DIP-1 and DIP-2 are On
• DIP-3 is obsolete
6. VD Module
Note: Key A and key B can not be seen on the panel, they are cryptic.
Normally key A and key B are not active. To activate them, flip DIP switch 6
into On position
Speaker
Camera lens
Night view LED
MIC
Invisible key A
Status indicator
Talk indicator
Unlock indicator
Invisible key B

2 EASY
-7-
Remember to power Off and power On the door station and then flip
DIP-6 On to perform following settings:
1.Press Key A, Unlock indicator turns on with double beep sound
2.Press Key A again to set Unlocking Mode to Normally Open or Normally
Closed.
Normally Open: Status indicator blinks once with beep sound
Normally Closed: Status indicator blinks twice with double beep sound
If door station has TFT module connected, the info will be visible on the screen
• Unlocking Mode Setting
(2)Settings via Invisible Key A and B
• Dip-4 is obsolete
• DIP-5 is for unlocking time setting. Off (0)is default setting, and the default time is
1second.IfsetOn (1),theunlocktimeis5seconds
• DIP-6 is for activating invisible key A and key B. Power Off the door station and then
power it On. Flip DIP-6 into On position and keys A and B will be activated. Remember
to flip Off after programming finished
VD MODULE

2 EASY
-8-
1. Press Key A, the Unlock indicator turns on with double beep sound
2. Press and hold Key B to enter the Unlocking Time Setting, single beep sound
and the Status indicator start blinking one time per second. Every flash of Status
Indicator increase unlocking time by 1 second
• Unlocking Time Setting
VD MODULE
For example, if Status indicator blinked four times, the unlocking time is 4
seconds
1. Press and hold Key Afor 3 seconds to enter the Ringtone Option Mode,
the Status indicator turns on and the current ringtone will be played.
(2)Press Key A again to play next tune;
(3)Press Key B to quit.
• Ringtone Setting

2 EASY
-9-
VD MODULE
When the door station with Camera Module is in standby.
(1)Press Key B to enter Tune Volume Setting, the Talk indicator turns on,at the
same time, play the tune at current volume;
(2)Press Key A to increase/decrease the volume;
(3)Press B to exit.
If TFT Module is connected, the current Volume will be displayed on screen.
• Tune Volume Setting
(1)During conversation, press Key B and hold on for 3 seconds to enter the Talk
Volume Setting, The Talk indicator turns on with the warning sound of BP+,BP;
(2)Press Key A to increase/decrease the volume.
(3)Press Key B to exit.
• Talk Volume Setting

2 EASY
-10-
VD MODULE
B). Please know that the Bit-6 switch must be set to ON, then power
up to carry on the following settings.
When the door station with Camera Module is in standby.
(1)Press Key A, the Talk indicator and Status indicator turns on with the warn-
ing sound of BP+, BP;
(2)Press Key A again to enter the Camera N/P Standard Switch setting. (P
Standard: the Status indicator blinks for one time with the warning sound of
BP+; N Standard: the Status indicator blinks for twice with the warning sound of
BP, BP).
• Camera N / P Standard Switch
When the door station with Camera Module is in standby.
(1)Press Key A, the Talk indicator and Status indicator turns on with the warn-
ing sound of BP+, BP;
(2)Press Key B to enter the Enable/Disable Image Zoom Mode setting. (Enable
Image Zoom Mode: the Talk indicator blinks for one time with the warning sound
of BP+; Disable Image Zoom Mode: the Talk indicator blinks for twice with the
warning sound of BP, BP).
* If enable image zoom mode, when the monitor being called, the image will be displayed on full
screen for 5 seconds, then switch to Zoom image.
• Enable/Disable Image Zoom Mode

2 EASY
-11-
T5 MODULE
7. T5 Module
Calling a resident via input room number:
1Press keypad button to enter keypad page.
2 Input the room number.
3 Press to call.
Calling a resident via namelist:
1Press namelist button to enter namelist page.
2 Select the desired name on the list.
3 Press to call.
• About main menu:

2 EASY
-12-
Open the door by entering an unlock password:
1 Press unlock button to enter keypad page.
2 Input your unlock password.
3 Press to open the door.
Open the door by using an access card:
Touch your access card to card reader area of the door station.
T5 MODULE

2 EASY
-13-
Enter installer mode:
Tap and input installer password into setting menu.
Default installer password: 66666666
NOTICE: Installer mode will not exit until you manually exit or power off and restart.
Tap to exit installer mode.
Tap back to standard main menu.
While in standard main menu, you could check as below:
If the door station still in installer mode, tap the bule bar on the top to get into installer menu.
Exited installer mode Still in installer mode
T5 MODULE

2 EASY
-14-
Installer menu:
1. Language
Select language
2. Date & Time
Setting up date and time
3. Menu style
Select menu style, requires customizing
4. System settings
Settings relatesto DT821 Video module
Video format PAL or NTSC, default is PAL
Tone prompt Tone or prompt setup, 0: Mute, 1: Ringtone, 2: Voice Ennunciation
Sound volume Tone or prompt volume, beep volume, 1~9
Unlock mode Lock type, “Normally open” or “Normally closed”
Unlock timing Unlocking time
T5 MODULE

2 EASY
-15-
Night LED level Night LED illumination level
Night LED mode Night LED mode, “Auto” (detect each 10min), “Always On” and
“Always Off”
Rain-cover enable If surface mounted with raincover, enable it to have smaller
camera angle
5. Other settings
Settings relatedto T5 module
Setting Item Description
Default menu select
Default main menu when in standby:
Room list:
Sort by room number
Name list:
Sort by name
Classic menu:
List displaysdate time
Display date and time on the list calling menu
Enable: Disable:
T5 MODULE

2 EASY
-16-
Setting Item Description
List displays unlock
Display unlock icon on the list calling menu
Enable: Disable:
List displays
name only
Display name only or with a flat number
1: 0:
Screen mode “Day mode” (white background), or “Night mode” (black background)
Screen bright TFT screen illumination level
Auto call in timing The maximum waiting timing to call without tap conrm (keypad
calling)
Auto call min digit The minimum digit input to call without tap conrm (keypad calling)
Auto call max digit The maximum digit input to call straigth (keypad calling)
T5 MODULE

2 EASY
-17-
IM Manage
1-16
01 1 02 2
03 3 04 4
05 5 06 6
07 7 08 8
09 9 10 10
12 1211 11
13 13 14 14
15 15 16 16
Monitors1 to 16
Monitor list
Disable or enable monitors Flash monitors’ status
Monitors 17 to 32
17-32
6. Installer Code
To change the installer code:
Input default or current installer code -> Input new code twice
Default installer code: 66666666
7. Unlocking Code
Disable/Enable unlocking with a code
To change public unlocking code:
Input current public unlocking code -> input new code twice (4digits)
Default public unlocking code: 1234
8. Manage Monitors
This setting include:
• Namelist and name change
• Private unlocking codes
• Call numbers
Go to monitor manage menu
T5 MODULE

2 EASY
-18-
Monitor connected
Monitor not connected
Remove or Enable monitors from Namelist
By default, 32 monitors will be listed. To remove the monitor from the list please follow steps as
below:
To enable monitors, follow the same procedure-tap icon and tap on the monitor
Manage monitors
Tap on the monitor needs to be congured, setting as below:
IM Manage
1-16
01 1 02 2
03 3 04 4
05 5 06 6
07 7 08 8
09 9 10 10
12 1211 11
13 13 14 14
15 15 16 16
17-32
IM Manage
1-16
01 1 02 2
03 3 04 4
05 5 06 6
07 7 08 8
09 9 10 10
12 1211 11
13 13 14 14
15 15 16 16
17-32
IM Manage
1-16
01 1 02 2
03 3 04 4
05 5 06 6
07 7 08 8
09 9 10 10
12 1211 11
13 13 14 14
15 15 16 16
17-32
IM Manage
1-16
01 1 02 2
03 3 04 4
05 5 06 6
07 7 08 8
09 9 10 10
12 1211 11
13 13 14 14
15 15 16 16
17-32 DT addr
01
Manage PWD
0000
Unlock code
1234
Local_Nbr
Name
1
Call tes�ng
T5 MODULE

2 EASY
-19-
DT addr: current DT monitor address, is a read only info
Manage PWD: manage password for this user, each user could get into their’s own setting
menu by input manage password, input “Address” + “Manage password” to get into this menu,
such as for 01 and manage PWD is 2234, input 12234 to get in to manage page.
Unlock code: input “Address” + “Unlock Code”, such as for 16 and unlock code is 3324, input
163324 to unlock.
Local_Nbr: alias dial number to call this monitor.
Name: name display in the name list.
9. Card Manage
Add, delete, back and restore cards.
Add Cards
Tap “Add cards”,
1. Tap “Room” to select Flat number which the card belongs to
2. Input card holder’s name or keep as default (Flat number)
3. Swipe the card or input 10 digits card number
4. Tap “Save”
5. Repeat 3~4 if need add more cards for this flat
6. Repeat 1~5 to add for other flats
Room
01
Name
-
Card ID
-
Add card
Save
T5 MODULE

2 EASY
-20-
View Cards
Delete Cards
In the card display list,
• Tap “bin” icon on the top to delete all
• Tap “bin” icon on single item to delete the card
Tap “View Cards”, and in “View Cards” you could view registered cards:
• Swipe the card needed to be checked
• Input or select a room
• Input card holder’s name
• Input card ID number
• Input Date (YYYYMMDD)
Or tap “Search” to display all registered cards
Room
-
Name
-
Card ID
-
Date
-
View card
Seach
WFF
15654646516dgdsg
4546466304164611
Name
fdfd1546462+89363
kkK
FAIJCP16456461319
MADF
lkkjioh16546466560
fdsac
Card List
Delete single card
1/2
Delete all cards
T5 MODULE
Other manuals for 2-wire Series
3
This manual suits for next models
1
Table of contents
Other 2easy Intercom System manuals

2easy
2easy DT-SCU User manual

2easy
2easy CDV17D User manual

2easy
2easy IRIS/DT39 User manual

2easy
2easy DK1721 User manual

2easy
2easy DK4761 User manual

2easy
2easy DT24 User manual

2easy
2easy 2-wire Series User manual

2easy
2easy DT 2-wire Quick start guide

2easy
2easy DMR11-D8 User manual

2easy
2easy 2-wire Series User manual

2easy
2easy DT692 User manual

2easy
2easy DMR21 User manual

2easy
2easy DT43/D4 User manual

2easy
2easy DT594 User manual

2easy
2easy DT 2-wire Quick start guide

2easy
2easy DMR12/S8 User manual

2easy
2easy DMR21/D32/F1 User manual

2easy
2easy CDV4791 User manual

2easy
2easy DT594 User manual
2easy
2easy DT-597 User manual