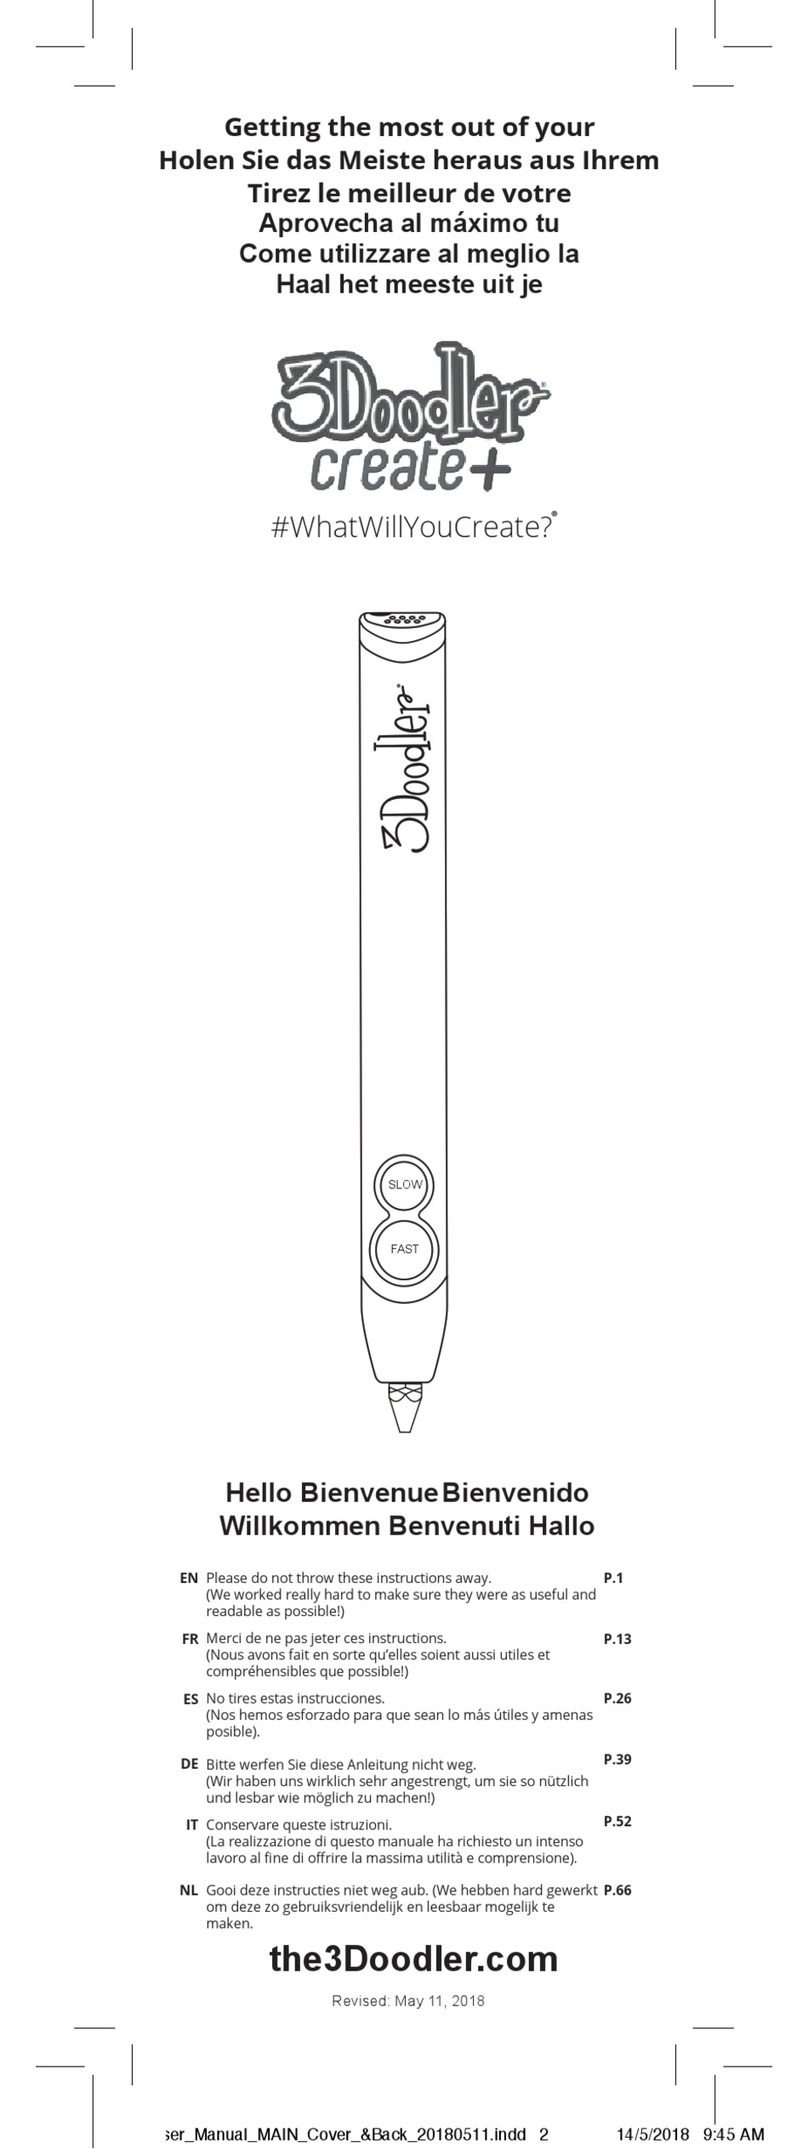
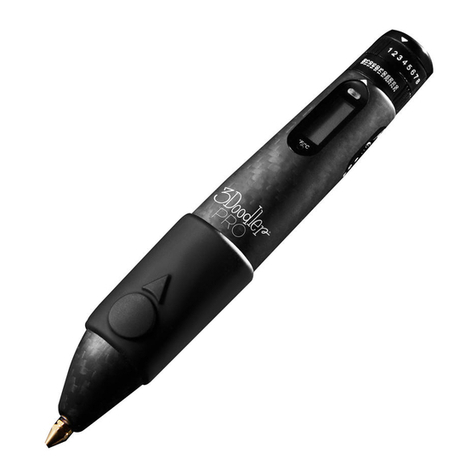
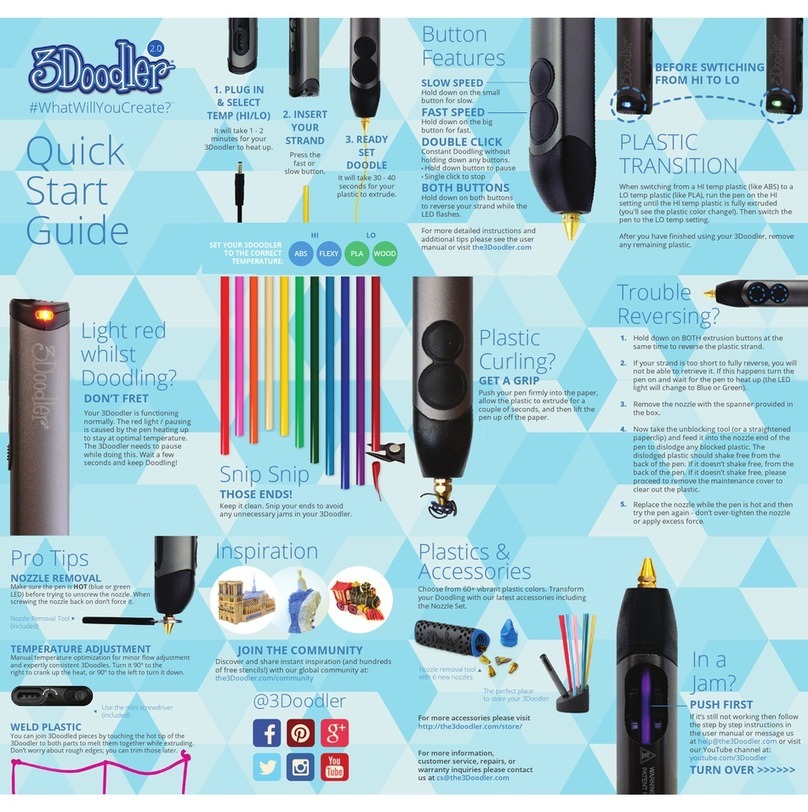
3Doodler Create+ User manual

1
EN02/2022
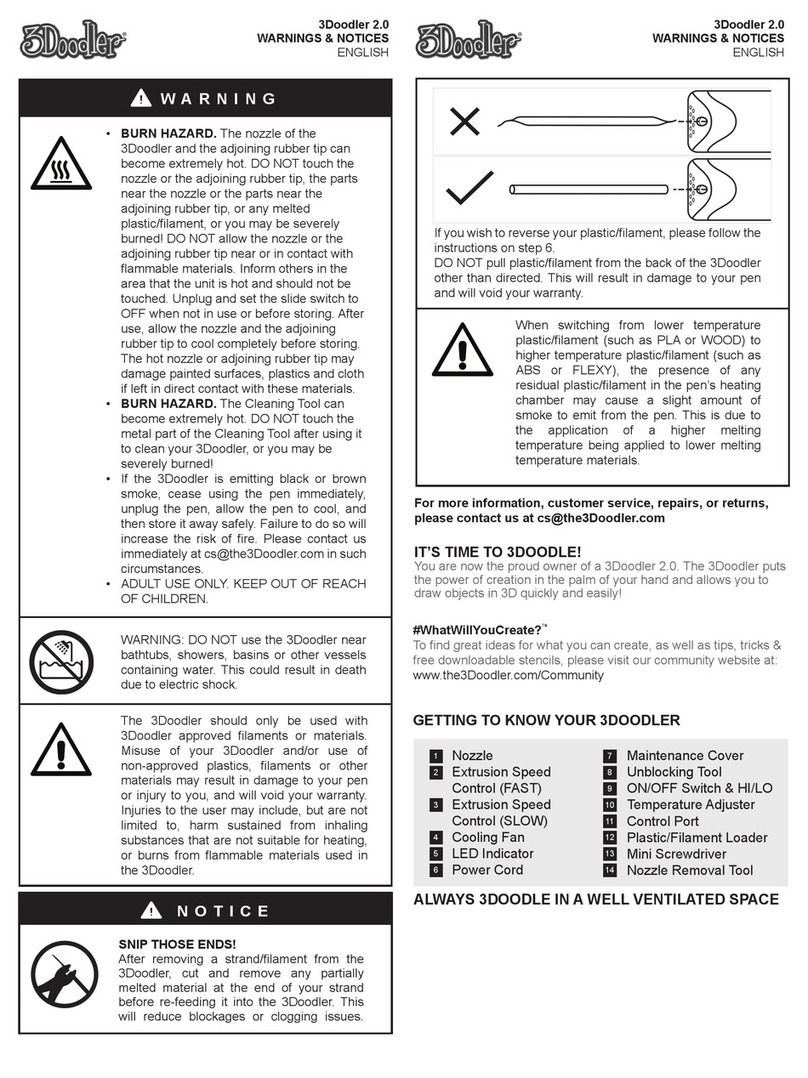
SECTION 1: WARNINGS
WHAT’S INCLUDED
- The Nozzle of the 3Doodler Create+
can become hot. DO NOT touch
the Nozzle, or you may be burned!
- DO NOT allow the Nozzle near or in
contact with ammable materials.
- Inform others in the area that the Pen
is hot and should not be touched.
Unplug and set the Control Switch
to OFF when not in use or before
storing.
Allow the Nozzle to cool
completely before storing.
The Unblocking Tool can become
hot. DO NOT touch the metal part
of the Unblocking Tool after using
it to clean your 3Doodler Create+
or you may burn yourself!
DO NOT use the 3Doodler Create+
near bathtubs, showers, basins or
other vessels containing water.
This could result in death due to
electric shock.
The 3Doodler Create+ should only be
used with 3Doodler Create+ plastic
lament. Misuse of your 3Doodler
Create+, setting your pen to the
wrong heating temperature, or use
of non-approved plastic lament
or other materials may result in
damage to your pen or injury to
you, and will void your warranty.
Injuries to the user may include, but
are not limited to, harm sustained
from inhaling substances that are
not suitable for heating; or burns
from ammable materials used in
the 3Doodler Create+.
ADULT USE ONLY. KEEP OUT OF REACH OF CHILDREN.
Disposal of this product
At the end of your 3Doodler Create+’s life, please do not dispose of it
in your general household waste. In order to prevent possible harm to
the environment or human health from uncontrolled waste disposal,
please dispose of your 3Doodler Create+ separately in accordance
with local laws and regulations.
WARNING: This 3D Printing
Device, when used with a styrene
lament (ABS / HIPS / or PC-ABS),
can expose you and others in the
same room to styrene, which is
a chemical known to the State of
California to cause cancer. For
more information, go to
www.P65Warnings.ca.gov.
ALWAYS OPERATE YOUR 3D
PRINTING DEVICE IN A WELL-
VENTILATED AREA.
For more information on the separate collection systems for waste
of electrical and electronic equipment, please contact your local
municipal authority. You can also contact the retailer from which
you purchased your 3Doodler Create+, who may have a recycling
program, or be part of a specic recycling scheme that you can use.
User Manual
3Doodler
Create+ Pen
75 strands of
3Doodler 3mm
PLA Rells
Colors may vary
Power
Adapter
Nozzle
Spanner
Unblocking
Tool

2
EN02/2022
SECTION 2: GETTING STARTED
How it Works:
The 3Doodler Create+ melts plastic lament and uses a motor and gears
to push it through the pen’s nozzle in a thin line. This process is called
extruding or extrusion, and we will refer to it throughout this user
manual. Once extruded, the lament cools and hardens quickly, allowing
you to draw on surfaces and in the air. This user manual will show you how!
We created this User Manual
as a step-by-step guide to
get you comfortable with
your 3Doodler Create+ and
its features. Once you are
familiar with these steps, you
will be able to Doodle with
condence.
LIGHT LEGEND:
SOLID RED:
Pen is heating up
GREEN: Ready to Doodlewith
PL A/ WOOD
BLUE: Ready to Doodle
with ABS/FLEXY
FLASHING GREEN/BLUE:
Reversing plastic
SPEED/ DRIVE BUTTON
LEGEND:
• Click once to start
• Click once to stop
• Double click to reverse
Speed/ Drive
Controls
Plastic Loading Port
Insert your lament
strand here
Control Switch
For turning the 3Doodler
Create+ ON/OFF, and
selecting PLA or ABS/FLX
extrusion temperatures
Nozzle
Hot tip where lament is
extruded
LED Light
Tells you when your
3Doodler Create+ is
ready to use
Power Adapter
Maintenance Cover
Allows you to look inside
your pen to see lament
Slide the control switch to
PLA (or your desired lament
setting).
The LED light will glow RED
while the pen is reaching the
required temperature. Once the
light has turned GREEN, your
pen is ready to extrude.
STEP 1:
Turn on your
3Doodler Create+
and wait for it to
heat up
Plug the power adapter into
the yellow hole at the back of
the pen.
Power Adapter
Light to GREEN
60-90
secs
13
2
SECTION 2: GETTING STARTED

3
EN02/2022
STEP 2:
Load and extrude
plastic
STEP 3:
Doodle your name
Use the box on page 4 to
create your rst Doodle!
With the LED light GREEN,
insert the PLA strand into the
plastic loading port.
GREEN Light
Select one strand of PLA
plastic (included in the box).
After 10-15 seconds, plastic
will begin extruding from the
nozzle. Extruded plastic will
harden after a few seconds.
Click either speed button once
to stop extruding.
x1
Click either speed button
once and release. You will hear
the drive gear start.
x1
3
4
2
5
SECTION 2: GETTING STARTED
1
x1
Write your name in the box
provided using a marker, pen
or pencil. We suggest cursive,
with the letters connected.
Trace your name in a continuous
line by dragging the plastic
along the paper as if you were
writingwith a pencil, with all
the letters connected. Keep your
movement slow and steady.
Bend the corners of your paper
to pop your Doodled name o
the page.
Click either speed button once. When the plastic starts
extruding, push the nozzle down into paper to get the plastic to
stick to the surface.
When you reach the end of your
name, stop extruding by clicking
either speed button once.
1
35
2
4
NOTE:
The pen tip must make contact with
the paper for it to stick.

4
EN02/2022
Once Plastic stops reversing, it is
safe to remove it from the pen
by gently pulling on the back of
the strand.
With the pen set to PLA, wait
for the GREEN light to come
on.
Double click either speed
button. The LED light will ash
to signal plastic is reversing.
3
x2
Flashing
GREEN
2
GREEN Light
1
SECTION 2: GETTING STARTED
STEP 4:
Doodle Even More!
For further guides, projects and inspiration, please refer to:
• learn.the3doodler.com/resources/
• learn.the3doodler.com/getting-started/
• learn.the3doodler.com/help/
STEP 5:
Reverse and
remove plastic
Here’s everything you need to know about swapping lament
strands to change colors or lament type.
Your Name:
#MyFirstDoodle
After removing a plastic strand from the 3Doodler Create+,
cut and dispose of any partially melted material at the end of
your strand. This will reduce blockages and clogging issues.
SNIP THOSE ENDS!
TIP

5
EN02/2022
TAKE A BREAK:
We recommend powering down and giving
your 3Doodler Create+ a 30 minutes break
after every 2 hours of continuous use.
Remove any plastic strand
from the pen using the reverse
feature (double click either
speed button).
Slide the control switch to OFF.
x2
12
STEP 6:
Power Down
Unplug it from the power
source and allow your pen to
cool completely before storing.
Power Adapter
3
NOTE:
After 5 minutes of inactivity, the 3Doodler
Create+ heating system will automatically
power down. You will need to press either
speed button OR toggle the control switch
OFF and then ON again to continue use.
SECTION 2: GETTING STARTED
SECTION 3: TROUBLESHOOTING
Unblocking Tool
Used to push short plastic strands down into
the drive gear to help with extrusion, or to push
short plastic strands out of the back of the pen.
Mini Spanner
Used for tightening and removing
the nozzle.
Only remove the nozzle when
the pen is on and hot.
Do not over tighten the nozzle,
as you may break it.
Included Tools
Before showing you how to troubleshoot issues
with your 3Doodler Create+, we want to introduce
you to two handy tools included in the box:
With those introductions over, let’s look at some dierent issues that could arise with
your 3Doodler Create+ and steps to get back to Doodling.
5.3
inches
Plastic that is shorter than 5.3 inches cannot be reversed. You should feed it all the way
through your 3Doodler Create+ and use it up. Or you can push the plastic out the back of
the pen using your unblocking tool - See Section 3, Step 3B.)
NOTE:

6
EN02/2022
SECTION 3: TROUBLESHOOTING
1.
My pen won’t
turn on (the LED
light isn’t on)
2.
Plastic won’t stick
to the paper, or is
curling up around
the nozzle
Let’s double check the following:
Stop extruding and start again using the following
instructions:
When the plastic resumes extruding, push the nozzle rmly
down into the paper, allowing the plastic to stick to the paper.
Drag the plastic along the paper or surface in a continuous
unbroken line as if you were writing with a pencil.
Keep your movement slow and steady. The plastic should hold
to the paper and not curl up around the nozzle.
NOTE:
If you have a spare power adapter please use it to test your 3Doodler Create+. You will need
a DC 5V2A power supply with a 3.5mm barrel. This will help determine if the problem is with
your 3D pen or with the included power adapter.
3.
Plastic is not
extruding from my
3Doodler Create+
The plastic is not engaging properly with the drive gear:
With the pen in drive, gently push on the lament strand until you
feel it being pulled through the drive gear on its own.
If the above does not work, reverse the plastic from the pen. (See
Section 4) Snip the ends, put the pen in drive, reinsert the lament,
and try again. If the plastic is too short to be reversed from the
back of the pen, move to 3B.
The plastic is too short to be removed from the pen:
Mini
Spanner
BLUE
or
GREEN
Light
3A.
3B.
Double click either speed button to
set the pen into reverse. Insert the
unblocking tool through the front end
of the pen and gently push any excess
plastic out through the back of the pen.
Unblocking Tool
While the pen is on and the nozzle is hot,
unscrew the nozzle using the mini spanner.
1A. Is the end of the power
adapter connected to the
correct part of the pen?
1B. Is the power adapter
plugged into a working
power outlet?
1C. Make sure the control
switch on your 3Doodler
Create+ is not in the OFF
position.

7
EN02/2022
Mini
Screwdriver
The plastic may be wrapped around the drive gear.
5A. Click either speed button once.
5B. If the pen keeps extruding, disconnect it from the power
supply and then plug it in and try again.
3C.
Mini
Spanner
4.
Plastic is leaking
from around the
nozzle
5.
Plastic won’t stop
extruding
The nozzle may loosen with continued usage (or in transit).
While the pen is hot (BLUE or GREEN LED Light is on), gently
turn the nozzle clockwise to tighten it using the mini spanner.
Stop tightening once you rst feel resistance so as to avoid over-
tightening the nozzle and breaking it.
SECTION 3: TROUBLESHOOTING
Use a mini screwdriver or unblocking
tool to lift and clear the plastic strand
from the drive gear through theopenarea
beneaththe maintenance cover or from
the plastic loading port.
Remove the maintenance cover using a
mini screwdriver.
Maintenance
Cover
6.
I reversed the
plastic but can’t
get it out
It is possible that the plastic is either too short to reverse all the way
out of your pen, or that the plastic has moved past the pen’s drive
gear system.
You can check for these issues by looking through the maintenance
cover.
For both of these issues, you can try the
following options:
7A. While the pen is ON and extruding, insert a
new strand of plastic or use the unblocking
tool to push the remaining plastic through
the nozzle tip.
Plastic reversed, but is too short to take out
and is no longer in contact with the drive gear.
Plastic is beyond drive gear.
7B. While using the reverse
feature, remove the
nozzle and use the
unblocking tool to push
the plastic out the back
of the pen.
(See Section 3, Step 3B)
Unblocking Tool

8
EN02/2022
SECTION 4: TIPS AND BEST PRACTICES
Pay attention
to lament types
and settings
Switching
between lament
types
• For optimal Doodling, we suggest using the correct temperature settings
for your plastic.
• Double check which type of plastic you are using before you set your
pen to the correct temperature setting (PLA or ABS/FLX). If your plastic
strands get mixed up, here is a handy table for sorting and identifying
what you’re working with.
• For more detailed information on lament types, visit our FAQ:
learn.the3Doodler.com/faqs/.
• If you go from PLA to ABS, after clearing as much of the PLA as you can,
adjust the lament setting on the pen to ABS/FLX, and then load in your
ABS strand and start extruding.
• If you’re going from ABS to PLA, after clearing as much of the ABS as you
can, insert a strand of PLA and begin extruding while still on the ABS/
FLX setting. As soon as you see your new material extruding out, set the
temperature to the proper PLA setting.
PLA:
Temp: PLA Temp
LED Light: GREEN
Feature: Glossy plastic sticks to
fabric, windows, metal and other
hard surfaces.
How to tell: Very rigid, no white
semi-circle ends.
WOOD:
Temp: PLA Temp
LED Light: GREEN
Feature: Great for embelishing
wood projects, this plant-based
material can be sanded and
stained!
How to tell: Real wood bers
give the strands a rough texture.
ABS:
Temp: ABS / FLX Temp
LED Light: BLUE
Feature: Extruded plastic has
a matte nish. Great for drawing
inthe air.
How to tell: Plastic has white
semi-circle ends.
It takes around 60-90 seconds for your pen to heat up. If, after that time,
the pen still does not heat up and the LED light remains RED, turn the
Pen OFF and back ON and try again. If that still does not work, please
contact us at [email protected] and we will assist further.
7.
My Pen won’t heat
up (LED light stays
red)
Do not forget
to snip your
Plastic ends
• After removing a strand of plastic from the 3Doodler Create+,
cut and discard any partially melted material at the end of
the strand. This will reduce blockages or clogging issues. Unsnipped Ends
VS
Snipped Ends
SECTION 4: TIPS & BEST PRACTICES

9
EN02/2022
• If you ever remove your nozzle, ONLY remove the nozzle
when your pen is heated and a BLUE/ GREEN light is showing.
DO NOT remove it when your 3Doodler Create+ is cold.
• If you ever need to tighten your Nozzle, DO NOT force the
Nozzle or overtighten it, as you could break the Nozzle and
permanently damage your 3Doodler Create+.
GREEN or
BLUE Light
Specications are subject to change and improvement without notice.
SPECIFICATIONS
Output Power: 6W
Output Voltage: 5V
Input Voltage: 5V
CARE & MAINTENANCE
For care and maintenance information, and more advice on how to use your
3Doodler, please refer to our website: the3Doodler.com
To troubleshoot, please visit: the3Doodler.com/troubleshooting
This marking indicates that this product should not be disposed of with
other household wastes. To prevent possible harm to the environment or
human health from uncontrolled waste disposal, recycle it responsibly to
promote the sustainable reuse of material resources.
LIMITED WARRANTY
For more details on your limited warranty, pleae visit:
the3Doodler.com/warranty
For 3DoodlerÕs Terms and Conditions and other notices please refer to our
website: the3Doodler.com/terms-and-conditions
This device complies with part 15 of the FCC Rules. Operation is subject to the
following two conditions: (1) This device may not cause harmful interference, and
(2) this device must accept any interference received, including interference that
may cause undesired operation.
Give your 3Doodler Create+ a rest after every 2 hours of continuous
Doodling. 30 minutes of down time should be plenty.
TAKE A
BREAK:
Treat your
Nozzle right
SPECIFICATION OF POWER ADAPTER
Input: 100-240V AC, 0.5A MAX, 50-60Hz
Output: +5V DC, 1.2A
CARE & MAINTENANCE
For care and maintenance information, and
more advice on how to use your 3Doodler
Create+, please refer to our website:
the3Doodler.com To troubleshoot, please visit:
the3Doodler.com/troubleshooting
LIMITED WARRANTY
For more details on your limited
warranty, please visit:
the3Doodler.com/warranty
For 3Doodler’s Terms and Conditions
and other notices please refer to
our website: the3Doodler.com/
terms-and-conditions
This marking indicates that this
product should not be disposed of with
other household wastes. To prevent
possible harm to the environment
or human health from uncontrolled
waste disposal, recycle it responsibly
to promote the sustainable reuse of
material resources.
This device complies with Part 15 of the FCC Rules. Operation is subject to the
following two conditions: (1) this device may not cause harmful interference,
and (2) this device must accept any interference received, including interference
that may cause undesired operation.
Warning: Changes or modications to this unit not expressly approved by the
party responsible for compliance could void the user’s authority to operate the
equipment.
NOTE: This equipment has been tested and found to comply with the limits for
a Class B digital device, pursuant to Part 15 of the FCC Rules. These limits are
designed to provide reasonable protection against harmful interference in a
residential installation. This equipment generates, uses and can radiate radio
frequency energy and, if not installed and used in accordance with the instruc-
tions, may cause harmful interference to radio communications. However, there
is no guarantee that interference will not occur in a particular installation. If
this equipment does cause harmful interference to radio or television reception,
which can be determined by turning the equipment o and on, the user is
encouraged to try to correct the interference by one or more of the following
measures:
- Reorient or relocate the receiving antenna.
- Increase the separation between the equipment and receiver.
- Connect the equipment into an outlet on a circuit dierent from that to
which the receiver is connected.
- Consult the dealer or an experienced radio/ TV technician for help.
CAN ICES-3 (B)/NMB-3(B)
SECTION 4: TIPS & BEST PRACTICES
Reverse and
remove plastic
correctly
• DO NOT pull plastic from the back of the 3Doodler Create+
other than as directed.
Once the Plastic stops reversing,
it is safe to remove it from the
pen by gently pulling on the
back of the strand.
Double click either speed
button and the LED light will
start ashing to signal the
plastic is reversing.
With the Pen set to PLA wait for
the GREEN light to come on.
GREEN Light
x2
Flashing
GREEN
12 3
10
EN02/2022
SECTION 5: STENCILS
SECTION 5: STENCILS
x4
1
x4
2
x4
3
x4
x4
4
x4
5
Eiel Tower
x4
6
x4
7
66
6 6 3
3 3
3
2
2
2
2
55
5 5
4
4 4
4
1
1 1
1
7
7 7
7

11
EN02/2022
x1
x1
x1
1
2
Glasses
3
1
2
3
SECTION 5: STENCILS
Other manuals for Create+
1
Table of contents
Other 3Doodler Accessories manuals

3Doodler
3Doodler 3Doodler User manual

3Doodler
3Doodler PRO User manual

3Doodler
3Doodler Create User manual

3Doodler
3Doodler PRO+ User manual

3Doodler
3Doodler Start User manual

3Doodler
3Doodler 2.0 User manual

3Doodler
3Doodler Create+ User manual

3Doodler
3Doodler 2.0 User manual

3Doodler
3Doodler Start User manual

3Doodler
3Doodler 2.0 User manual