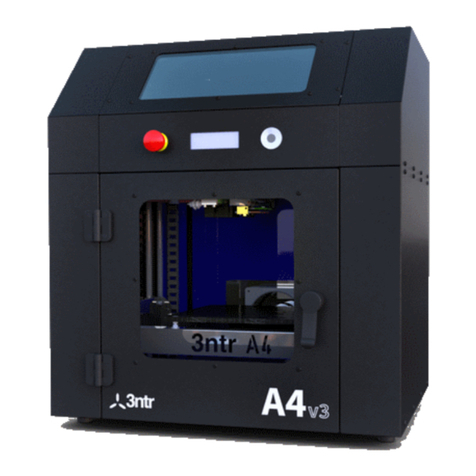
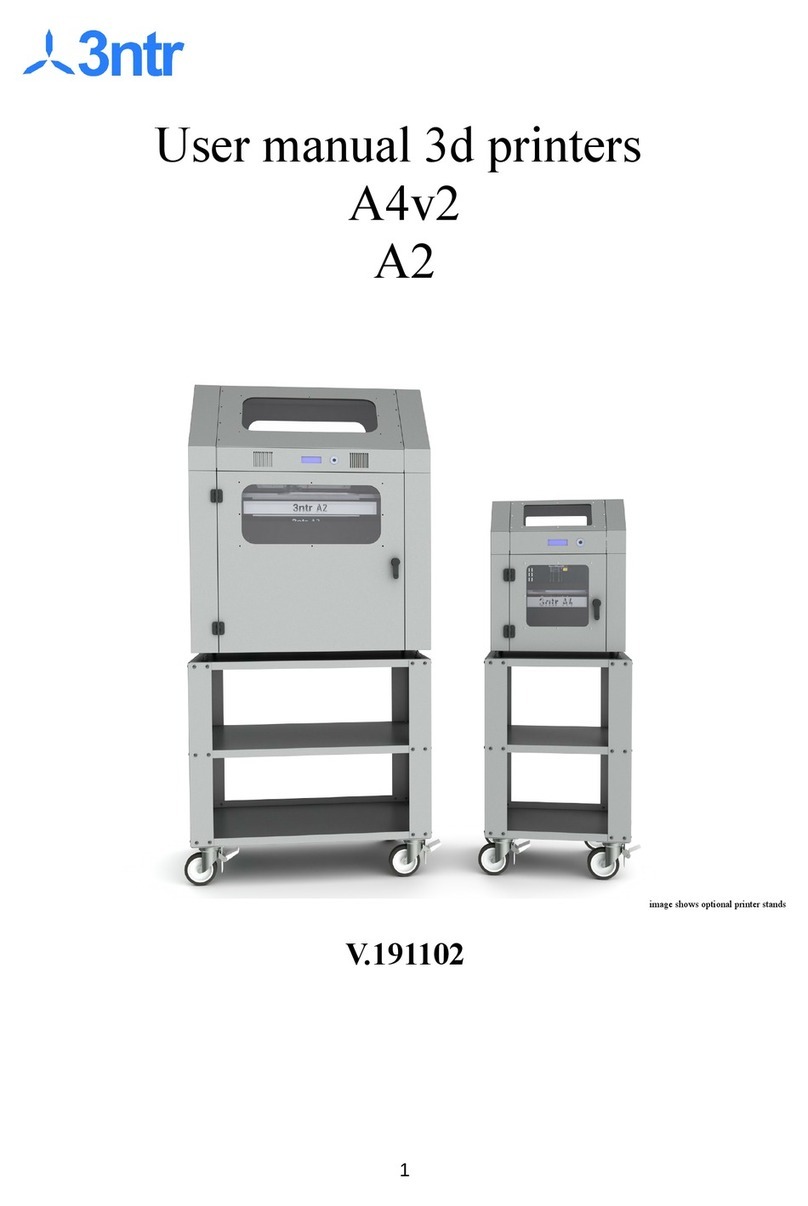
3ntr A4 V2 User manual

A4 V2
QUICK START
Rel 1.01

Preface
Congratulations for your purchase!
Your printer has been carefully engineered to bring you years of trouble-free work:
this manual will help you the get to know everything about its use and
maintenance.

Important safety advice
Your printer has been built with user safety as main concern, yet it must NOT be
used by individuals with reduced mental or physical abilities.
This printer is not a toy, and printing area must be kept locked in presence of
children or people with serious mental problems.
•The A4 printer is meant to be used by fully responsible and
knowledgeable people, as several safety issues must be considered:
•Risk of burns: hot surfaces are involved into the printing process. To
minimize risks, be sure not to access any part inside the printing area
while printer is working. Once printing process is finished, wait until
printed part(s) cool down to room temperature, or use protective gear
(gloves) to remove finished prints.
•Risk of pinching – machine can suddenly start: even if the power of
actuators is low, the speed is high enough to hurt. Don't access machine
until printing process isn't completed -or- the machine is remotely
actuated (i.e.: using a print server).
•Risk of fire: don't use any flammable substance to clean the machine
inner parts when printer parts are warmed.
•Risk of toxic fumes: be sure to use recommended settings for the
polymer(s) being used. Overheating may develop toxic fumes. Use
printer in a well vented room.
•Electromagnetic compliance: this is a class A product. In a domestic
environment this product may cause radio interference in which case the
user may be required to take adequate measures.
•Always turn OFF power before attempting any maintenance and wait
until the printer parts are cooled at room temperature.

Unpacking
We packaged your printer with the best solution, to withstand with rough handling
usually involved with international freight. Therefore, despite our efforts, if you are
being delivered a damaged package you should always refuse delivery or put
your remarks on the delivery bill.
Package usually consist of:
•Printer
•AC power cable
•USB cable
•printing tray (PET surface)
•filament spool(s)
To unpack machine:
•Remove plastic straps and carboard cover.
•Remove packaging foam/bubbles: don't use cutter blades!
•Remove wrapping film
•To open the door, turn counterclockwise the door knob
•Remove the packaged items inside
•One package consist of printing plate + power cable + Usb cable
•Other package includes spool holders, filament spool(s), door keys
•Check that no plastic/paper/adhesive tape parts are left inside the printer

Installation
You need:
1. A sturdy table or desk
You need a solid surface that will be strong enough to support the printer
and withstand with the vibration involved with the printing process.
2. 100-220 V AC wall socket
3. your PC (optional, as you can print remotely via SD card or print
spoolers, BUT at least at the beginning you should use a PC)
Procedure
1. Place your printer on your desk.
2. Open the printing compartment door (turn knob counter clockwise)
3. Place the printing tray on the print surface. It will magnetically snap at the
correct position.
4. Close the door.
5. Connect the printer to the AC power with the supplied cable.
6. Turn on the power. LCD display will light up (white letter on blue
background)

Using the printer with your computer
Installing printer software drivers
Printer drivers are needed to let your USB port talk to printer USB port.
Newest operating systems will load and configure the drivers for you: if you are
using older systems or your installation is faulty, the drivers for
Windows/Linux/Mac PCs are available here:
http://www.ftdichip.com/Drivers/VCP.htm
Please refer to above web site for installation instructions on your specific PC
architecture.
If you need longer USB cable than the one supplied with your printer, be sure to
buy a good quality one: cheap and unshielded ones will cause intermittent
problems!

Host software
The host software can be used to perform all required duties on printer, as manual
axes movement, heaters performance analysis and setup, placement of parts on
printer plate, slicing and running printing jobs.
We recommend Repetier Host, being the most complete yet easy to use solution
to accomplish above activities, and the fastest way to interface with Repetier
Firmware running inside our printer.
This manual will refer to Repetier Host as reference program for printer use and
administration.
Please understand that we don't forbid you to use any other software solution: we
will just be offering help and support only for Repetier Host software.
Download your free copy here:
http://www.repetier.com/download/
Please refer to above web site for installation instructions on you specific PC
architecture.
If you will like Repetier Host, please donate:
http://www.repetier.com/donate-or-support/
Supporting the development of the software will let you be active part of the
movement and will be financing improvements to the software tool you are
using!

Host software setup
To access Repetier host configuration menus you simply press click on the upper
right “gears” icon.
You will reach the following menus (shown in English, but you can choose among
many languages):
Port: leave the port you use to connect to printer
Baud rate: set it to 250000
Other parameter must be left unchanged at default values (see fig.1).
Fig. 1: Connection parameters

We recommend to set printer defaults as from above figure.
You may want to un-check the last three check boxes if you are using printer in a
continuous production setting (avoiding losing time when machine cools down
between print jobs).
You may opt to always leave on your heated bed (unchecking the “disable heated
bed after job/kill” option): no serious issues with this, other than having higher
electricity bills.
If you choose to always leave on your extruders (unchecking the “disable extruder
after job/kill” option) BE CAREFUL, as if you leave your printer unattended for
hours you may end with degraded polymer inside your nozzle, and with some
polymer you may jam your extruder.
Fig. 2: Printer parameters

Above values must be entered precisely as from above screen capture: feel free to
choose names and colors, but please be sure to enter correct numerical data !
Fig. 3: Extruder control

Be sure to copy EXACTLY above values, especially the Home X/Y/Z settings:
failing to do so you could not be able to use your printer!
Now if you turn on your printer with the leftmost ON/OFF icon, you will be able to
start playing!
Fig. 4: Printer shape

Filament
The filament is the most important factor of the printing process, therefore you
want it to be:
•Precise: real diameter (2,85mm or 2,95mm) must be as constant as
possible, and within the usual tolerance (+/- 0,1mm) or stricter (+/- 0,05).
Remember: use a good caliper (nowadays, there are good digital calipers
that are quite cheap) to measure the diameter to pass to the slicing app.
•Homogeneous: no foreign particles have to be inside the filament (metal
powder, carbonized fragments, wood pieces) to avoid extruder nozzle jam
•Dry: some polymer (i.e.: polyamides, PVAs) absorb humidity, making for
degraded prints or even destroying the filament (PVA). Keep your spools
into dry containers, use dehydration media (silica gel, molecular sieves, …)
to keep as dry as possible the environment. Two hours at 70°C into a
standard kitchen oven may help to greatly reduce the trapped humidity.
DON'T uses microwave ovens, unless you can really set power at
VERY LOW levels: you can easily melt the spool, with possible
dangerous fumes developing !

Feeding filament to the printer
Reach the printer rear side, place your spool on the spool holder rod.
With a pencil sharpener or simply using scissors, make a conical point to the
filament end.
Fig. 5: Rear printer side
Fig. 6: Pointed filament end

Grab the feed lock handle of the selected extruder, pull it up and lock it open.
Feed the filament thru the bottom hole in the filament feeder, gently push it inside
mechanism and clear plastic tubing, until it reaches the extruder assembly and you
can't push t anymore.
Release the lock handle, it will raise into closed (engaged) position.
About the pressure setting (black plastic) knob on feeder unit: you should always
use the minimal possible pressure needed to reliably feed the filament.
Fig. 7: Filament feeders, the one in foreground is locked open (disengaged)
Illustrazione 8: Loaded spool, feeder engaged

Loading filament (during print)
When the filament spool is depleted, the loading of a new one is a quite easy
process:
1. Prepare the new spool to be loaded, be sure it is the same polymer you
are currently using
2. On the front panel, navigate with the jog wheel to TUNE->CHANGE
FILAMENT OPTION: pressing once on the jog wheel black button will
unload for you the current filament, while parking the print head away
from the part being printed.
3. Release the feed mechanism of the selected extruder, pulling the handle
on the back of the printer. Lock it open and remove the used filament.
4. Remove the old spool, and replace it with the new one
5. Use a scissor or suitable tool (a small pencil sharpener could work with
“soft” polymers) to make a dart-like point on new filament end
6. Feed the new filament up the mechanism and clear PTFE tubing until
you reach the extruder part.
7. Gently push until you see some polymer exiting from the nozzle. Remove
and clean the extruder nozzle tip
8. Release the feeding device lock
9. Push on the black button: printing will resume.
10.That's it!

Changing filament type
When dealing with different polymers, procedure is a bit different.
Start with a “cold” extruder situation: turn on heating for desired extruder, at about
60-70% of the currently loaded polymer working temperature.
Release the feed mechanism and lock it open.
Start pulling (not too strong to break it... but also not too weak, to win over the
extruder suction). If you managed to remove a two-cone filament tip, you have
1. New polymer has higher melting point than the old one (i.e.: changing
from PLA to ABS)
1. Turn on heating for the desired nozzle, set it at current (old) filament
temperature
2. Remove filament following the same procedure used for filament change
3. Slowly feed in the new filament: can do it manually, or using front panel
commands, or the PC host software manual commands
4. When you see that filament flow is decreasing / feeding is difficult / color
is changing (if new filament color is different), need to change
temperature: set extruder temperature to match the needed one for new
filament. Wait for extruder temperature to settle
5. Feed 50mm at 50mm/minute with manual command. See if filament is
coming out of the nozzle freely.
6. Done!
2. New polymer has lower melting point than the old one (i.e.: changing
from ABS to PLA)
1. Turn on heating for the desired nozzle, set it at current (old) filament
temperature
2. Remove filament following the same procedure used for filament change
3. Slowly feed in the new filament: can do it manually, or using front panel
commands, or the PC host software manual commands
4. As soon as you have started pushing out some filament from the nozzle,
decrease temperature to match the needed one for new filament.
5. DON'T WAIT for temperature to go down, otherwise you couldn't push out
of the extruder all the remains of old polymer.
6. Feed 50mm with manual command. See if filament is coming out of the
nozzle freely.
7. See if filament is coming out freely and without any remains of previous
filament.
8. Done!

Be sure you are running the latest firmware release
It is always better to have your machine running with
latest firmware: you get better performances and better
prints!
To assess wich firmware is loaded on your printer, use
Repetier Host (or any other printer management app,
that can show printer return codes) : 1. Connect printer to your
PC, turn both ON, then
start Repetier Host.
2. Be sure to have your
log ON (Fig.9), to show
printer return codes on
the lower screen area
3. Use the “manual
control” tab to send the
M505 command to the
printer
4. The printer should
return the current
loaded version (in Fig
11, is is 18.08.14)
5. If the firmware in your
machine is older than
the one currently available on your website, you should seriously consider
upgrading. It'FREE and it will surely improve your product usage. On first batch
machines, this command doesn't work: therefore it's one more reason to
upgrade!
Fig 9: Be sure to have your log ON !
Fig 10: Send the M505 command
Fig 11: Firmware version loaded on your
printer

Firmware upgrade ( indows PCs only, sorry!)
You should download the upload tool first:
http://3ntr.eu/wp-content/uploads/2014/08/XLoader.zip
The Xloader tool is © Geir Lunde: unzip it in any place you prefer on your HD, then
download the latest firmware for your printer from this page
http://3ntr.eu/?page_id=182
Before launching the firmware upgrade, you MUST quit any other program connected with
the printer (i.e.: Repetier Host).
Start the Xloader tool, you should get this small window pop up on your screen:
The first line is used to find the *.hex firmware file you downloaded from our site, the
second line (device) must be set to Mega(ATMEGA2560), then the COM port should be
set to the same COM port you use to connect with Repetier Host. Baud Rate is
automatically set to 115200 as you choose the above said device.
Click on Upload and wait: depending on your PC speed it may take a few minutes to
complete.
When completed, the bottom of the Xloader window will report the bytes successfully
uploaded.
Illustrazione 12: Xloader tool


Other manuals for A4 V2
1
Table of contents
Other 3ntr 3D Printer manuals