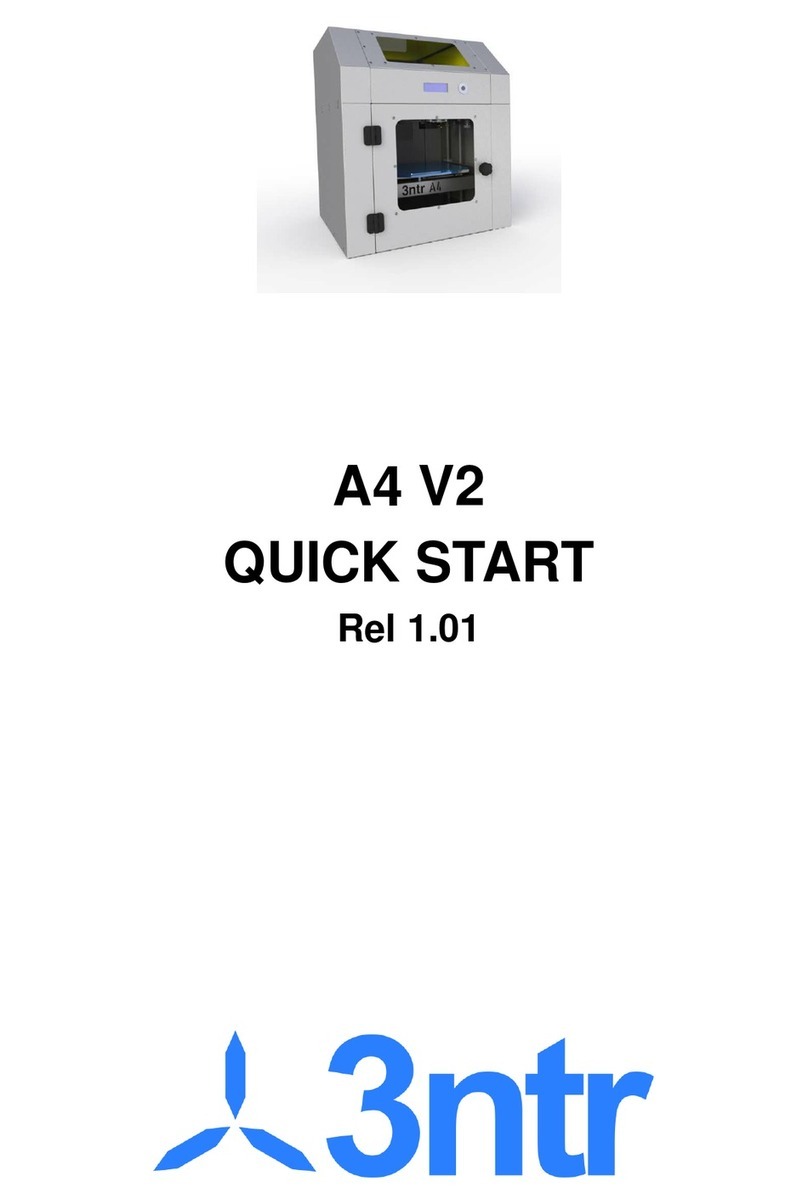
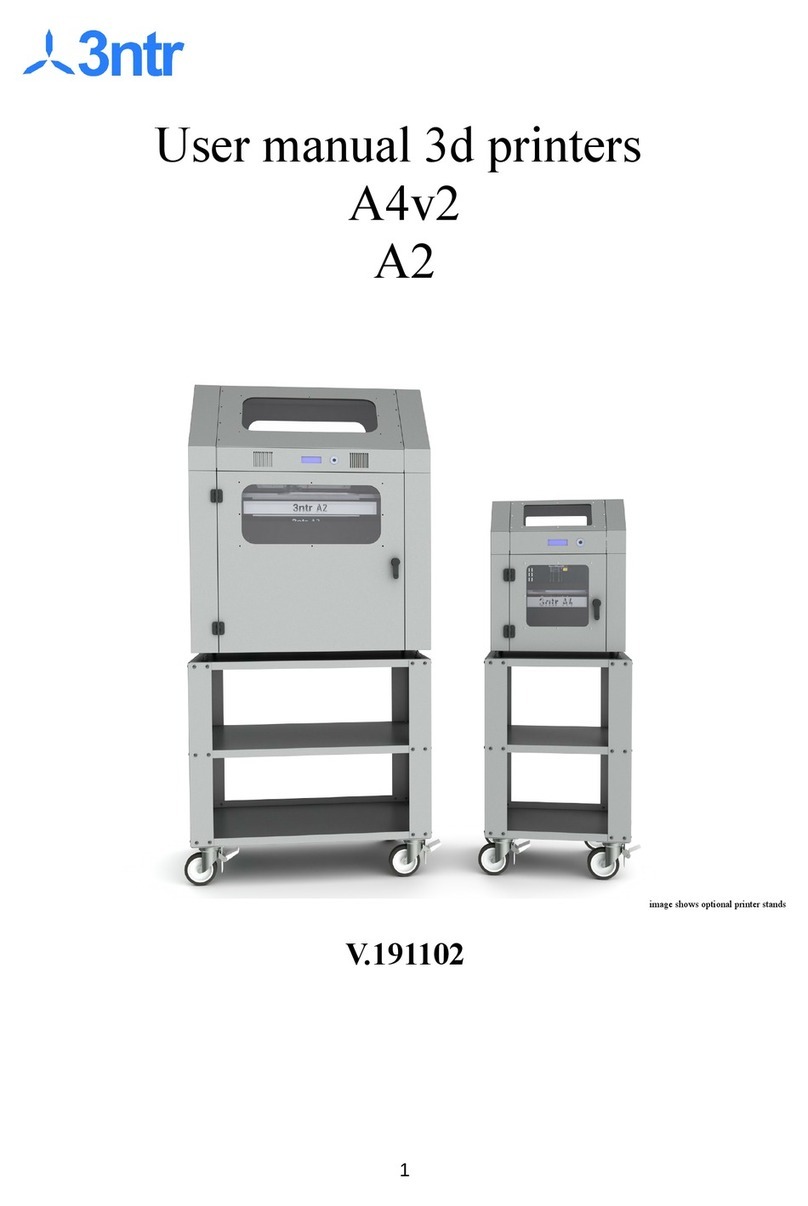
3ntr A4v3 User manual

User manual 3d printers
A4v3
A2v2
V.201015
1

Congratulations!
We want to thank you for the purchase and the trust you granted us.
The product you are going to use is the result of months spent into research, development and improvements
Our priority is letting you use a reliable tool, giving you years of trouble-free use.
This manual we will teach you all the use and maintenance duties you could face during the entire lifetime of
our printer(s): should you find any inaccuracy or simply need more information, feel absolutely free to contact
us at
info@3ntr.net
The manual has been prepared trying to list ALL the steps needed to perform each duty: it may look boring, but
we invite you to resist and read thoroughly before committing to machine use –you will be soon an expert user
with good knowledge avoiding delays and/or mistakes.
2

EC declaration of conformity
For the following products:
□A4v2 (3d printer)
□A4v3 (3d printer)
□A2v2 (3d printer)
□A00 (3d printer)
□QT (3d printer)
□F1 (filtering unit)
Manufactured by
Jdeal-Form srl
Via Montegiudeo 9
28047 Oleggio (No)
++39 0321 91528
We hereby declare on our sole responsibility that the products above are in compliance
with the essential requirements of directive EN 60335-1:2012-01 (safety of household and
similar electrical appliances), 2006/42/EC (machinery directive), 2006/95/EC (low voltage
directive) and 2004/108/EC (electromagnetic compatibility).
This is a class A product. In a domestic environment this product may cause radio
interference in which case the user may be required to take adequate measures.
Oleggio, 22/04/2015
Davide Ardizzoia / product manager 3d printers
3

Important safety advice
Your printer has been built with user safety as main concern, yet it must NOT be used by individuals with reduced mental
or physical abilities.
This printer is not a toy, is meant to be used by fully responsible and knowledgeable people and printing
area must be kept locked in presence of children or people with serious mental problems.
Safety issues to be considered:
•Risk of fire: don't turn on printer close to flammable substances. Don't use any flammable substance to
clean the machine inner parts. Do not use any spray product inside printer. Allow
correct printer ventilation: don't obstruct air inlets and outlets, keeping them free from
dust and other contaminants.
•Risk of toxic fumes: wrong temperature settings may cause toxic fumes emissions. Be sure to follow
guidelines and settings from supplier of your filament. Use printer in a well vented
room. If possible use machine smoke exhaust port.
•Electrocution: do not use in presence of condensing moisture and/or conductive dusts. Disconnect AC
power cord before accessing inner parts. Do not attempt any maintenance work on
electric or electromechanical parts. Promptly report any electrical malfunctioning
•Electromagnetic compliance: this is a class A product. In a domestic environment this product may
cause radio interference in which case the user may be required to take adequate
measures.
4

LIMITED WARRANTY
This Limited Warranty applies to Jdeal-Form products ( 3ntr A4 , 3ntr A2 ) (" Products") sold in the European Union,
Iceland , Liechtenstein, Norway and Switzerland after January 1st, 2014.
* CAUTION ! As from point (H) of this document, this Limited Warranty does not affect any legal rights under the
applicable national law. *
(A) Warranty: Jdeal-Form DECLARES and warrants that the Products shall substantially conform to the published
specifications published as from the date of delivery, subject to the terms and conditions below.
Consumable parts are not covered: filament, SD card, and removable trays. ("Supplies", defined as disposable products,
parts or components of the product, which are inherently subject to wear and tear during normal operation of the
product).
(B) Upgrade and Compatibility:
1. Firmware: Jdeal-Form is committed to make available any update firmware (microcode for machine management)
for standard machines produced. Any changes on the hardware required may preclude this possibility.
2. Hardware: compatible with technological development, Jdeal-Form communicate regularly on the site www.3ntr.net
the availability of updates and improvements to the hardware (mechanical parts) of the systems sold.
(C) The warranty claim is valid if the following conditions are met:
1. The notification must be issued within the end of the warranty period, as defined below;
2. Notification must be in accordance with any stipulation of additional collateral as defined below;
3. Shall be substantiated with proof of original purchase, including the serial number of the product.
(D) Handling of complaints:
1. Jdeal-Form will repair or replace hardware (or hardware parts) non-compliant, in a commercially reasonable time for
Jdeal-Form or his authorized representative as solely determined by Jdeal-Form or his representative
2. Jdeal-Form shall bear the cost of repair and / or replacement and shipping costs incurred therein, provided, however,
that the return is authorized by an RMA number, and that you have followed the correct procedures for returning
defective parts as from the documentation provided.
3. Spare parts and / or products will be new or reconditioned and will be provided on an exchange basis. If defective
parts are not returned, Jdeal-Form will issue an invoice for the parts provided. All replaced parts or products become
the property of Jdeal-Form.
(E) Guarantee Period: twelve months from the date of issue of the invoice.
(F) Exclusions: The obligations of the limited warranty does not cover physical damage caused by improper use during
transport, as well as normal wear and tear of use of the product. The limited warranty is void if the alleged defect in the
product was caused wholly or in part by:
1. Modifications, alterations or repairs
2. Parties or supplies that were installed without being approved by Jdeal-Form or his designated representative,
including without limitation the use of filaments not supplied by Jdeal-Form;including without limitation the use of
filaments not supplied or explicitly approved by Jdeal-Form or its local resellers.
5

3. Unusual physical or electrical stress
4. The abuse, misuse, accident, neglect
5. Exposure to moisture, flooding, fires, electrical problems associated with the input power or other acts which are not
related to Jdeal-Form
6. Failure to follow the procedures for maintenance or failure to follow instructions and / or the product documentation;
7. No coverage under this limited warranty will exist if Jdeal-Form has not been notified of the alleged defect or
malfunction prior to the expiration of the Warranty Period. Jdeal-Form shall proceed to a final determination regarding
the existence and cause of any alleged defect.
(G) How to obtain warranty service.
To make a claim under this Limited Warranty, please contact your authorized dealer where you purchased the product,
(H) Limitations / Warnings.
This limited warranty is sole and exclusive remedy by the end-user against Jdeal-Form where permitted by law and
subject to paragraph (h). Except for this limited warranty, Jdeal-Form provides no other warranties express or implied
with respect to the performance of any product. Without limiting the foregoing, all implied warranties, including
warranties of merchantability or fitness for a particular purpose, are excluded. Jdeal-Form disclaims all liability for
indirect, incidental, collateral, exemplary, punitive, special or consequential, including loss of use or loss of profits, even
if Jdeal-Form has been advised of the possibility of such claims or damages.
(I) statutory laws
1. Certain countries, regions, provinces do not allow the exclusion or limitation of remedies or incidental damages,
punitive or consequential damages, or the applicable terms, so the limitations or exclusions may not apply to you.
2. Except to the extent permitted by law, this limited warranty does not exclude, limit or modify the rights of law
applicable where the product is sold, rather it is in addition to these rights.
6

Unpacking
We carefully packaged your printer , to protect it from rough handling usually involved with international freight.
Therefore, if despite our efforts, you are being delivered a damaged package you should always refuse delivery
or put your remarks on the delivery bill.
During unpacking, NEVER use cutters: you risk piercing the packaging, therefore damaging content.
Follow this procedure:
1. Remove plastic straps, using scissors. To open wooden box, don't use crowbars: use a screwdriver
to remove cover and side panels
2. Remove cover
3. Remove packaging foam/bubbles
4. Remove packaging side panels
5. If a pedestal has been delivered, assemble it taking care to tighten ALL the bolts.
6. If you didn't buy a pedestal, be sure to select a desk/table that will be sturdy enough to support the
printer
7
Fig. 1: Shipping packaging removed

The box shipped inside the printer contains
•USB cable
•AC power cord
•3mm ABS spool
•3mm HIPS spool
•Spare cooling fluid
•Hex keys
•Filament feeder with PTFE piping
•Spool holders
Inside the printer you will also find the test report: don't discard it!
8
Fig. 2: What's in the box

Installation
Before committing to lifting printer from the shipment pallet, be sure to have the means to lift weights over 30 Kg:
•A4 printer: two people will suffice to lift it from ground level to the destination desktop
•A2 printer: best scenario is using a forklift to bring the pallet+printer at pedestal lever (approx 70cm) then three-
four people can lift the printer and position it at the destination placement
IMPORTANT: printers have several mechanical parts below lower plate, therefore DON'T LIFT the printer
alone with forklift or manual lift trucks
Before connecting AC power, you must mount the supplied devices –procedure is the same for both printer
models.
The spool holders need to be bolted on using the supplied 6mm hex key:
Before mounting it on the printer, each filament feeder needs
to be fitted with its PTFE piping.
Screw the pipe on the filament feeder as from fig. 4, taking
care that:
•pipe wont protrude inside feeder, therefore touching
the feeding roller
•piping won't be overtightened, stressing (and
possibly chocking) the PTFE pipe
9
Fig. 4: Mounting PTFE piping on filament feeder

A2 printer only: longest pipe is to be placed on feeder #1
(rightmost, when looking on the rear side).
After fitting PTFE piping on each filament feeder, you can
mount them on the printer, feeding the piping thru the
rear openings, just above each feeder position.
Each feeder has a “mandatory”position: refer to below
drawing to understand feeder placement on each printer
model
10
Fig. 5: PTFE piping must not touch feeding roller
Fig. 6: Feed PTFE in the rear openings
Fig. 7: Mounting feeder on printer

After placing fitting PTFE piping on filament feeder, you
can mount feeders on printer, feeding the PTFE piping
thru printer opening on the rear, above each feeder
position.
Each feeder has a “mandatory”position: please refer to
fig 7 and 8 for respective printer models.
Mount all filament feeders.
Plug cables to each feeder.
Feeder #1 (rightmost, when looking at rear side of printer)
has longer cabling, to allow its use with optional feeder
(SPFU) for use with soft polymers.
11
Fig. 8: Locking feeder on printer
Fig 9: lock feeder into rear “seating”holes
Fig 10: electrical wiring connection

When feeders are mounted and wired, you can connect
PTFE piping on extruders.
Open front panel (to do so, you have to remove four
screws using 2.5mm hex key)
Be sure that PTFE piping is untangled.
Front-side extruder is the #1, therefore has to be fitted
with leftmost PTFE piping (looking from frontal printer
area).
Connection is performed simply inserting PTFE pipe into
tube holder, pushing it until fully seated.
Perform same duty with remaining extruders, taking care
not to tangle piping.
12
Fig. 11: Front plate removal
Fig. 12: PTFE pipe routing
Fig. 13: Fit PTFE piping on extruders

Connect the printer using the supplied USB cable.
You can connect to your PC or to a printer server.
At first we recommend using a PC to better understand
basic machine use.
Just be sure to route USB cable away from sources of
electrical noise (such as power transformers, electric
motors, and other high power/high frequency devices)
Now connect the printer to your AC wall socket, and
you're ready to go.
13
Fig 14: Connect USB cable
Fig. 15: Plug in AC cable

Using the printer with your computer
We urge you to use a PC at least at the beginning: once you build enough experience then you will be able to switch to
more advanced printing methods (SD card, print servers).
Therefore you need to physically connect your PC to the printer (supported OS are Windows 7/8, Mac, Linux).
Be sure to use the shortest possible USB cable: long cables will pick up electrical noise (= transmission problems = lost
prints). Also, be sure to be using best possible quality cables (shielded).
Most operating systems will discover new devices and install for you the needed drivers: if your PC won't be able to offer
this capability, you can still download the drivers from this site:
http://www.ftdichip.com/Drivers/VCP.htm
Please refer to above web site for installation instructions on you specific PC architecture.
After making sure that your PC is connected to the printer, you can install printer management software.
Our choice goes to Repetier Host, being the most complete and advanced solution to perform any task you will ever need
to perform. We will therefore offer support just for this package: please download from Repetier website the most up-to-
date package for you operating system and follow supplied installation procedure.
Once software is properly installed and running, please select the language to be used: now onward we will use the
ENGLISH setup for the screen images. Clicking on PRINTER SETTINGS icon you will be shown the setup screens.
14
Fig 16: Repetier host language setting
Fig 17: Repetier Host -
printer setting

Connector: usually must be left on “Serial connection”.
Port: select the port you will use to connect to the printer. The above shown is just an example: according to
the periperals connected to your PC (inkjet printer, mouse, webcam, camera, smartphone,...), the printer will be
connected to a surely different port number. You can use the REFRESH PORTS button to force an immediate
update of available USB ports list.
Baud rate: set it to 250000
Other parameter must be left unchanged at default values (see fig.1).
15
Fig. 18: Connection parameters

We recommend to set printer defaults as from above figure.
You may want to un-check the following options:
•Send ETA to printer: this option is sending to the printer the time remaining printing time. It's a useful
option, but makes for a slight flickering of the LCD display (when printer updates the time left) that
can be disliked by some people. You can surely disable this option without regrets, if you want.
•Disable Extruder after Job/Kill: we recommend to leave ON this option. Otherwise, should your print
process finish Friday night and you leave you printer ON for the weekend, you may be getting extruder
jam, requiring a nozzles change on Monday (some polymers like PLA or PVA may seriously degrade in
few hours time).
•Disable heated bed after job/kill: if you disable this option, your heated bed will be constantly ON,
shortening therefore the time between different prints. Be careful, as this option will increase your
chances of burning your fingers, along with higher electricity bills. Keeping a pair of kitchen gloves
nearby will help.
16
Fig. 19: Printer parameters

This tab will let you set the extruder characteristics.
You must set the number of extruders available on your printer and each nozzle diameter (standard supply is
0.4mm but other sizes are available).
IMPORTANT: be sure to change preset color of each extruder (default is yellow for each one) to get easy
preview of the multi-extruder prints !
17
Fig. 20: Extruder control

This tab will let you set you the print area dimensions, using the values as from following table:
Xmin Xmax Pds Ymin Ymax Pdd Largh. Prof. Alt.
A2 0 610 0 0 350 0 610 350 500
A4 (2 ex) 0 300 0 0 200 0 300 200 200
A4 (3 ex) 0 300 0 0 175 0 300 175 200
.
Be sure that ALL the Home X/Y/Z settings are set to MIN: failing to do so you could not be able to use your printer!
18
Fig. 21: Printer shape

Printer use
Loading filament
Printer need filament: usually you can buy it wound up
on plastic spools and loading it on printers takes really
few steps.
We take the chance to remind you that to get best
results you should always stock filaments in a dry place
(soaked filament makes for steam during printing
process, degrading the quality), away from direct
sunlight and heat sources (that speed up polymer
degradation).
Remove spool from packaging and fit it on spool holder.
Secure the spool, applying some friction to avoid the
spool to unwind out of control (tangling).
To prepare the filament to be used, just two simple steps
are required:
1. Make a cone-like tip to the filament end, using
a pencil sharpener or a scissor, to improve
insertion process
2. Usually, filaments retain the spool curvature,
therefore straightening the filament's end (by
hand) will ease the insertion in feeding device.
19
Fig. 22: Rear printer side
Fig. 23: Secure spool
Fig. 24: Pencil sharpener

Using a pencil sharpener gets better results.
To feed filament:
1. Grab feeding device handle and lock it open
using the pivoting ring on the handle
2. Feed the filament into the hole on the lower
part of feeding device
3. Push in the filament until it stops, when it
reaches the extruder assembly
4. Release the locked feed handle
The knob above each feeding device sets the pressure on
the feeding roller: more pressure will improve traction but
will increase the chances of ruining the filament.
The pressure is set correctly when during feeding and
retraction the handle is not moving up and down
(symptom of feed roller “chewing”) the filament).
When looking at the feeders (rear printer side) the first
one is the rightmost.
When looking at the LCD panel (front printer side) the
first extruder is the one toward you.
20
Fig. 25: Cone tip
Fig. 26: Cone tip ends are easier to route inside
Fig. 28: Disengaged feeder (open position) Fig. 27: Engaged feeder (closed position)
This manual suits for next models
1
Table of contents
Other 3ntr 3D Printer manuals