Related documents
3AXD50000622467 Rev B EN 2021-04-20
Original instructions.
© Copyright 2021 ABB. All rights reserved.
ACS355 user’s manual ACS355 manual list Ecodesign information
(EU 2019/1781)
Fault codes
Entry of start-up data (parameter group 99)
If you have an assistant control panel, select the
language. See parameter
9901
for the values of
the available language alternatives.
Select the motor type (
9903
).
1(
AM
): Asynchronous motor
2(
PMSM
): Permanent magnet synchronous
motor.
With the basic control panel, set the parameter as follows:
1. Go to the Main menu: Press if the
bottom line shows OUTPUT. Otherwise press
repeatedly until you see MENU at the
bottom.
2. Press keys / until you see “PAr”.
3. Press . The panel changes to Parameter
mode. The display shows the number of one
of the parameter groups.
4.Find the correct parameter group (
99
) with
keys / .
5.Press . The display shows one of the
parameters in the selected group. Find the
correct parameter (
9903
) with keys /
.
6.Press and hold for approximately two
seconds until the parameter value is shown
with SET under the value. If necessary, change
the value with keys / .
7. Press to save the parameter value.
Select the application macro (
9902
) according
to how the control cables are connected.
The default value 1 (
ABB STANDARD
) is suitable
in most cases.
Select the motor control mode (
9904
).
1(
VECTOR: SPEED
) use in most cases
2(
VECTOR: TORQ
) use with torque control
3(
SCALAR: FREQ
) use if control accuracy is not
important, and for certain special cases. Not for
permanent magnet synchronous motors.
Enter the motor data from the motor nameplate: motor nominal voltage (
9905
),
nominal motor current (
9906
), motor nominal frequency (
9907
), motor nominal speed
(
9908
), motor nominal power (
9909
).
Select the motor identification method (
9910
).
The default value 0 (
OFF/IDMAGN
) using the
identification magnetization is suitable for
most applications. It is applied here. (Requires
also that
9904
is set to 1 (
VECTOR: SPEED
) or
2(
VECTOR: TORQ
)).
Identification magnetization with ID run selection 0 (OFF/IDMAGN)
Press key to switch to local control (LOC
shown on the display).
Press to start the drive. The motor model
is now calculated by magnetizing the motor for
10 … 15 s at zero speed.
Direction of motor rotation
Check the direction of the motor rotation:
1. If the drive is in remote control mode (REM
shown on the display), press to switch to
local control.
2. To go to the Main menu, press if the
bottom line shows OUTPUT. Otherwise press
repeatedly until you see MENU at the
bottom.
3. Press keys / until you see “rEF”
and press .
4.Increase the frequency reference from zero to
a small value with key .
5. Press to start the motor.
6.Make sure that the direction of the motor is
the same as shown on the display (FWD
means forward and REV reverse).
7. Press to stop the motor.
If necessary, change the direction of rotation:
Set the value of parameter
9914
to the opposite,
for example, from 0 (
NO
) to 1 (
YES
). This inverts
the phases. Do the check the again as described
above.
Speed limits and acceleration/deceleration times
Set the minimum speed (
2001
), maximum speed
(
2002
), acceleration time 1 (
2202
), and
deceleration time 1 (
2203
)
Saving user macro and final check
The start-up is now completed. To save the
parameter settings as a user macro, set
parameter
9902
to value
USER S1 SAVE
.
Make sure that there are no faults or alarms shown on the display.
Fault Description
0001 OVERCURRENT - The output current is higher than the trip limit.
0002 DC OVERVOLT - The intermediate circuit DC voltage is too high.
0003 DEV OVERTEMP - Drive IGBT temperature is too high.
0004 SHORT CIRC - There is a short-circuit in the motor cable(s) or motor.
0006 DC UNDERVOLT - The intermediate circuit DC voltage is too low.
0009 MOT OVERTEMP - The motor temperature is too high or the start-up data is
incorrect.
0016 EARTH FAULT - There is an earth (ground) fault in the motor or motor cable.
0022 SUPPLY PHASE - The intermediate circuit DC voltage oscillates because of a
missing input power line phase or a blown fuse.
0044 SAFE TORQUE OFF - The STO function is active. This fault is generated only if the
drive is configured with parameter
3025 STO OPERATION
to trip on a fault.
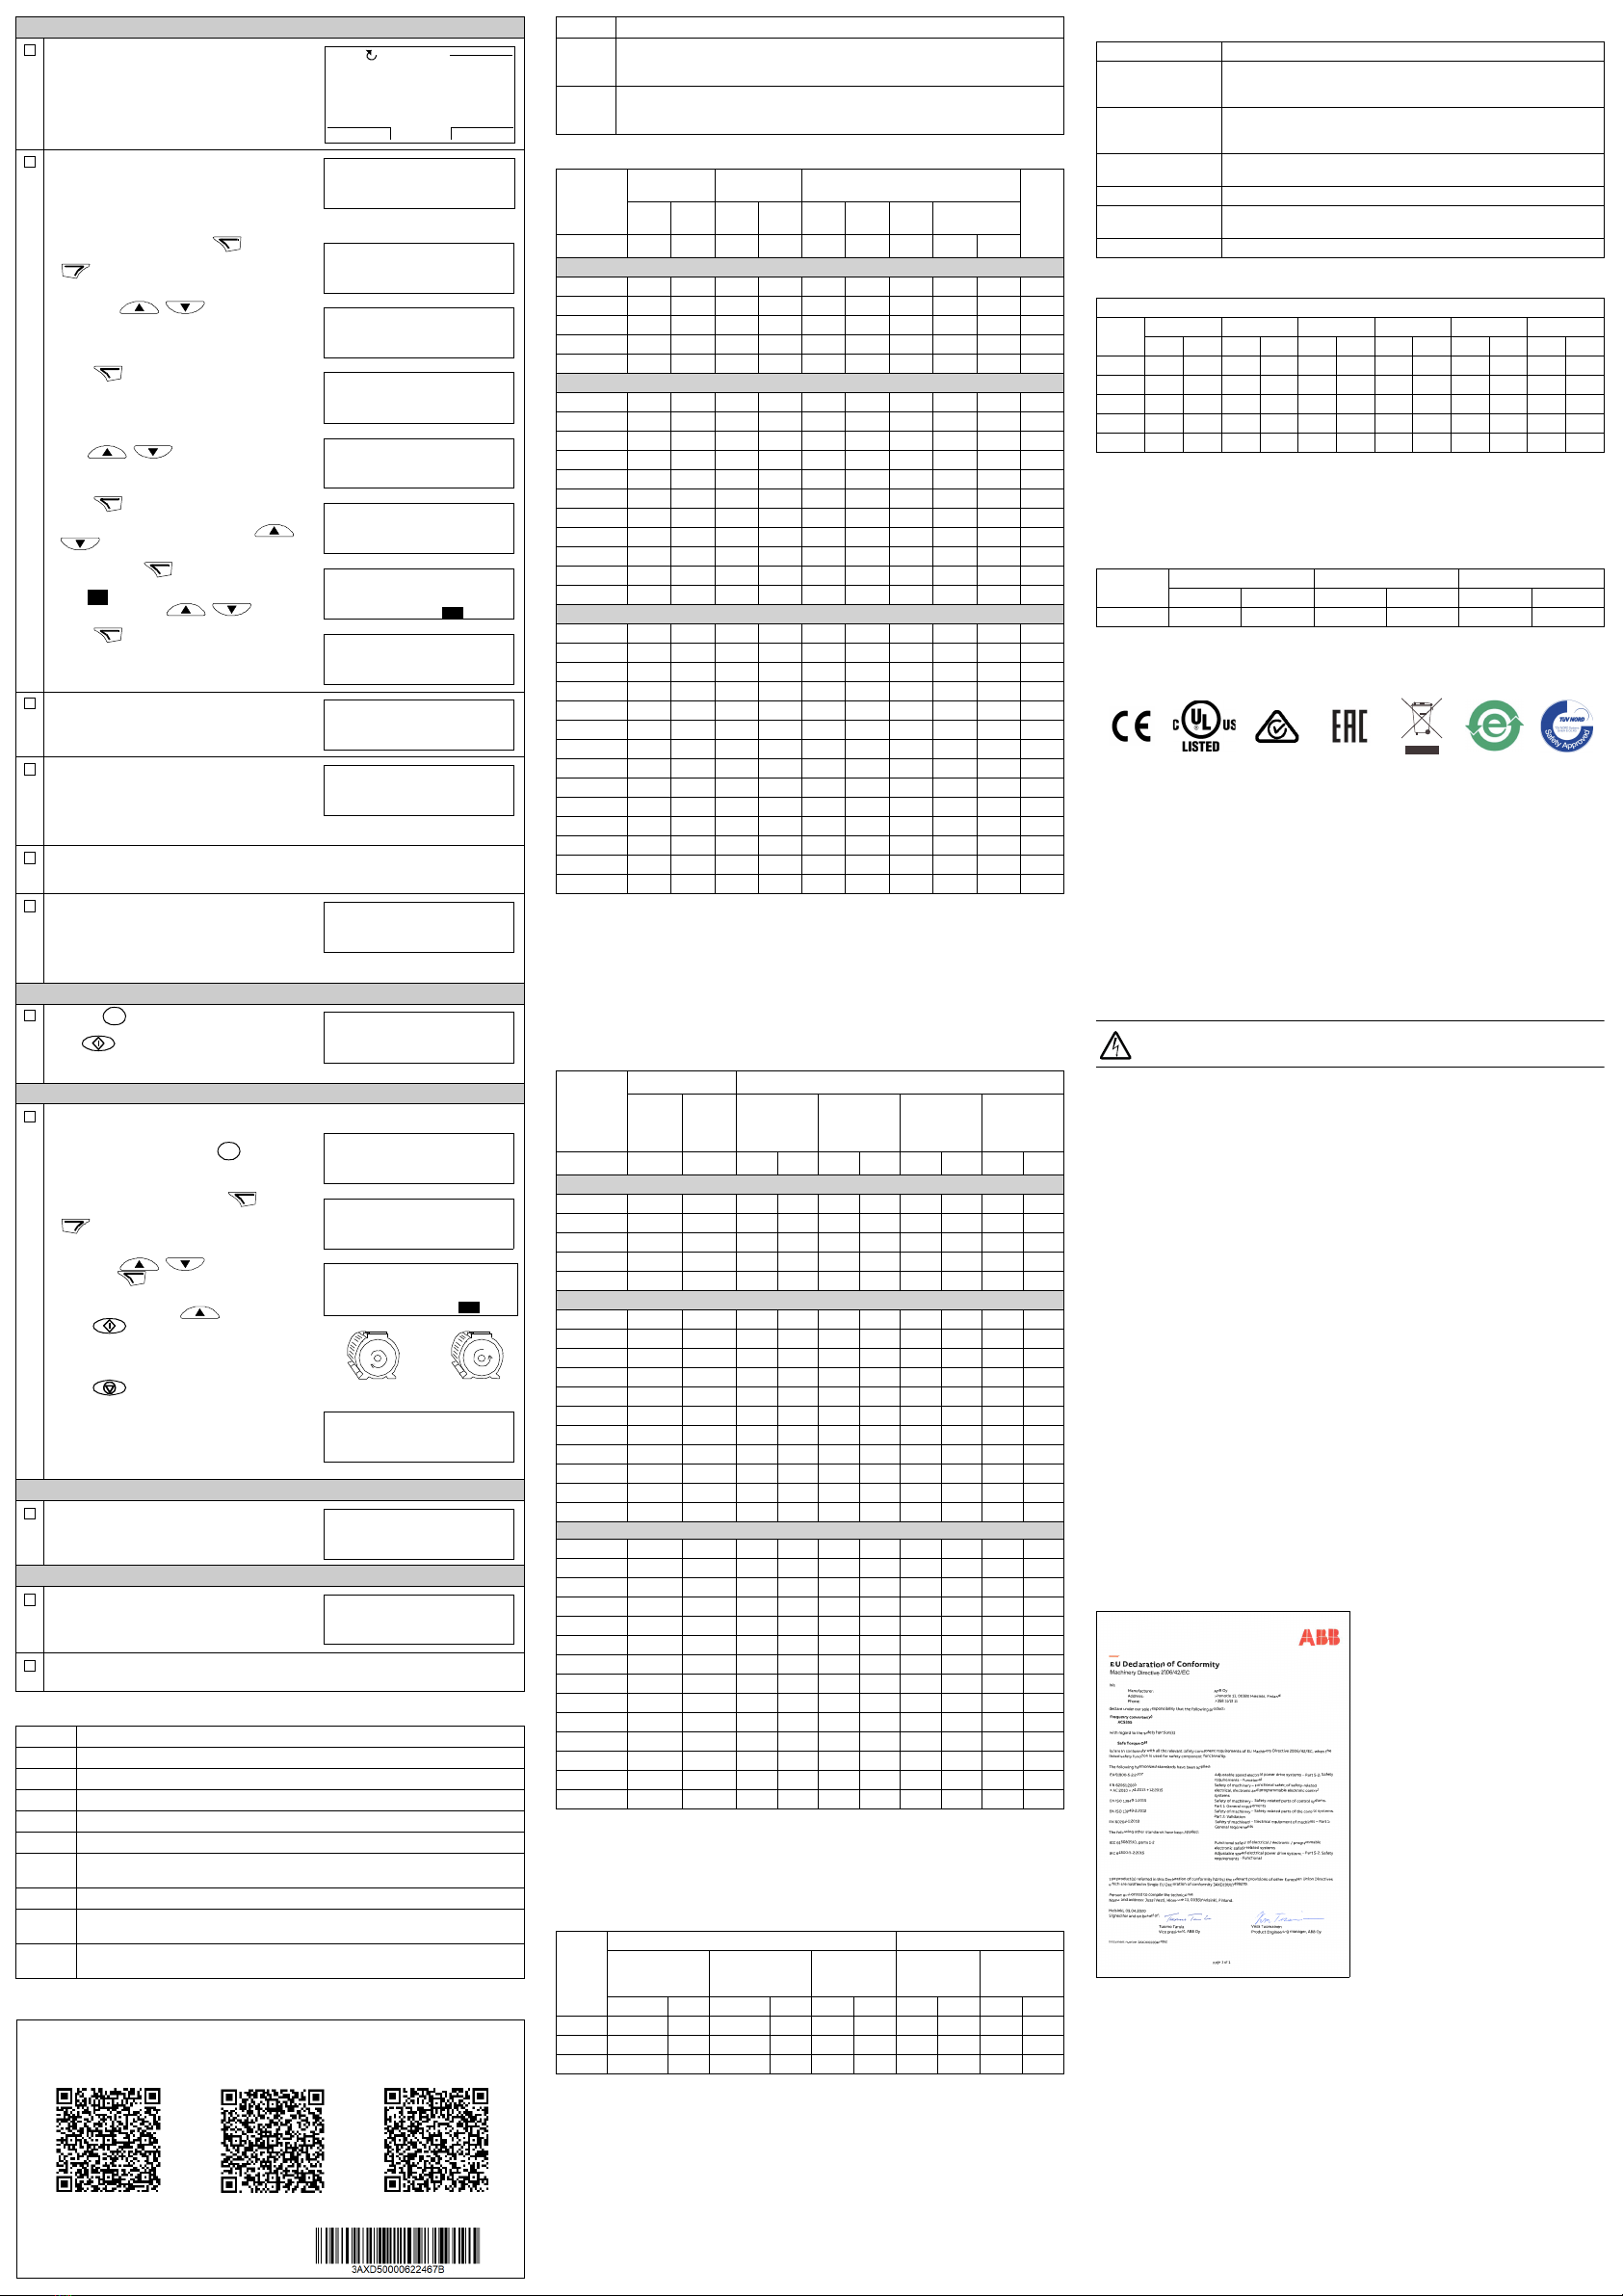
9901 LANGUAGE
CANCEL SAVE
00:00
PAR EDIT
[0]
ENGLISH
REM
Ratings
Fuses and typical power cable sizes
Terminal data for the power cables
Notes:
• The minimum specified wire size does not necessarily have sufficient current
carrying capacity at maximum load.
• The terminals do not accept a conductor that is one size larger than the
maximum specified wire size.
• The maximum number of conductors per terminal is 1.
0045 STO1 LOST (FFA1) - STO input channel 1 is energized, but channel 2 is de-
energized. This can be caused by a damaged opening contact on channel 1 or a
short-circuit.
0046 STO2 LOST (FFA2) - STO input channel 2 is energized, but channel 1 is de-
energized. This can be caused by a damaged opening contact on channel 2 or a
short-circuit.
ACS355-… Input Input with
choke
Output Frame
size
I
1N
I
1N
(480 V)
I
1N
I
1N
(480 V)
I
2N
I
2,1/10
I
2max
P
N
x = E/U AAAAAAAkWhp
1-phase
U
N= 230 V
01x-02A4-2 6.1 - 4.5 - 2.4 3.6 4.2 0.37 0.5 R0
01x-04A7-2 11 - 8.1 - 4.7 7.1 8.2 0.75 1 R1
01x-06A7-2 16 - 11 - 6.7 10.1 11.7 1.1 1.5 R1
01x-07A5-2 17 - 12 - 7.5 11.3 13.1 1.5 2 R2
01x-09A8-2 21 - 15 - 9.8 14.7 17.2 2.2 3 R2
3-phase
U
N= 230 V
03x-02A4-2 4.3 - 2.2 - 2.4 3.6 4.2 0.37 0.5 R0
03x-03A5-2 6.1 - 3.5 - 3.5 5.3 6.1 0.55 0.75 R0
03x-04A7-2 7.6 - 4.2 - 4.7 7.1 8.2 0.75 1 R1
03x-06A7-2 12 - 6.1 - 6.7 10.1 11.7 1.1 1.5 R1
03x-07A5-2 12 - 6.9 - 7.5 11.3 13.1 1.5 2 R1
03x-09A8-2 14 - 9.2 - 9.8 14.7 17.2 2.2 3 R2
03x-13A3-2 22 - 13 - 13.3 20.0 23.3 3 3 R2
03x-17A6-2 25 - 14 - 17.6 26.4 30.8 4 5 R2
03x-24A4-2 41 - 21 - 24.4 36.6 42.7 5.5 7.5 R3
03x-31A0-2 50 - 26 - 31 46.5 54.3 7.5 10 R4
03x-46A2-2 69 - 41 - 46.2 69.3 80.9 11.0 15 R4
3-phase
U
N= 400/480 V
03x-01A2-4 2.2 1.8 1.1 0.9 1.2 1.8 2.1 0.37 0.5 R0
03x-01A9-4 3.6 3.0 1.8 1.5 1.9 2.9 3.3 0.55 0.75 R0
03x-02A4-4 4.1 3.4 2.3 1.9 2.4 3.6 4.2 0.75 1 R1
03x-03A3-4 6.0 5.0 3.1 2.6 3.3 5.0 5.8 1.1 1.5 R1
03x-04A1-4 6.9 5.8 3.5 2.9 4.1 6.2 7.2 1.5 2 R1
03x-05A6-4 9.6 8.0 4.8 4.0 5.6 8.4 9.8 2.2 3 R1
03x-07A3-4 12 9.7 6.1 5.1 7.3 11.0 12.8 3 3 R1
03x-08A8-4 14 11 7.7 6.4 8.8 13.2 15.4 4 5 R1
03x-12A5-4 19 16 11 9.5 12.5 18.8 21.9 5.5 7.5 R3
03x-15A6-4 22 18 12 10 15.6 23.4 27.3 7.5 10 R3
03x-23A1-4 31 26 18 15 23.1 34.7 40.4 11 15 R3
03x-31A0-4 52 43 25 20 31 46.5 54.3 15 20 R4
03x-38A0-4 61 51 32 26 38 57 66.5 18.5 25 R4
03x-44A0-4 67 56 38 32 44 66 77.0 22.0 30 R4
I
1N continuous rms input current (for dimensioning cables and fuses)
I
1N (480 V) continuous rms input current (for dimensioning cables and fuses) for drives with
480 V input voltage
I
2N continuous rms current. 50% overload is permitted for one minute every ten
minutes.
I
2,1/10 maximum (50% overload) current permitted for one minute every ten minutes
I
2max maximum output current. Available for two seconds at start.
P
Ntypical motor power (nominal use). The kilowatt ratings apply to most IEC 4-pole
motors. The horsepower ratings apply to most NEMA 4-pole motors.
ACS355-… Fuses Size of conductor (Cu)
gG UL Class
T or CC
(600 V)
1) 2)
1) Use the specified fuses to maintain the IEC/EN/UL 61800-5-1 listing.
2) The drive is suitable for use on a circuit capable of delivering not more than 100000
symmetrical amperes (rms) at 480 V maximum when protected by the fuses given in this
table.
Input
(U1, V1, W1)
Motor
(U2, V2, W2)
PE Brake
(BRK+, BRK-)
x = E/U AAmm
2AWG mm2AWG mm2AWG mm2AWG
1-phase
U
N= 230 V
01x-02A4-2 10 10 2.5 14 0.75 18 2.5 14 2.5 14
01x-04A7-2 16 20 2.5 14 0.75 18 2.5 14 2.5 14
01x-06A7-2 16/20 3)
3) For 50% overload capacity, use the larger fuse alternative.
25 2.5 10 1.5 14 2.5 10 2.5 12
01x-07A5-2 20/253) 30 2.5 10 1.5 14 2.5 10 2.5 12
01x-09A8-2 25/353) 35 6102.512610612
3-phase
U
N= 230 V
03x-02A4-2 10 10 2.5 14 0.75 18 2.5 14 2.5 14
03x-03A5-2 10 10 2.5 14 0.75 18 2.5 14 2.5 14
03x-04A7-2 10 15 2.5 14 0.75 18 2.5 14 2.5 14
03x-06A7-2 16 15 2.5 12 1.5 14 2.5 12 2.5 12
03x-07A5-2 16 15 2.5 12 1.5 14 2.5 12 2.5 12
03x-09A8-2 16 20 2.5 12 2.5 12 2.5 12 2.5 12
03x-13A3-225 30 6106106102.512
03x-17A6-225 35 6106106102.512
03x-24A4-2 63 60 10 8 10 8 10 8 6 10
03x-31A0-2 80 80 16 6 16 6 16 6 10 8
03x-46A2-2 100 100 25 2 25 2 16 4 10 8
3-phase
U
N= 400/480 V
03x-01A2-4 10 10 2.5 14 0.75 18 2.5 14 2.5 14
03x-01A9-4 10 10 2.5 14 0.75 18 2.5 14 2.5 14
03x-02A4-4 10 10 2.5 14 0.75 18 2.5 14 2.5 14
03x-03A3-4 10 10 2.5 12 0.75 18 2.5 12 2.5 12
03x-04A1-4 16 15 2.5 12 0.75 18 2.5 12 2.5 12
03x-05A6-4 16 15 2.5 12 1.5 14 2.5 12 2.5 12
03x-07A3-4 16 20 2.5 12 1.5 14 2.5 12 2.5 12
03x-08A8-4 20 25 2.5 12 2.5 12 2.5 12 2.5 12
03x-12A5-425 30 6106106102.512
03x-15A6-4 35 35 6 8 6 8 6 8 2.5 12
03x-23A1-4 50 50 10 8 10 8 10 8 6 10
03x-31A0-4 80 80 16 6 16 6 16 6 10 8
03x-38A0-4 100 100 16 4 16 4 16 4 10 8
03x-44A0-4100 100254254164108
Frame
size
U1, V1, W1, U2, V2, W2, BRK+, BRK- PE
Min. wire size
(solid/stranded)
Max. wire size
(solid/stranded)
Tightening
torque
Max. wire size
(solid or
stranded)
Tightening
torque
mm2AWG mm2AWG N·m lbf·in mm2AWG N·m lbf·in
R0…R2 0.25/0.2 24 6.0/4.0 10 0.8 7 25 3 1.2 11
R3 0.5 20 16.0/10.0 6 1.7 15 25 3 1.2 11
R4 0.5 20 35.0/25.0 2 2.5 22 25 3 1.2 11
Fault Description Ambient conditions
Dimensions and weights
Free space requirements
Markings
The applicable markings are shown on the type designation label.
Safe torque off (STO)
The drive has a Safe torque off function (STO) in accordance with IEC/EN
61800-5-2. It can be used, for example, as the final actuator device of safety
circuits that stop the drive in case of danger (such as an emergency stop
circuit).
When activated, the STO function disables the control voltage of the power
semiconductors of the drive output stage, thus preventing the drive from
generating the torque required to rotate the motor. The control program
generates an indication as defined by parameter
3025.
If the motor is running
when Safe torque off is activated, it coasts to a stop. Closing the activation
switch deactivates the STO. Any faults generated must be reset before
restarting.
The STO function has a redundant architecture, that is, both channels must be
used in the safety function implementation. The safety data given is calculated
for redundant use, and does not apply if both channels are not used.
WARNING! The STO function does not disconnect the voltage from the
main and auxiliary circuits of the drive.
Notes:
•If stopping by coasting is not acceptable, stop the drive and machinery
using the appropriate stop mode before activating the STO.
•The STO function overrides all other functions of the drive.
Wiring
The safety contacts must open/close within 200 ms of each other.
Double-shielded twisted-pair cable is recommended for the connection. The
maximum length of the cabling between the switch and the drive control unit is
300 m (1000 ft). Ground the shield of the cable at the control unit only.
Validation
To ensure the safe operation of a safety function, a validation test is required.
The test must be carried out by a competent person with adequate expertise
and knowledge of the safety function. The test procedures and report must be
documented and signed by this person. Validation instructions of the STO
function can be found in the drive hardware manual.
Technical data
•Minimum voltage at IN1 and IN2 to be interpreted as “1”: 13 V DC
•STO reaction time (shortest detectable break): 10 microseconds
•STO response time: 2 ms (typical), 5 ms (maximum)
•Fault detection time: Channels in different states for longer than 200 ms
•Fault reaction time: Fault detection time + 10 ms
•STO fault indication (parameter
3025
) delay: < 200 ms
•STO warning indication (parameter
3025
) delay: < 200 ms
•Safety integrity level (EN 62061): SIL 3
•Performance level (EN ISO 13849-1): PL e
The drive STO is a type A safety component as defined in IEC 61508-2.
For the full safety data, exact failure rates and failure modes of the STO
function, refer to the drive hardware manual.
Declarations of Conformity
Requirement During operation (installed for stationary use)
Installation altitude 0 … 2000 m (0 … 6562 ft) above sea level. The rated output current
must be derated by 1% for each 100 m (328 ft) above 1000 m
(3281 ft).
Surrounding air
temperature
-10 … +50 °C (14 … 122 °F). No frost permitted. The rated output
current must be derated by 1% for each 1 °C (1.8 °F) above 40 °C
(104 °F).
Relative humidity 0 … 95%. No condensation permitted. Maximum permitted relative
humidity is 60% in the presence of corrosive gases.
Contamination levels No conductive dust permitted
Shock (IEC 60068-2-
27, ISTA 1A)
Not permitted
Free fall Not permitted
IP20 / UL open type
Frame
size
H1 H2 H3 W D Weight
mm in mm in mm in mm in mm in kg lb
R0 169 6.65 202 7.95 239 9.41 70 2.76 161 6.34 1.2 2.6
R1 169 6.65 202 7.95 239 9.41 70 2.76 161 6.34 1.4 3.0
R2 169 6.65 202 7.95 239 9.41 105 4.13 165 6.50 1.8 3.9
R3 169 6.65 202 7.95 236 9.29 169 6.65 169 6.65 3.1 6.9
R4 181 7.13 202 7.95 244 9.61 260 10.24 169 6.65 5.2 11.5
H1 height without fastenings or clamping plate
H2 height with fastening and without clamping plate
H3 height with fastenings and clamping plate
Wwidth
Ddepth
Frame size Above Below Sides
mm in mm in mm in
All 75 3 75 3 0 0
CE UL RCM EAC WEEE EIP green TÜV Nord


