manuals.online logo
Brands
  1. Home
  2. •
  3. Brands
  4. •
  5. ABB
  6. •
  7. Other
  8. •
  9. ABB EP010 Quick start guide

ABB EP010 Quick start guide

Other manuals for EP010

1

Other ABB Other manuals

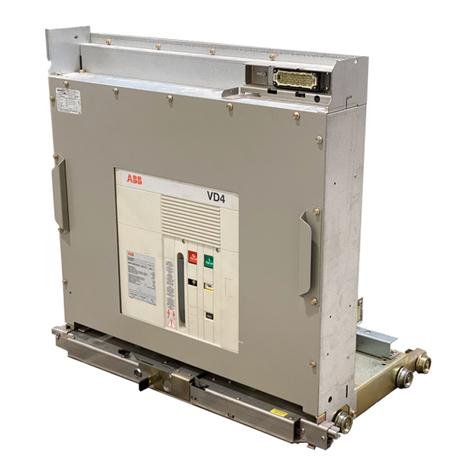
ABB VD4 12 Quick guide

ABB

ABB VD4 12 Quick guide

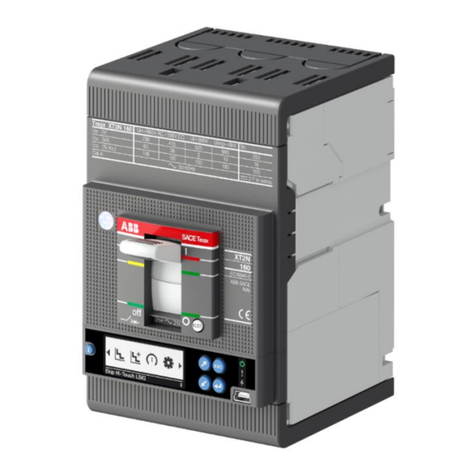
ABB SACE Tmax XT2 User manual

ABB

ABB SACE Tmax XT2 User manual

ABB CM-MPS.11 User manual

ABB

ABB CM-MPS.11 User manual

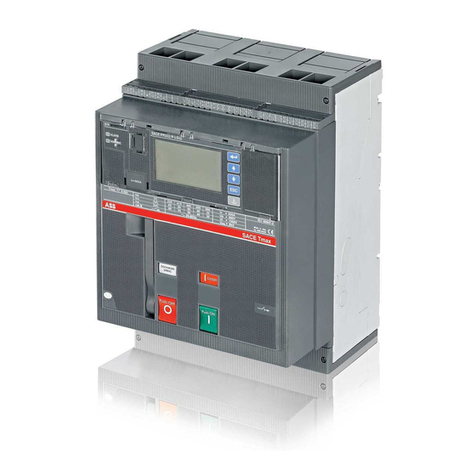
ABB Tmax T7 User manual

ABB

ABB Tmax T7 User manual

ABB MREL-01 User manual

ABB

ABB MREL-01 User manual

ABB REX 521 Use and care manual

ABB

ABB REX 521 Use and care manual

ABB MICRO-51 User manual

ABB

ABB MICRO-51 User manual

ABB SACE Tmax XT UL User manual

ABB

ABB SACE Tmax XT UL User manual

ABB VD4 Series User manual

ABB

ABB VD4 Series User manual

ABB REM 610 User manual

ABB

ABB REM 610 User manual

ABB REF 542plus Product manual

ABB

ABB REF 542plus Product manual

ABB REM 610 User manual

ABB

ABB REM 610 User manual

ABB RELION REF610 Product manual

ABB

ABB RELION REF610 Product manual

ABB SPAA 341 C /E351 User manual

ABB

ABB SPAA 341 C /E351 User manual

ABB REG650 ANSI User manual

ABB

ABB REG650 ANSI User manual

ABB SACE Emax E1.2 Quick start guide

ABB

ABB SACE Emax E1.2 Quick start guide

ABB REX 521 Use and care manual

ABB

ABB REX 521 Use and care manual

ABB REM 610 Product manual

ABB

ABB REM 610 Product manual

ABB REU 610 Product manual

ABB

ABB REU 610 Product manual

ABB Vmax 12 Quick guide

ABB

ABB Vmax 12 Quick guide

ABB AMVAC Quick start guide

ABB

ABB AMVAC Quick start guide

ABB Relion RER615 User manual

ABB

ABB Relion RER615 User manual

ABB RET620 User manual

ABB

ABB RET620 User manual

ABB REC650 ANSI User manual

ABB

ABB REC650 ANSI User manual

Popular Other manuals by other brands

Opticon EduMic Compatibility guide

Opticon

Opticon EduMic Compatibility guide

Kessil A360W owner's manual

Kessil

Kessil A360W owner's manual

TEFAL ULTRA COMPACT MIXER manual

TEFAL

TEFAL ULTRA COMPACT MIXER manual

Martin Audio WS18X - SCHEMATICS manual

Martin Audio

Martin Audio WS18X - SCHEMATICS manual

Hendrickson AR2 series Service instructions

Hendrickson

Hendrickson AR2 series Service instructions

GO Industries 38017 installation instructions

GO Industries

GO Industries 38017 installation instructions

Cissell 30LBCMAN2 manual

Cissell

Cissell 30LBCMAN2 manual

RIDGID K-60SP manual

RIDGID

RIDGID K-60SP manual

Gage Bilt GB751SH-5 Original instructions

Gage Bilt

Gage Bilt GB751SH-5 Original instructions

OVE SIERRA 60 installation manual

OVE

OVE SIERRA 60 installation manual

ReelCraft 7800 OLB21 operating instructions

ReelCraft

ReelCraft 7800 OLB21 operating instructions

Body Armor 4x4 ECO-SERIES user manual

Body Armor 4x4

Body Armor 4x4 ECO-SERIES user manual

ROBLIN DROP Dimensions

ROBLIN

ROBLIN DROP Dimensions

EMG EMG-ACB BARREL Installation information

EMG

EMG EMG-ACB BARREL Installation information

MiniSolar MT-150 Assembling Guide

MiniSolar

MiniSolar MT-150 Assembling Guide

Parkside PSZ 250 B2 Operation and safety notes

Parkside

Parkside PSZ 250 B2 Operation and safety notes

Tyent ACE-13 user manual

Tyent

Tyent ACE-13 user manual

Parkside 55992 translation of original operation manual

Parkside

Parkside 55992 translation of original operation manual

manuals.online logo
manuals.online logoBrands
  • About & Mission
  • Contact us
  • Privacy Policy
  • Terms and Conditions

Copyright 2025 Manuals.Online. All Rights Reserved.

# Meaning Description
1. No device communication No device physically connected OR message CRC error
2. Wrong device connected The connected device Slave ID is NOT the right one
3. Device not initialised The connected device has not been correctly initialised at the
end of manufacturing (where applicable - see device dependent sections)
4. Internal configuration map error Software configuration tables bug
5. Wrong parameter number The requested parameter number doesn’t exist (only for writing operation)
6. Wrong parameter value The parameter value is not allowed (only for writing operation)
7. Command not executed The command is correctly received by the EP010 but it’s not possible to
send it to the device (e.g. the device is not connected).
8. Watchdog fault Start-up diagnostics
9. Modbus UART fault Start-up diagnostics
10. RS 485 driver fault Start-up diagnostics
Table 5.Diagnostic codes
6 Diagnostic & Troubleshooting
6.1 Diagnostic
There are two different type of diagnostic information:
1. local, by FAULT LED flashing
2. remote, by diagnostic information available from FBP
When the FAULT LED flashes at least one of the following conditions is verified
6.2 Troubleshooting
Depending on the status and behaviour of the LEDs it’s possible to get locally some
information:
# Symptom Diagnosis
1. Some or all LEDs still ON after start-up sequence SW/HW bug
2. - TX LED flashes (very fast) and No response from the device
- FAULT LED flashes at 2 Hz and
- FBP LED flashes at 2 Hz
3. FAULT LED flashes at 2 Hz - Previously detected fault and
- no communication with the FBP
Table 6. Troubleshooting
NOTE: the PWR LED is always ON if EP010 is powered.
1SDH000509R0001
L3116
EP010
ABB SACE
N° Pag.
4/4
EP010: INSTALLATION, USE AND DISINSTALLATION PROCEDURES
INDEX FIGURES INDEX
INSTALLATION INSTRUCTIONS ............ 1 Figure 1. Terminals, indicators and operating
elements on the front plate ............................. 1
Figure 2. Dimensions for mounting ................. 2
1 DESCRIPTION .................................... 2
2 Replacement of a defective EP010 ...... 2 TABLES INDEX
3 Mechanical data .................................. 2 Table 1. Modbus port terminals ...................... 1
4 Start-up ............................................... 3 Table 2. Device communication parameters ...2
5 Run state ............................................. 3 Table 3. Start-up LEDs sequence ...................3
6 Diagnostics & Troubleshooting ............ 4 Table 4. Normal LEDs behaviour .................... 3
6.1 Diagnostic .......................................... 4 Table 5. Diagnostic codes .............................. 4
6.2 Troubleshooting .................................. 4 Table 6. Troubleshooting ................................. 4
Installation Instructions
This document describes the installation, use and disinstallation procedures of EP010
program further named as program.
For more information see document. n.1SDH000510R0001.
1 Description
Figure 1. Terminals, indicators and operating elements on the front plate
Table 1. Modbus port terminals
TERMINAL NAME MODBUS CABLE
L (left) A
1 (right) B
1SDH000509R0001
L3116
EP010
ABB SACE
N° Pag.
1/4
Please note that NO communication between FBP and EP010 is active if there
is a failure on the relevant serial channel (UART).
Total length of the Modbus cable from EP010 to connected device has to
be less or equal to 1 m.
Protective
Earth
Power supply (24V DC) for EP010 comes from the FBP.
Connected Modbus device, however, must be independently powered.
Protective Earth (PE) must be connected to earth.
Suitable ABB field bus plug types DeviceNet yes
PROFIBUS DP yes
Connected device communication parameters have to be:
Table 2. Device communication parameters
2 Replacement of a defective EP010
A defective EP010 can be replaced without any problems. After disconnecting
Modbus cables and the FieldBusPlug, the EP010 can be dismounted and replaced.
3 Mechanical Data
Figure 2. Dimensions for mounting
Slave Address 247 (0xF7)
Baudrate 19200
Parity Even
Stop bits 1
Addressing Type (where applicable) Standard
Mounting on DIN rail according to DIN EN 50022-35
The DIN rail is positioned
aligned between the top edge
and the lower edge of the unit.
Width x Height x Depth 36 x 90 x 62 mm
Conductor cross section max. 2.5 mm2
Weight 0.102 kg
Dimensions for mounting refer to the following figure
1SDH000509R0001
L3116
EP010
ABB SACE
N° Pag.
2/4
4 Start-up
At power up or after a reset, beginning with all the LEDs switched OFF, a diagnostic
process starts and the following sequence is performed:
Table 3. Start-up LEDs sequence
Then all LEDs stay ON for about 500 ms. After this time:
1. all the LEDs are switched OFF
2. the WD LED flashes a number of times depending on the device that can be
connected on the Modbus Port
3. the EP010 enters in Run state.
The total start-up time is less than 3 [s].

5 Run State
The table reports the normal behaviour of LEDs in this state.
(1) If the FBP is disconnected, the EP010 is powered off.
After a failure has been detected and signalled, the FAULT LED continues flashing until:
1. the FBP is communicating with the EP010 (and then the EP010 is communicating with
the device using the Modbus port) and the fault is removed OR
2. the EP010 is power off (i.e. the FBP is disconnected) or reset.
Step LED Colour ON
1 WD Red Power-on
2 RX Green RAM and Code Tests passed
3 FBP Green External clock ready
4 FAULT Yellow Diagnostic completed
5 TX Green Ready
LED Colour ON OFF GENERIC FLASHING
PWR Green FBP connected FBP disconnected (1)
WD Red Watchdog expired
TX Green FBP doesn’t communicate FBP communicates AND
communicate with EP010 Modbus query to PU sending
RX Green FBP doesn’t communicate FBP communicates AND
with EP010 OR no response Modbus response from
from PU (if TX flashes) PU receiving
FAULT Yellow See section 6
FBP Green FBP doesn’t communicate FBP communicates with EP010
with EP010
Table 4. Normal LEDs behaviour
1SDH000509R0001
L3116
EP010
ABB SACE
N° Pag.
3/4
Installation and maintenance have to be performed according to the technical
rules, codes and relevant standards e.g. EN 60204 part 1 by skilled
electricians only.
Remember that the address associated to the device via the EP010 is stored
into the FBP. Therefore, after installation, the new EP010 takes on the same
address as the replaced one.