manuals.online logo
Brands
  1. Home
  2. •
  3. Brands
  4. •
  5. ABC Design
  6. •
  7. Stroller
  8. •
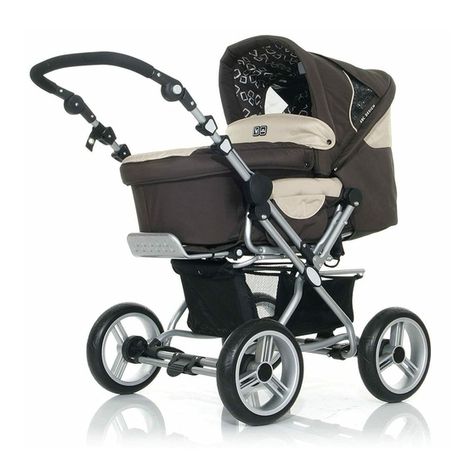
  9. ABC Design Pramy Luxe User manual

ABC Design Pramy Luxe User manual

Other manuals for Pramy Luxe

1

Other ABC Design Stroller manuals

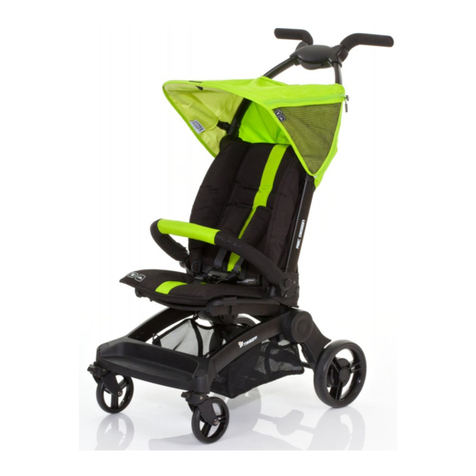
ABC Design Take Off User manual

ABC Design

ABC Design Take Off User manual

ABC Design Turbo 6 S User manual

ABC Design

ABC Design Turbo 6 S User manual

ABC Design Cobra PLUS User manual

ABC Design

ABC Design Cobra PLUS User manual

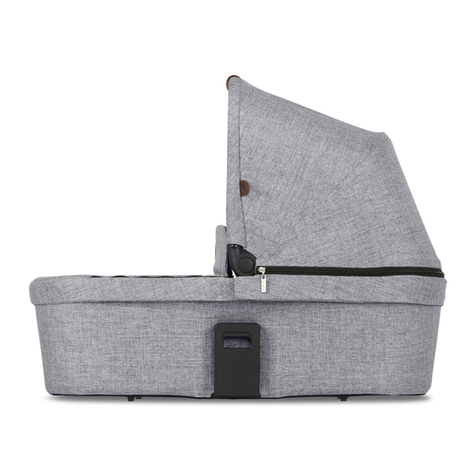
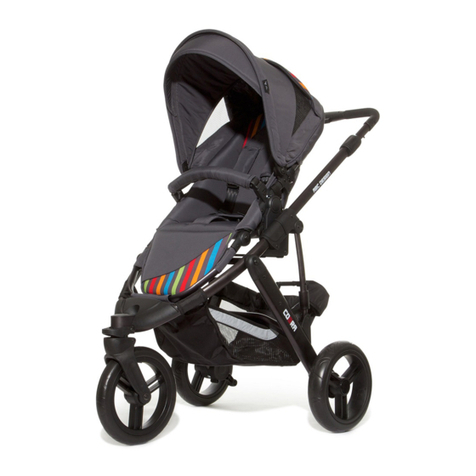
ABC Design ZOOM AIR User manual

ABC Design

ABC Design ZOOM AIR User manual

ABC Design Mamba User manual

ABC Design

ABC Design Mamba User manual

ABC Design Pramy Luxe User manual

ABC Design

ABC Design Pramy Luxe User manual

ABC Design CONDOR User manual

ABC Design

ABC Design CONDOR User manual

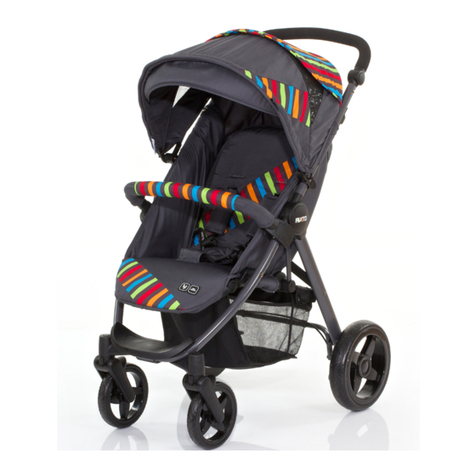
ABC Design Avito User manual

ABC Design

ABC Design Avito User manual

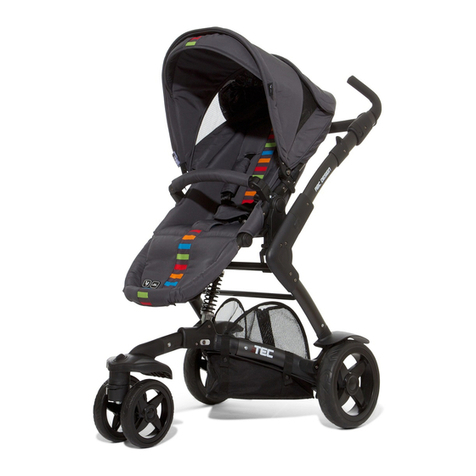
ABC Design 3 Tec User manual

ABC Design

ABC Design 3 Tec User manual

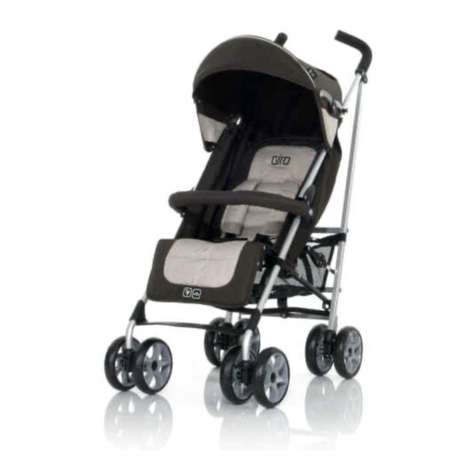
ABC Design Giro User manual

ABC Design

ABC Design Giro User manual

ABC Design ZOOM AIR User manual

ABC Design

ABC Design ZOOM AIR User manual

ABC Design Turbo 4S User manual

ABC Design

ABC Design Turbo 4S User manual

ABC Design Salsa 4 User manual

ABC Design

ABC Design Salsa 4 User manual

ABC Design Tandem User manual

ABC Design

ABC Design Tandem User manual

ABC Design circle Milano User manual

ABC Design

ABC Design circle Milano User manual

ABC Design AVUS AIR User manual

ABC Design

ABC Design AVUS AIR User manual

ABC Design Mamba 6970 User manual

ABC Design

ABC Design Mamba 6970 User manual

ABC Design Condor 4S User manual

ABC Design

ABC Design Condor 4S User manual

ABC Design Astro User manual

ABC Design

ABC Design Astro User manual
ABC Design PING User manual

ABC Design

ABC Design PING User manual

ABC Design Condor 4S User manual

ABC Design

ABC Design Condor 4S User manual

ABC Design Cobra User manual

ABC Design

ABC Design Cobra User manual

ABC Design Mamba User manual

ABC Design

ABC Design Mamba User manual

ABC Design Primo User manual

ABC Design

ABC Design Primo User manual
Popular Stroller manuals by other brands

UPPAbaby Minu manual

UPPAbaby

UPPAbaby Minu manual

Summer Ume Lite instruction manual

Summer

Summer Ume Lite instruction manual

CASUALPLAY Optim instructions

CASUALPLAY

CASUALPLAY Optim instructions

Cube JANE nurce instructions

Cube

Cube JANE nurce instructions

Hauck Priya Trioset Instructions for use

Hauck

Hauck Priya Trioset Instructions for use

Dreamer Design Rebound GST instruction manual

Dreamer Design

Dreamer Design Rebound GST instruction manual

Britax STEELCRAFT AGILE manual

Britax

Britax STEELCRAFT AGILE manual

Graco 7427 owner's manual

Graco

Graco 7427 owner's manual

OBaby Aura instruction manual

OBaby

OBaby Aura instruction manual

Tutek Tirso instruction manual

Tutek

Tutek Tirso instruction manual

Babify Dual Plus manual

Babify

Babify Dual Plus manual

Graco Stroller user guide

Graco

Graco Stroller user guide

Chicco CORTINA TOGETHER TWO-PASSENGER STROLLER owner's manual

Chicco

Chicco CORTINA TOGETHER TWO-PASSENGER STROLLER owner's manual

Otto Bock Kimba neo Instructions for use

Otto Bock

Otto Bock Kimba neo Instructions for use

Milly Mally ROYAL Operational manual

Milly Mally

Milly Mally ROYAL Operational manual

Hauck DUETT 3 PRAM Instructions for use

Hauck

Hauck DUETT 3 PRAM Instructions for use

BabyGo STYLE Assembly instructions

BabyGo

BabyGo STYLE Assembly instructions

Chicco SIMPLICITY null

Chicco

Chicco SIMPLICITY null

manuals.online logo
manuals.online logoBrands
  • About & Mission
  • Contact us
  • Privacy Policy
  • Terms and Conditions

Copyright 2025 Manuals.Online. All Rights Reserved.

-
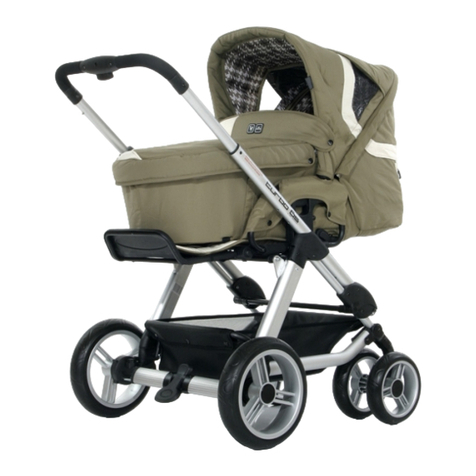
Pramy Luxe
- Frame made of Aluminum
- Carrier bag included
- Pocket and window on the roof
- Height Adjustable Handle
- Adjustable 3 position back rest
- Suitable for children 0 - 3 years of age
(max. 15 kg )
- Weight: 17.2 kg
- Tested according to EN 1888 : 2005
This stroller is not intended for
This stroller is not intended forThis stroller is not intended for
This stroller is not intended for
jogging or other exercise
jogging or other exercisejogging or other exercise
jogging or other exercise
purposes.
purposes.purposes.
purposes.
Dear Cust omer,
Congratulations on the purchase of your ABC-Design Stroller. We are pleased that you have chosen one of our products and hope that you will be
completely satisfied with the service you receive from the product. We advise you to read the Instruction Leaflet carefully before use of the pram and
then to keep it in a safe place. If you fail to do this the safety of your child can be jeopardised. Kindly pay attention t o the washing and care
instructions so that you enjoy long and trouble free use of your new purchase.
Your ABC-Design Team
Hints for care and use
Hints for care and useHints for care and use
Hints for care and use
1. The manufacture of materials used in the fabrication of this product meet the standards required by the AZO, EN71-2 und EN71-3. for clothing
claimed light originality values. However, we advise you not to expose the product to the sun for a long time. Attrition and fading of colours during
heavy solar radiation do not justify a damage claim. The fabric case of your stroller is washable. You can wash the case by hand or machine cold
wash.
2. Each product frame is manufactured according to EN 1888: 2005 standards. To maintain the safety of your product, the moving components
must be lubricated regularly and if required rerivetted.
Look out: Use only silicon-oil or silicon-spray for oiling.
3. Regular care and maintenance contribute to the safety and longevity of your product. Environmental influences such as salty air, road strewn salt
or acid rain as well as outdoor storage contribute towards corrosion. Therefore always store your pram indoors.
4. We recommend regular maintenance of all varnished components. Should the frame and varnished components become soiled use a damp
cloth moistend with water diluted mild detergent to wipe away the dirt.
5. Damaged air tubes are no reason for reclamation. Spare tubes can be bought in all retail shops.
By adhering to the aforementioned hints you will enjoy satisfactory use of your ABC-Design product for a long time.
page 2
1. Opening the Stroller
1. Opening the Stroller1. Opening the Stroller
1. Opening the Stroller
Pull the handle up.
Press the handle toward the back, until the joints lock in
place
on the left and right.
WARNING:
WARNING:WARNING:
WARNING: Please make sure that all locks are closed
before using.
2. Assembling the Wheels
2. Assembling the Wheels2. Assembling the Wheels
2. Assembling the Wheels
Place the wheels on the axles as showing in the photo.
Press the wheel on the axle until it locks in place.
Make sure the wheels are firmly locked in place.
page 3
3. Removing the Wheels
3. Removing the Wheels3. Removing the Wheels
3. Removing the Wheels
In order to remove the wheels, you must press the button on the
axle, as shown in the picture, so that the wheel unlocks.
Now you can pull the wheel off the axle.
4. Locking and Releasing the Brake
4. Locking and Releasing the Brake4. Locking and Releasing the Brake
4. Locking and Releasing the Brake
In order the lock the brake, press the lever down.
In order to release the brake, press the lever up.
5. Mounting and Removing the Bumper Bar
5. Mounting and Removing the Bumper Bar5. Mounting and Removing the Bumper Bar
5. Mounting and Removing the Bumper Bar
In order to mount the bumper bar, you must place the bumper
bar in the holding device provided, until it locks in place.
In order to remove the bumper bar from the stroller, you must
press (1) the two plastic clips inward on the inside of the
stroller, and then remove (2) the bumper bar.
6. Adjusting the Height of the Bumper Bar
6. Adjusting the Height of the Bumper Bar6. Adjusting the Height of the Bumper Bar
6. Adjusting the Height of the Bumper Bar
In order to adjust the height of the bumper bar, press the buttons
(1) on both sides inward, then you can select (2) the position. In
f order to lock the Bumper Bar again, let go of the buttons.
.
page 4
7. Locking the Belt
7. Locking the Belt7. Locking the Belt
7. Locking the Belt
In order to lock the belt, you just have to stick both plastic
parts (1) into each other until they lock in place.
Position the belt adjustment device so that the child will be
held in its designated place.
W
WW
WARNING
ARNINGARNING
ARNING:
::
: Please use the pelvic belt together with the
crotch belt
8. Opening the Belt
8. Opening the Belt8. Opening the Belt
8. Opening the Belt
In order the too open the belt, you must press (1) both parts
together, and then pull them (2) apart.
9. Adjusting the Backrest
9. Adjusting the Backrest9. Adjusting the Backrest
9. Adjusting the Backrest
In order to adjust the height the backrest, pull the clip up on
the back of the backrest, and then adjust the height of the
backrest. When you have reached the desired position, let go
of the clip so that the position locks in place.
10. Adjusting the Height of the Handle
10. Adjusting the Height of the Handle10. Adjusting the Height of the Handle
10. Adjusting the Height of the Handle
In order the to adjust the handle, you must push the buttons
on both sides inwards, and adjust the height. Then let go of
the buttons again so the handle locks in place in the desired
height that you wish.
page 5
11. Adjusting the Foot Rest
11. Adjusting the Foot Rest11. Adjusting the Foot Rest
11. Adjusting the Foot Rest
In order to adjust the footrest, you must push the buttons
on both sides inward, and then adjust the height.
Then let go of the buttons again, so the footrest locks in
place.
12. Removing the Sunroof
12. Removing the Sunroof12. Removing the Sunroof
12. Removing the Sunroof
In order to remove the sunroof, you must only open the
zipper on the side of the roof. In order to put the sunroof
back on, zip up the zipper.
13. Adjusting the Handle
13. Adjusting the Handle13. Adjusting the Handle
13. Adjusting the Handle
Push the lower lever on both sides of the handle up, as
shown in the picture, and lift the handle lightly.
Now, you can pivot the handle to the other side of the
stroller. Be sure the handle locks in place correctly.
page 6
14. Folding up the Stroller
14. Folding up the Stroller14. Folding up the Stroller
14. Folding up the Stroller
Attention: The handle must first be on the canopy side of
the stroller!
Pull the two upper levers on the handle up, as shown in the
photo. Then, push the handle lightly forward, until you notice
some resistance.
Now, release the second safety that is found on the bottom
right of the stroller.
You can now fold up the stroller, as shown in the photo, by
turning over the handle completely.
Remarks: To unfold the stroller, you proceed, as in Point 1
“Opening of the Stroller".
WARNING:
WARNING:WARNING:
WARNING: Please make sure that all locks are closed
before using.
page 7
15. Securing the Handle's Velcro Strap
15. Securing the Handle's Velcro Strap15. Securing the Handle's Velcro Strap
15. Securing the Handle's Velcro Strap
You can secure the handle additionally using the Velcro
straps provided. Thread (1) the Velcro strap through behind
the frame, and then lay (2) the counter-piece on the frame to
lock it with the Velcro.
Now keep the counter-piece (1) on the frame good and
tight, and pull the Velcro strap (2) in the direction of the
counter-piece.
Now, tighten the Velcro strap.
Do exactly the same to the other side.
The handle is now additionally secured.
You can fix the handle additionally in both positions.
page 8
16. Removing the Seat Cover
16. Removing the Seat Cover16. Removing the Seat Cover
16. Removing the Seat Cover
Release all the buttons attaching the seat cover to the
stroller, and remove the seat cover.
In order to put the seat cover back on, attach it again using
the buttons on the frame.
WARNING
WARNINGWARNING
WARNING: The CARRY LUXE carrier bag may only be used
The CARRY LUXE carrier bag may only be usedThe CARRY LUXE carrier bag may only be used
The CARRY LUXE carrier bag may only be used
as a carrier bag, if the lateral re
as a carrier bag, if the lateral reas a carrier bag, if the lateral re
as a carrier bag, if the lateral re-
--
-enforcements are located in
enforcements are located inenforcements are located in
enforcements are located in
the side walls of the carrier b
the side walls of the carrier bthe side walls of the carrier b
the side walls of the carrier bag.
ag.ag.
ag.
Only take the lateral re
Only take the lateral reOnly take the lateral re
Only take the lateral re-
--
-enforcements out, if you want to
enforcements out, if you want toenforcements out, if you want to
enforcements out, if you want to
use the bag as a foot sack, or want to wash the bag!
use the bag as a foot sack, or want to wash the bag!use the bag as a foot sack, or want to wash the bag!
use the bag as a foot sack, or want to wash the bag!
page 9
3 in 1 Tragewanne
3 in 1 Tragewanne3 in 1 Tragewanne
3 in 1 Tragewanne
17
1717
17. Aufklappen der Trage
. Aufklappen der Trage. Aufklappen der Trage
. Aufklappen der Tragewanne
wannewanne
wanne
Heben Sie die Seitenwände der Tragetasche an.
Spannen Sie die Seitenwände indem Sie die beiden Bügel nach
außen in die Halterungen drücken.
Vergewissern Sie sich, dass die Bügel fest eingerastet sind.
18
1818
18.
..
. Anbringen des Einhangs
Anbringen des EinhangsAnbringen des Einhangs
Anbringen des Einhangs
Spannen Sie wie auf dem Bild gezeigt den Einhang über die
Wanne.
19
1919
19. Einlegen der Matratze
. Einlegen der Matratze. Einlegen der Matratze
. Einlegen der Matratze
Legen Sie die Matratze in die Wanne.
Wichtig:
Wichtig:Wichtig:
Wichtig: Die Matratze ist keilförmig achten Sie beim einlegen
drauf, dass der erhöhte Teil auf der Kopfseite ist.
Seite 10