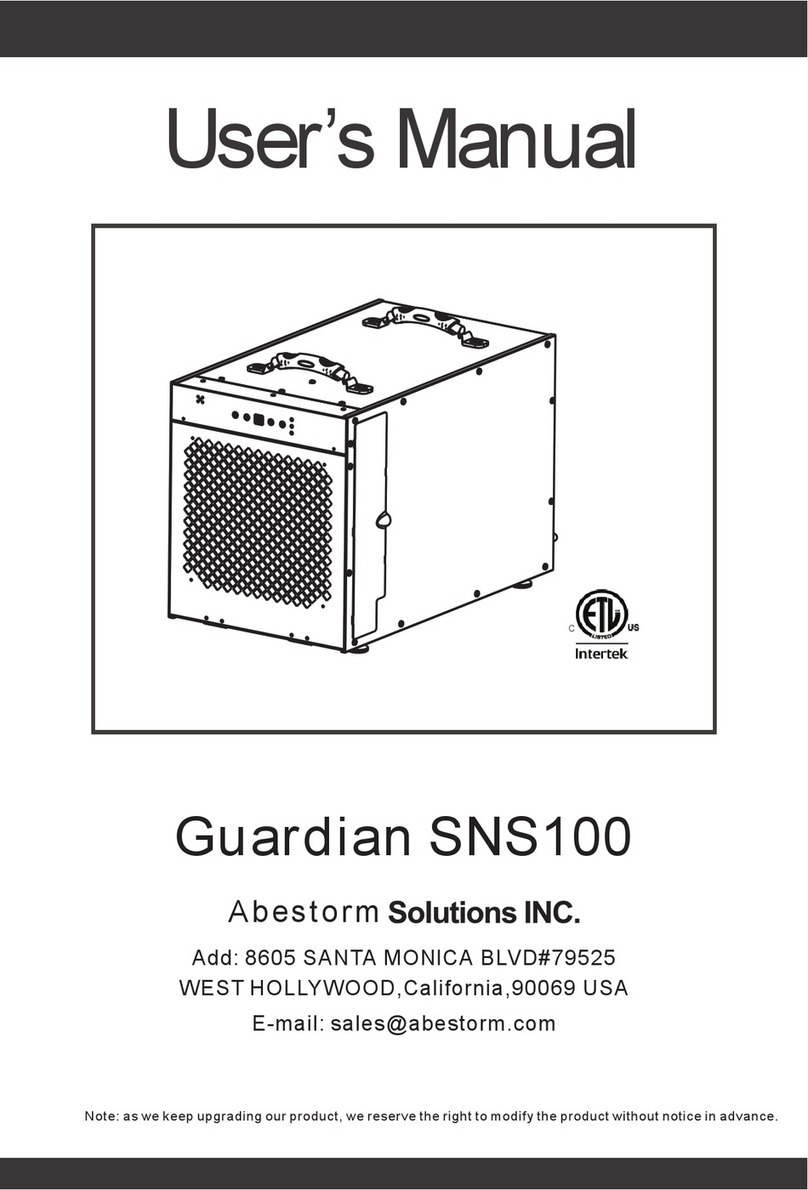
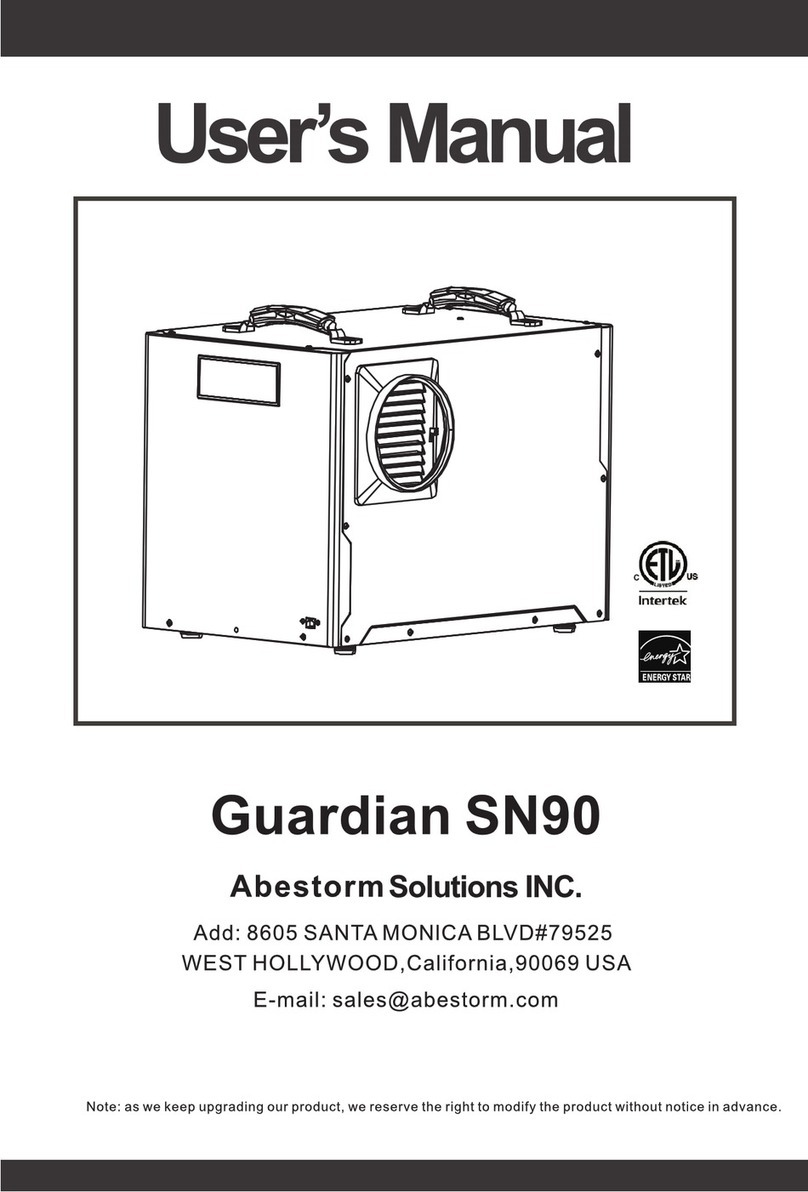
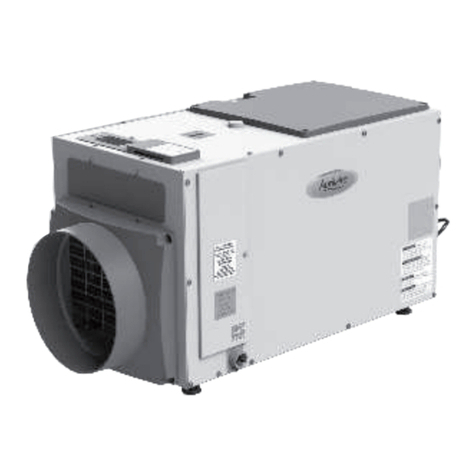
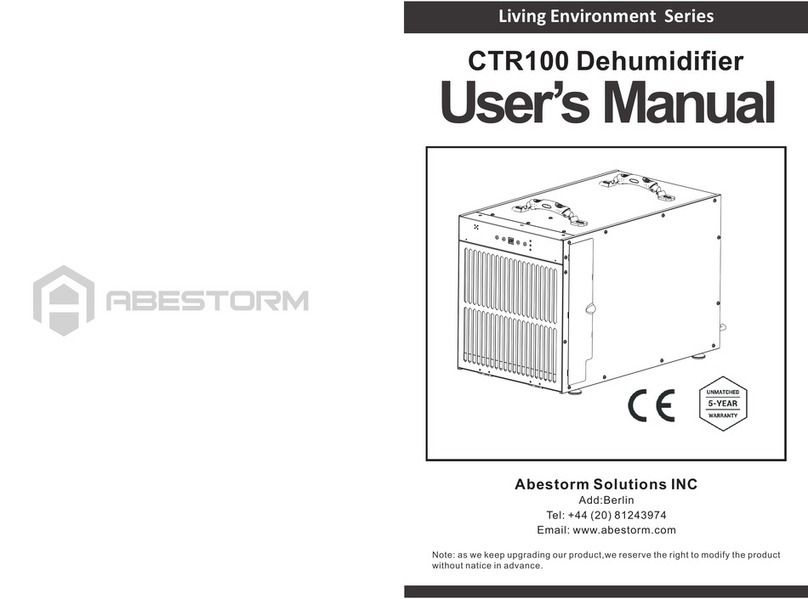
Abestorm Guardian SNS90 User manual

ADD: 14752 Yorba Ct Chino CA 91710 US

Table of Contents
Warranty Registration
Safety Notes
ldentification
Electrical Supply
Principle of Operation
lnstallation
Key Functions
Indicator Lights
Remote Control lnstructions
Operating Instructions
Diagram
Dehurnidifier Storage
Ducted Applications
Troubleshooting
Spare Parts
Warranty Information
1

Warranty Registration
Safety Notes
Congratulations on purchasing a new Guardian Dehumidifier.Your new dehumidifier
comes with an extensive warranty plan.To register, simply fill out and return the warranty
form provided in your dehumidifier box.
Be sure to note your dehumidifier serial number as you will need it for registration.
The Guardian Series Dehumidifier must always be connected using a grounded electrical
connection (as required for all electrical appliances). If non-grounded wiring is used, all
liability reverts to the owner , and the warranty is voided.
Guardian Dehumidifiers should only be maintained and repaired by a qualified technician.
Always unplug the dehumidifier before moving it to another location.
lf there is a chance that water flooded the dehumidifier, it should be opened and allowed
to dry thoroughly before reconnecting to electrical power and restarting.
To ensure proper operation, neither the inlet nor discharge should be positioned against
a wall. The inlet requires a minimum of 6” clearance and the discharge requires a
minimum of 6" clearance.
For better use of the dehumidifier, both air inlet and air outlet should be
facing the open area of the space.
Do not insert your fingers or any objects into the inlet or discharge.
All work on the dehumidifier should be done with the unit“off”and unplugged.
Do not use water to clean the exterior.To clean the unit, unplug from power, then use
a damp cloth to wipe the exterior.
Do not stand on the machine or use it as a device to hang clothes.
GuardianDehumidifiers are only intended for operation when oriented with the unit sitting
on its feet and level.Operating the unit in any other orientation could allow water to flood
electrical components.
2

ldentification
Electrical Supply
Principle of Operation
lnstallation
For future reference,write down the model, serial number, and date of purchase for your
dehumidifier.This is extremely helpful if you need to seek assistance in the future. The data
label on the side of yourunit has the key characteristics of your specific unit.
For additional questions concerning your dehumidifier, the following options are available:
Contact your installing contractor
E-mail: [email protected]
Power Supply: 115V,60 Hz AC, Single Phase
Outlet Requirement: 3-Prong, GFCI
ircuit Protector: 15 Amp
The Guardian Series Dehumidifiers utilizes its integral humidistat to monitor the conditioned
space. When the relative humidity goes above the selected setpoint, the dehumidifier will energize
air is drawn across an evaporator coil, which is cooler than the dew point of the air. This means
moisture will condense out of the air. The air is then reheated through the condenser coil and
distributed back into the room.
The area to be controlled should be sealed with a vapor barrier. lf the unit is installed in a
crawlspace, all vents should be sealed.
Do not install your dehumidifier in a corrosive environment. Some liquid vapor
barriers dry via “solvent evaporation".Always make sure that the barrier is completely dry and
the area is thoroughly
240 Volts AC may cause serious injury from electric shock.
To reduce risk of injury:
1. Disconnect electrical power before servicing.
2.Only plug the unit into a grounded electric circuit.
3. Do not use an extension cord.
4. Do not use a plug adapter.
WARNING:
WARNING:
Model Number: Guardian SNS90
Serial Number: Date of Purchase:
3

Step #1:Place dehumidifier on a level surface.
Step #2: Set Up Drain Line
Step #3: Plug unit into 15 amp grounded circuit.
Key Functions
1. Power Key
2. Arrow Buttons
3. Continuous Mode
4. Central Control
cont.
efrost
Do not place the unit directly on the vapor barrier.For example , use blocks or pavers to create a level
surface.
lf the unit is handled in such a manner that the compressor did not remain in the upright position,
you will need to place it on a level surface, then wait a minimum of 2 hours before turning “on".
The included drain line attaches to the unit via a compression type fitting on the discharge end of
the unit.To attach drain line, remove the compression nut and slide it over the end of the hose to
be attached to unit. Slide compression nut side of hose over the insert on the compression fitting
completely. Tighten compression nut.
Use this button to turn the dehumidifier on and off. Press once to turn the machine on. You will
Use the up and down arrow buttons to set the desired humidity setpoint on the display screen.
The setpoint can be any number between 36-90%.Creating a setpoint means that when the
To switch into a continuous mode, simply use the down arrow key to set the humidity below
36%.At this point the Cont.light should illuminate green on the display board to indicate you
have successfully switched to continuous mode.The display screen will show "Co".
When set to continuous, the dehumidifier will run constantly, regardless of the humidity level until
you turn the unit off or switch back to normal humidistat operation. If you would like to switch back
to normal humidistat operation, simply move the setpoint above 36%.
This mode is not applicable on the Guardian SNS90.
Central Control light should be off at all times when not connected to the AC.
indoor humidity is lower than the setpoint,the machine will stop automatically. Conversely, when
the indoor humidity is higher than the set level, the unit will operate. NOTE:The humidity levels
displayed are approximate only (+/-5%).
and will hear one beep as the machine shuts down. Note that there is a one-minutefan delay on
shutdown.
hear two beeps and the light will illuminate green.Press the power button a second time
4

Indicator Lights
Remote Control Instructions
5. Manual Drain Button
6. Pump Trouble Warning
1. Humidity Display Screen
2. Power Indicator Light
3.Continuous Mode/AutoDefrost Light
4. Compressor Light
For extended storage or movement of the machine, press the "Drain”button to remove water fro
mthe integral pump's reservoir.
When the pump reservoir water level is too high, the high water sensor will activate to prevent over-
flow.When this occurs, the dehumidifier will stop the compressor automatically and the display will
show “E4".After a 1 minute delay, the fan motor will turn off and the machine will not operate until
the problem is resolved.To reset the unit after an“E4” error, check the pump to verify it is functioning,
then unplug the unit for two minutes.
The display screen has two functions:
This light indicates that the unit is properly powered on and ready to operate. Always make sure the
unit is “off” prior to the performing any service.
When the power light is blinking, it means that the unit has reached the humidity setpoint.
When this light illuminates green, it indicates that the dehumidifier is set to the continuous operation mode.
When the compressor light glows red, it indicates the compressor has been initiated but is
currently warming up.
Once the compressor light switches to green, it indicates the compressor is in working status.
One application for the remote control is to install the dehumidifier in one room with the conditioned air
ducted into a second room that contains the remote. For example, the dehumidifier could be installed in a
laundry room and ducted into a living room. The remote would then be mounted in the living room so the
remote sensor can control the humidity and provide easy controls for the user.
Guardian Dehumidifiers can be controlled that using an optional remote accessory.The Guardian
Remote Control connects to your Guardian Series Dehumidifier via a 25' CAT 5 cable.The Remote
control contains an integrated sensor that gives you multiple options for remotely controlling your
unit, in addition to monitoring the conditions surrounding the dehumidifier.
When the light glows red, it means the unit is in auto defrost mode and clearing the evaporator coil
of any ice buildup.
1. When the unit is powered on, it shows the humidity of the space.
2. While setting the desired humidity level, the screen will show the set humidity. After a brief
delay, the display will revert to current humidity level.
5
1. On/Off (Power)Button
2. Up Button
3. Mode M
4. Temperature
Down Button
Operating Instructions
Another useful application for the remote control is if the dehumidifier is in an area that's difficult to access on
a regular basis. For instance, if your dehumidifier is installed in your crawl space, the remote could be mounted
in your living space or garage.This provides you with an easy way to monitor the dehumidifier.
Press the onloff button and the machine will start running (two
beeps).Press the button again to turn the machine off.
Use the Up and Down arrow buttons to adjust the humidity level.
Use the Mode button to switch between dehumidification and
a ducted application.
Press the temperature button to display the current temperature on the screen.Press the button again to turn of the display.
5. Continuous c
Press this button to switch the unit into continuous mode. cont. will appear on the display to indicate continuous mode.
Press the power key to turn the machine on.
6. Drain Pump P
1. Start the machine
Use the up and down arrow keys to adjust your desired setpoint (typically 50-55%).
2. Adjust Settings
Press the power key again and the machine will stop. Note the fan will continue to operate
for 1 minute after the unit has shut off. NOTE: Do not disconnect the power cord to force the
machine to stop.Always use the power button.
3. Stop the machine
The Guardian SNS90 has both automatic and manual draining. During normal operation, the
Guardian SNS90 will automatically drain as required. lf you would like to store or move the
machine, you may press the drain button to drain the water from the pump reservoir. The
drain will operate for 15 seconds each time the button is pushed. lt may be necessary
to push the drain button more than once to completely empty the reservoir.
4. Water Drainage
Use this button if the unit will not be in use for an extended period of time.Pressing the drain pump button will remove
water from the pump reservoir, so the unit can be safely moved or stored.
NOTE: The symbols mentioned above will only appear when the dehumidifier is powered on.
The
The
on the remote control is being utilized.
the dehumidier is being utilized.
symbol on the display board indicates the sensor
symbol on the display board indicates the sensor on
6

Guardian SNS90 Diagram
Dehumidifier Storage
Front View
Back View
Unit Cover
Inlet End Cap
Unit Cover
Control panel
Air Outlet Grille
Drain Hose
Air Intlet Grille
Handle
lf the unit will be stored for an extended period of time, complete the following steps:
1. Turn off the unit and allow it to dry.
2. Wrap and secure the power cord
3. Cover filter mesh.
4. Store in a clean, dry space .
7

Ducted Applications
Ducting Installation
Ducting the dehumidifier allows the unit to be in one room while conditioning an adjacent room. The
supply grille is designed for 6" flex ducting. Be sure to secure the ducting with a tie wrap. Also, keep
in mind that the supply ducting can be screwed into an adapter if necessary.
Note: The supply duct adapter is standard on all units.
Maximum length for ducting= 6'
lf it is necessary to remove the
adapter, place hand at bottom of
the adapter and use your hands to
lift out and down.This will remove
the cover hooks from the machine.
Removing Duct Adapter
To install adapter, line it up with
holes on the side of the unit and
push it up from the base of the
adapter.
lnstalling Duct Adapter
Rotate the flex duct counter-
clockwise.
Flex Duct Installation
Rotate flex duct clockwise or
remove wire tie.
Flex Duct Removal
8

Troubleshooting
Pump Alarm- Trouble Code E4
lf a pump alarm is shown on the display, complete the following steps:
2. Manually check to see if the pump is operational by pressing the drain button. Check if
the pump ener-gizes and de-energizes properly.Additionally, check
to see if any water purged from the system.
3. Replace the hoses and/or pump, if maintenance alone isn't sufficient.
1. Reset the unit by disconnecting the power cord and then reconnecting it.
NOTE: UNIT WILL NOT FUNCTION UNTILTHE ERROR CODE HAS BEEN CLEARED.
Symptom
Machine Won't Run
Low Air Flow
Loud Noise
Trouble Code E:1
Trouble Code E: 4
Trouble Code: Hl or LO
Cause
Power Supply
Verify that there is power to the
outlet and that the plug is properly
installed in an outlet.
The unit is outside the operating temperature
range. Modify the room conditions so the
temperature is between 33°F-105°F and
operationwill commence.
Check to ensure that wire is connected at
both ends. If no issues are visible, the sensor
may be faulty.
Move the dehumidifier to flat, firm ground.
Clear the blockage from inlet or outlet.
The unit is outside the operating temperature
range. Modify the room conditions so the
temperature is between 33°F -105°F and
operation will commence. If room is not outof
temperature range, replace faulty the sensor.
Verify that the pump is working. If so, unplug
the unit for two minutes, then restart.
Solution
Room Temperature Over 105°F
(Display HI) or Below 33°F
(Display LO)
Air Inlet or Outlet is Blocked
Machine ls Not Level
E1=Humidity Sensor lssues
Pump has failed
Room Temperature Over 105°F
or Below 33°F(Display Lo)
9

Guardian SNS90 Spare Parts
ALL Guardian Models-Parts
Part#
G-100
G-101
G-102
G-103
G-106
G-107
G-108
G-109
G-110
Remote Control Package (cable+remote)
Remote Control
Remote Control Cable,25'
Return Duct Collar Accessory
Duct Kit Assembly(W-103+W-100)
Fiexible Supply Duct,72"
Main Control Board
Display Board
G-110
Description
Guardian SNS90-Parts
Part#
G-900
G-901
G-902
G-903
G-904
G-905
G-907
G-908
G-909
Fan Motor
Remote Control
Fan Capacitor
Compressor
Compressor Capacitor
Coil Assembly
Condensate Pump Assembly
RH/Temperature Sensor Cable
Display Cable
G-910
G-911
CAT 5 Prot Internal Cable
Foot, Adjustable
Description
Guardian SN S90-Filters
Part#
G-915
G-916
G-902
G-917
G-919
Fan Motor
Filter Assembly(Cassette+Prefilter)
MERV-8 Filter
HEPA Filter
Carbon Filter
Description
10

Limited Warranty
All warranty benefits apply to the original owner only. Warranty cannot be transferred or assigned.
1 YEAR(FROM DATE OF PURCHASE): Abestorm warrants the dehumidifier will operate free of defects
in workmanship and materials. At it's discretion,Abestorm will repair or replace any malfunctioning
components, free of charge (excluding transportation costs).
3 YEARS (FROM DATE OF PURCHASE):Abestorm warrants the refrigeration circuit (compressor,condenser
and evaporator)will operate free of defects in material or workmanship. At its discretion, Abestorm will
replace defective parts, including factorylabor or refrigerant. This does not include transportation.
5 YEARS (FROM DATE OF PURCHASE): Abestorm warrants the compressor,condenser, and evaporator
will operate free of any defects in material or workmanship.At its discretion, Abestorm willrepair or replace
the defective parts. This does not includelabor, transportation, or refrigerant.
1. Customer must provide normal care and maintenance (including, but not limited to
cleaning filters, coils and pumps).
2. Removal and re-installation of the unit is the sole responsibility of the owner.
3. the lf customer cannot return the unit to the certfied repair center,all costs associated with freight shipment
are borme by the customer. In addition, all duties related to freight shipments, including but not limited to
palletizing, wrapping. labeling, andpickup are associated with the customer.
4. lf shipped, the customer is responsible for all risk of loss or damage.
1. Once goods are received,customers must log in to www.Abestorm.comto fill out the Varranty Registration form
and submit it toAbestorm company. We will receive your purchasing and installation information and save it.
lf no warranty registration is sent to us, the warranty period will begin the day the shipment left the warehouse.
Please be sure torecord serial # and date of installation. You will need this information to receive the RA number.
2. lf warranty service is necessary, customers must contact Abestorm Tech Support by [email protected]
technicalservice phone to receive a Return Authorization (RAnumber). Once an RA has been issued, customers
should bring the unit to acertified repair center. Abestorm will arrange the shipping to bring the unit back to the
Abestorm warehouse (at the expense ofthe customers) if customers are not available.
3.After the unit has been received by Abestorm(whether at a repair center or the warehouse),Abestorm will ave an
initial inspection.lfit is determined to be an invalid warranty claim (see exclusions below), customers have to pay
for all associated repair costs andshipping costs for units repair.
4. Customers can pick up the unit after repair at their own expense for shipping. Units will ave rigorous testing
before sending iback to customers.
5. If the unit can no longer be fixed , and itis in the warranty period and determined to be a valid claim, we will
ship the customer anew unit within the same year warranty from the date of replacement.
6.After parts are repaired or replaced by Abestorm the original warranty period continues to apply untilitmeets
its deadline.No extensions to the original warranty period.
Abestorm Warranty Steps:
CUSTOMER RESPONSIBILITIES: n order to take advantage of the warranty service, the
customer must do the following:
11
Table of contents
Other Abestorm Dehumidifier manuals

Abestorm
Abestorm Water Damage Series User manual

Abestorm
Abestorm Guardian SNS100 User manual

Abestorm
Abestorm Living Environment Series User manual

Abestorm
Abestorm DualPro Water Damage Series User manual

Abestorm
Abestorm Living Environment Series User manual

Abestorm
Abestorm Water Damage Series User manual

Abestorm
Abestorm Hurricane 140P User manual

Abestorm
Abestorm SLGR Elite User manual

Abestorm
Abestorm Guardian SN90 User manual