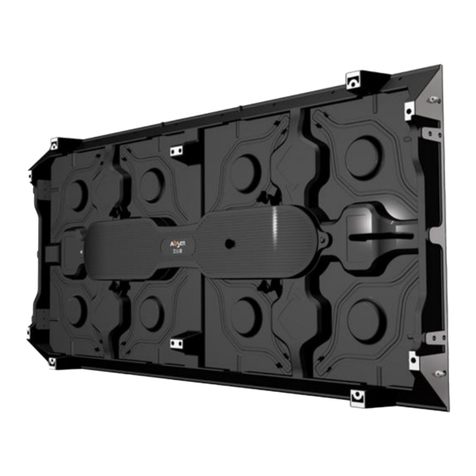
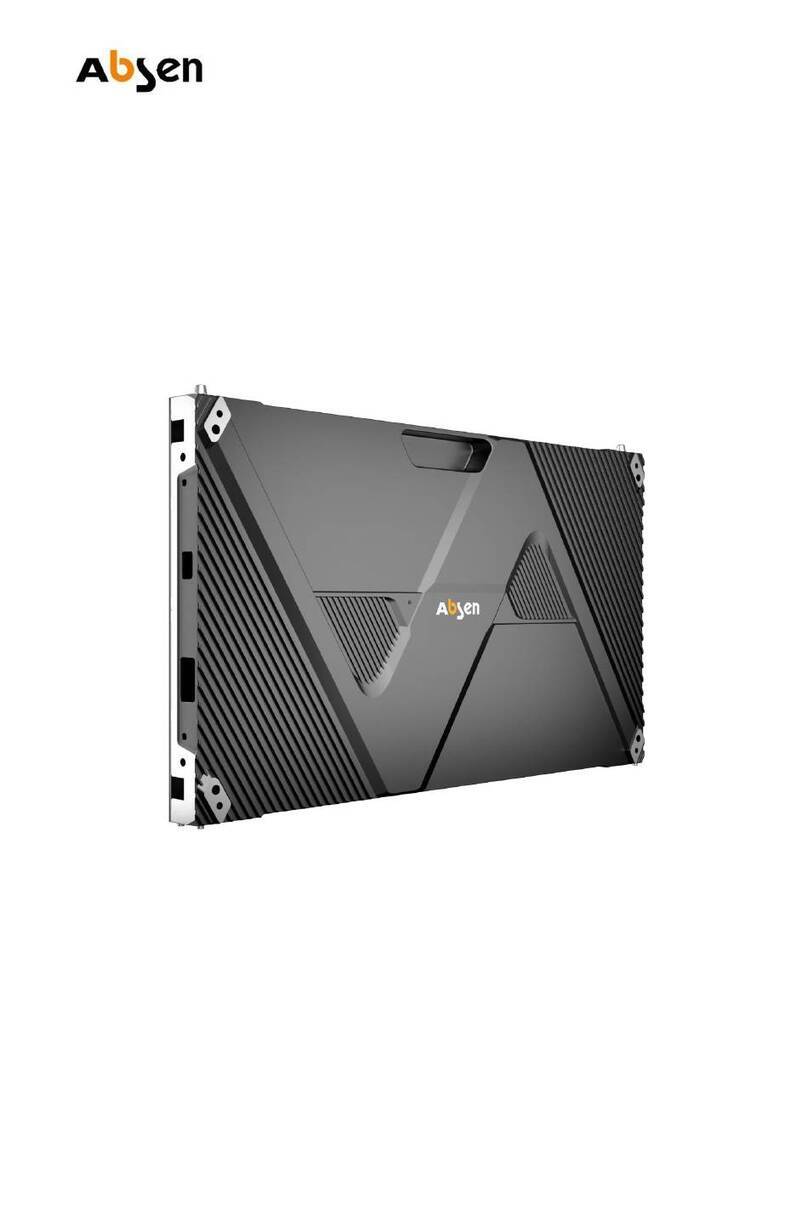
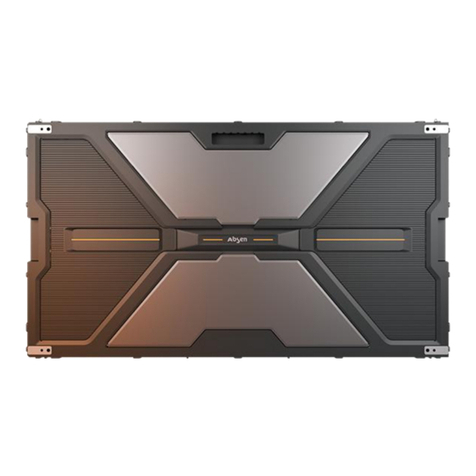
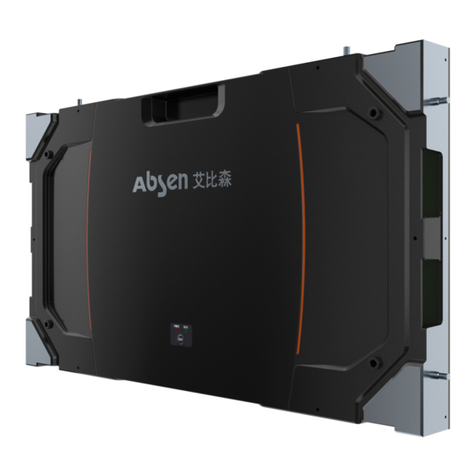
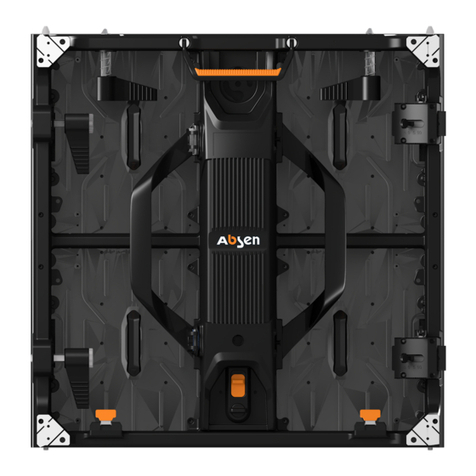
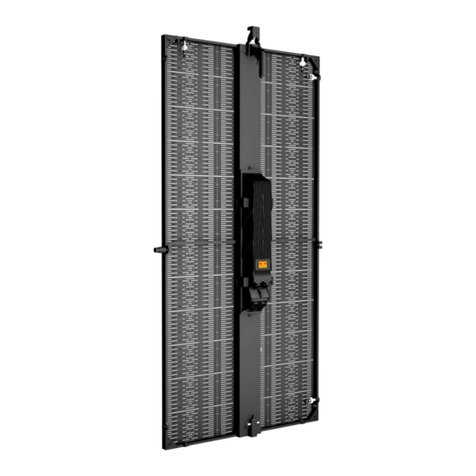
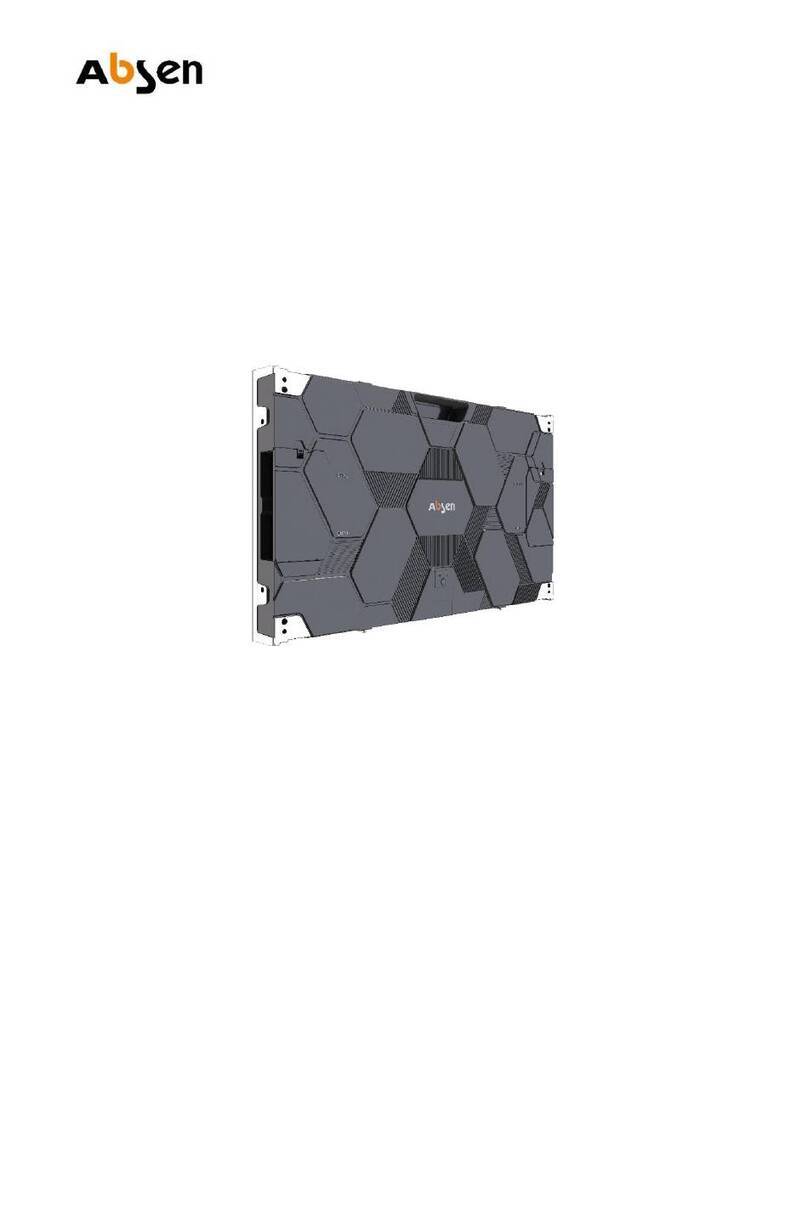
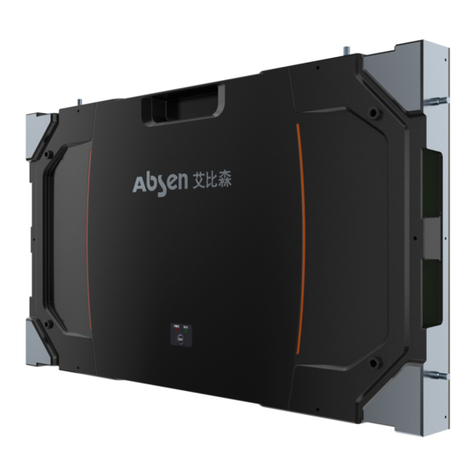
Absen K Series User manual

K 3 User Manual
LeadingLEDApplications
Front & Rear
Servicing
Super Slim High-definition Noise-free
K3/K3D/K5/K5D

K series
About K series
- 01 - User Manual
Table of contents
02-03
04
04
04
06
07
07
08
09
Safety information
Product introduction
Product information
Product specifications
Front installation
07
Steel structure
08
Cabinet drawing
Front maintenance
Product wiring
09
Power supply wiring
09
10
Power cable wiring
Check for power supply short circuit
10
Network cable wiring
Leading LED Applications
Product features
11
11
11
13
15
15
Software operation
Setup clone mode
NovaLCT-Mars setup software installation
Screen configuration
Manually adjust brightness
Nova studio play software installation and play content

- 02 -
Safety information
The following marks on the product and in this manual indicate important safety measures.
WARNING!
Safety risk!
Might cause
equipment damage
or safety risk.
WARNING!
Please read the
manual before
operating.
WARNING!
Dangerous voltage!
might cause
equipment damage
or electric shock.
WARNING!
Hot surface!
Do not touch.
WARNING!
Flammable!
WARNING!
Possible damage
to eyes.
WARNING!
Please read the safety measures listed in this section carefully before
installing, switching on, operating and maintenance of this product.
Beware of electric shock!
• To prevent electric shock the device must be properly grounded during installation. Do not ignore
using the grounding plug, or else there is a risk of electric shock.
• During a lightning storm, please disconnect the device’s power supply, or provide other suitable
lightning protection. If the equipment is not in use for a long time, please unplug the power cord.
• When performing any installation or maintenance work (e.g. removing the fuses, etc.,) make sure to
turn off the master switch.
• Disconnect AC power when the product is not in use, or before disassembling, or installing the
product.
• The AC power used in this product must comply with local building and electrical codes, and should
be equipped with overload and ground fault protection.
• The main power switch should be installed at a location near the product and should be clearly
visible and easily reached. This way in case of any failure the power can be promptly disconnected.
• Before using this product check all electrical distribution equipment, cables and all connected
devices, and make sure all meet current requirements.
• Use appropriate power cords. Please select the appropriate power cord according to the required
power and current capacity, and ensure the power cord is not damaged, aged or wet. If any
overheating occurs, replace power cord immediately.
• For any other questions, please consult a professional.
Leading LED Applications
WARNING: Be sure to understand and follow all safety guidelines, safety instructions, warnings and
precautions listed in this manual.
This product is for professionals use only!
This product may result in serious injury or death due to fire hazard, electric shock or on dropping.
Please read this manual carefully before installing, powering up, operating and maintenance of this
product.
Follow safety instructions in this manual and on the product. If you have any questions, please seek
help from Absen.
K series User Manual
- 03 -
Leading LED Applications
WARNING: Beware of suspended loads.
LED lamps used in the module are sensitive and can be damaged by ESD (electrostatic discharge).
To prevent damage to LED lamps, do not touch when the device is running or switched off.
WARNING: The manufacturer shall not bear any responsibility for any incorrect, inappropriate,
irresponsible or unsafe system installation.
Beware of fire!
• Use a circuit breaker or fuse protection to avoid fire caused by power supply cables overloading.
• To avoid fire caused by power supply cables overloading.
• Do not stick or hang anything on the screen.
• Do not modify the product, do not add or remove parts.
• Do not use the product in case ambient temperature is over 40℃.
Beware of injury!
• Warning: Wear a helmet to avoid injury.
• Ensure any structures used to support, fix and connect the equipment can withstand at least 10
times the weight of all the equipment.
• When stacking products, please hold products firmly to prevent tipping or falling.
• Ensure all components and steel frames are securely installed.
• When installing, repairing, or moving the product, ensure the working area is free of obstacles, and
ensure the working platform is securely and stably fixed.
• In the absence of proper eye protection, please do not look directly at the lit screen from within a 1
meter distance.
• Do not use any optical devices that have converging functions to look at the screen to avoid burning
the eyes.
Product disposal
• Any component that has a recycling bin label can be recycled.
• For more information on collecting, reusing and recycling, please contact the local or regional waste
management unit.
• Please contact us directly for detailed environmental performance information.
K series User Manual

• Light and thin product. Cabinet dimension 750x750mm, weighs only 15-16Kg / cabinet, 26-28kg / m
About K series
- 04 -
Product introduction
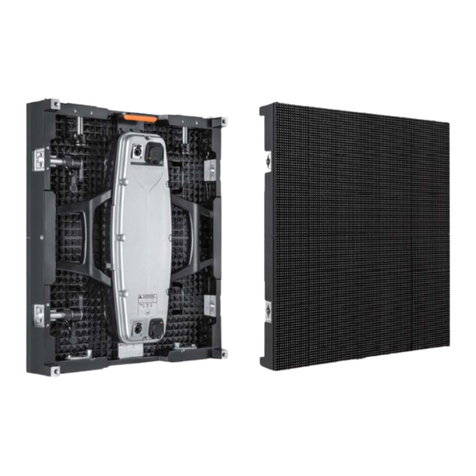
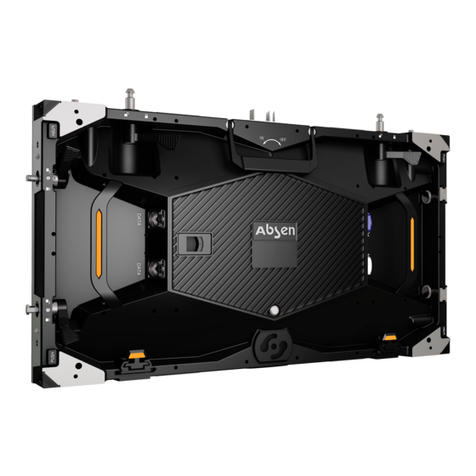
K3 series are indoor fixed mounted LED display . The cabinets are light and thin, use magnetic modules,
support complete front and rear installation and complete front and rear maintenance, and don’t require a maintenance
catwalk.
The product is primarily used at hotel ballrooms, TV stations, commercial chain stores, branded snack stores, transpor-
tation hubs, supermarkets, banks, churches, airports, railway stations, theaters, company lobbies, high-end clubhouses,
museums, large conference rooms, and for various other indoor applications.
2, with only 77mm
thickness.
• Complete front or rear maintenance. Perfect for environments where only rear maintenance is available like window
display, but also perfect for environments where only front maintenance is allowed, such as wall mounted installation
at walls.
• Complete front installation and maintenance can be adopted for wall-mounted installation, with magnetic modules,
power supply, signal receiving card, HUB, cable wirings, etc., accessible from the front, ensuring easy and fast
servicing, and zero maintenance catwalk required.
• Magnetic modules enable fast and convenient module installation and disassembly without screws.
• High definition ensures excellent and super clear display effect. No ghosting shadows or caterpillar problems, with
high grayscale, high grayscale at low brightness, highlighting exceptional display affect.
• Parallel connection for power and signals, which minimizes damage.
Product information
Cabinet
Leading LED Applications
750mm
750mm
77mm
K series User Manual

- 05 -
Typical project application
Leading LED Applications
250mm
250mm
Module
250
mm
2
5
0
mm
Mod
ule
K series User Manual

- 06 -
Product specifications
Technical Specifications
Pixel Configuration
Physical
Parameters
Electronic
Parameters
Optical
Parameters
Electrical
Parameters
Environmental
Parameters
Product
Installation
Color Grayscale (Bit)
SMD 2121
3.9
192×192
250×250
Steel
16
65536
≥960
1/8
50/60
CAT5 cable:<100 m; Single mode fiber:<10 km
1000
7500
140
140
110 or 220
50/60
-40~+60℃
570
190
Pixel Pitch (mm)
Grey Scale per Color (Level)
Refresh Rate (Hz)
Pixel Matrix per Cabinet
Drive Mode
Module Size (L×W)/ (mm)
Picture Frame Frequency (Hz)
Cabinet Dimension (L×W×H) / (mm)
Cabinet Material
Cabinet Weight (kg)
Signal Transmission Distance
Color Temperature (K)
Brightness (cd/m2)
Horizontal Viewing Angle (°)
Vertical Viewing Angle (°)
AC Input Voltage (V)
AC Input Frequency (Hz)
Maximum AC Input Power (W/m2)
Average AC Input Power (W/m2)
Storage Temperature (℃)
Working Temperature (℃)
Storage Humidity (RH)
Working Humidity (RH)
IP Rating (Front/Rear)
Typical Product Life (hrs)
15~16
-10~+40℃
IP40/IP21
10%~90% non-condensing
100,000
Cabinet Installation Method Fixed Installation
750×750×77
Leading LED Applications
K3 K5
5.2
144×144
550
183
K3D K5D
1/16
580
193
580
193
K series User Manual

- 07 -
Front installation
No maintenance access:Cabinet from the front to install, no need maintenance access, the cabinet thickness
(including steel structure) is only 150 mm, about 1/8 of the traditional display thickness, save installation space;
Installation steps
• Remove the corner four modules;
• Fix the cabinet to the steel structure;
• Connect the cables;
• Recovery the modules.
Front maintenance
Leading LED Applications
Rear install hole Front install hole
The tool is fixed on the module Pull the tools out
Take the module down Do the maintenance
Product features
K series User Manual

- 08 -
Leading LED Applications
Cabinet drawing
Steel structure
6x3m
6m
3m
6m
3m
K series User Manual

When input voltage is 220V, each power supply can be used to supply power for maximum 12 cabinets.
Total power for 32 cabinets with size 750x750mm is: 32x0.75x0.75x570W=10.2kw,
Please calculate and select the power distribution box based on
- 09 -
Leading LED Applications
• Preparation before wiring
Before connecting to power supply and switching on control signal to the entire screen, please carefully
check the power supply and signal cable connections. Please carefully check the "L" line, "N" line and "PE"
of each cabinet’s AC inlet, and ensure there is no short circuit between the three lines (Use multimeter to
measure).
• Power supply cabling instructions
maximum power
consumption. Please consult your power distribution box manufacturer to specifically match. Cabinet’s input
voltage is 100-240V/AC, and 3X2.5mm2power cable is used to connect from distribution box to cabinet.
When the input voltage is 110V, each power supply can be used to supply power for maximum 6 cabinets.
Take K3 8x4 cabinets for example; following are the instructions for power and signal cable connection method:
Power cable wiring
8 cabinets for each line connected to power supply in series. In this case
use a 3X2.5mm2power cable to connect from the distribution box to the left or right of each line cabinet.
Power supply wiring
Product wiring
220V
4
K series User Manual

- 10 -
Check for power supply short circuit
After completing the cabinet wiring, please use a multimeter to check if there is any short circuit
at the AC input power supply (L / N / PE) and DC output terminal (VCC / GND). If there is a short
circuit, please carefully investigate the wirings. Make sure all wirings are normal, and only then
connect power to operate the unit.
Leading LED Applications
The network cable is connected from up to down in "S" shape,or from left to right in "Z" shape. Please
calculate the resolution as per192x192 pixels for each cabinet, and connect signal cables in accordance
with the Signal Sending Card’sl oad range. Please note that the load pixel range for each network interface
is not more than 650,000 pixels.
Network cable wiring
K series User Manual

- 11 -
Setup clone mode
Software operation
• Setup clone mode
• NovaLCT-Mars setup software installation
• Screen configuration
• Manually adjust brightness
• Nova Studio Play Software Installation and play content
1 Right click mouse on blank space of PC, pop up “NVIDIA Control Panel” window, as following figure.
2 Select “Display”>“Set up multiple displays”> Select Clone mode > select computer monitor to be main display>
click “Apply”.
NovaLCT-Mars setup software installation
NovaLCT-Mars is a professional developed application for control and management of the Noval M3 series LED display
control systems.
1. Insert CD, locate NovaLCT-Mars control software package , double click it.
Leading LED Applications
K series User Manual

- 12 -
2.Select “Next” or “Yes” in the coming dialog windows, until following window appear, click “Install”
3.A new dialog window pop up, click “Finish”.
4.If your computer without serial driver program or the serial driver version is too low, the installation program
will automatically update the serial driver program on client’s computer, until it same as the version in the
installation package.
5.Select“Next” or “I Agree”“Install”, “Finish”in the coming dialog windows, to finish the USB driver and
software installation.
Leading LED Applications
K series User Manual

- 13 -
Screen configuration
1.Automatically. Or double-click the shortcut icon on the desktop to enter into the operation interface during
daily operation.
2.Double-click the shortcut icon on the desktop
3.Click “User (U)”>“Advanced Login(A)”
4.
5.Input Password “666”, click “Login” as following figure
6.Change to following figure:
7.Click Screen Config button from the Tools bar, open the window as shown in bellowing figure.
Leading LED Applications
K series User Manual

- 14 -
11.Click “Screen Connection”
8.If only one USB or one serial port connecting computer to Nova controller system, the used serial port will
be automatically set as the current serial port. Otherwise, if multiple USB or serial ports are used to connect
control systems to the computer, the serial port that is used to connect the control system which is to be
configured should be set as the current serial port.
9.Click “Next”>“Screen Config-Com?”Click “Sending Board”, make sure the data of the sending card and the
computer video card are the same. Reset the data if their data are not the same. As shown in following
figure. Normally, default data is correct, no need re-set up.
10.Click “Save” after confirm the data Switch to the Scan Board page as bellowing figure, load file > Send To
HW > Save
Leading LED Applications
K series User Manual

- 15 -
Leading LED Applications
Manually adjust brightness
Nova studio play software installation and play content
Nova studio is a powerful software features: capable of multiple LED displays application, multiple pages,
page with multiple windows.
Do not install decoders. Test found that decoders may conflict with each other and thus cause errors when
NovaStudio is playing videos.
1.Insert CD and locate Nova studio program package, as figure double click.
2.Click “English”, “Next”“install” Finish” to finish the installation.
3.Double-click button to control interface, as following:
4.New: Click can create a new program.
Common window: Click can create a common play window.
Add Media: Add video file.
After create a new program, you can play the program by click “play”, “pause”, “stop”.
Video file Add video file
Create new program
play stop
pause
K series User Manual

Shenzhen Absen Optoelectronic Co., Ltd. Absen American Inc.
Absen Building, Huawei Industrial Park, Bantian,
Longgang District, Shenzhen 518129, P.R.China
7703, Kingspointe Parkway, Suite 600, Orlando,
FL 32819
Absen GmbH
Eisenstrasse 5, 65428 Russelsheim (Frankfurt),
Germany
T: +86-755-89747399
F: +86-755-89747599 W: www.absen.com
V1.0 August 2015
All rights reserved by Shenzhen Absen Optoelectronic Co., Ltd.
Shenzhen Absen Optoelectronic Co., Ltd. reserves the rights to modify contents without any further notice.
F: +49 (0) 6142 920 87 57
W: www.absen.com W: www.absen.com
T: +1-407-203-8870
F: +1-407-203-8873
This manual suits for next models
4
Table of contents
Other Absen Monitor manuals

Absen
Absen NX Series User manual

Absen
Absen A27 Plus Series User manual

Absen
Absen N Plus Series User manual

Absen
Absen N4 User manual

Absen
Absen PL Lite Series User manual

Absen
Absen A27 Pro Series User manual

Absen
Absen HC Series User manual

Absen
Absen JP Series User manual

Absen
Absen X3 User manual

Absen
Absen XD6 User manual