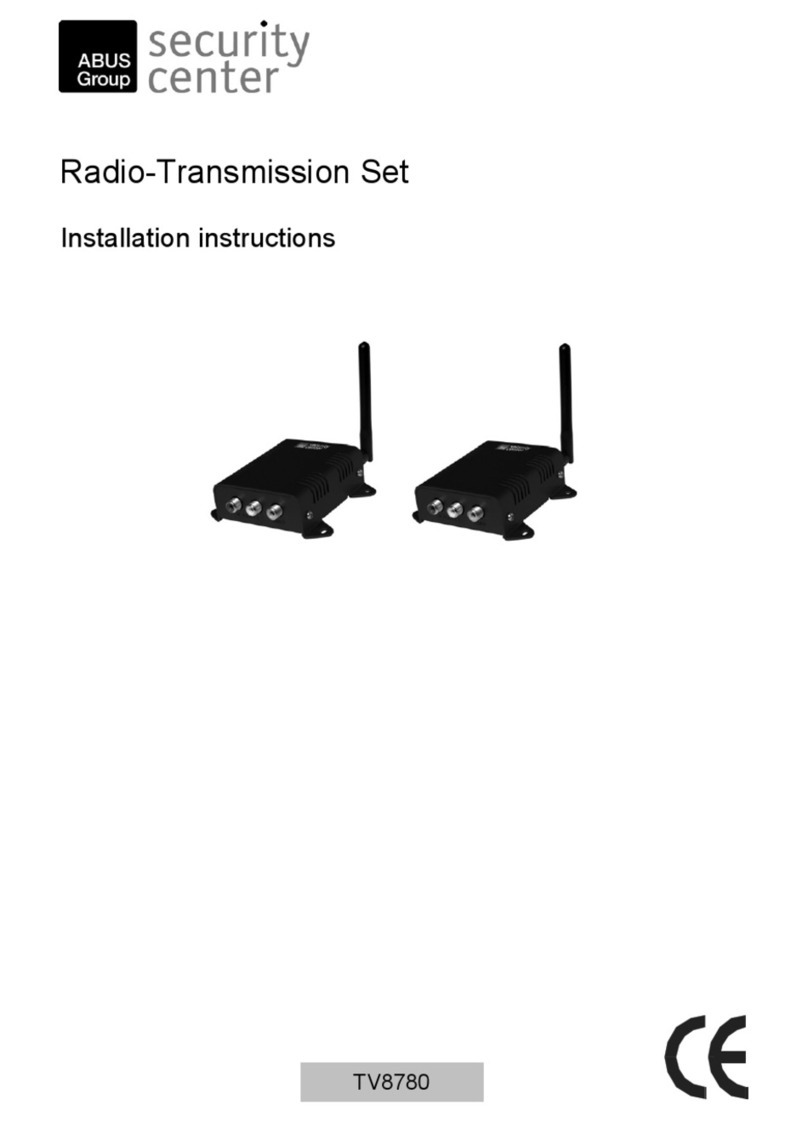
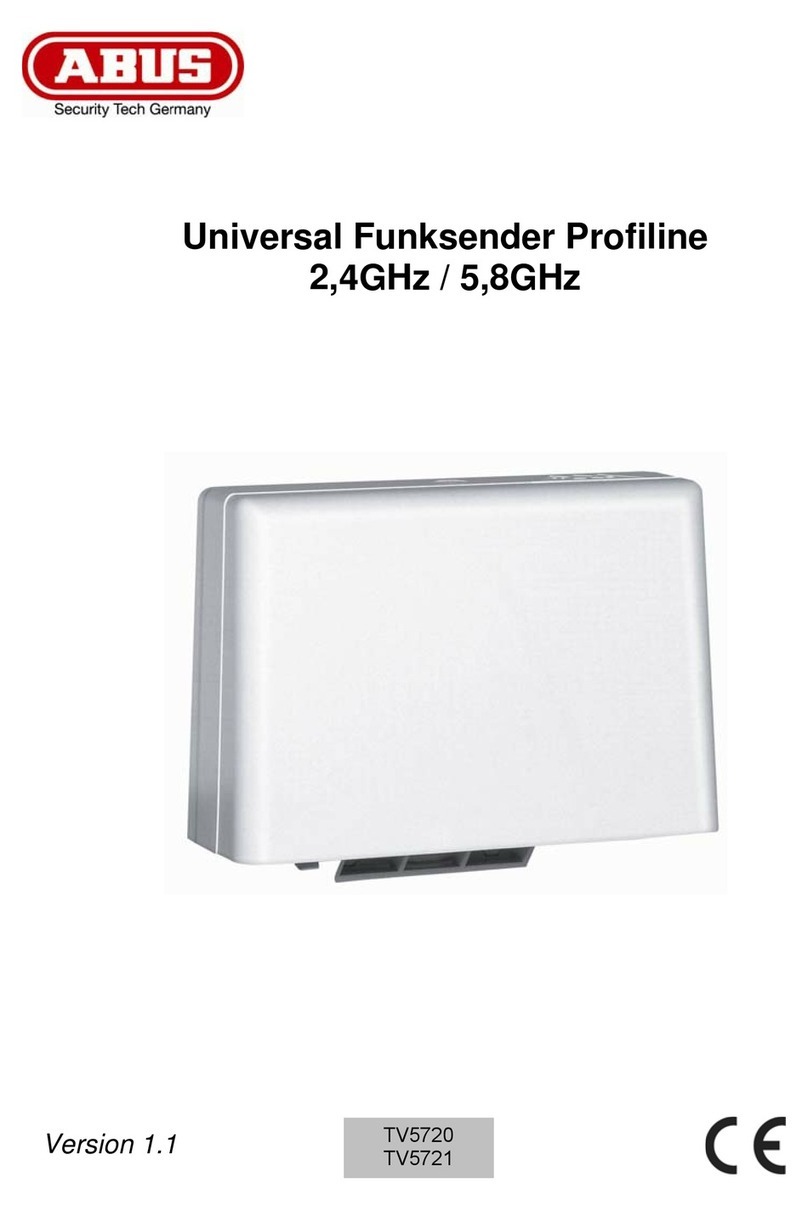
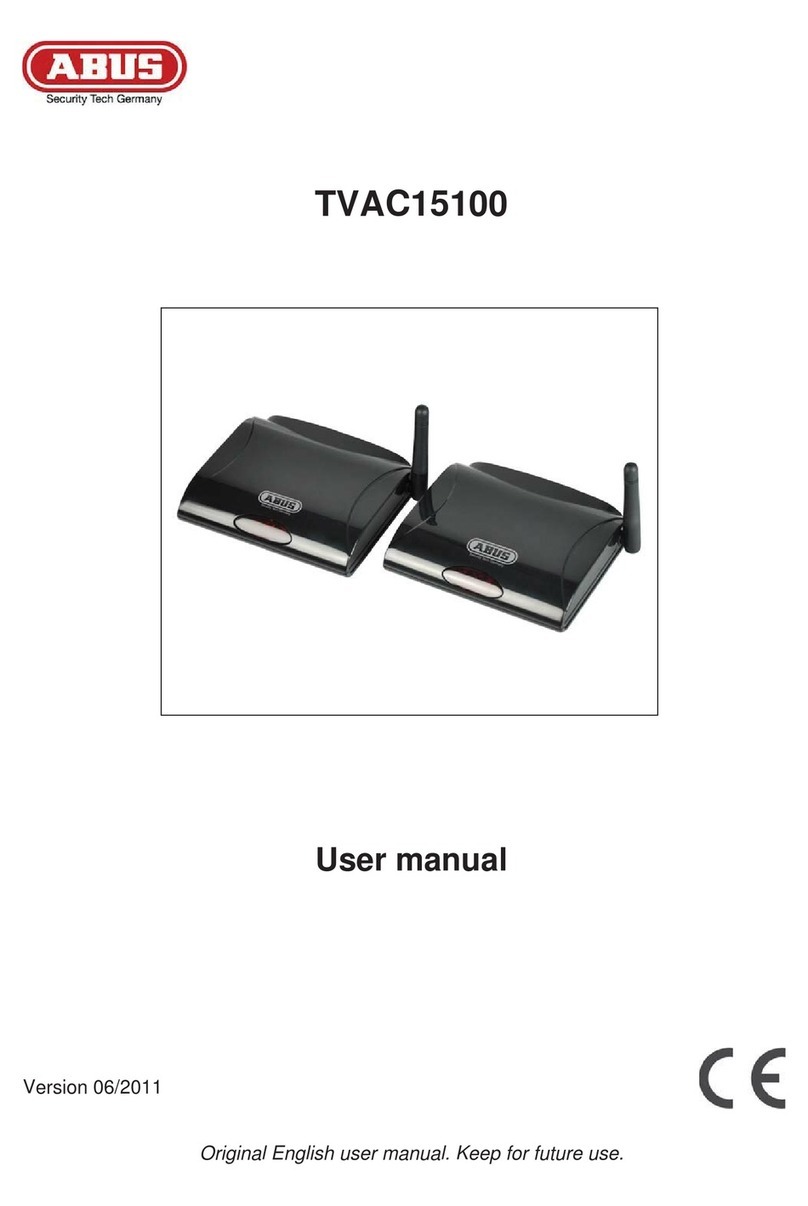
Abus FU8305 User manual

1
Funk-Überfallsender
Wireless panic transmitter
Emetteur anti-agression sans fil
Radiotrasmittente antirapina
Draadloze overvaldetector
Trådløs overfaldssender
Radiowy nadajnik sygnału napadowego
FU8305
12244847

2
Vorwort
Sehr geehrte Kundin, sehr geehrter Kunde,
wir bedanken uns für den Kauf dieses
Funk-Überfallsenders. Mit diesem Gerät
haben Sie ein Produkt erworben, das nach
dem heutigen Stand der Technik gebaut
wurde.
Dieses Produkt erfüllt die Anforderungen
der geltenden europäischen und nationalen
Richtlinien. Die Konformität wurde
nachgewiesen, die entsprechenden
Erklärungen und Unterlagen sind beim
Hersteller hinterlegt.
Um diesen Zustand zu erhalten und einen
gefahrlosen Betrieb sicherzustellen,
müssen Sie als Anwender diese
Bedienungsanleitung beachten! Bei Fragen
wenden Sie sich an Ihren Fachhändler.
Beachten Sie die Anweisungen
und Hinweise in dieser Anleitung!
Sollten Sie sich nicht an diese
Anleitung halten, erlischt Ihr
Garantieanspruch! Für
Folgeschäden wird keine Haftung
übernommen!
Das gesamte Produkt darf nicht
geändert oder umgebaut werden.
!

3
Einführung
Mit dem FU8305 Überfallsender können
Sie schnell einen Überfallalarm an Ihre
Funkalarmzentrale Secvest senden. Da er
strahlwassergeschützt ist, kann er bspw.
auch unter der Dusche getragen werden.
Technische Daten
Spannungsversorgung
eingelötete 3V Lithiumbatterie
Batterielebensdauer
bis zu 5 Jahren
Wasserfestigkeit
Strahlwassergeschützt (IP65)
Umweltklasse
II (-10°C bis +55°C)
Sicherheitsgrad
2
Betriebsfrequenz
868,6625 MHz
Gewicht (m. Batterie)
14g
Abmessung (HxBxT)
44mm x 32mm x 13mm

4
Bedienung
Betätigen Sie den Knopf, um einen
Überfallalarm abzusetzen. Der Sender
sendet ein Signal an Ihre Funkalarm-
zentrale Secvest und die LED blinkt sechs
Mal. Wenn Sie den Knopf gedrückt halten,
wird alle 5 Sekunden ein Signal übertragen.
Befestigung am Taschenclip
Drücken Sie den Taschenclip am oberen
Ende zusammen, um ihn zu öffnen (1).
Stecken Sie das untere Ende des Clips in
den unteren Schlitz des Gehäuses (2).
Drücken Sie das Gehäuse gegen den Clip,
bis die oberen Plastiknasen in das
Gehäuse einrasten (3).
Schieben Sie das Gehäuse am Clip nach
oben, bis es mit einem Klick in den Clip
einrastet (4).

5
Befestigung am Umhängeband
Stecken Sie das untere Ende des
Umhängeclips in den unteren Schlitz des
Gehäuses (1).
Drücken Sie das Gehäuse gegen den Clip,
bis die oberen Plastiknasen in das
Gehäuse einrasten (2).
Schieben Sie das Gehäuse am Clip nach
oben, bis es mit einem Klick in den Clip
einrastet (3).
Befestigung am Armband

6
Führen Sie das elastische Armband wie
abgebildet durch das Gehäuse.
Einlernen
Wählen Sie im Benutzermenü der Secvest
einen Benutzer aus, dem Sie den
Notrufsender zuweisen möchten. Zum
Einlernen führen Sie dann die Schritte, die
in der Bedienungsanleitung der
Funkalarmzentrale beschrieben sind, durch.
Dieses Gerät erfüllt die Anforderungen der
EU-Richtlinie: 1995/5/EG Richtlinie über
Funkanlagen und Telekommu-
nikationseinrichtungen und die gegenseitige
Anerkennung ihrer Konformität.
Die Konformitätserklärung ist zu beziehen
unter:
ABUS Security-Center GmbH & Co. KG
86444 Affing
GERMANY
www.abus-sc.eu
info@abus-sc.eu

7
Preface
Dear customers,
Many thanks for your purchase of this
wireless panic transmitter. In choosing our
product, you now have a piece of
equipment that is built according to state-of-
the-art technology.
This product complies with current domestic
and European regulations. Conformity has
been proven, and all related certifications
are available from the manufacturer on
request.
To maintain this status and to guarantee
safe operation, it is your obligation to
observe these operating instructions! In the
event of questions, please contact your
local specialist dealer.
Pay attention to the notes and
instructions in these operating
instructions! If you do not follow
these instructions, your
guarantee claim becomes
invalid! No liability can be
accepted for resulting
damages!
No part of the product may be
changed or modified in any
way.
!

8
Introduction
Using the FU8305 panic transmitter, it is
possible to send a panic alarm swiftly to
the Secvest wireless alarm system. As it is
waterproof (also under water jets), it can
also be worn in the shower.
Technical data
Power supply
Soldered 3 V lithium battery
Battery service life
Up to 5 years
Water resistance
Resistant against water jets
(IP65)
Environment class
II (-10 °C to +55 °C)
Security level
2
Operating frequency
868.6625 MHz
Weight
14 g (including battery)
Dimensions (HxWxD)
44 mm x 32 mm x 13 mm
Button
Transmitter
LED
Button
Transmitter
LED

9
Operation
Press the button to trigger the panic alarm.
The transmitter sends a signal to the
Secvest wireless alarm centre and the LED
flashes six times. If the button is kept
pressed, a signal is transmitted every 5
seconds.
Fastening on a pocket clip
Press the upper end of the pocket clip
together to open it (1).
Insert the lower end of the clip into the
lower housing slot (2).
Press the housing against the clip until the
upper plastic knobs click into the housing
(3).
Push the housing on the clip upwards until
it clicks into the clip (4).

10
Fastening on a lanyard
Insert the lower end of the lanyard clip into
the lower housing slot (1).
Press the housing against the clip until the
upper plastic knobs click into the housing
(2).
Push the housing on the clip upwards until
it clicks into the clip (3).
Fastening on a bracelet
Thread the elastic bracelet through the
housing as illustrated.

11
Learning
In the Secvest user menu, select a user to
be allocated to the emergency call
transmitter. Carry out the steps detailed in
the installation instructions of the wireless
alarm centre to start the learning process.
This product complies with the
requirements of the EU directive:
1995/5/EC “Directive on radio and
telecommunications terminal equipment
and the mutual recognition of their
conformity”.
The declaration of conformity can be
ordered from:
ABUS Security-Center GmbH & Co. KG
86444 Affing
GERMANY
www.abus-sc.eu
info@abus-sc.eu

12
Préface
Chère cliente, cher client,
Nous vous remercions de l’achat de cet
émetteur anti-agression sans fil. Par l’achat
de ce produit, vous disposez maintenant d’un
appareil développé selon l’état actuel de la
technique.
Ce produit est conforme auxexigences des
directives européennes et nationales en
vigueur. La conformité de ce produit a été
prouvée. Les déclarations et documents
correspondants sont consultables auprès du
fabricant.
Pour que cette conformité persiste et qu’un
fonctionnement en toute sécurité puisse être
assuré, lisezattentivement les présentes
instructions! Pour plus de renseignements,
adressez-vous à votre vendeur spécialiste sur
place.
Tenez compte des instructions et des
consignes de la présente notice! Le
non-respect des présentes instructions
entraîne la déchéance de la garantie!
Dans ce cas, la société ne saurait être
tenue responsable des dommages
indirects!
Une modification ou transformation de
la structure d'une quelconque partie de
ce produit n'est pas autorisée.
!

13
Introduction
L'émetteur anti-agression sans fil FU8305
permet la transmission rapide d'une
alarme anti-agression à la centrale
d’alarme sans fil Secvest. Comme il est
protégé contre les éclaboussures, il peut,
par exemple, être également porté sous la
douche.
Fiche technique
Alimentation
batterie lithium de 3 V
Durée de service de la batterie
max. 5 ans
Etanchéité
protégé contre les
éclaboussures (IP65)
Classe environnementale
II (-10°C à +55°C)
Niveau de sécurité
2
Fréquence de fonctionnement
868,6625 MHz
Poids
14g (batterie incluse)
Dimensions (HxLxP)
44mm x 32mm x
13mm
Bouton
LED
d'émetteur
Bouton
LED
d'émetteur

14
Utilisation
Appuyez sur le bouton pour déclencher une
alarme anti-agression. L’émetteur transmet
un signal à votre centrale d’alarme sans fil
Secvest et le LED clignotera six fois. Si
vous maintenez le bouton enfoncé, un
signal sera transmis toutes les 5 secondes.
Fixation au clip poche
Appuyez sur les deux extrémités
supérieures du clip poche, pour ouvrir ce
dernier (1).
Introduisez l'extrémité inférieure du clip
dans la fente inférieure du boîtier (2).
Appuyez le boîtier contre le clip, jusqu’à ce
que les taquets plastiques supérieurs
s’enclenchent dans le boîtier (3).
Glissez le boîtier sur le clip vers le haut
jusqu'à son enclenchement par un clic dans
le clip (4).

15
Fixation au collier
Introduisez l'extrémité inférieure du clip du
collier dans la fente inférieure du boîtier (1).
Appuyez le boîtier contre le clip, jusqu’à ce
que les taquets plastiques supérieurs
s’enclenchent dans le boîtier (2).
Glissez le boîtier sur le clip vers le haut
jusqu'à son enclenchement par un clic dans
le clip (3).
Fixation au bracelet
Passez le bracelet élastique dans le boîtier,
comme indiqué dans la figure.

16
Apprentissage
Dans le menu utilisateur de la Secvest,
sélectionnez un utilisateur auquel vous
souhaitez attribuer l'émetteur d'appel
d'urgence. Pour un apprentissage,
effectuez les étapes décrites dans les
instructions de service de la centrale
d'alarme sans fil.
Ce produit est conforme aux exigences de
la directive européenne: Directive
1995/5/CE, R&TTE (Radio and
Telecommunications Terminal Equipment)
et la reconnaissance de leur conformité
mutuelle.
La déclaration de conformité est disponible
auprès de:
ABUS Security-Center GmbH & Co. KG
86444 Affing
GERMANY
www.abus-sc.eu
info@abus-sc.eu

17
Prefazione
Egregio cliente,
La ringraziamo per aver acquistato questo
radiotrasmettente antirapina. Con questo
apparecchio ha acquistato un prodotto
progettato in base agli standard tecnologici
più avanzati che risponde ai requisiti
richiesti dalle vigenti direttive europee e
nazionali. La conformità è stata comprovata
e le dichiarazioni e la documentazione
corrispondenti sono depositate presso la
ditta produttrice.
Al fine di preservare tale stato e garantire
un corretto funzionamento, Lei, in qualità di
utente, è tenuto ad osservare le presenti
istruzioni per l'uso. In caso di dubbi
rivolgersi al proprio rivenditore
specializzato.
Osservare le indicazioni e le
avvertenze fornite nelle presenti
istruzioni! La mancata osservanza
delle presenti istruzioni comporta
l’annullamento della garanzia. È
esclusa la responsabilità per danni
indiretti.
Il prodotto nella sua interezza non
deve essere modificato o
trasformato.
!

18
Introduzione
Con il radiotrasmittente antirapina FU8305
è possibile inviare rapidamente un segnale
di allarme alla propria centrale di allarme
radio Secvest. Essendo dotato di
protezione contro i getti d'acqua può
essere usato, per es., anche sotto la
doccia.
Dati tecnici
Alimentazione di tensione
Batteria al litio da 3 V
saldata
Durata della batteria
fino a 5 anni
Impermeabilità
Protezione contro i getti
d'acqua (IP65)
Classe ambientale
II (da -10 °C a +55 °C)
Grado di sicurezza
2
Frequenza di esercizio
868,6625 MHz
Peso (con batteria)
14 g
Dimensioni (AxLxP)
44 mm x 32 mm x 13 mm
Pulsant
e
Trasmettitore
LED
Pulsant
e
Trasmettitore
LED

19
Utilizzo
Premere il pulsante per rilasciare un
segnale di allarme. Il trasmettitore invia un
segnale alla Sua centrale di allarme radio
Secvest e il LED lampeggia sei volte.
Tenendo premuto il tasto viene trasmesso
un segnale ogni 5 secondi.
Fissaggio al fermaglio delle borse
Premere la parte superiore del fermaglio
tascabile per aprirlo (1).
Inserire l'estremità inferiore del fermaglio
nella fessura inferiore del guscio (2).
Premere l'alloggiamento contro il fermaglio
finché i nottolini di plastica non si innestano
nell'alloggiamento (3).
Spingere l'alloggiamento verso l'alto finché
non si innesta nel fermaglio producendo un
clic (4).

20
Fissaggio alle fascette
Inserire l'estremità inferiore del fermaglio da
appendere nella fessura inferiore
dell'alloggiamento (1).
Premere l'alloggiamento contro il fermaglio
finché i nottolini di plastica non si innestano
nell'alloggiamento (2).
Spingere l'alloggiamento verso l'alto finché
non si innesta nel fermaglio producendo un
clic (3).
Fissaggio al bracciale
Other manuals for FU8305
1
Table of contents
Languages:
Other Abus Transmitter manuals
Popular Transmitter manuals by other brands

ABB
ABB 3299-47918 quick start guide

WIKA
WIKA T24.10 operating instructions

Omni-WiFi
Omni-WiFi SweetSpot10 instruction manual

Distech Controls
Distech Controls HS-OT 2X Series Commissioning and hardware installation manual

ARTEX
ARTEX ELT 1000 Description, operation, installation and maintenance manual

Acromag
Acromag ST133-16 0 Series user manual