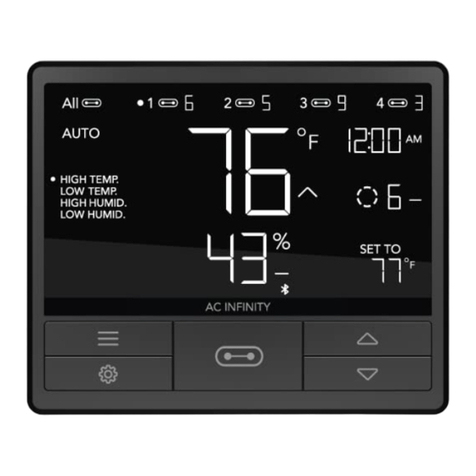
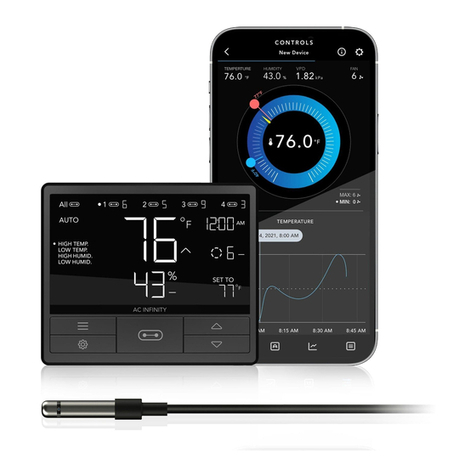
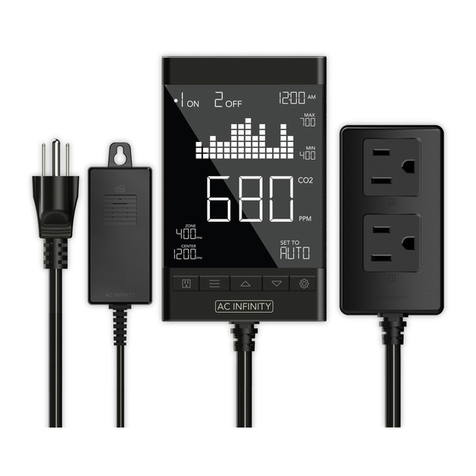
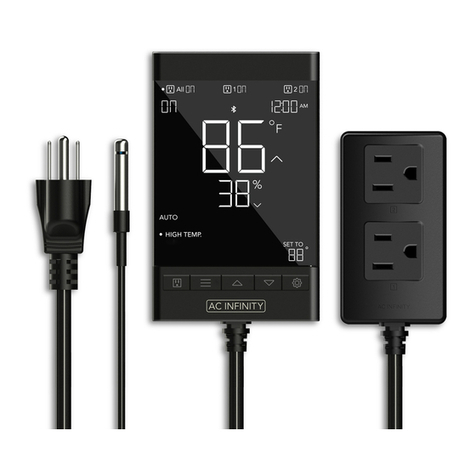
AC Infinity CONTROLLER 69 User manual

USER MANUALUSER MANUAL
CONTROLLER 69


3
WELCOME
Thank you for choosing AC Infinity. We are committed to product quality and friendly customer service.
If you have any questions or suggestions, please don’t hesitate to contact us. Visit www.acinfinity.com
and click contact for our contact information.
EMAIL
support@acinfinity.com
WEB
www.acinfinity.com
LOCATION
Los Angeles, CA

4
MANUAL CODE CTR692108X2
PRODUCT
CONTROLLER 69
MODEL
CTR69A
UPC-A
819137022652
FAN COMPATIBILITY
This controller is natively compatible with AC Infinity devices with UIS™ connectors. Older model inline
fans with EC motors may be used with this controller using a Molex adapter. An EC-motor fan will have
two cords coming out of its motor box for the power and the controller. Note that certain models that
previously used DC-motors now contain EC-motors in updated builds.
EC Motor - Compatible AC or DC Motor - NOT Compatible
Please visit www.acinfinity.com to check for the latest models compatible with this controller.

5
MANUAL INDEX
Compatibility ..................................................................................
Manual Index .................................................................................
Key Features .................................................................................
Product Contents ...........................................................................
Powering and Setup ......................................................................
Controller Mounting .......................................................................
Adding More Devices ....................................................................
Universal Infinity System ...............................................................
UIS Compatibility ...........................................................................
Programming .................................................................................
Other Settings ...............................................................................
Download the App .........................................................................
Add a Device .................................................................................
App Programming...........................................................................
App Settings...................................................................................
FAQ.................................................................................................
Other AC Infinity Products .............................................................
Warranty ........................................................................................
Page 4
Page 5
Page 6
Page 7
Page 8
Page 10
Page 12
Page 14
Page 15
Page 16
Page 31
Page 32
Page 33
Page 36
Page 47
Page 49
Page 50
Page 51

6
KEY FEATURES
APP-CONTROLLED
Bluetooth-enabled to connect
with the AC Infinity app for
access to smart automations,
climate data, and history logs.
SMART CONTROLLER
Features automation controls
that activate your devices
based on climate conditions,
timers, and schedules.
ACTIVE MONITORING
LCD display shows key data
like temperature, humidity,
device levels, trends, time,
countdowns, and more.
UIS CONNECTIVITY
Connect up to four devices to
simultaneously set programming
for all devices or independently
for each device.
ADVANCE SETTINGS
Additional setting options
include Fahrenheit/Celsius
toggling, clock, calibrations,
and custom transitions.
VERSATILE PLACEMENT
Mount the controller on a steel
surface using the rear magnet or
open the kickstand to sit it tilted
on your desktop.

7
PRODUCT CONTENTS
SENSOR
PROBE
(x1)
UIS M - 4PIN F
ADAPTER
(x2)
SMART
CONTROLLER
(x1)
WOOD SCREWS
(WALL HANG)
(x2)
WIRE
TIE
(x1)
WOOD SCREWS
(WALL MOUNT)
(x2)

8
POWERING AND SETUP
STEP 1
Plug your device’s UIS connector into one of
the controller's ports.
STEP 2
Plug the sensor probe into the controller’s
3.5mm jack. Set the probe near your plants in
your grow tent for the most accurate reading.

9
POWERING AND SETUP
STEP 4
You may use the included tie mounts, wood
screws, and zip ties to cable manage the cords.
Secure the tie mounts onto a surface using
the wood screws. Loop the zip ties around the
cords into the tie mounts.
STEP 3
Plug your device’s power cord into an AC
power outlet to power it and the controller.

10
CONTROLLER MOUNTING
STEP 1
Locate a spot free of obstruction and secure the
anchors into your wall. Twist the wood screws
into the anchors.
STEP 2(a)
Hang the controller by the screws using the
holes on the backside.
You may also mount the controller using the
magnet located behind the label.

11
KICKSTANDING
Open the stand behind the controller to set it
tilted on your desktop.
STEP 2(b)
Cords may be routed into or outside of the
kickstand grooves, and through a cut hole
behind the controller.
CONTROLLER MOUNTING

12
ADDING MORE DEVICES
The CONTROLLER 69 is built with four ports that enable you to power and control multiple fans at
the same time. See image below for a sample configuration.
Multi-Fan Connection
EXPANSION DONGLE
The expansion dongle will allow you to connect 2 or 4 devices with a single port and can support
additional dongles to create more expansion ports (up to 64 units supported with the use of 20
dongles*). Intended for exclusive use with AC Infinity controllers built with UIS ports.
CLOUDLINE 4" CLOUDLINE 6"
*UIS extension cord and dongle sold separately

13
EXPANSION DONGLE
The expansion dongle will allow you to connect 2 or 4 devices with a single port and can support
additional dongles to create more expansion ports (up to 64 units supported with the use of 20
dongles*). Intended for exclusive use with AC Infinity controllers built with UIS ports.
ADDING MORE DEVICES
Multi-Light Connection
*UIS extension cord and dongle sold separately
The CONTROLLER 69 is built with four ports that enable you to power and control multiple grow
lights at the same time. See image below for a sample configuration.

14
The Universal Infnity System™ enables you to connect a single central controller with several grow
devices simultaneously. By creating this fully integrated system, you can power and program all
your devices together or separately for optimized grow tent management.
Use select smart controllers to set triggers that will activate your devices based on your grow tent’s
temperature and humidity. Create independent timers and schedules for customized activation in
your desired timeframe.
Your grow system can be regulated using your controller hub or remotely on the AC Infinity app
(paired with compatible controllers), where you will have access to automation programming and
climate data.
Central controllers and grow devices will be sold separately and may still be in development
at the time of your purchase of this product.
UNIVERSAL INFINITY SYSTEM

15
UIS COMPATIBILITY
EXTENSION CABLE
Use male-to-male UIS extension cords to connect devices with female UIS ports at an extended
range from your controller.
EXPANSION DONGLE
The expansion dongle will allow you to connect 2 or 4 devices with a single port and can support
additional dongles to create more expansion ports (up to 64 units supported with the use of 20
dongles*). Intended for exclusive use with AC Infinity controllers built with UIS ports.
UIS M - M
4 PORT DONGLE
UIS M - M
2 PORT DONGLE
MOLEX ADAPTER
Use the included Molex adapter to plug inline fans with 4-pin Molex connectors into this controller.
Plug your fan's Molex connector into the adapter. Then plug the adapter into the controller.
UIS M - 4PIN F
ADAPTER
UIS M - M
CORD
UIS M - M
CLIP FAN CORD
*UIS extension cord and dongle sold separately

16
PROGRAMMING
1. PORT BUTTON
Cycles through up to four
connected devices. Each device
is programmed independently, or
together when navigating to ALL.
5. PORTS
Displays all connected devices
as well as their current level.
Digits are displayed by the
UIS symbol when a device is
plugged into its corresponding
port.
6. PROBE TEMP.
Displays the current
temperature that the probe is
detecting. Shows “--” if no probe
is plugged in. Includes a trend
indicator that signals a rise,
steady, or fall in temperature
within the last hour.
4. UP/DOWN BUTTONS
Adjusts the value of your
current mode. The up button
increases and down button de-
creases the setting. Hold both
to reset values to OFF or 0.
10. CURRENT TIME
Displays the current time. The
internal battery sustains the
clock so it does not default to
00:00 if power is cut off.
9. ALERT ICONS
Displays alerts and statuses of the
controller, including the controller lock,
CLIMATE alert, and TIMER alert.
13. USER SETTING
Displays the value of your cur-
rent mode. Use the up or down
buttons to adjust the value.
12. COUNTDOWN
Displays the countdown of the TIMER
TO ON, TIMER TO OFF, CYCLE,
or SCHEDULE mode activates or
deactivates the devices. TO ON shows
the amount of time left before the devices
turn on. TO OFF shows the amount of
time left before the device turn off.
7. PROBE HUMIDITY
Displays the current humidity
that the probe is measuring.
Shows "--" if no probe is
plugged in. Includes a trend
indicator that signals a rise,
steady, or fall in humidity
within the last hour.
3. SETTING BUTTON
Cycles through the controller’s
settings: DISPLAY, CLOCK,
°F/°C, CALIB. T°/H%, and
TRANS.T°/H%.
2. MODE BUTTON
Cycles through the controller’s modes:
OFF, ON, AUTO (4 triggers), TIMER to
ON, TIMER to OFF, CYCLE (ON and
OFF), and SCHEDULE (ON and OFF).
11. CURRENT LEVEL
Displays the connected
devices' current setting.
Includes a trend indicator that
signals if the setting is currently
rising, falling, or holding steady.
1
2
3
4
6
8
9
10
11
12
13
5
7
8. CONTROLLER MODE
Displays the controller's
current mode. Pressing the
mode button cycles through
the available modes.

17
PROGRAMMING
ALL PORTS
Navigate to the ALL port to set simultaneous
programming for all connected devices.
Programming set in this port mode applies to all
connected devices, but will not be active if you
navigate to other ports. Re-entering the ALL port
will resume its programming.
INDIVIDUAL PORT
Navigate to a numbered port with a connected
device to set individual programming.
Programming will run in the background even while
you navigate to other numbered ports.
PORTS
Pressing the port button will cycle through the controller’s available ports: ALL, 1, 2, 3, and 4. Dot
indicates the current device. No digit is displayed if a device is not plugged into the corresponding
port.

18
PROGRAMMING
ON MODE
Your devices will actively run at the level set here,
regardless of the probe’s reading. The ON mode
also serves as the maximum level setting the other
modes will run in.
OFF MODE
Your devices will not run while in this mode.
The levle set while in this mode establishes the
minimum level in other modes. When the devices
are triggered to turn OFF in all other modes, they
will instead run at the level set here.
CONTROLLER MODES
Pressing the mode button will cycle through the controller’s available programming modes: OFF,
ON, AUTO (4 triggers), TIMER TO ON, TIMER TO OFF, CYCLE (On and Off), and SCHEDULE (On
and Off).

19
AUTO MODE (HIGH TEMPERATURE TRIGGER)
Pressing the up or down button sets the high
temperature trigger. The devices will activate if the
probe’s reading meets or exceeds this threshold.
Once triggered, the devices will gradually ramp up to
the level set in ON mode. If the probe’s reading falls
below this trigger point, the devices will gradually slow
down to a stop or at the level set in OFF mode.
You may set this trigger below the low temperature
trigger to create a specific range in which the devices
are active.
Note that this trigger can activate as long
as you are in AUTO Mode, even if you are
viewing a different trigger within AUTO Mode.
If there is a level set in OFF Mode other than
zero, the devices will run at that level when
triggered to turn off.
PROGRAMMING
AUTO MODE (LOW TEMPERATURE TRIGGER)
Pressing the up or down button sets the low
temperature trigger. The devices will activate if the
probe’s reading meets or falls below this threshold.
Once triggered, the devices will gradually ramp up
to the level set in ON mode. If the probe’s reading
rises above this trigger point, the devices will
gradually slow down to a stop or at the level set in
OFF mode.
You may set this trigger above the high temperature
trigger to create a specific range in which the
devices are active.
Note that this trigger can activate as long
as you are in AUTO Mode, even if you are
viewing a different trigger within AUTO Mode.
If there is a level set in OFF Mode other than
zero, the devices will run at that level when
triggered to turn off.

20
PROGRAMMING
AUTO MODE (LOW HUMIDITY TRIGGER)
Pressing the up or down button sets the low humid-
ity trigger. The devices will activate if the probe’s
reading meets or falls below this threshold.
Once triggered, the devices will gradually ramp up
to the level set in ON mode. If the probe’s reading
rises above this trigger point, the devices will
gradually slow down to a stop or at the level set in
OFF Mode.
You may set this trigger above the high humidity
trigger to create a range in which the devices are
active.
Note that this trigger can activate as long
as you are in AUTO Mode, even if you are
viewing a different trigger within AUTO Mode.
If there is a level set in OFF Mode other than
zero, the devices will run at that level when
triggered to turn off.
AUTO MODE (HIGH HUMIDITY TRIGGER)
Pressing the up or down button sets the high
humidity trigger. The devices will activate if the
probe’s reading meets or exceeds this threshold.
Once triggered, the devices will gradually ramp up
to the level set in ON mode. If the probe’s reading
falls below this trigger point, the devices will
gradually slow down to a stop or at the level set in
OFF mode.
You may set this trigger below the low humidity
trigger to create a specific range in which the
devices are active.
Note that this trigger can activate as long
as you are in AUTO Mode, even if you are
viewing a different trigger within AUTO Mode.
If there is a level set in OFF Mode other than
zero, the devices will run at that level when
triggered to turn off.
Other manuals for CONTROLLER 69
1
This manual suits for next models
1
Table of contents
Other AC Infinity Controllers manuals

AC Infinity
AC Infinity CTR69X User manual

AC Infinity
AC Infinity AC-CRA5 User manual

AC Infinity
AC Infinity CONTROLLER 67 User manual

AC Infinity
AC Infinity CONTROLLER 69 PRO User manual

AC Infinity
AC Infinity AC-CTC7 User manual

AC Infinity
AC Infinity SMART OUTLET User manual

AC Infinity
AC Infinity CONTROLLER 69 User manual
AC Infinity
AC Infinity THERMAL TRIGGER User manual
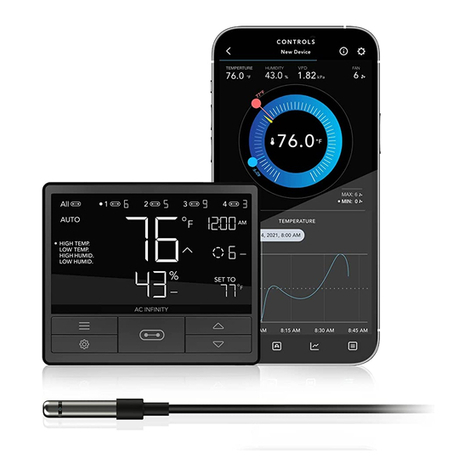
AC Infinity
AC Infinity CONTROLLER 79 User manual
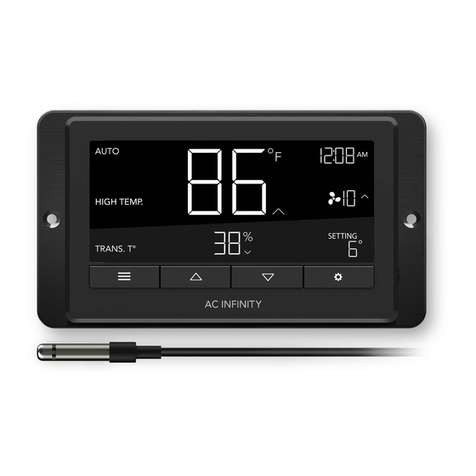
AC Infinity
AC Infinity CONTROLLER 63 User manual