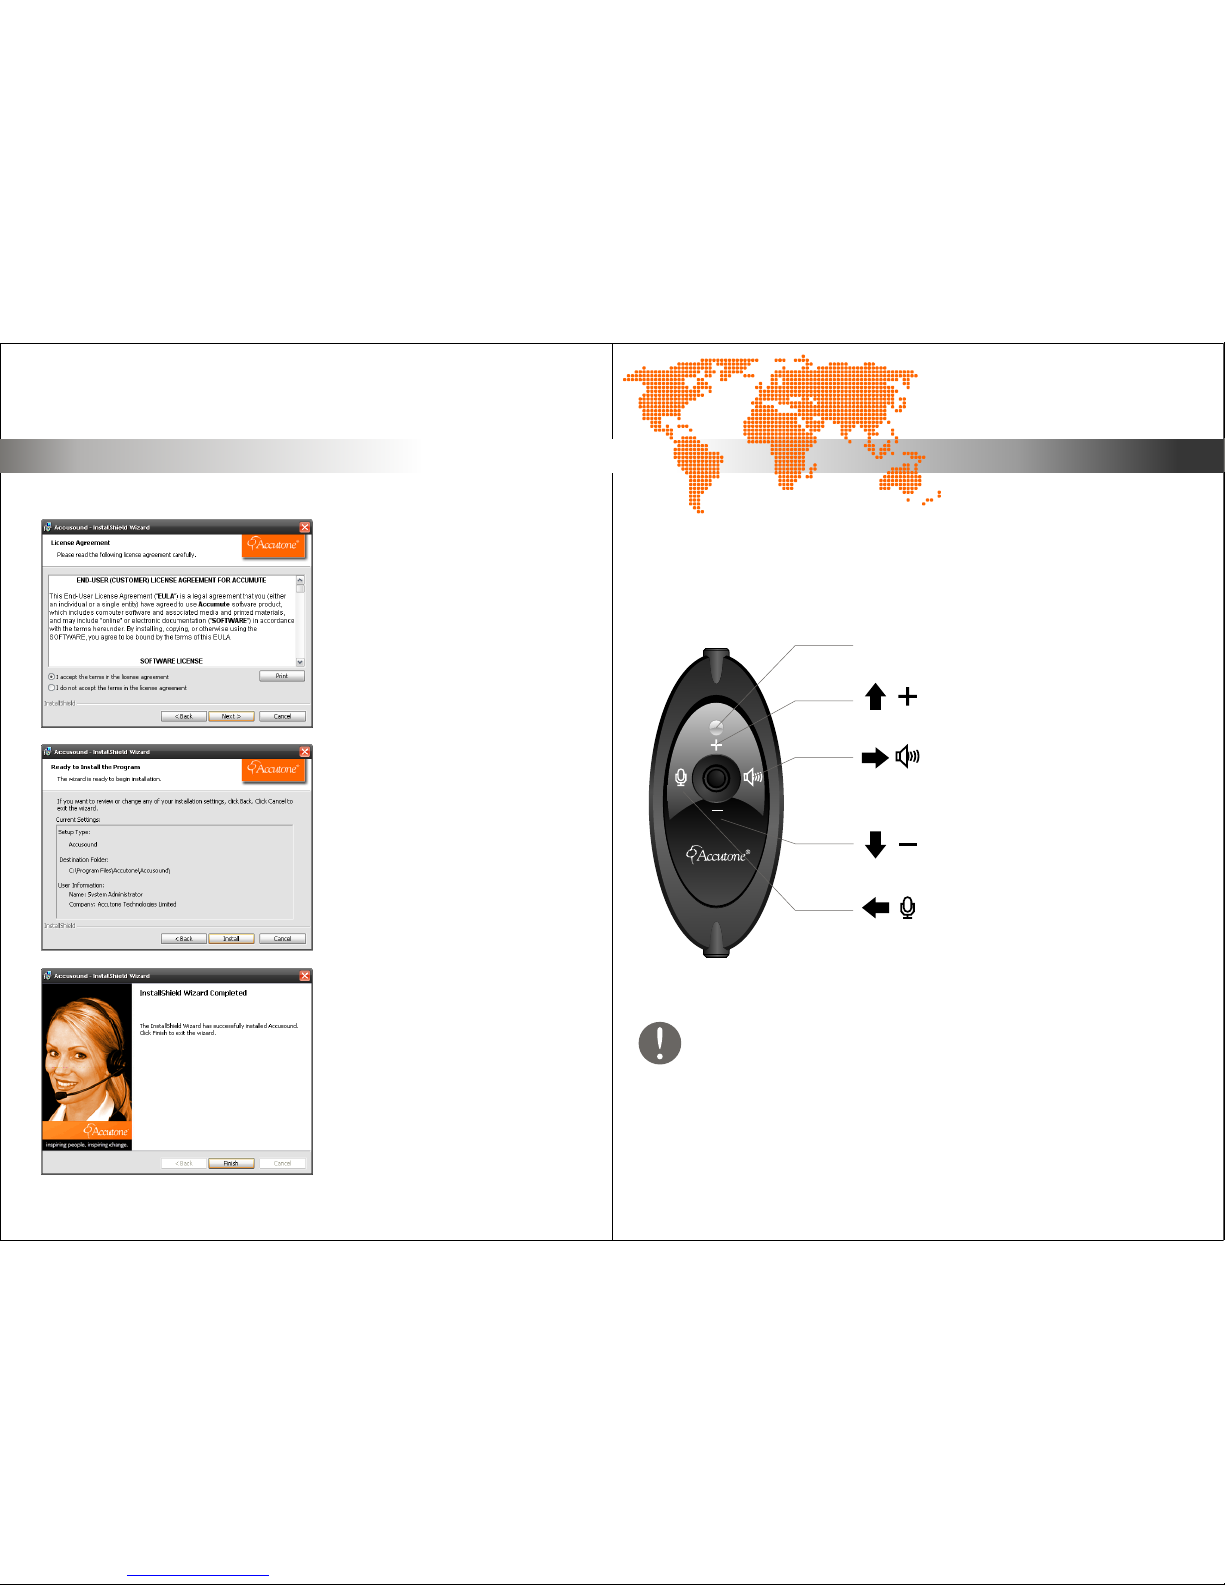
COperating your headset.
Operation. Operation.
[ inspiring people, inspiring change ]
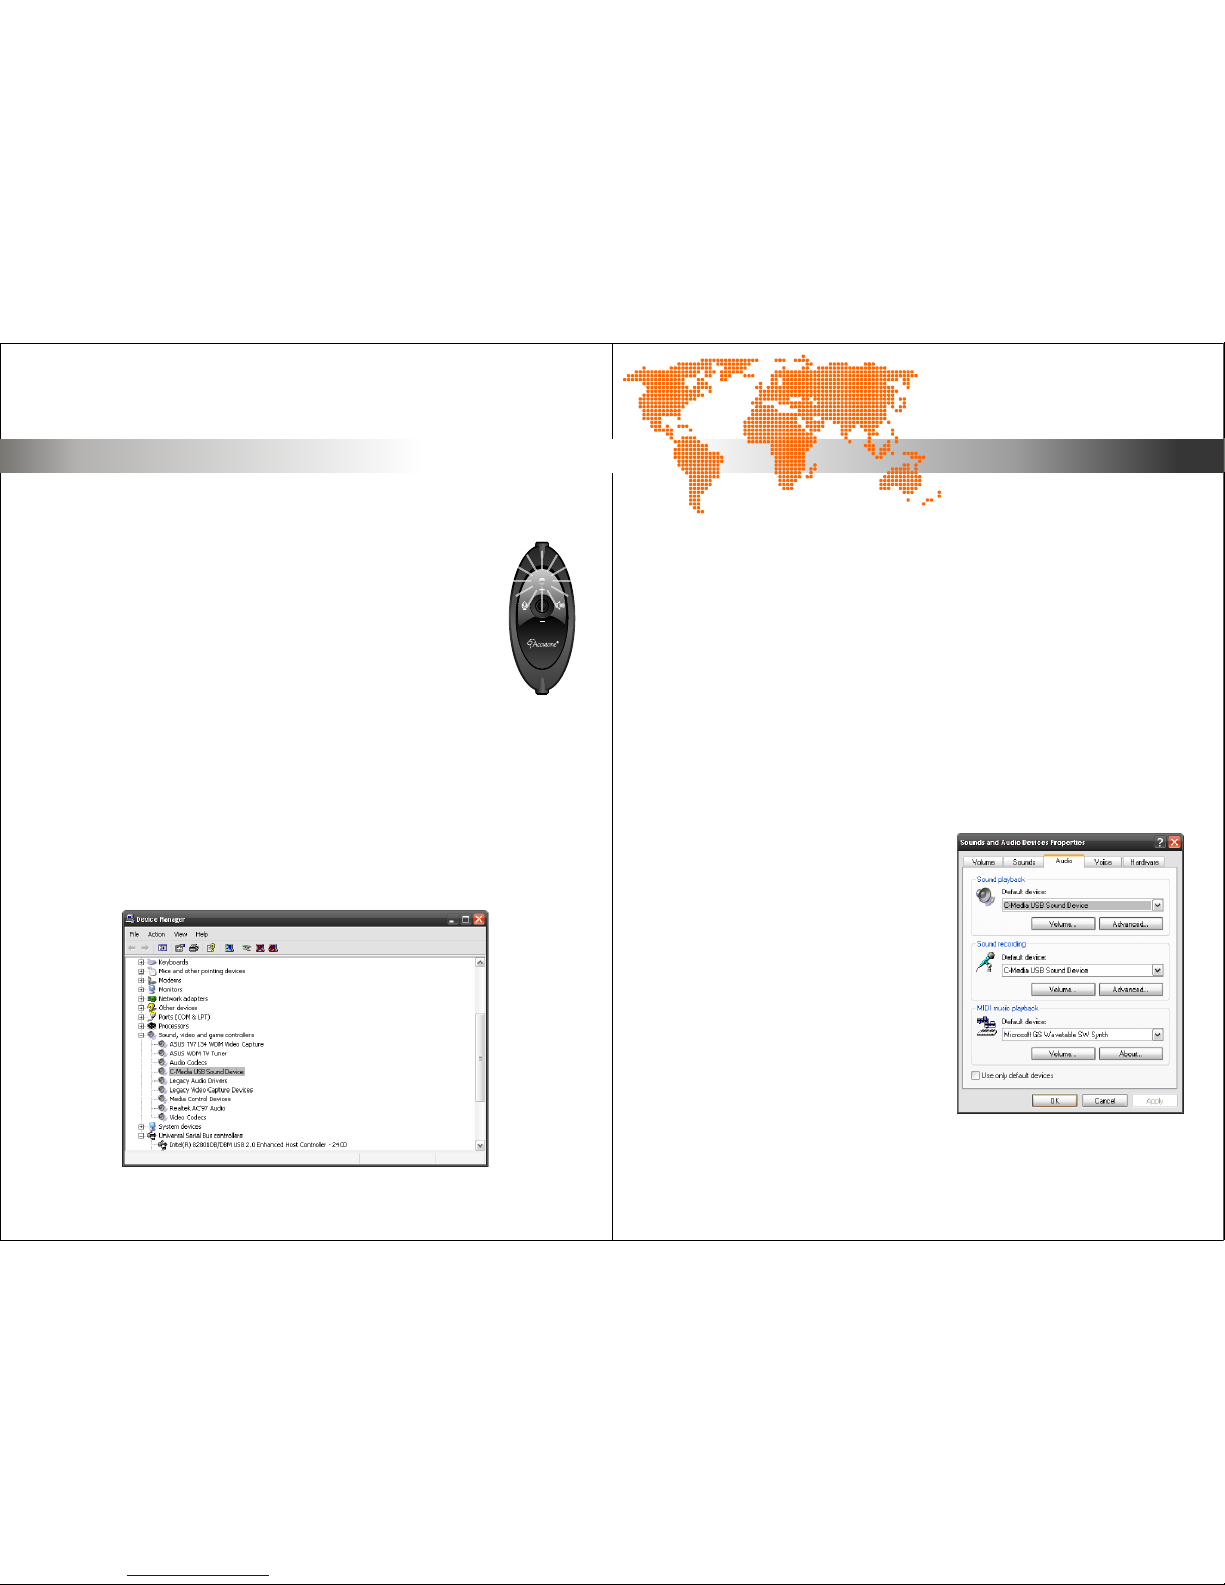
The USB400 headset is equipped with a Sound Configuation software for sound
adjustments. You can open the program by simply double clicking on the orange
Accutone icon in the icon tray, as shown in section B4 of this manual.
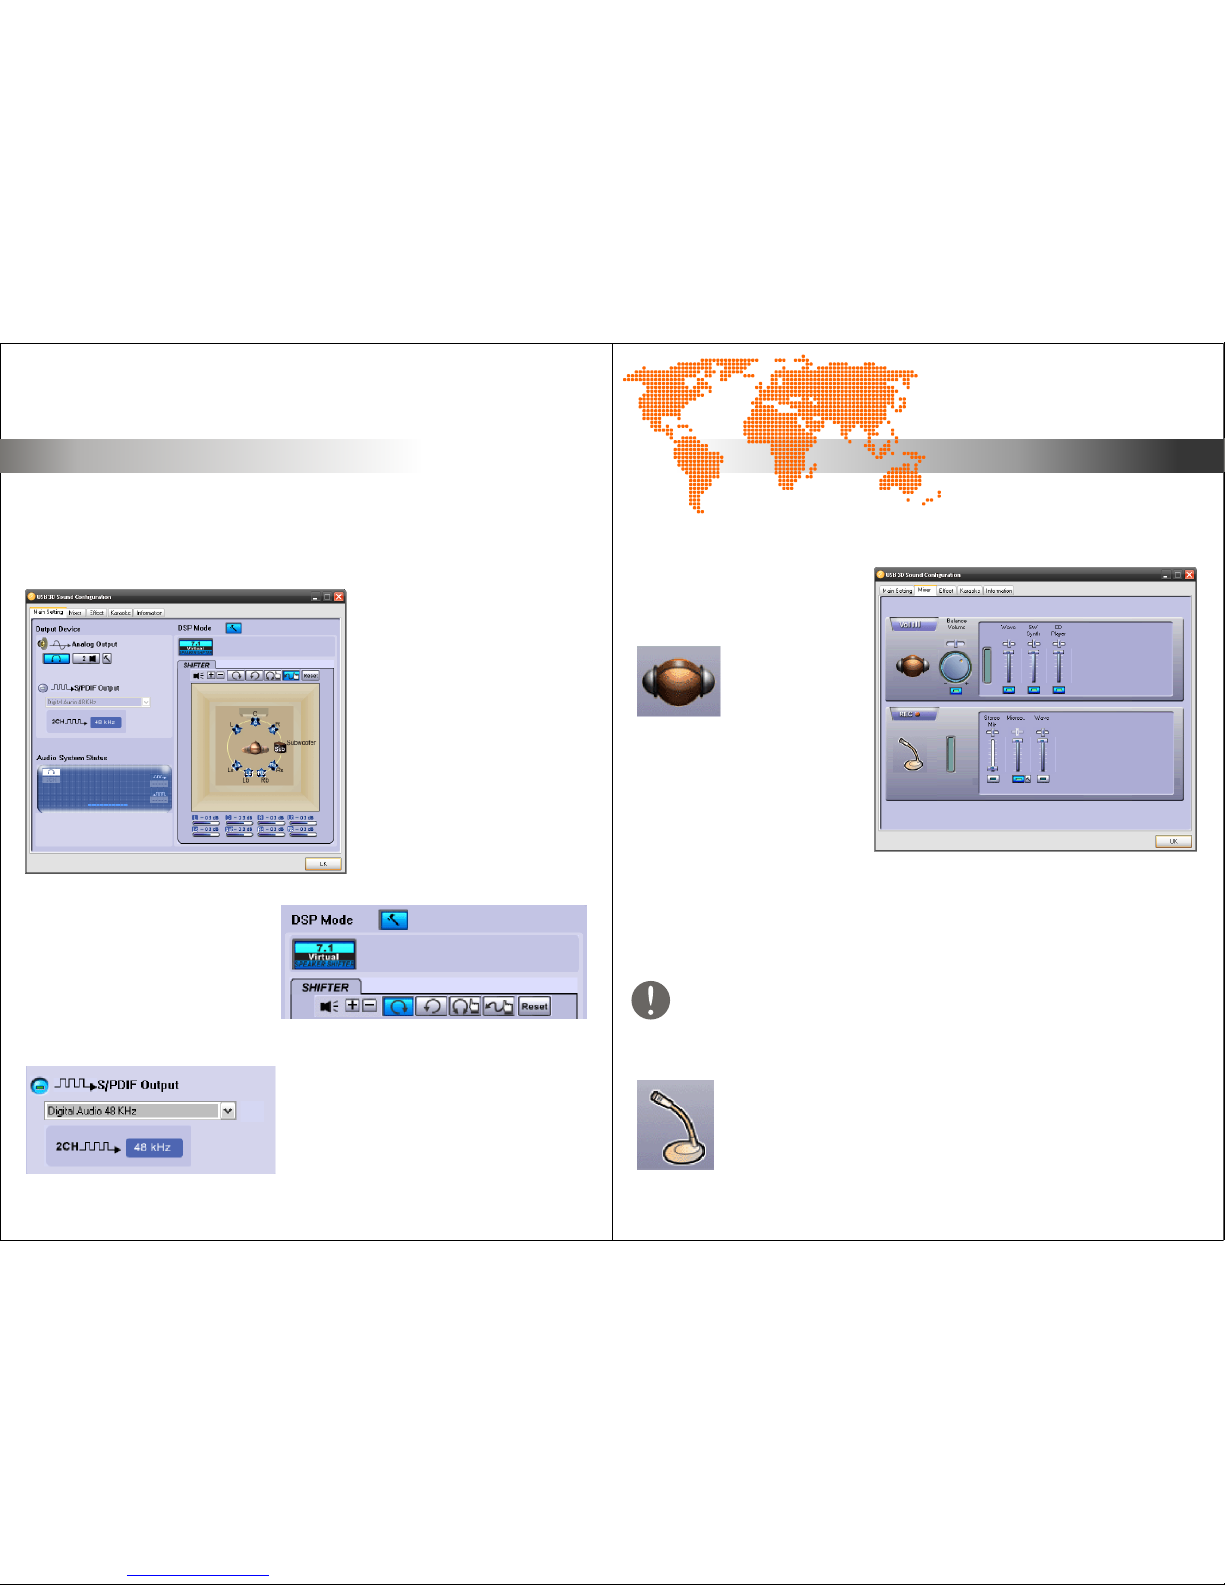
In Main Setting tab, you can choose
your output device from headset to
desktop speakers.
USB400 is also equipped to be used
for digital entertainment
applications like surround sound
movie viewing and gaming.
When connected to a desktop
speaker, USB400 can simulate 7.1
surround sound using Xear 3D
technology.
Simply select your application here.
When selected Xear 3D as your
DSP mode, you can experience the
7.1 3D-surround effect even with
your headset. Choose headset as
your Output Device, turn on Xear
3D, and click the rotating icon
under the 7.1 Virtual Speaker
Shifter during your favorite audio
applications.
You can also choose to use S/PDIF output
when connected to other digital audio devices.
C2. operating the Sound Configuration Software
Microphone realtime playback adjusts the feedback volume of the microphone to
yourself. The small hammer icon next to the microphone volume control opens up the
microphone advanced adjustments. You can choose to turn on the microphone
playback mute or microphone boost function.
In Mixer tab, the top panel is the
Playback Volume Control, and the
bottom panel is the Recording
Volume Control.
In Playback Volume Control, you
can adjust the main volume and
balance by adjusting the knob.
Other volume controls includes
Wave, SW Synth., CD Player and
Microphone realtime playback.
Please note that in muting function inside the Playback Volume Control -
advanced microphone adjustments ONLY mute the volume of the microphone
going to the speaker of the headset, the user on the other end can still hear you.
In Recording Volume Control, you can choose the Stereo Mix volume
control and the Microphone transmit/record volume control. In this
microphone control, you are adjusting the actual outgoing volume. Again,
the hammer icon opens up the advanced setting which include mute and
microphone boost.
C2. operating the Sound Configuration Software
USB400 - Installation Guide & User Manual
13 14
USB400 - Installation Guide & User Manual
operating digital audio controller
operating the sound configuration software
TM
operating the AccuSound software