[ inspiring people, inspiring change ]
Technical Specifications
Troubleshooting
“The caller cannot hear what I am saying!”
“The sound from the headset is distorted and I can hear echo!”
“I can hear a lot of background noise from my headset, why?”
“Battery talk-time is shorter than before, even after a full
charge!”
The headset is muted, press the Microphone Mute Button to un-
mute the headset.
Microphone volume is too low. Increase the microphone volume by
pressing the “+” button from the two Microphone Volume Buttons
on the base station.
(5)
(10)
The microphone is picking up the sound coming from the speaker on the
headset. Reduce the microphone volume or reduce the listening volume
from the loudspeaker. Refer to Section G of this user manual.
If your telephone has a handset volume control, try lowering that until the
distorting/echo sound disappears.
Base station is too close to a computer or a mobile phone, try moving the
base station to another location.
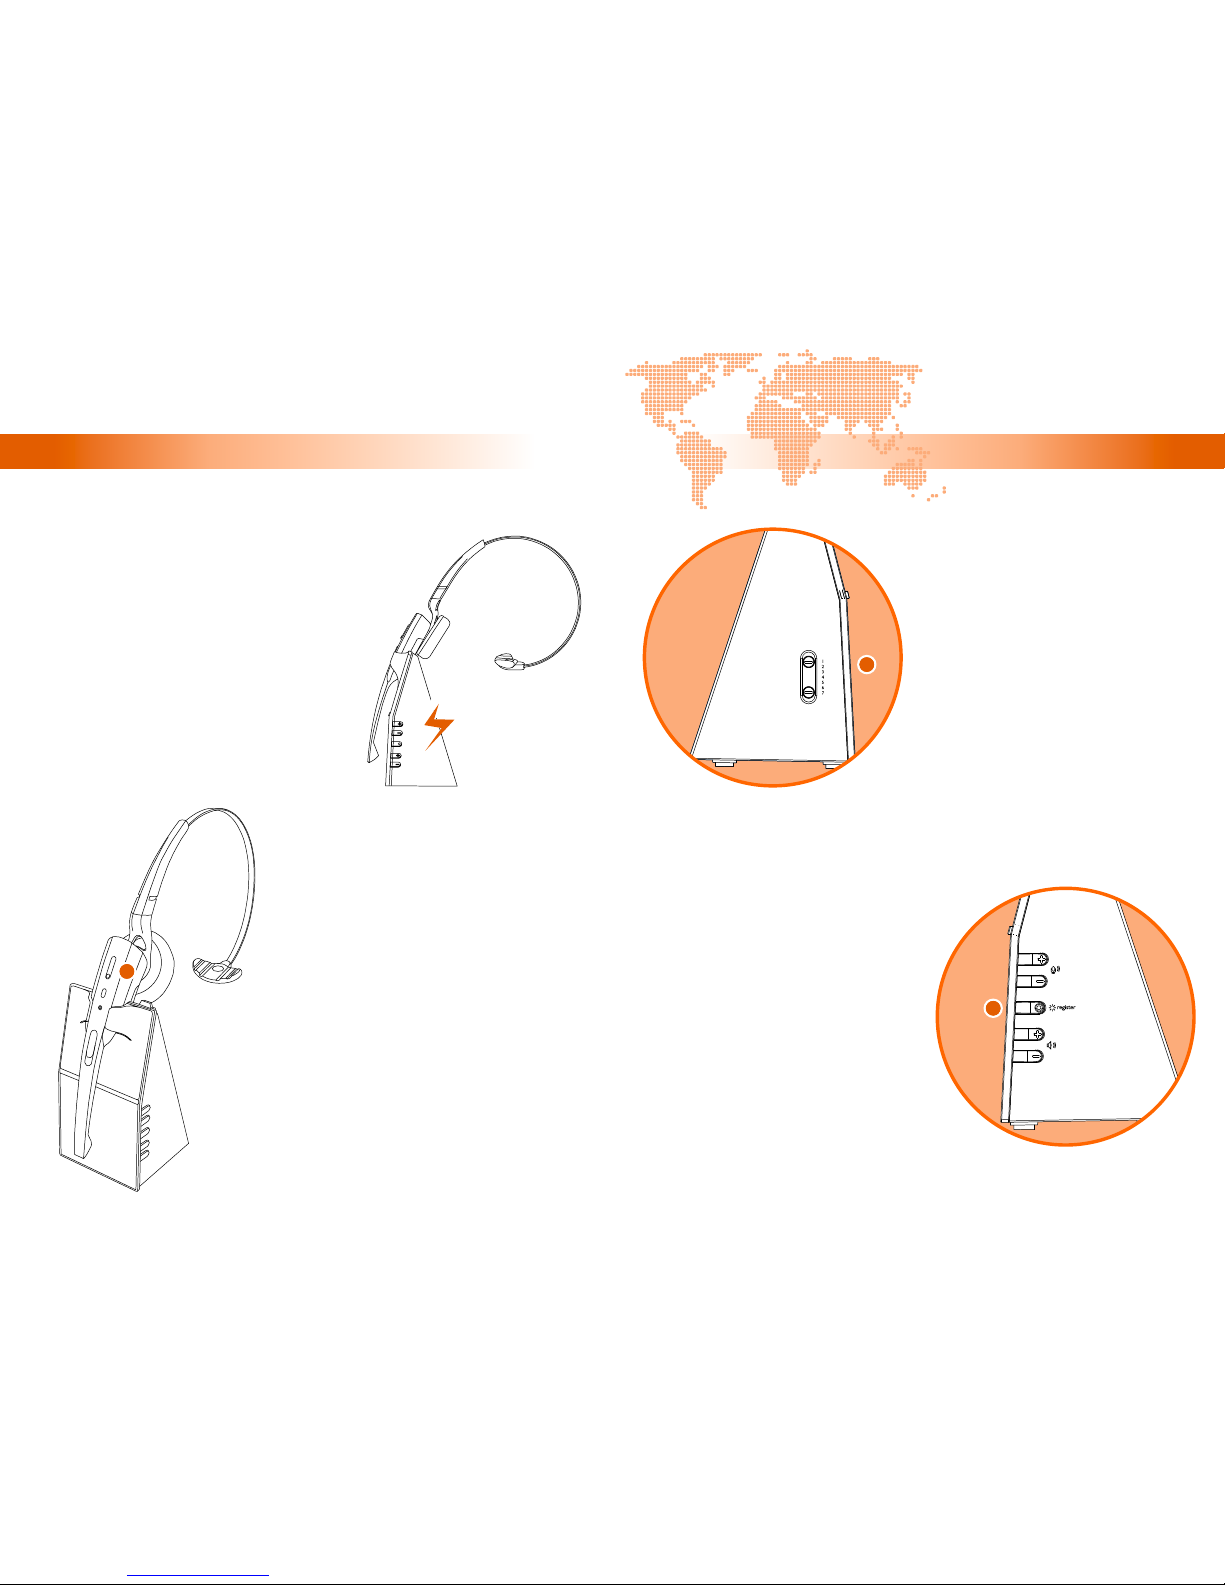
The listening/speaking volume is set too high, reduce the volume by
rocking the Listening Volume Knob on the headset or by pressing the “-”
button on the side of the base station.
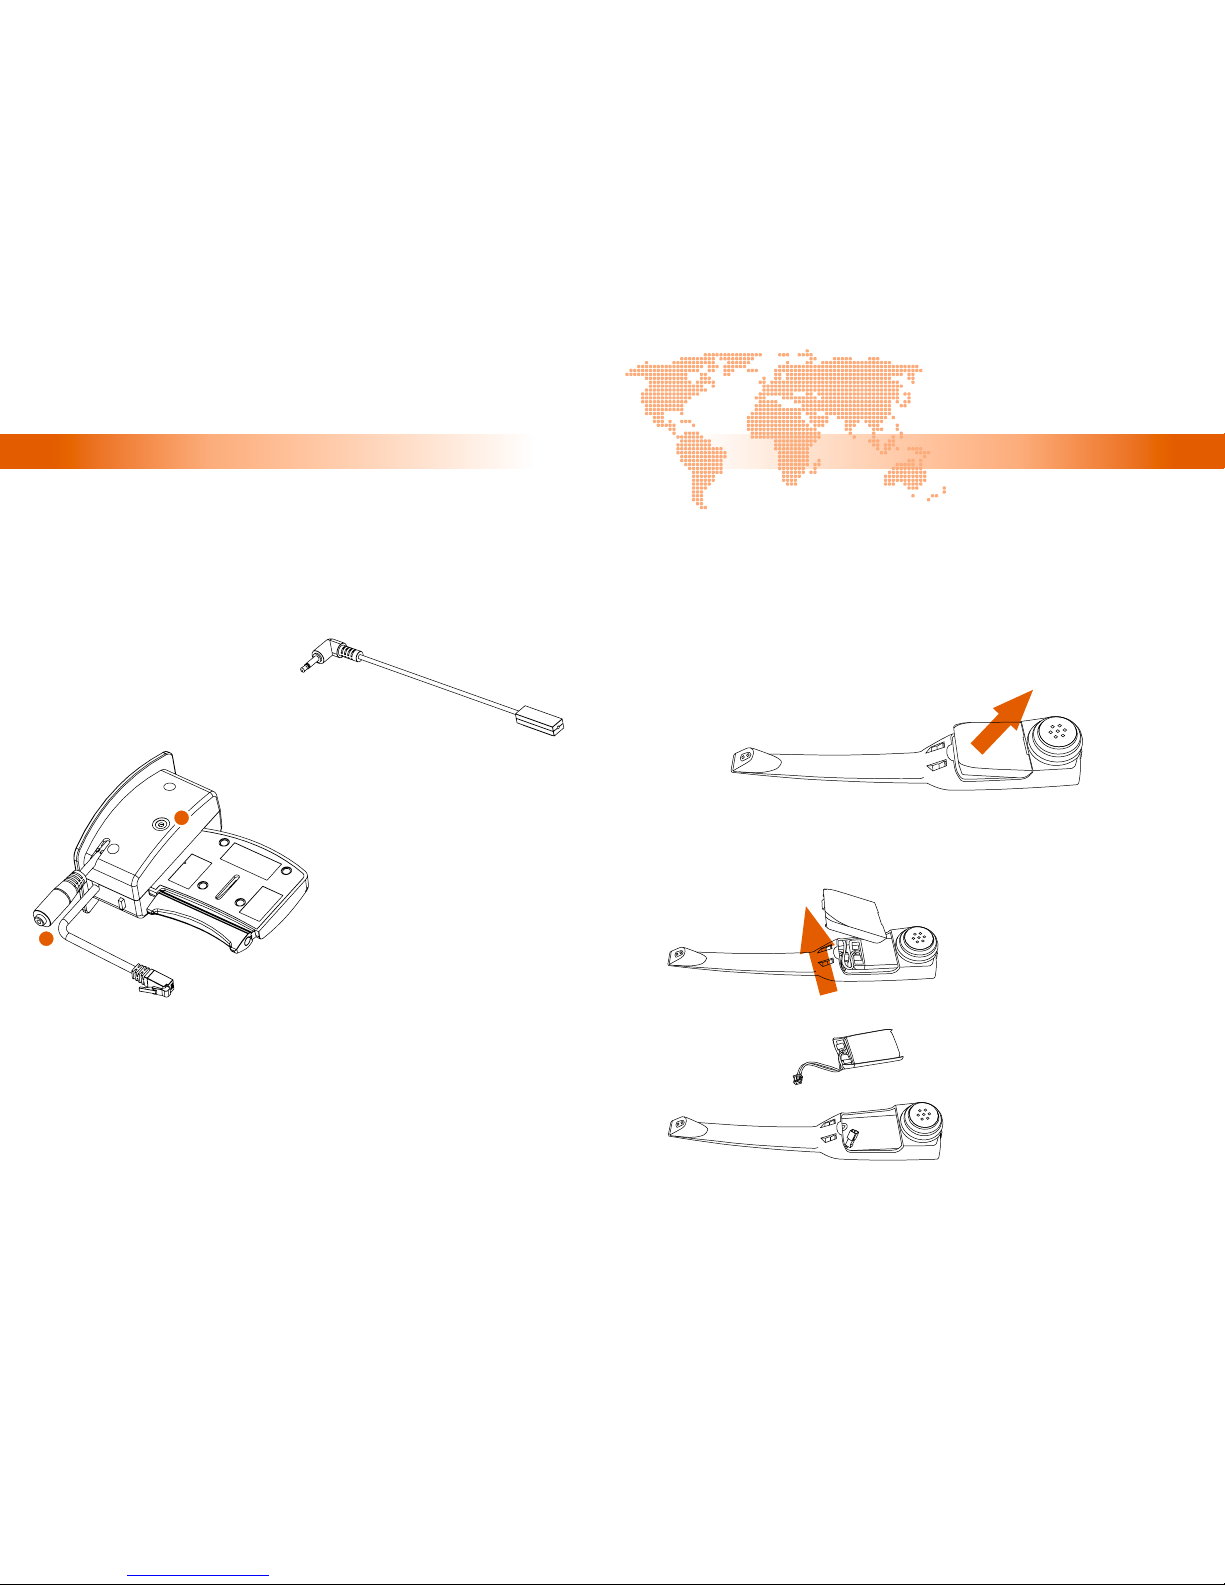
Rechargeable battery is malfunctioning, replace a new battery pack.
Headset Operating Time: 7 hours talk time | 120 hours standby time
AC Adaptor Specs:
- Input Voltage: 100-240V
- Output Voltage: 7.5V DC | 800mA
Telephone Interface: Analog telephone line class TNV3
as defined by EN60950 standard
Rechargeable Battery: 3.7V DC | 320mAh
M. Technical Specifications, Standards and Conditions
Used equipment and used headset battery must be disposed of in
compliance with current environmental protection regulations. You
should return them to your reseller or dispose them at an approved
recycling centre.
Do not attempt to open the battery from its packaging, as they
contain chemical substance that may be harmful to your health. In the event of
leakage, avoid contact with the skin, eyes and mouth. In the event of contact, rinse
the affected part for several minutes in running water. Clean the product with
absorbent paper or a dry cloth and contact your reseller for replacement battery.
We will repair or replace, at our opinion, this product if found defective due to
materials or workmanship within the warranty period beginning from the original
date of purchase. This product is warranted by authorized representative for the
period specified. The orginial dated purchase receipt must be presented to the
authorized service centre when service is rendered. On all carry-in models,
transportation to and from the service station is the responsibility of the purchaser.
This warranty does not cover damage due to accidents, fire, flood, earthquake
and/or other acts of God; misuse, incorrect line voltage, improper installation,
improper or unauthorized repairs, commercial use or damage occured in shipping.
Exterior and interior finish, lamps, glass, plastics parts and temperature probes are
not covered under this warranty. Customer adjustment according to the owner’s
manual are not covered under this warranty. This warranty is automatically void if
the serial number is missing or altered.
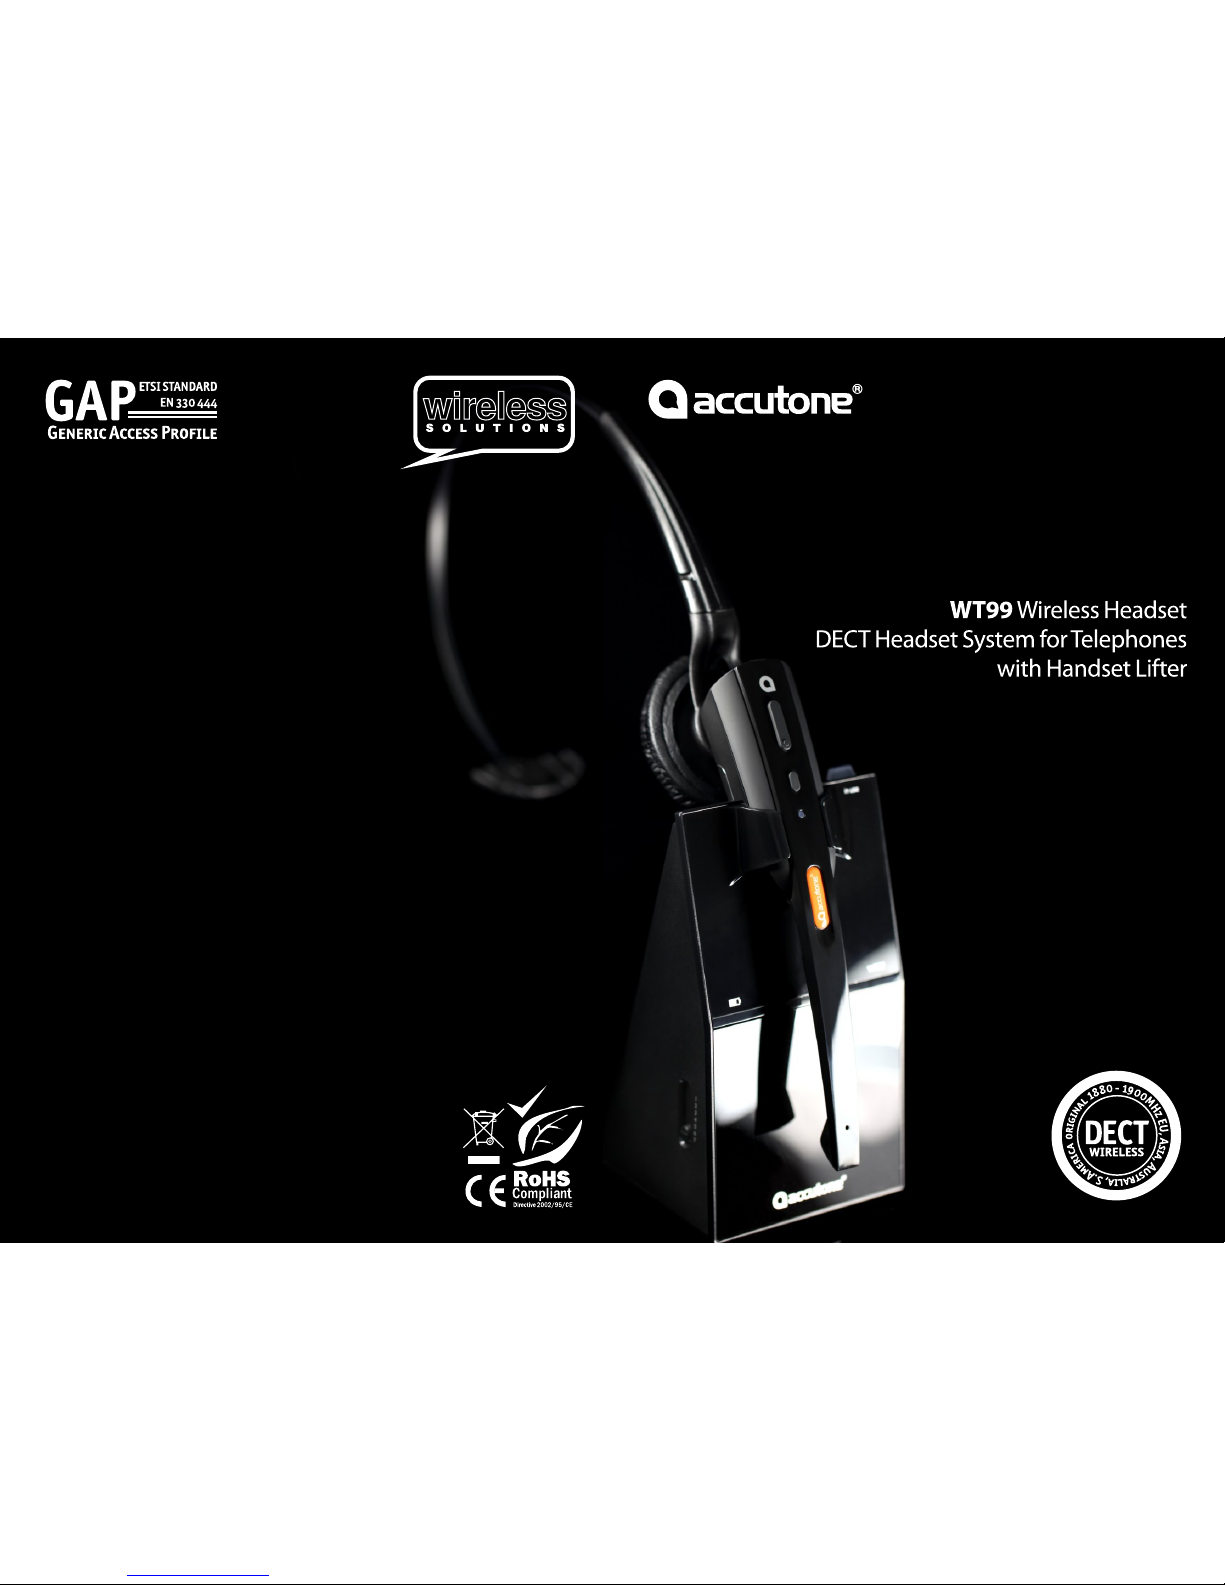
WT99 WIRELESS TELEPHONE HEADSET
your true wireless handsfree office solution!
18
17