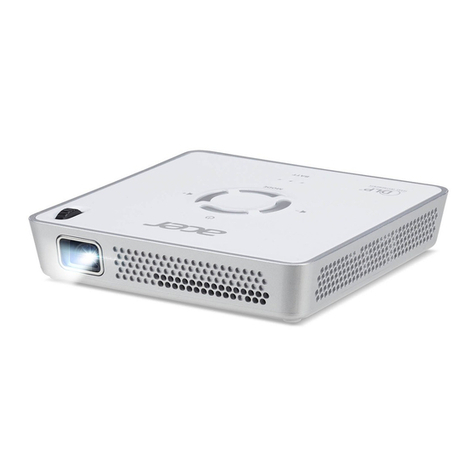
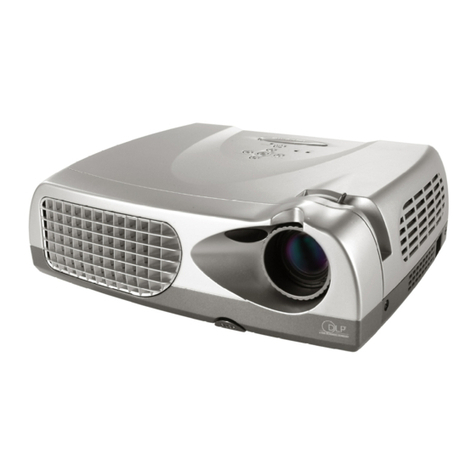
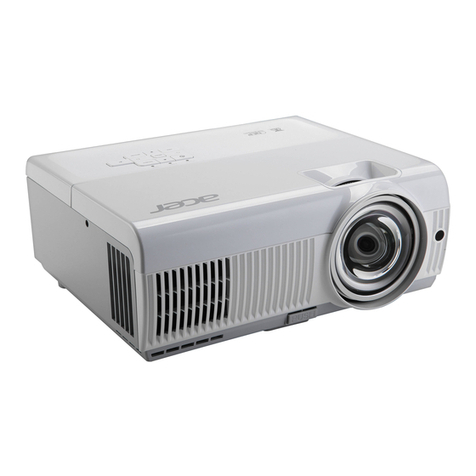
Acer H6500/E-140/HE-802 Series User manual

Acer
Projector
H6500/E-140/HE-802
Series
User's
Guide
Downloaded
From
projector-manual.
i
Acer
Manuals

D<

Information
for
your
safety
and
comfort
Read
these
instructions
carefully.
Keep
this
document
for
future
reference.
Follow
all
warnings
and
instructions
marked
on
the
product.
Turning
the
product
off
before
cleaning
Unplug
this
product
from
the
wall
outlet
before
cleaning.
Do
not
use
liquid
cleaners
or
aerosol
cleaners.
Use
a
damp
cloth
for
cleaning.
Caution
for
plug
as
disconnecting
device
Observe
the
following
guidelines
when
connecting
and
disconnecting
power
to
the
external
power
supply
unit:
•
Install
the
power
supply
unit
before
connecting
the
power
cord
to
the
AC
power
outlet.
•
Unplug
the
power
cord
before
removing
the
power
supply
unit
from
the
projector.
•
If
the
system
has
multiple
sources
of
power,
disconnect
power
from
the
system
by
unplugging
all
power
cords
from
the
power
supplies.
Caution
for
Accessibility
Be
sure
that
the
power
outlet
you
plug
the
power
cord
into
is
easily
accessible
and
located
as
close
to
the
equipment
operator
as
possible.
When
you
need
to
disconnect
power
to
the
equipment,
be
sure
to
unplug
the
power
cord
from
the
electrical
outlet.
0
.
Warnings!
•
Do
not
use
this
product
near
water.
•
Do
not
place
this
product
on
an
unstable
cart,
stand
or
table.
If
the
product
falls,
it
could
be
seriously
damaged.
•
Slots
and
openings
are
provided
for
ventilation
to
ensure
reliable
operation
of
the
product
and
to
protect
it
from
overheating.
These
openings
must
not
be
blocked
or
covered.
The
openings
should
never
be
blocked
by
placing
the
product
on
a
bed,
sofa,
rug
or
other
similar
surface.
This
product
should
never
be
placed
near
or
over
a
radiator
or
heat
register,
or
in
a
built-in
installation
unless
proper
ventilation
is
provided.
•
Never
push
objects
of
any
kind
into
this
product
through
cabinet
slots
as
they
may
touch
dangerous
voltage
points
or
short-out
parts
that
could
result
in
a
fire
or
electric
shock.
Never
spill
liquid
of
any
kind
onto
or
into
the
product.
Downloaded
From
proiector-manual.com
Acer
Manuals

Using
electrical
power
This
The
I
0
0
D<

Product
servicing
Additional
safety
information
D<

IIIl!
The
I
D<

Caution
for
Listening
To
protect
your
hearing,
follow
these
instructions.
Disposal
instructions
Do
not
throw
this
electronic
device
into
the
trash
when
discarding.
To
minimize
pollution
and
ensure
utmost
protection
of
the
global
environment,
please
recycle.
For
more
information
on
the
Waste
from
Electrical
and
Electronics
Equipment
(WEEE)
regulations,
visit
http:/A<vww.acer-group.com/public/
Sustainabilitv/sustainabilitvOl.htm
Mercury
advisory
For
projectors
or
electronic
products
containing
an
LCD/CRT
monitor
or
display:
)
contain
Mercury,
Properly.”
Lamp(s)
inside
this
product
contain
mercury
and
must
be
recycled
or
disposed
of
according
to
local,
state
or
federal
laws.
For
more
information,
contact
the
Electronic
Industries
Alliance
at
www.eiae.org.
For
lamp-specific
disposal
information,
check
Downloaded
From
projector-manual.
i
Acer
Manuals

First
things
first
Usage
Notes
Turn
off
the
product
before
cleaning.
Use
a
soft
cloth
moistened
with
mild
detergent
to
clean
the
display
housing.
Disconnect
the
power
plug
from
AC
outlet
if
the
product
is
not
being
used
for
a
long
period
of
time.
Block
the
slots
and
openings
on
the
unit
provided
for
ventilation.
Use
abrasive
cleaners,
waxes
or
solvents
to
clean
the
unit.
Use
under
the
following
conditions:
•
In
extremely
hot,
cold
or
humid
environments.
•
In
areas
susceptible
to
excessive
dust
and
dirt.
•
Near
any
appliance
that
generates
a
strong
magnetic
field.
•
Place
In
direct
sunlight.
Precautions
Follow
all
warnings,
precautions
and
maintenance
as
recommended
in
this
user's
guide
to
maximize
the
life
of
your
unit.
Warning:
•
Do
not
look
into
the
projector's
lens
when
the
lamp
is
on.
The
bright
light
may
hurt
your
eyes.
•
To
reduce
the
risk
of
fire
or
electric
shock,
do
not
expose
this
product
to
rain
or
•
Please
do
not
open
or
disassemble
the
product
as
this
may
cause
electric
shock.
•
When
changing
the
lamp,
please
allow
unit
to
cool
down,
and
follow
all
changing
instructions.
•
This
product
will
detect
the
life
of
the
lamp
itself.
Please
be
sure
to
change
the
lamp
when
it
shows
warning
messages.
•
Reset
the
"Lamp
Hour
Reset"
function
from
the
Onscreen
display
"Management"
menu
after
replacing
the
lamp
module.
•
When
switching
the
projector
off,
please
ensure
the
projector
completes
its
cooling
cycle
before
disconnecting
power.
•
Turn
on
the
projector
first
and
then
the
signal
sources.
•
Do
not
use
lens
cap
when
projector
is
in
operation.
•
When
the
lamp
reaches
the
end
of
its
life,
it
will
burn
out
and
may
make
a
loud
popping
sound.
If
this
happens,
the
projector
will
not
turn
back
on
until
the
lamp
module
has
been
replaced.
To
replace
the
lamp,
follow
the
procedures
listed
under
"Replacing
the
Lamp".
Downloaded
From
proiector-manual.com
Acer
Manuals

Information
for
your
safety
and
comfort
First
things
first
Usage
Notes
Precautions
Introduction
Product
Features
Package
Overview
Projector
Overview
Projector
Outlook
Control
Panel
Remote
Control
Layout
Getting
Started
Connecting
the
Projector
Turning
the
Projector
On/Off
Turning
on
the
Projector
Turning
the
projector
off
Adjusting
the
Projected
Image
Adjusting
the
Height
of
Projected
Image
How
to
optimize
image
size
and
distance
Howto
get
a
preferred
image
size
by
adjusting
distance
and
zoom
User
Controls
Installation
menu
Acer
Empowering
Technology
Onscreen
Display
(OSD)
Menus
Management
Language
Appendices
Troubleshooting
viii
1
i
2
3
3
4
5
7
7
8
8
9
10
10
13
15
15
16
17
18
20
21
23
25
25
26
26
Downloaded
From
projector-manual.
i
Acer
Mar
Contents

LED
&
Alarm
Definition
Listing
30
Replacing
and
cleaning
the
dust
filters
31
Replacing
the
Lamp
32
Ceiling
Mount
Installation
33
Specifications
36
Compatibility
modes
38
Regulations
and
safety
notices
42
Downloaded
From
proiector-manual.com
Acer
Manuals

Introduction
Product
Features
This
product
is
a
single-chip
DLP®
projector.
Outstanding
features
include:
•
DLP®
technology
•
Native
1920
x
1080
1080p
resolution
4:3
/
16:9
/
L.Box
aspect
ratio
supported
•
Acer
ColorBoost
technology
delivers
nature's
true
colors
for
vivid,
life-like
images
•
Acer
ColorSafe
II
technology
ensures
consistent
color
rendition
over
time.
•
High
brightness
and
contrast
ratio
•
Versatile
display
modes
(Bright,
Presentation,
Standard,
Movie,
Dark
Cinema,
Game,
Sports,
User)
enable
optimum
performance
in
any
situation
•
NTSC
/
PAL
/
SECAM
compatible
and
HDTV
(720p,
1080i,
1080p)
supported
•
Lower
power
consumption
and
economy
(ECO)
mode
extends
lamp
life
•
Acer
EcoProjeciton
Technology
delivers
Intelligent
power
management
approach
and
physical
efficiency
improvement
•
Empowering
Key
reveals
Acer
Empowering
Technology
utilities
(Acer
eView,
eTimer,
ePower
Management)
for
easy
adjustment
of
settings
•
Equipped
with
HDMI
™
connection
supporting
HDCP
•
Advanced
digital
keystone
correction
optimizes
presentations
•
Smart
detection
delivers
quick,
intelligent
source
detection.
•
Multi-language
onscreen
display
(OSD)
menus
•
Full-function
remote
control
•
Manual
focus
projection
lens
zooms
up
to
1.2x
•
8x
digital
zoom
and
pan
move
function
•
Microsoft®
Windows®
2000,
XP,
Vista®,
Windows®
7,
OS
compliant
Downloaded
From
projector-manual.
i
Acer
Manuals

Package
Overview
This
projector
comes
with
all
the
items
shown
below.
Check
to
make
sure
your
unit
is
complete.
Contact
your
dealer
immediately
if
any
thing
is
missing.
2
x
Batteries
Carrying
case
Downloaded
From
projector-manual.
i
Acer
Manuals

Projector
Overview
Projector
Outlook
Front
/
upper
side
Downloaded
From
proiector-manual.com
Acer
Manuals

Control
Panel
LAMP
Lamp
Indicator
LED
2
n
u
Keystone
Adjusts
the
image
to
compensate
for
distortion
caused
by
tilting
the
projector
(+
15
degrees).
3
RESYNC
Automatically
synchronizes
the
projector
to
the
input
source.
MENU
•
Press
"MENU"
to
launch
the
Onscreen
display
(OSD)
menu,
back
to
the
previous
step
for
the
OSD
menu
operation
or
exit
the
OSD
menu.
•
Confirm
your
selection
of
items.
5
(!)
POWER
See
the
contents
in
"Turning
the
Projector
On/Off"
section.
6
TEMP
Temp
Indicator
LED
7
<
>
Four
directional
select
Use
f\\J
1^
to
se
l
ec
t
items
or
make
adjustments
to
your
selection.
8
SOURCE
Changes
the
active
source.
9
e
Empowering
key
Unique
Acer
functions:
eView,
eTimer,
ePower
Management.
10
u
Remote
control
Receives
signals
from
remote
control.
Downloaded
From
projector-manual.
i
Acer
Manuals

Remote
Control
Layout
Description
transmitter
Sends
signals
to
the
projector.
FREEZE
To
pause
the
screen
image.
HIDE
Momentarily
turns
off
the
video.
Press
"HIDE"
to
hide
the
image,
press
again
to
display
the
image.
RESYNC
Automatically
synchronizes
the
projector
to
the
input
source.
SOURCE
Changes
the
active
source.
0
POWER
Refer
to
the
"Turning
the
Projector
On/Off"
section.
ASPECT
RATIO
To
choose
the
desired
aspect
ratio
(Auto/4:3/16:9/L.Box)
ZOOM
Zooms
the
projector
display
in
or
out.
0
Empowering
key
Unique
Acer
functions:
eView,
eTimer,
ePower
Management.
10
KEYSTONE
Adjusts
the
image
to
compensate
tor
distortion
caused
by
tilting
the
projector
(±
15
degrees).
11
MENU
•
Press
"MENU"
to
launch
the
Onscreen
display
(OSD)
menu,
back
to
the
previous
step
for
the
OSD
menu
operation
or
exit
the
OSD
menu.
•
Confirm
your
selection
of
items.
12
00
PAGE
No
function.
13
Press
"RGB"
for
true-color
optimization.
14
BRIGFITNESS
Press
"BRIGHTNESS"
to
adjust
the
brightness
of
the
image.
15
CONTRAST
Use
the
"CONTRAST"
option
to
control
the
difference
between
the
lightest
and
darkest
parts
of
the
picture.
Downloaded
From
proiector-manual.com
Acer
Manuals

C€
R£_
Downloaded
From
projector-manual.'
i
Acer
Manuals

Getting
Started
Connecting
the
Projector
0
.
Note:
To
ensure
the
projector
works
well
with
your
computer,
please
make
sure
the
timing
of
the
display
mode
is
compatible
with
the
projector.
Downloaded
From
proiector-manual.com
Acer
Manuals

Turning
the
Projector
On/Off
Turning
on
the
Projector

Turning
the
projector
off
1
To
turn
the
projector
off,
press
the
power
button.
This
message
appears:
"Please
press
the
power
button
again
to
complete
the
shutdown
process."
Press
the
power
button
again.
2
The
LED
power
indicator
will
turn
RED
and
blink
rapidly
after
the
projector
is
turned
off,
and
the
fan(s)
will
continue
to
operate
for
about
2
minutes
to
ensure
that
the
system
cools
properly.
3
As
long
as
the
power
cord
remains
plugged
in,
you
can
press
the
power
button
to
turn
the
projector
immediately
back
on
anytime
during
the
2-
minute
shutdown
process.
4
Once
the
system
has
finished
cooling,
the
LED
power
indicator
will
stop
blinking
and
turn
solid
red
to
indicate
standby
mode.
5
It
is
now
safe
to
unplug
the
power
cord.
0
.
Warning
indicators:
•
"Projector
Overheated.
Lamp
will
automatically
turn
off
soon."
This
onscreen
message
indicates
that
the
projector
has
overheated.
The
lamp
with
automatically
turn
off,
the
projector
will
automatically
shut
down,
and
the
LED
temp
indicator
will
turn
solid
red.
Contact
your
local
dealer
or
service
center.
•
"Fan
failed.
Lamp
will
automatically
turn
off
soon."
This
onscreen
message
indicates
that
the
fan
has
failed.
The
lamp
will
automatically
turn
off,
the
projector
will
automatically
shut
down,
and
the
LED
temp
indicator
will
blink.
Contact
your
local
dealer
or
service
center.
@.
Note:
Whenever
the
projector
automatically
shuts
down
and
the
LED
lamp
indicator
turns
solid
red,
contact
your
local
reseller
or
service
center.
Downloaded
From
projector-manual.
i
Acer
Manuals

10
Adjusting
the
Projected
Image
Adjusting
the
Height
of
Projected
Image
The
projector
is
equipped
with
elevator
feet
for
adjusting
the
height
of
image.
To
raise
the
image:
1
Press
the
elevator
foot
release.
(Illustration
#1)
2
Raise
the
image
to
the
desired
height
angle
(Illustration
#2),
then
release
the
button
to
lock
the
elevator
foot
into
position.
3
Use
Tilt
adjusting
wheel
(Illustration
#3)
to
fine-tune
the
display
angle.
To
lower
the
image:
1
Press
the
elevator
foot
release.
(Illustration
#1)
2
Lower
the
image
to
the
desired
height
angle
(Illustration
#2),
then
release
the
button
to
lock
the
elevator
foot
into
position.
3
Use
Tilt
adjusting
wheel
(Illustration
#3)
to
fine-tune
the
display
angle.
Downloaded
From
projector-manual.
i
Acer
Manuals
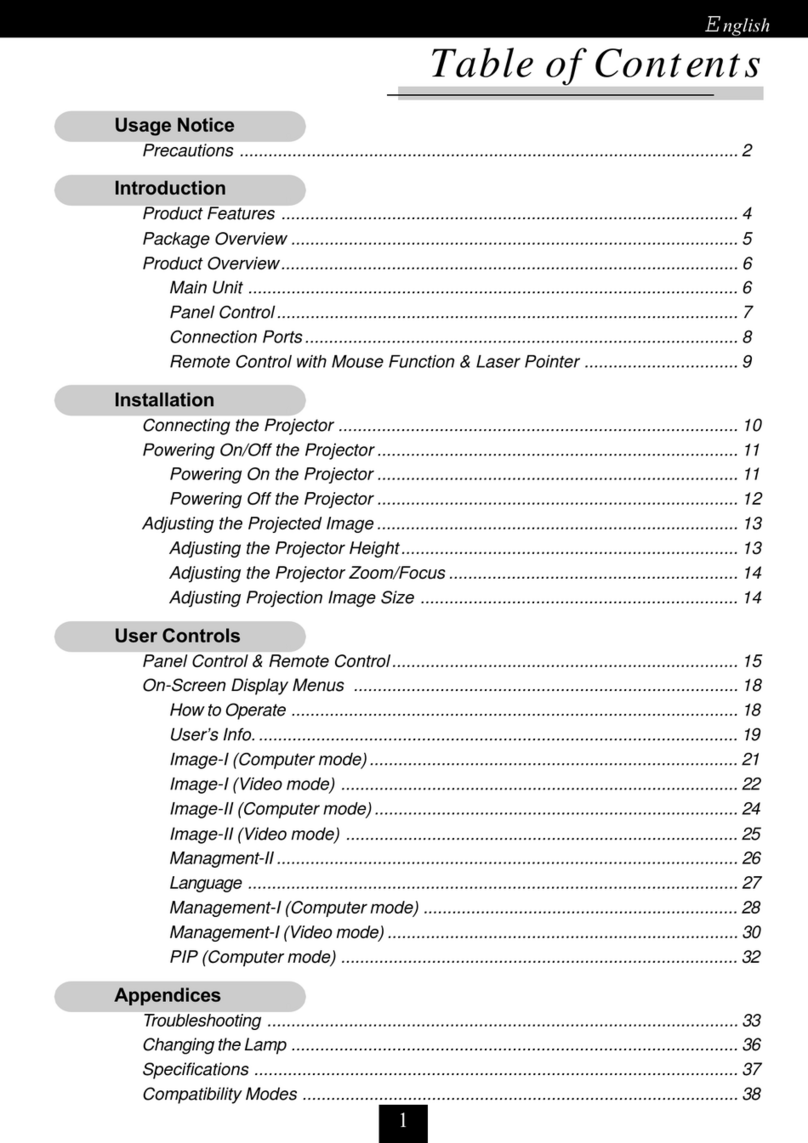
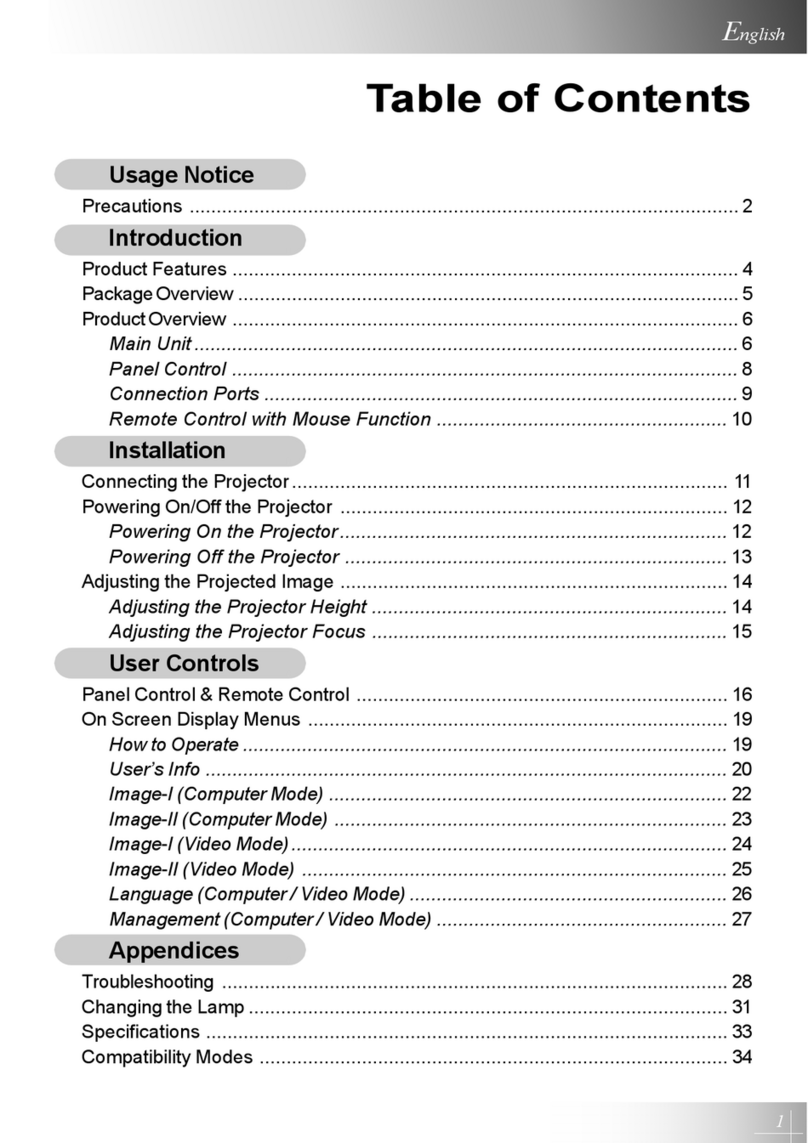
Table of contents
Other Acer Projector manuals

Acer
Acer X1527H User manual

Acer
Acer X1129HP User manual

Acer
Acer X1161 Series User manual

Acer
Acer XD1270D User manual

Acer
Acer PD1330W Series User manual

Acer
Acer SL 700X User manual

Acer
Acer X1529HK Series User manual

Acer
Acer S5201M Series User manual

Acer
Acer X110 Series User manual

Acer
Acer X1278H Series User manual

Acer
Acer V 7500 User manual

Acer
Acer X1160 Series User manual

Acer
Acer H6531BDK Series User manual

Acer
Acer PH530 series User manual

Acer
Acer X111 Series User manual

Acer
Acer P1183 User manual

Acer
Acer S1110 Series User manual

Acer
Acer P6600 User manual

Acer
Acer P5260E Series System manual

Acer
Acer X1160 Serie User manual