Parts a d Assembly
This bookl t contains op rating and maint nanc information for th DI-
AGNOSTIX™ 952 s ri s wall mount m rcurial blood pr ssur instrum nt.
Pl as r ad and r tain.
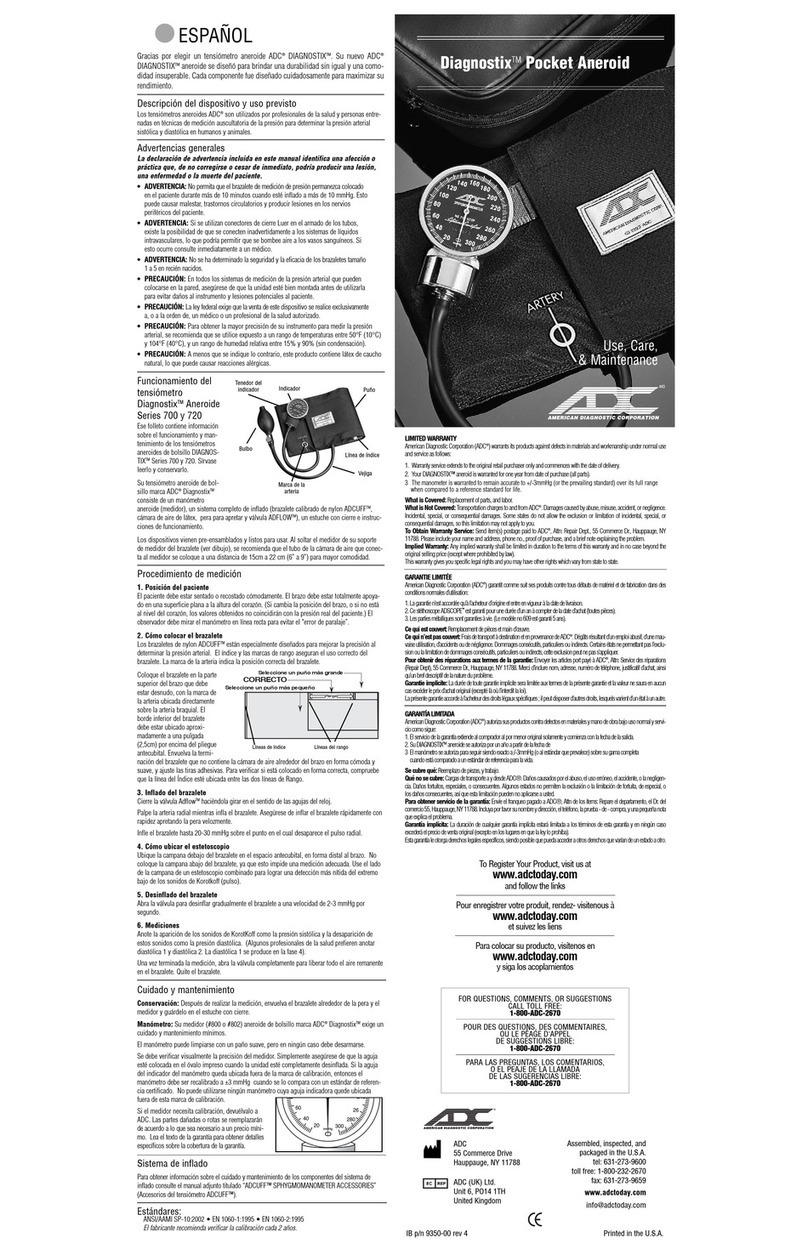
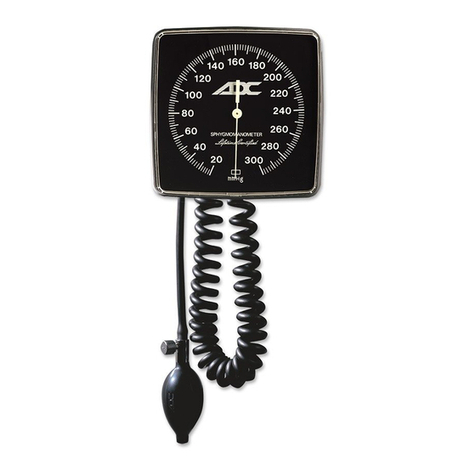
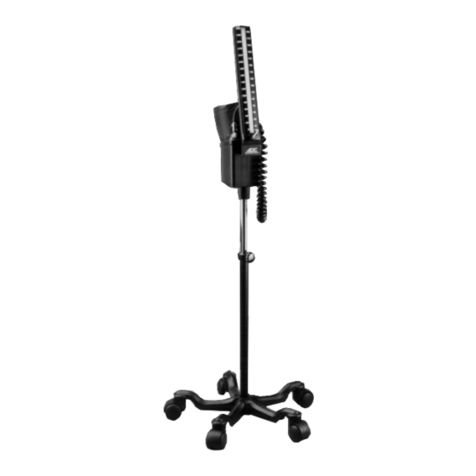
Your DIAGNOSTIX™ 952 consists of a main unit with a 5mm calibrat d
unbr akabl plastic cartridg tub , inflation syst m (which includ s th
ADCUFF™ nylon cuff with Siz Guid ™ marking syst m, lat x-fr infla-
tion bladd r, bulb, and ADFLOW™ valv ), 8 ft. l ngth of coil d tubing,
lu r conn ctor, s parat cuff bask t, mounting hardwar , and op rating
instructions.
To ass mbl , conn ct coil d tubing to air inl t nippl at bottom of main
unit. Ins rt mal lu r adaptor on bladd r tubing into f mal r c ptacl at
fr nd of coil d tubing. Stor fold d inflation syst m in conv ni nt cuff bask t.
Consult bookl t ntitl d “DIAGNOSTIXTM 952B Wall Mounting Instructions” (Enclos d).
Operati g I structio s
Your DIAGNOSTIX™ 952 Wall Mount M rcury Sphygmomanom t rincorporat s a sp cial saf ty f atur that locks th m rcury within
th r s rvoir during storag , transport, or maint nanc .
To Operate the 952: To r l as th m rcury from th r s rvoir, turn th l v r to th “ON” position. M rcury will flow up into
th plastic cartridg tub and r st at th ”0” mark. If th m rcury do sn’t ris within th tub tilt th top of th unit towards you
(unit must b r mov d from wall brack t). If m rcury fails to ris , or do sn’t r ach th ”0” l v l, hav unit s rvic d.
To Lock Mercury withi the Reservoir: R mov instrum nt from wall brack t by loos ning butt rfuly nut at bas of
swiv l brack t. Tilt th top of th unit away from you to p rmit m rcury to flow out of cartridg tub and into r s rvoir. Wh n
cartridg tub is compl t ly mpti d of ALL m rcury (and whil it is still tilt d), mov locking l v r to th right “OFF”.
PLEASE NOTE: MERCURY SHOULD BE SECURED WITHIN THE RESERVOIR DURING TRANSPORT, OR WHEN SERVICING
THE CARTRIDGE TUBE, DIAPHRAGMS, OR FILTERS. NEVER DISASSEMBLE UNIT UNLESS MERCURY IS FIRST LOCKED
WITHIN RESERVOIR.
CONSULT SEPARATE INSTRUCTIONS FOR WALL MOUNTING (ENCLOSED).
Measureme t Procedure
1. Patie t Positio
Th pati nt should sit or li comfortably. Th arm should b fully support d on a flat surfac at h art l v l. (If th arm’s
position vari s, or is not l v l with th h art, m asur m nt valu s obtain d will not b consist nt with th pati nt’s tru
blood pr ssur .) Obs rv r should vi w manom t r in a dir ct lin and at y l v l to avoid “parallax rror”.
2. Apply the cuff
ADCUFF™nylon cuffs, with propri tary Siz Guid ™marking syst m, ar
sp cially d sign d to promot th pr cis , accurat d t rmination of blood
pr ssur . Ind x and rang markings nsur us of th corr ct cuff siz .
Th art ry mark indicat s prop r cuff positioning.
Plac th cuff ov r th bar upp r arm with “art ry” mark,
position d dir ctly ov r th brachial art ry. Th bottom dg of th cuff
should b position d approximat ly on inch abov th ant cubital fold.
Wrap th nd of th cuff, not containing th bladd r, around arm snugly and smoothly and ngag adh siv strips. To v rify
a corr ct fit, ch ck that th INDEX lin falls b tw n th two RANGE lin s.
3. I flate the cuff
Clos th ADFLOW™ valv by turning thumbscr w clockwis .
Palpat th radial art ry whil inflating th cuff. B sur to inflat cuff quickly by squ zing bulb rapidly.
Inflat cuff 20-30mmHg abov th point at which th radial puls disapp ars.
Cartridge
Tube
Coiled Tubi g
Mai U it Cuff Basket
Bladder
Tubi g
Bulb & Valve
▲
▲
▲
▲
▲
▲
▲
Cuff
▲
Select Smaller Cuff
▲
CORRECT
▲
Select Larger Cuff
▲
