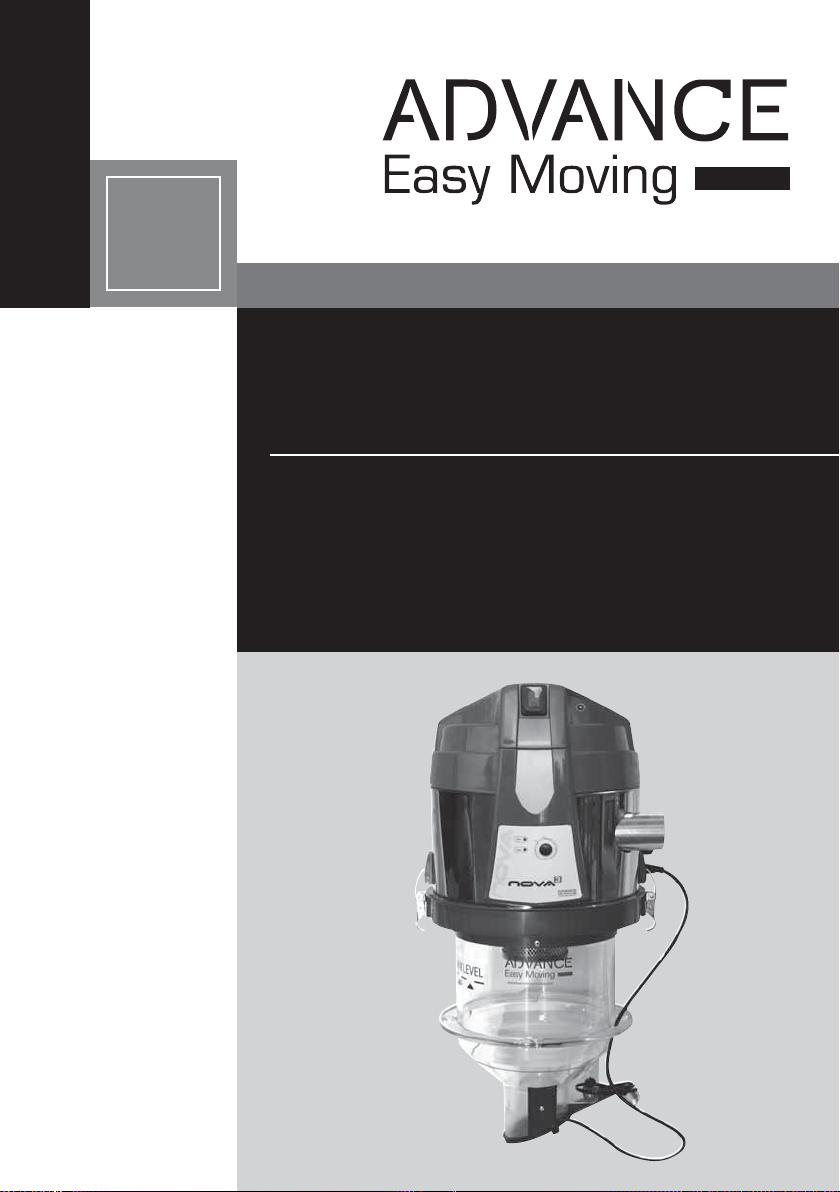
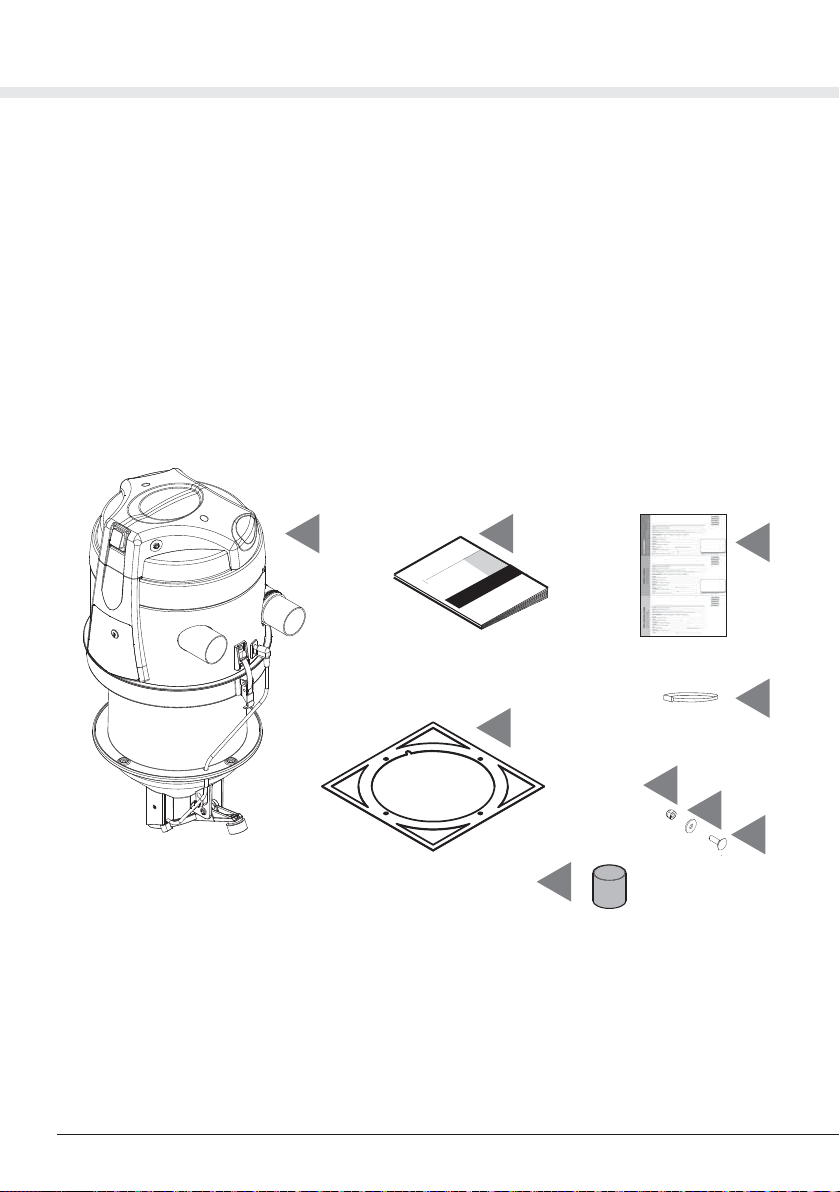
Instruction manual for integrated vacuum unit
31/05/2021 Rev:1.04
10
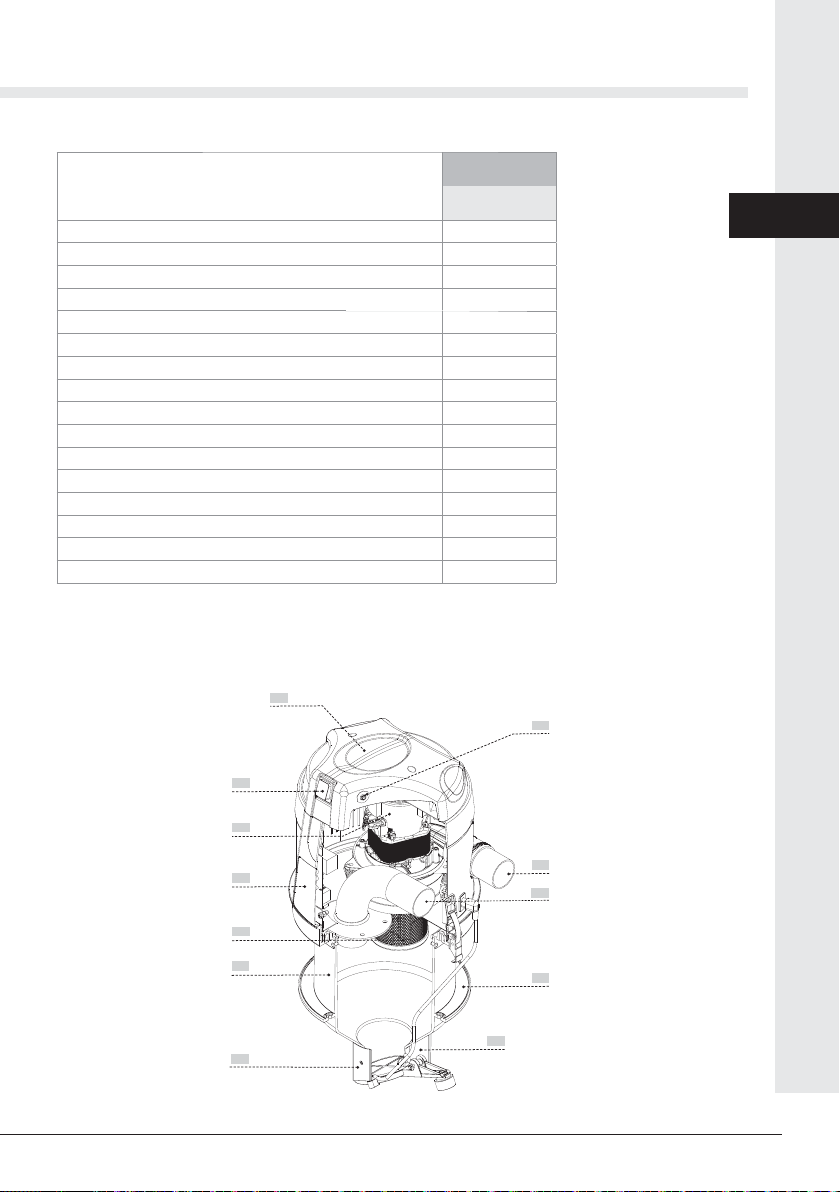
6.2 Positioning
To fix the vacuum unit on the boiler tank follow these cautions:
a) it must be firmly fixed and leveled above the tank loading mouth
b) it does not hinder any manual filling of the tank
c) the dispenser discharge outlet must be inside the tank or at least at the level of the boiler tank lid
d) the dispenser discharge outlet should possibly be located in the center of the tank
e) the dispenser discharge flap must be free to move completely and does not hit anything during its
movement.
6.1 INSTRUCTIONS FOR INSTALLING THE SYSTEMS
Consider that in pneumatic fuel transport systems there are two different types of pipe features:
- sections of pipes where only air and eventually dust pass through
B- sections of pipes where both air and fuel pass through
Mandatory all sections of piping through which the fuel passes must be made with PU or steel pipe and they
must be connected to be antistatic.
We remind you that the lengths of the various pipe sections described in our manuals and catalogs are purely
indicative: when we speak of “available length” we mean the total development of the various sections.
It is always advisable to make mainly straight and horizontal piping sections and, in any case, with the least
number of changes of direction and vertical paths.
For all the sections where fuel passes, it is recommended to follow these simple rules:
the maximum length allowed for the various sections of piping depends on the components chosen for your
system:
1 - the characteristics and technical data provided for each component must always be evaluated in advan-
ce, so that the system works at its best and has the required characteristics.
2 - in two-pipe systems (fuel suction and air return to the silo) the limits on the lengths are generally much
lower and never exceed 10 meters. With some products pipe lenght cannot be more than 3 meters.
3 - in single-pipe systems, the maximum length allowed for the various sections of pipe, despite being limited
by the components chosen for your system, is more generous, but even in these cases it is necessary to
evaluate in advance the characteristics and technical data provided for each component installed.
4 - paths with many curves or with very close curves should always be avoided.
5 - the minimum radius of the curves must be equal to or greater than 0.5 meters.
6 - sections of pipes that include both positive and negative siphons must be avoided.
7 - the sections of horizontal pipes must be kept perfectly leveled.
8 - vertical pipe sections longer than 3.5 meters must always be avoided and at the bases of these the mini-
mum radius of the bends must be equal to or greater than 1 meter
9 - the sections of piping where fuel passes must be well fixed at least every 1.5 meters.
It is recommended to use only pipes, fittings and accessories present in our catalog, as they have been
designed, tested and built specifically for these systems.
Before installation and start-up of the system, it is essential to carefully read the instructions supplied with
the various components and in case of doubts it is advisable to contact specialized personnel.
The realization of the systems and the installation of the components must always meet the safety
standards corresponding to the type of rooms in which they are positioned.