vii MIC-1810 User Manual
Contents
Chapter 1 Overview...............................................1
1.1 Introduction ............................................................................................... 2
1.2 Safety Precautions.................................................................................... 2
1.3 Accessories............................................................................................... 3
1.4 Optional Accessories ................................................................................ 3
Chapter 2 Hardware Overview .............................5
2.1 Introduction ............................................................................................... 6
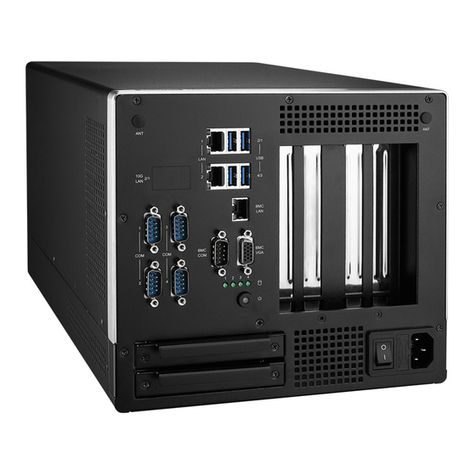
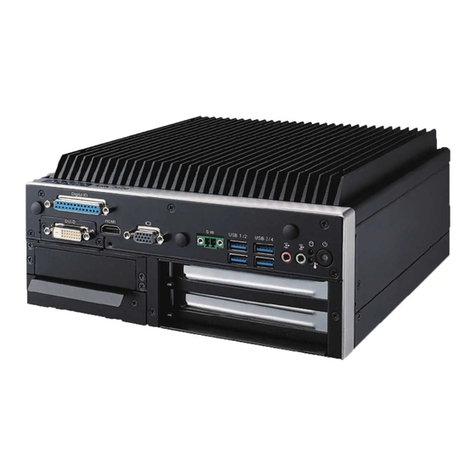
Figure 2.1 Front Panel of MIC-1810 ............................................ 6
Figure 2.2 Rear Panel of MIC-1810............................................. 6
2.2 Platform Specifications.............................................................................. 6
2.3 LAN: Gigabit Ethernet ............................................................................... 6
2.4 Power Connector ...................................................................................... 6
2.5 USB Connector ......................................................................................... 7
2.6 HDMI Display Connector........................................................................... 7
2.7 RTC Battery Specification......................................................................... 7
2.8 Reset Button ............................................................................................. 7
Chapter 3 Initial Setup ..........................................9
3.1 Chassis Grounding.................................................................................. 10
Figure 3.1 Chassis Grounding Connection................................ 10
3.2 Connecting Power................................................................................... 10
3.3 Installing a SSD....................................................................................... 11
3.4 Installing a Table Mount.......................................................................... 12
3.5 iDoor Module Installation......................................................................... 13
3.6 DAQ Setup & Configuration .................................................................... 14
3.6.1 Setting Up the Device ................................................................. 14
Figure 3.2 The Device Setting for MIOE-3810........................... 14
3.6.2 Configuring the Device................................................................ 15
Figure 3.3 Device Setting Page................................................. 15
Figure 3.4 Device Testing Page ................................................ 15
3.7 MIC-1810 DAQ Function Block ............................................................... 16
Figure 3.5 MIC-1810 DAQ Function Block ................................ 16
3.8 I/O Connector Signal Description............................................................ 17
Table 3.1: I/O Connector Signal Descriptions ........................... 17
Figure 3.6 Single-ended input channel connections.................. 19
3.8.1 Differential Channel Connections ............................................... 20
Figure 3.7 Differential input channel connections...................... 20
Figure 3.8 Differential input channel connection - floating signal
source....................................................................... 21
3.8.2 AI Sample Clock Source Connections........................................ 23
Figure 3.9 External Clock Source Connection........................... 23
3.8.3 Trigger Sources Connections ..................................................... 24
Figure 3.10External Digital Trigger Source Connection ............. 24
Figure 3.11External Analog Trigger Source Connection ............ 24
3.8.4 Measurement Type Selection ..................................................... 25
3.9 Analog Output Connection...................................................................... 26
Figure 3.12Analog Output Connections...................................... 26
3.9.1 AO Sample Clock Source Connections ...................................... 27
Figure 3.13External Clock Source Connection........................... 27
3.9.2 Trigger Sources Connections ..................................................... 28
