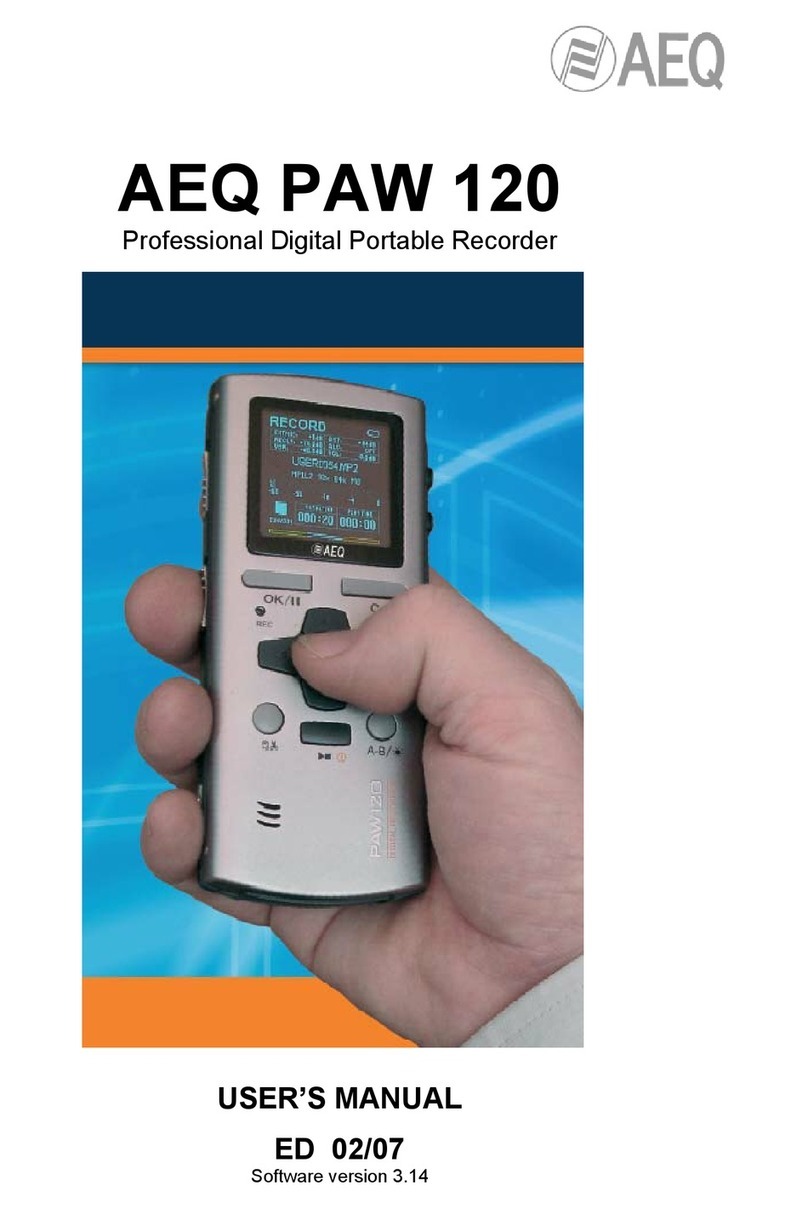
Fig-2-4 Fig-2-5
STEP 2 Power On
1. Check the HOLD switch not locked
If you can’t start the recorder,make sure the recorder is not locked.If the hold switch
slide up,when you press the power key, the recorder will power down in 3 sec.
2. Press the power key lightly ,as the Fig-2-4 show, about half sec, untill you see the
welcome surface.
You have to press the PLAY/STOP button untill you see the welcome surface,at this
time, the red LED recording indicator light up, Fig-2-5 shown the welcome surface
STEP 3 Recording
1. Slide up the record switch, then the recorder start recording with the default
parameter.The recording indicator flashing while recording.Fig-2-6
Test environment: 48K simpling, 64k bitrate, mono,
MPEG1-LayerII compact format, screen saver on.
Charging time may vary depending the battery condition
and user’s operation.
Please replacing two new battery a time when it is out of
power.
Not recharge the dry battery.
Remove the dry battery from the recorder when it is not to
be used for a long time.
The recorder work with the parameter you
setted, the user has verity selections of input
device and compact template,that can
pefectly connect with different input device
and get high compact quality.INT MIC is the
default input device.BWF format is default
compact setting.
Fig-2-6
