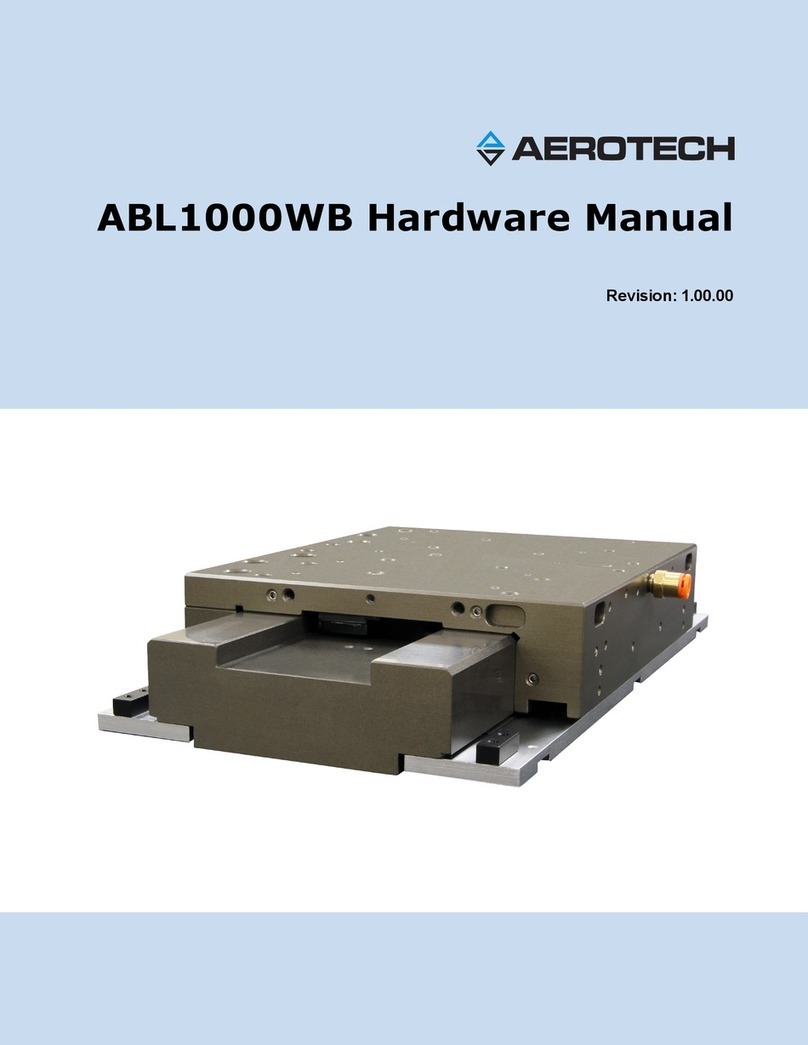
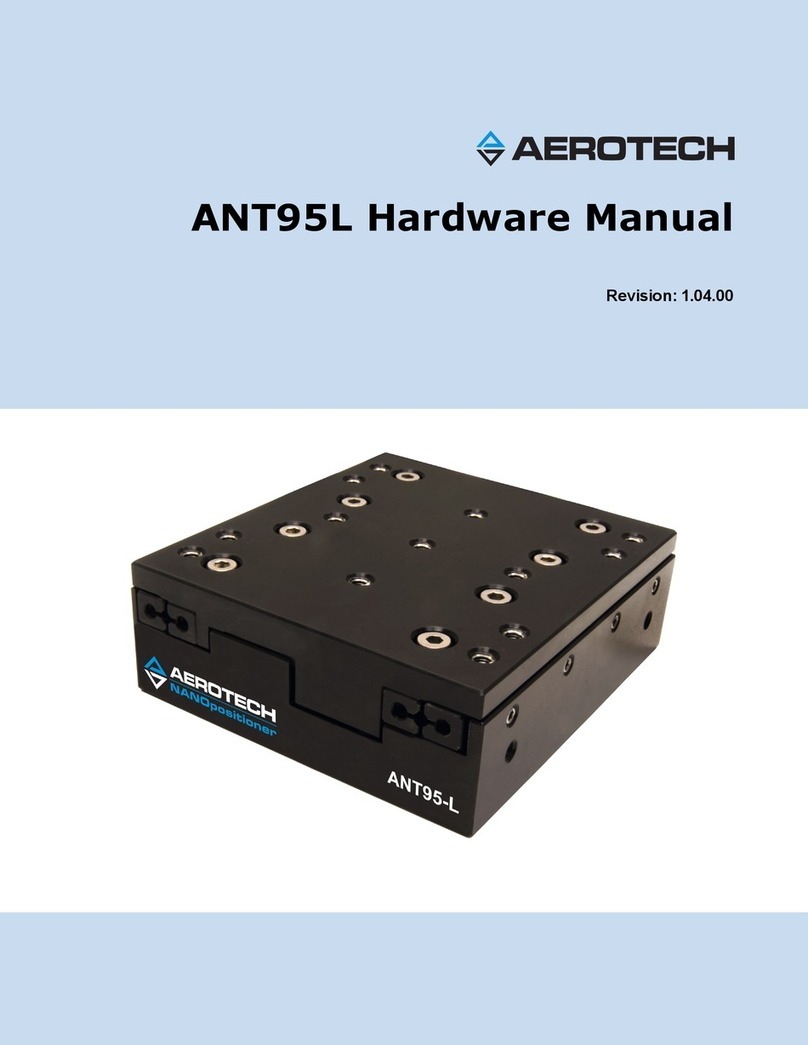
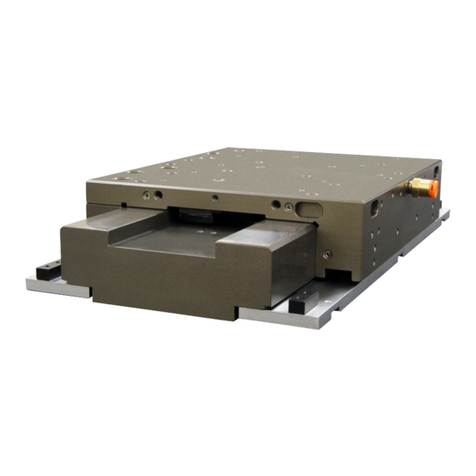
Aerotech ANT95V-3 series User manual

Revision: 1.02.00
ANT95V-3 Hardware Manual

Global Technical Support
Go to www.aerotech.com/global-technical-support for information and support about your Aerotech products. The website
provides downloadable resources (such as up-to-date software, product manuals, and Help files), training schedules, and
PC-to-PC remote technical support. You can also complete Product Return (RMA) forms and get information about repairs
and spare or replacement parts. For immediate help, contact a service office or your sales representative. Have your
customer order number available before you call or include it in your email.
United States (World Headquarters)
Phone: +1-412-967-6440
Fax: +1-412-967-6870
Email: service@aerotech.com
101 Zeta Drive
Pittsburgh, PA 15238-2811
www.aerotech.com
United Kingdom Japan
Phone: +44 (0)1256 855055
Fax: +44 (0)1256 855649
Email: service@aerotech.co.uk
Phone: +81 (0)50 5830 6814
Fax: +81 (0)43 306 3773
Email: service@aerotechkk.co.jp
Germany China
Phone: +49 (0)911 967 9370
Fax: +49 (0)911 967 93720
Email: service@aerotechgmbh.de
Phone: +86 (21) 3319 7715
Email: service@aerotech.com
France Taiwan
Phone: +33 2 37 21 87 65
Email: service@aerotech.co.uk
Phone: +886 (0)2 8751 6690
Email: service@aerotech.tw
This manual contains proprietary information and may not be reproduced, disclosed, or used in whole or in part without the
express written permission of Aerotech, Inc. Product names mentioned herein are used for identification purposes only and
may be trademarks of their respective companies.
Copyright © 2014-2017, Aerotech, Inc., All rights reserved.

ANT95V-3 Hardware Manual Table of Contents
Table of Contents
ANT95V-3 Hardware Manual 1
Table of Contents 3
List of Figures 4
List of Tables 5
Safety Procedures and Warnings 6
EU Declaration of Incorporation 7
Chapter 1: Overview 9
1.1. Environmental Specifications 10
1.2. Accuracy and Temperature Effects 10
1.3. Basic Specifications 11
1.4. Vacuum Operation 12
Chapter 2: Mechanical Specifications and Installation 13
2.1. Unpacking and Handling the Stage 13
2.2. Flexure Handling 14
2.3. Dimensions 15
2.4. Securing the Stage to the Mounting Surface 17
2.5. Attaching the Payload to the Stage 19
Chapter 3: Electrical Specifications and Installation 21
3.1. Motor and Feedback Connectors 22
3.2. Motor and Feedback Wiring 24
3.3. Motor and Feedback Specifications 25
3.4. Limits, Marker, and Machine Direction 27
3.5. Motor and Feedback Phasing 28
Chapter 4: Maintenance 31
4.1. Service and Inspection Schedule 31
4.2. Cleaning and Lubrication 32
4.3. Troubleshooting 33
Appendix A: Warranty and Field Service 35
Appendix B: Revision History 37
Index 39
www.aerotech.com 3

Table of Contents ANT95V-3 Hardware Manual
List of Figures
Figure 2-1: Shipping Clamps 13
Figure 2-2: ANT95V-3 Dimensions 15
Figure 2-3: ANT95V-3 Mounting Plate (-MP) Dimensions 16
Figure 2-4: Mounting Hole Pattern 18
Figure 3-1: Motor and Feedback Wiring 24
Figure 3-2: Machine Direction 27
Figure 3-3: Hall Phasing 28
Figure 3-4: Analog Encoder Phasing Reference Diagram 29
Figure 3-5: Encoder Phasing Reference Diagram (Standard) 29
4 www.aerotech.com

ANT95V-3 Hardware Manual Table of Contents
List of Tables
Table 1-1: ANT95V-3 Model Numbering System 9
Table 1-2: Environmental Specifications 10
Table 1-3: ANT95V-3 Series Specifications 11
Table 2-1: Stage to Mounting Surface Hardware 17
Table 3-1: Motor and Feedback Pinouts 23
Table 3-2: Feedback Specifications 25
Table 3-3: Motor Specifications 26
Table 3-4: Encoder Specifications 26
www.aerotech.com 5

Table of Contents ANT95V-3 Hardware Manual
Safety Procedures and Warnings
Read this manual in its entirety before installing, operating, or servicing this product. If you do not understand
the information contained herein, contact an Aerotech representative before proceeding. Strictly adhere to
the statements given in this section and other handling, use, and operational information given throughout
the manual to avoid injury to you and damage to the equipment.
The following statements apply wherever the Warning or Danger symbol appears within this manual. Failure
to observe these precautions could result in serious injury to those individuals performing the procedures
and/or damage to the equipment.
D A N G E R : This product contains potentially lethal voltages. To reduce the possibility of
electrical shock, bodily injury, or death the following precautions must be followed.
1. Access to the ANT95V-3 and component parts must be restricted while connected to a
power source.
2. Do not connect or disconnect any electrical components or connecting cables while
connected to a power source.
3. Disconnect electrical power before servicing equipment.
4. All components must be properly grounded in accordance with local electrical safety
requirements.
5. Operator safeguarding requirements must be addressed during final integration of the
product.
W A R N I N G : To minimize the possibility of electrical shock, bodily injury or death the
following precautions must be followed.
1. Moving parts can cause crushing or shearing injuries. Access to all stage and motor parts
must be restricted while connected to a power source.
2. Cables can pose a tripping hazard. Securely mount and position all system cables to avoid
potential hazards.
3. Do not expose this product to environments or conditions outside of the listed
specifications. Exceeding environmental or operating specifications can cause damage to
the equipment.
4. The ANT95V-3 stage must be mounted securely. Improper mounting can result in injury
and damage to the equipment.
5. Use care when moving the ANT95V-3 stage. Lifting or transporting the ANT95V-3 stage
improperly can result in injury or damage to the ANT95V-3.
6. This product is intended for light industrial manufacturing or laboratory use. Use of this
product for unintended applications can result in injury and damage to the equipment.
7. If the product is used in a manner not specified by the manufacturer, the protection
provided by the product can be impaired and result in damage, shock, injury, or death.
8. Operators must be trained before operating this equipment.
9. All service and maintenance must be performed by qualified personnel.
6 www.aerotech.com

ANT95V-3 Hardware Manual Table of Contents
EU Declaration of Incorporation
Manufacturer:
Aerotech, Inc.
101 Zeta Drive
Pittsburgh, PA 15238-2811
USA
herewith declares that the product:
ANT95V-3 Stage
is intended to be incorporated into machinery to constitute machinery covered by the Directive
2006/42/EC as amended;
and that the following harmonized European standards have been applied:
EN ISO 12100:2010
Safety of machinery - Basic concepts, general principles for design
EN 60204-1:2010
Safety of machinery - Electrical equipment of machines - Part 1:General requirements
and further more declares that
it is not allowed to put the equipment into service until the machinery into which
it is to be incorporated or of which it is to be a component has been found and
declared to be in conformity with the provisions of the Directive 2006/42/EC and
with national implementing legislation, i.e., as a whole, including the equipment
referred to in this Declaration.
This is to certify that the aforementioned product is in accordance with the applicable requirements of the
following Directive(s):
2011/65/EU RoHS2 Directive
Authorized Representative:
Simon Smith, European Director
Address:
Aerotech Ltd
The Old Brick Kiln
Ramsdell, Tadley
Hampshire RG26 5PR
UK
Name
/ Alex Weibel
Position
Engineer Verifying Compliance
Location
Pittsburgh, PA
www.aerotech.com 7

Table of Contents ANT95V-3 Hardware Manual
8 www.aerotech.com
This page intentionally left blank.

ANT95V-3 Hardware Manual Overview
Chapter 1: Overview
N O T E : Aerotech continually improves its product offerings; listed options may be superseded at any
time. All drawings and illustrations are for reference only and were complete and accurate as of this
manual’s release. Refer to www.aerotech.com for the most up-to-date information.
Table 1-1: ANT95V-3 Model Numbering System
ANT Series Vertical Travel Stage
Mounting Plate (Optional)
-MP Mounting plate
Performance Grade (Required)
-PL1 Base performance
-PL2 High-accuracy performance, PLUS
www.aerotech.com Chapter 1 9

Overview ANT95V-3 Hardware Manual
1.1. Environmental Specifications
W A R N I N G : Do not expose this product to environments or conditions outside of the listed
specifications. Exceeding environmental or operating specifications can cause damage to the
equipment.
Table 1-2: Environmental Specifications
Ambient
Temperature
Operating: 10° to 35° C (50° to 95° F)
The optimal operating temperature is 20° C ±2° C (68° F ±4° F). If at any time the
operating temperature deviates from 20° C degradation in performance could occur.
Storage: 0° to 40° C (32° to 104° F) in original shipping packaging
Humidity Operating: 20% to 60% RH
Storage: 10% to 70% RH, non-condensing in original packaging. The stage should be
packaged with desiccant if it is to be stored for an extended time.
Altitude Operating: 0 m to 2,000 m (0 ft to 6,562 ft) above sea level
Contact Aerotech if your specific application involves use above 2,000 m or below sea
level.
Vibration Use the system in a low vibration environment. Excessive floor or acoustical vibration
can affect system performance. Contact Aerotech for information regarding your
specific application.
Protection
Rating
The ANT95V-3 stages are not suited for dusty or wet environments. This equates to an
ingress protection rating of IP00.
Use Indoor use only
1.2. Accuracy and Temperature Effects
Aerotech products are designed for and built in a 20°C (68°F) environment. Extreme temperature changes
could cause a decrease in performance or permanent damage to the ANT95V-3. At a minimum, the
environmental temperature must be controlled to within 0.25ºC per 24 hours to ensure the ANT95V-3
specifications are repeatable over an extended period of time. The severity of temperature effects on all
specifications depends on many different environmental conditions, including how the ANT95V-3 is
mounted. Contact the factory for more details.
The ANT95V-3 encoder scale is mounted on glass and measures the linear travel of the wedge. The thermal
expansion coefficient of the glass is 3.25 ppm/°C. Translated through the wedge angle of 7.70°, it becomes
an effective thermal expansion coefficient of 0.44 ppm/°C. As the temperature of the operating environment
changes from the temperature listed on the accuracy plot included with the stage, the accuracy of the stage
will change by 0.44 ppm/°C from the center of travel. For calibrated -PLUS stages, Aerotech controllers can
adjust the calibration based on the temperature of the environment. Contact Aerotech for more details.
The accuracy specification of ANT95V-3 series stages is measured 25 mm above the table with the stage in
an unloaded condition. The stage is assumed to be fully supported by a mounting surface meeting or
exceeding the specification in Section 2.4.
10 Chapter 1 www.aerotech.com

ANT95V-3 Hardware Manual Overview
1.3. Basic Specifications
N O T E : Aerotech continually improves its product offerings; listed options may be superseded at any
time. All drawings and illustrations are for reference only and were complete and accurate as of this
manual’s release. Refer to www.aerotech.com for the most up-to-date information.
Resolution is dependent on encoder resolution and controller interpolation.
Table 1-3: ANT95V-3 Series Specifications
ANT95V-3
Travel 3 mm
Accuracy(1) Base ±2 µm
PLUS(5) ±200 nm
Resolution (Minimum Incremental
Motion) 1 nm
Bidirectional
Repeatability(1)
Base ±150 nm
PLUS(5) ±100 nm
Unidirectional Repeatability ±75 nm
Straightness(1) ±1.0 µm (±40 µin)
Pitch(1) 20 arc sec
Roll(1) 10 arc sec
Yaw(1) 10 arc sec
Maximum Speed 75 mm/s (3 in/s)
Maximum Acceleration (No Load) 0.4 g - 4 m/s2
Settling Time See Figure
In-Position Stability(2) <1 nm
Maximum Force (Continuous) 71 N
Load Capacity(3) 1.5 kg (3.3 lb)
Moving Mass 1.1 kg (2.42 lb)
Stage Mass 20 kg (4.4 lb)
Material Aluminum and Stainless-Steel Body/Black Hardcoat
Finish/Black Anodize Finish
Mean Time Between Failure 30,000 Hours
1. Certified with each stage.
2. Measured perpendicular or parallel to wedge direction.
3. In-Position Jitter listing is 3 sigma value.
4. Assumes loading along axis of travel.
5. Requires the use of an Aerotech controller.
• Specifications are for single-axis systems measured 25 mm above the tabletop; performance of multi-axis system is payload and
workpoint dependent. Consult the Aerotech factory for multi-axis or non-standard applications.
www.aerotech.com Chapter 1 11

Overview ANT95V-3 Hardware Manual
1.4. Vacuum Operation
Aerotech can specially prepare the ANT95V-3 for operation in vacuum environments. Aerotech offers two
vacuum preparation options; one for low vacuum (for use in atmospheric pressures to 10-3 torr) and one for
high vacuum (preparation for environments from 10-3 to 10-6 torr). As part of this preparation, attention to
detail during modification, cleaning, and assembly results in products with optimal performance in vacuum
applications.
To ensure that the ANT95V-3 will continue to perform well in the vacuum environment, follow the guidelines
listed below (in addition to standard handling, installation, and lubrication guidelines outlined in this manual).
1. Do not remove the ANT95V-3 from the sealed bag until it is ready for use.
2. Always handle the ANT95V-3 in a clean environment and use powder-free polyethylene gloves to
prevent any contaminants from adhering to the surface of the ANT95V-3.
3. During installation, use cleaned, vented, stainless steel fasteners when securing the ANT95V-3.
4. Reduced air pressure eliminates significant convective heat transfer. This, coupled with the viscous
vacuum-compatible lubricants, could result in excessive motor operating temperatures. Because of
this, consider all continuous torque ratings to be 40 to 60% lower than the value specified for operation
in normal atmospheric environment. Reduce motor usage accordingly.
5. For vacuum applications, the recommended lubricant is a small quantity of Braycote® 602EF grease
or a compatible substitute of equal quality.
6. Baking vacuum components between 100 and 125 °C for 24 to 48 hours significantly reduces
outgassing at initial pump-down to vacuum pressure and evaporates water vapor that impregnates
porous surfaces on the aluminum surfaces and Teflon cables. Aerotech recommends that customers
bake out vacuum systems when first installing them in the vacuum chamber.
12 Chapter 1 www.aerotech.com

ANT95V-3 Hardware Manual Mechanical Specifications and Installation
Chapter 2: Mechanical Specifications and Installation
W A R N I N G : ANT95V-3 installation must be in accordance to instructions provided by this
manual and any accompanying documentation. Failure to follow these instructions could result
in injury or damage to the equipment.
2.1. Unpacking and Handling the Stage
W A R N I N G : It is the customer's responsibility to safely and carefully lift the stage.
lMake sure that all moving parts are secure before moving the ANT95V-3. Unsecured
moving parts may shift and cause bodily injury.
lImproper handling could adversely affect the performance of the ANT95V-3. Use care
when moving the ANT95V-3.
N O T E : If any damage has occurred during shipping, report it immediately.
Carefully remove the ANT95V-3from its protective shipping container. Gently set the ANT95V-3 on a
smooth, flat, and clean surface.
Before operating the ANT95V-3, it is important to let it stabilize at room temperature for at least 12 hours.
Allowing it to stabilize to room temperature will ensure that all of the alignments, preloads, and tolerances are
the same as they were when tested at Aerotech. Use compressed nitrogen or clean, dry, oil-less air to
remove any dust or debris that has collected during shipping.
Each ANT95V-3 has a label listing the system part number and serial number. These numbers contain
information necessary for maintaining or updating system hardware and software. Locate this label and
record the information for later reference.
Shipping Clamps
Red, anodized aluminum shipping brackets have been installed to prevent unwanted motion and potential
damage from occurring during shipment. The brackets must be removed before the ANT95V-3 can be
operated. Retain the brackets and hardware for future use.
Figure 2-1: Shipping Clamps
www.aerotech.com Chapter 2 13

Mechanical Specifications and Installation ANT95V-3 Hardware Manual
2.2. Flexure Handling
The ANT95V-3 stage uses flexures to laterally constrain the tabletop so it will move vertically as the drive
wedge moves horizontally. The flexures are engineered to provide smooth, repeatable motion for the entire
life of the stage. They are made of thin steel, however, and can fail if they are mishandled. Do not remove the
cover from the stage unless it is absolutely necessary. When the cover is off, take care not to bend, nick,
ding, or mar the flexures in any way. Never handle the stage by the flexures or flexure mounting supports. If
a flexure appears damaged, contact Aerotech support.
14 Chapter 2 www.aerotech.com

ANT95V-3 Hardware Manual Mechanical Specifications and Installation
2.3. Dimensions
Figure 2-2: ANT95V-3 Dimensions
www.aerotech.com Chapter 2 15

Mechanical Specifications and Installation ANT95V-3 Hardware Manual
Figure 2-3: ANT95V-3 Mounting Plate (-MP) Dimensions
16 Chapter 2 www.aerotech.com

ANT95V-3 Hardware Manual Mechanical Specifications and Installation
2.4. Securing the Stage to the Mounting Surface
W A R N I N G : Do not attempt to manually move the ANT95V-3 if it is connected to a power
source.
W A R N I N G : The ANT95V-3 must be mounted securely. Improper mounting can result in
injury and damage to the equipment.
D A N G E R : If you remove the cover of the stage, high magnetic fields at the ends of the
magnet tracks will be exposed. Keep metal objects away from the ends of the magnet tracks.
The mounting surface must be flat and have adequate stiffness in order to achieve the maximum
performance from the ANT95V-3 stage. When it is mounted to a non-flat surface, the stage can be distorted
as the mounting screws are tightened. This distortion will decrease overall accuracy. Adjustments to the
mounting surface must be done before the stage is secured.
Inspect the mounting surface for dirt or unwanted residue and clean if necessary. Use precision flatstones
on the mounting surface to remove any burrs or high spots. Clean the mounting surface with a lint free cloth
and acetone or isopropyl alcohol and allow the cleaning solvent to completely dry. Gently place the stage on
the mounting surface.
N O T E : To maintain accuracy, the mounting surface must be flat to within 5 µm over the entire stage
footprint.
N O T E : The ANT95V-3 is precision machined and verified for flatness prior to product assembly at the
factory. If machining is required to achieve the desired flatness, it should be performed on the mounting
surface rather than the ANT95V-3. Shimming should be avoided if possible. If shimming is required, it
should be minimized to retain maximum rigidity of the system.
There is a gap between the through holes in the cover and the mounting holes that can make inserting the
mounting screws challenging. The hex tool that was provided has a retention mechanism that is designed to
hold the screw during stage mounting. You should always use this hex tool when mounting the stage to
prevent damage to exposed components below the cover.
N O T E : Covers should not be removed unless absolutely necessary.
If you must remove the cover, be extremely careful to not damage any of the exposed components, including
cables when you reinstall the cable cover and the limit boards near the mounting holes. Do not touch or mark
the flexures. Any bends, dings, or scratches could cause the flexures to fail prematurely. Do not leave
covers off longer than necessary.
Tightening torque values for the mounting hardware are dependent on the properties of the surface to which
the stage is being mounted. Values provided in Table 2-1 are typical values and may not be accurate for your
mounting surface. Refer to Section 2.3. for specific model mounting locations and dimensions.
Table 2-1: Stage to Mounting Surface Hardware
Mounting Hardware Typical Screw Torque
M4 by 12 mm [#8 by 3/8 in] SHCS 2.3 N·m
www.aerotech.com Chapter 2 17

Mechanical Specifications and Installation ANT95V-3 Hardware Manual
Figure 2-4: Mounting Hole Pattern
18 Chapter 2 www.aerotech.com

ANT95V-3 Hardware Manual Mechanical Specifications and Installation
2.5. Attaching the Payload to the Stage
Inspect the mounting surface for dirt or unwanted residue and clean if necessary. Clean the mounting
surface with a lint free cloth and acetone or isopropyl alcohol and allow the cleaning solvent to completely
dry.
To prevent damage to the payload or stage, test the operation of the stage before the payload is attached.
Aerotech recommends that customers use a representative payload during start-up to prevent accidental
damage to the stage and the payload. Proceed with the electrical installation and test the motion control
system in accordance with the system documentation. Document all results for future reference. For
information on electrical installation refer to Chapter 3 and the documentation delivered with the stage.
Applied loads should be symmetrically distributed whenever possible (i.e., the payload should be centered
on the stage table and the entire stage should be centered on the support structure).
N O T E : If your ANT95V-3 was purchased with Aerotech controls, it might have been tuned with a
representative payload based on the information provided at the time of order. If the ANT95V-3 is started
up without a payload, the servo gains provided by Aerotech with the shipment may not be appropriate and
servo instability can occur. Refer to the controller help file for tuning assistance.
The payload must be flat, rigid, and comparable to the stage in quality to maintain optimum performance.
If Aerotech specifically adjusted the servo loop gains to the payload weight prior to shipment, the payload
might be required to ensure proper servo operation. The ANT95V-3 is designed to carry no more than 1 kg.
N O T E : For valid system performance, the mounting interface should be flat within 10 µm.
W A R N I N G : Refer to the dimensions in Section 2.3. for maximum allowable thread
engagement. A screw extending through the stage table can affect travel and damage the
stage. Do not let mounting screws project more than 7 mm (.276") into the stage table top.
www.aerotech.com Chapter 2 19

Mechanical Specifications and Installation ANT95V-3 Hardware Manual
20 Chapter 2 www.aerotech.com
This page intentionally left blank.
This manual suits for next models
4
Table of contents
Other Aerotech Valve Positioner manuals
Popular Valve Positioner manuals by other brands

Gemu
Gemu 554 Installation, Operating and Maintenance Instructions for the Installer and the User

PI
PI UPL-120 user manual

Spirax Sarco
Spirax Sarco EP500 Installation and maintenance instructions

Power-Genex
Power-Genex PPR Series instruction manual

VRG Controls
VRG Controls VGP Series instruction manual

Flexco
Flexco RBP1 Installation, operation and maintenance guide