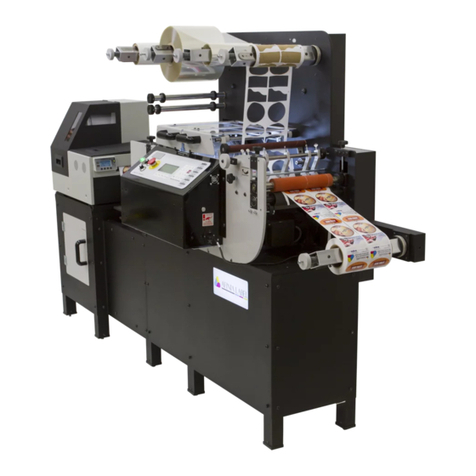
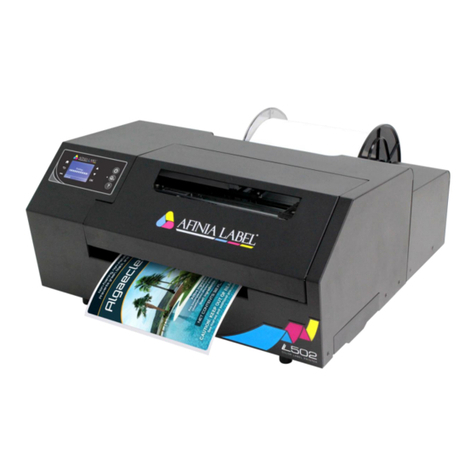
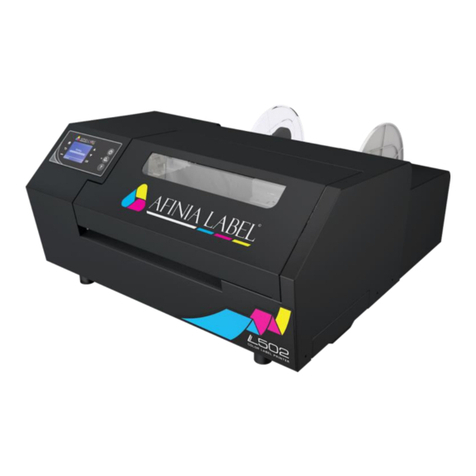
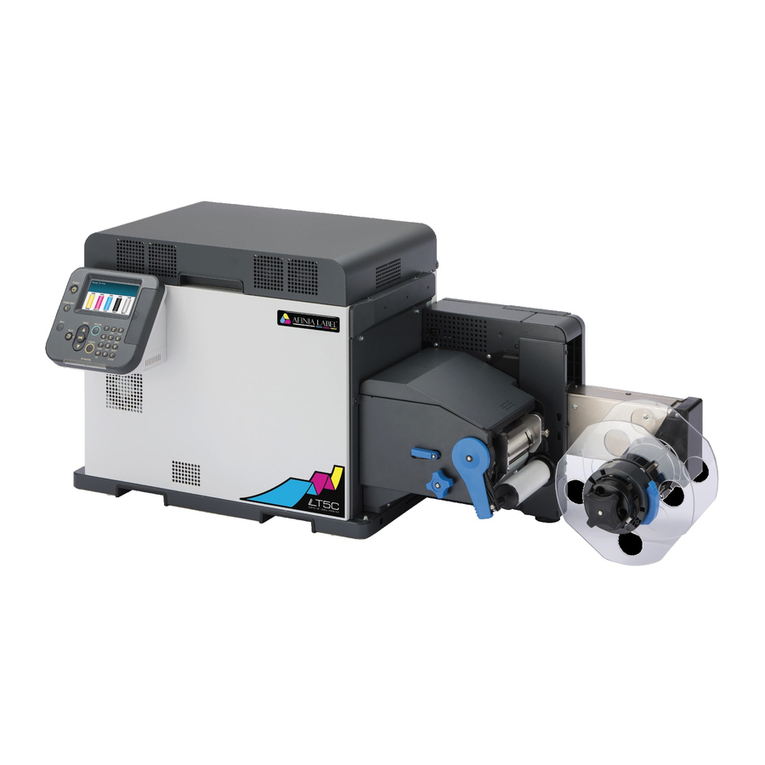
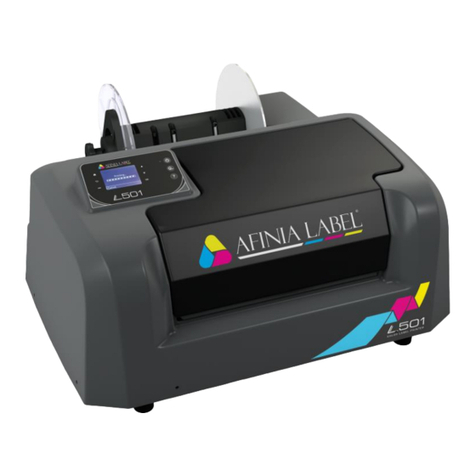
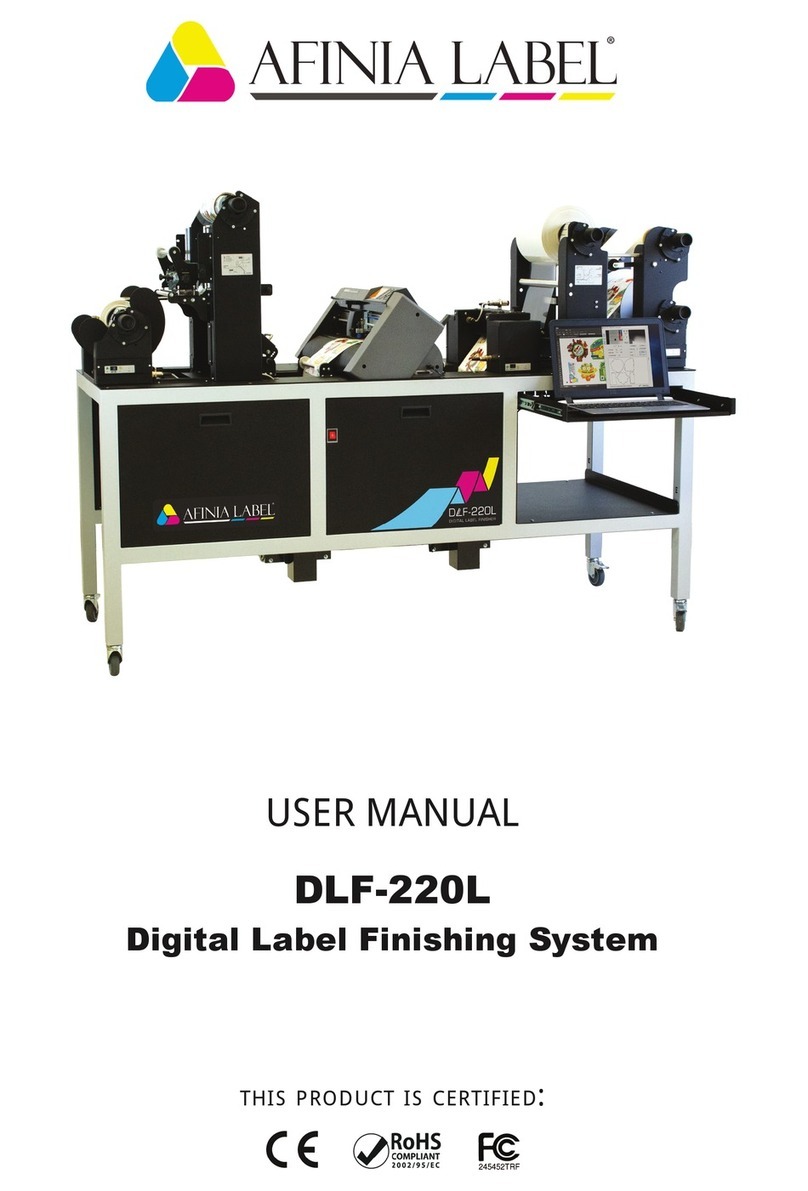
AFINIA LABEL DLF L Series User manual

1
DLF Training
Contents
DLF Training .........................................................................................................................................................1
DLF-220L.......................................................................................................................................................3
DLF-350L.......................................................................................................................................................3
1. Installation ...............................................................................................................................................4
Uncrating......................................................................................................................................................4
Leveling ........................................................................................................................................................4
Waste Compactor Installation .....................................................................................................................5
Dongle and USB Connections.......................................................................................................................8
DLF Software Installation .............................................................................................................................9
2. Artwork ................................................................................................................................................. 12
Artwork Layout ......................................................................................................................................... 12
Registration Mark (Blackmark) Requirements.......................................................................................... 12
Save the Master File.................................................................................................................................. 15
Save the Print File ..................................................................................................................................... 16
Save the Cut File........................................................................................................................................ 16
Special Cut Line for perforations............................................................................................................... 16
3. Loading Media and Laminate................................................................................................................ 17
Loading Media........................................................................................................................................... 17
Loading Laminate...................................................................................................................................... 19
4. Loading Cutter....................................................................................................................................... 20
5. Blade Exposure...................................................................................................................................... 21
6. Software Operation............................................................................................................................... 21
Positioning the reg mark in the software image....................................................................................... 22
Setting the cut parameters ....................................................................................................................... 23
Cut Test ..................................................................................................................................................... 24
Start the cut job ........................................................................................................................................ 25
7. Waste Removal and Rewinding ............................................................................................................ 26
8. Slitting ................................................................................................................................................... 29

2
Adding or Removing Slitter Blade Holders................................................................................................ 30
9. Output/Waste Roll Removal ................................................................................................................. 31
10. Tension Arm Calibration ................................................................................................................... 32
11. Advanced/Settings Features ............................................................................................................. 33
12. Maintenance ..................................................................................................................................... 36
General Cleaning....................................................................................................................................... 36
Lubrication ................................................................................................................................................ 36
Consumable Replacement ........................................................................................................................ 37
13. Troubleshooting................................................................................................................................ 38

3
DLF L Series
DLF-220L
DLF-350L
Input / Output Roll Diameter
9.84” (250 mm)
9.84” (250 mm)
Minimum Web Width
4.33” (110 mm)
4.33” (110 mm)
Maximum Web Width
8.86” (225 mm)
14” (355 mm)
Maximum Cutting Width
7.87” (200 mm)
13” (330 mm)
Minimum Slitting Width
0.75” (19 mm)
Minimum Label Length
0.39” (10 mm)
Maximum Label Length
15” (381 mm)
Lamination Module
YES
Number of Slitting Blades
up to 8
up to 13
Minimum Media Thickness
0.01″ (0.25 mm) (10 mil)
Maximum Cutting Speed
24 in/s (600 mm/s) in all directions
Roll Core Size
3” (76 mm)
Agency Certifications
CE, FCC, RoHS
Warranty
One Year Parts and Labor. Usage Limitation may apply

4
1. Installation
Team Lifting is required when moving any of the DLF Series Finishers!
Uncrating
1. Remove screws from all clips on the front of the crate
a. The top, left, and right sides will have 1 screw on
each side of the clip
b. The bottom clips will only have screws on the
front, not on the bottom of the crate
2. Remove the clips using a flat-blade screwdriver
3. Remove all packing materials from inside the crate
4. The DLF will be mounted on top of two wooden stands inside the crate. You will need THREE
PEOPLE to safely remove the DLF from the crate.
5. Partially slide the DLF on top of the two wooden stands until there is room on the sides of the DLF
for a person on each side to have a hand hold
6. Carefully slide the DLF the rest of the way out of the crate and lower the DLF-220L to the floor
7. Remove stretch wrap, wire ties, foam, and bag from around the cutter
Leveling
Although leveling is not critical, the DLF Series finishers should be operated in as level of an environment as
possible.

5
Waste Compactor Installation
The DLF-220L units come with a waste compactor assembly that needs to be installed once the unit is
uncrated. The assembly is installed due to shipping onto the Laminate Mandrel Tower of the unit and looks
like the below images when removed from the crate.

6
The assembly is held temporarily with 4 Philips screws.
Once the assembly is removed, it is to be installed above the Waste Take-up Mandrel as shown below.

7
In this location on the Waste Take-up Mandrel Tower there are 10 Philips screws pre-installed that need to
be removed. Once the 10 screws are removed, you position the waste compactor onto the Waste Take-up
Mandrel Tower and reinstall the screws.
Once installed, the Waste Compactor Assembly can be locked in the up postion using the lock pin on the
side of it as shown below.

8
Dongle and USB Connections
Verify power and USB connections to cutter, PC, and dongle is in place
DLF-220L
a. Power connection is located behind the left front panel, behind the center-left front support
beam. The leftmost side panel on the operator side can be removed to view this plug
location.
b. USB connections and dongle are located behind the center front panel

9
DLF Software Installation
The DLF-Software needs to be installed on a Windows computer. You will want to disable any additional
webcams/imaging devices on the computer so the Cutter’s Webcam is properly detected by the software.
Run the installer BEFORE turning on the DLF and plugging into the computer.
1. Open the Setup DLF-Software X.X.X (X referring to version number)
2. Once opened you will be presented with a DLF-Software Install Wizard, click Next
3. Next screen shows a change-log for the software. Click Next again
4. Next screen will show the default install directory for the DLF-Software (C:\DLF-Software\). It is
recommended you don’t change this. Click Next.

10
5. Next screen is a confirmation window that the installer is ready to proceed. Click Next.
6. The installer will start running the installation process and provide a progress bar. Once the progress
bar is finished a second window will pop up, Device Driver Installation Wizard. Click Next on the
Device Driver Installation Wizard Window. The driver will install and provide a confirmation that the
driver installed properly. Click Finish
7. After Clicking Finish on the Device Driver Installation Wizard, another window will pop up for the
Graphtec Cutting Plotter Driver. Click OK to start the process. The next window will provide a
prompt to confirm you have not plugged in/turned on the cutter on the DLF before proceeding to
the next step. Click Next.

11
8. The next screen indicates that you might see a Digital Signature Driver install prompt when running
this driver installer. Click Next. The next screen will show you the Graphtec Cutter Model Selection
Screen. Check the model number on the top of the Graphtec cutter installed on your DLF unit. Select
the appropriate Cutter name from the list (typically CE6000Plus or CE7000 depending on age of
unit). Click Next.
9. The next screen will ask what connection type you will be using to connect to the Graphtec cutter
with. The DLF only support USB connections to the cutter, select USB and click Next. The installer
will proceed with the installation and may prompt you with a Digital Signature Driver install prompt.
Click Install on said prompt if it appears. After a few minutes you will be greeted with an Installation
Complete screen. You may need to reboot your computer. Click OK.
10. After that the DLF-Software Installer will say it is complete and the software ready to use. A shortcut
for the software will appear on your desktop.
11. At this time you can plug in/turn on the DLF unit. Your computer will prompt you that it is installing
Device Driver Software. Once Windows is done with the installation of the drivers it will prompt you
that your device(s) are ready to use.

12
2. Artwork
The requirements for the artwork, registration mark, and cut lines are the same across all current DLF
models.
Artwork Layout
It is recommended that the artwork be designed to the width of the stock being used.
This will help ensure during the design process that there is enough room on the stock for the artwork,
registration mark, and any needed blank space for best operation of the finisher. Doing so reduces the
chances of needing to modify the artwork once production begins.
All of the DLF Series cutters use 10mm pinch rollers. The pinch rollers press hard enough on the grit roller to
impress the texture of the grit on the media. Because of this texture, artwork should never be closer than
10mm to either edge (the pinch rollers should always be fully on the stock, but as close to the edge as
possible).
It is also recommended that you design your artwork as a single row, since multiple rows extend the
distance away from the blackmark and reduces accuracy.
There are some additional placement requirements, which are discussed below.
Registration Mark (Blackmark) Requirements
•The registration mark must be either a 4mm x 4mm OR a 2mm x 2mm 100% black square
a. Either can be used, but the correct reg mark size must be selected in the software. Software
default is 4mm x 4mm.
•The mark must be a minimum of 5mm from the left edge of the stock
a. This does place the mark under the left pinch roller, which was not allowed with previous
software. If the end user is concerned about reg mark recognition in the area of the stock
textured by the grit roller, they can move it to 10mm or more from the edge.
•The mark must be the lowest object in the artwork
a. No part of the artwork or cut line can be below the bottom of the reg mark.
•The mark must be the left-most object in the artwork
a. The left edge of the reg mark must be the furthest left object in the artwork, but it doesn’t
have to be by much.
•There must be 4mm of unprinted space between the reg mark and the artwork
a. Generally the mark will be to the left of the artwork, minimizing the gap between pages
b. Alternately, the mark can be 4mm below the artwork (still left-most), but will need 4mm of
blank stock top and bottom to ensure good reg mark identification.

13
Typical artwork layout, master file:
Cut lines in the above file are the red lines. These would be hidden for printing.
A. 8.5” wide to match stock width
B. Approximately 0.15” horizontal gap between labels for good weeding
C. Gaps at top and bottom provide enough separation of pages (> 0.125”) for good weeding
D. 0.5mm overbleed past cut lines on all sides
E. 4mm x 4mm reg mark
F. Reg mark 10mm from left edge
G. 4mm between right edge of reg mark and left
edge of artwork
H. Bottom of reg mark below bottom of artwork, cut
lines
I. Right edge of artwork at least 10mm from right
edge of stock
A
B
D
E
F
(10mm)
G: 4mm
I

14
Less typical artwork layout, master file:
Cut lines in the above file are the red lines. These would be hidden for printing.
A. 8.5” wide to match stock width
B. Approximately 0.15” horizontal gap between labels for good weeding
C. Gaps at top and bottom provide enough separation of pages (> 0.125”) for good weeding
D. 0.5mm overbleed past cut lines on all sides
E. 4mm x 4mm reg mark
F. Reg mark 10mm from left edge
G. > 4mm between reg mark and artwork
H. Left edge of reg mark is slightly farther left than left edge
of artwork
I. Bottom of reg mark below bottom of artwork, cut lines
J. Right edge of artwork at least 10mm from right edge of
stock
A
D
E
F
(10mm)
J
B
H

15
Unusual artwork layout, master file:
This layout would be used to achieve maximum cut width, across the full width of the stock minus the pinch
rollers.
This type of layout is not an efficient use of stock, as about a half inch of waste between labels will be
created. Better results would be achieved by rotating art and cut lines 90 degrees and cutting multiple
across, if possible. If multiple across would not fit on the stock, narrower stock would be the next better
option.
Cut lines in the above file are the red lines. These would be hidden for printing.
A. 8.5” wide to match stock width
B. Width of cut lines is maximum width (approximately 196mm)
C. 0.5mm overbleed past cut lines on all sides
D. 4mm x 4mm reg mark
E. Reg mark 10mm from left edge
F. Reg mark still left-most object by slight amount
G. 4mm gap required above and below reg mark
H. Left and right edges of artwork 10mm from edge of
stock
Save the Master File
Ultimately, three files will be saved: the Master file, the Print file, and the Cut file.
The Master file will include all elements needed, such as the reg mark, artwork, and cut lines.
If any modification needs to be done to the artwork, those changes would be made in the master file, which
would then be used to replace the print and cut files.
A
B
C
D
E
(10mm)
G: 4mm
H
G: 4mm
H

16
Save the Print File
To create the Print file, hide the cut lines and save the file as a pdf (if not printing directly out of Illustrator).
Save the Cut File
To create the Cut file, show the cut lines, delete (don’t hide) the artwork layers, and save as a pdf (required
for the cutter control software).
Special Cut Line for perforations
Software versions 1.70 and later include an
option to turn 100% Magenta cut lines into
perforated lines.
Select Advanced, then Settings.
Set the Cut Length and Space Length to
define how long each cut is and how much
space there will be between dashed cuts.
Click Save to change the values.
To cut 100% magenta lines as solid lines, set
both the cut and space lengths to 0.
Additional Setting options in this menu will
be addressed later in this training manual.

17
3. Loading Media and Laminate
Loading Media
The DLF-L Series finishers have a maximum input roll OD of 9.84” (250mm)
Input Roll
Laminate Waste
Roll
Laminate Roll
Tighten or
loosen
mandrel
Clutch

18
Load the printed input roll onto the input mandrel, pushing the stock up against the mandrel plate. Turn the
black knob clockwise to tighten the mandrel on the core.
Loosen the thumbscrew on the clutch to change the clutch tension; tighten the thumbscrew when the
tension is set correctly.
•Turn the metal collar counter-clockwise to reduce tension if
the roll will not turn easily
•Turn the metal collar clockwise to increase tension if the roll
continues to unwind after the rollers stop pulling media
Too little tension is preferable to too much tension.
Unroll a length of printed media. Pass the media under the first metal roller and back over the next bar.
Feed the media into the roller and, with the
roller switch set to MANUAL, press the
FORWARD button to feed a small amount of
stock through the rollers until the leading
edge is visible on the output side of the roller
assembly

19
Loading Laminate
Like the media mandrel, the laminate also has a clutch (silver collar) that is used to hold the mandrel in
place. Again, the clutch should be tightened only enough to keep the laminate from over-feeding.
The laminate should be narrower than the stock; recommend ¼” narrower minimum.
Because of this, the laminate should not be pushed all the way back to the laminate mandrel plate, but
positioned so that it is centered on the loaded stock.
Load the laminate so it unloads with the adhesive side on the right. The roll will be unwinding counter-
clockwise.
Adhere the laminate as smoothly as
possible to the center of the stock, and as
close to the metal roller as possible.
If using lined laminate, pass the liner under
the waste tension arm arm and up onto a
core on the laminate liner mandrel.
Once attached to the roll, turn the liner
takeup switch to the ON position.

20
4. Loading Cutter
With the right panel switch set to MANUAL, press the FORWARD button to feed media and laminate.
The laminate will smooth out as material is being fed.
If the laminate is past the edge of the stock, loosen the laminate mandrel and reposition the laminate to a
more centered position.Do not forget to tighten the laminate mandrel again!
Feed enough media to thread under the right
tension arm and up through the right media guide.
Next, drop the pinch roller arm to release the
rollers and pass the media through the cutter and
under the pinch rollers.
Feed the media into the left media guide.
Position the stock so the back edge of the stock is
slightly against the rear media guides.
Position the front moveable media guides so they
are just touching the front edge of the stock. They
should not be pressing against the stock.
Adjust the pinch roller positions so they are fully on
the stock but as close to the edge of the stock as
possible. The outer edge of the pinch roller wheel
should align or be slightly inside the outermost
edges of the media.
Lower the pinch rollers.
Press 2on the cutter
control panel to auto-
detect the stock
width.
Switch the right panel to AUTO. The green LED near the switch will turn on.
At this point, you can either continue to feed media through to complete the stock path or start cutting to
reduce the amount of waste material.
DLF-220L
shown
This manual suits for next models
2
Table of contents
Other AFINIA LABEL Label Maker manuals

AFINIA LABEL
AFINIA LABEL DLF-220L User manual

AFINIA LABEL
AFINIA LABEL Afinia 502 User manual

AFINIA LABEL
AFINIA LABEL A200 User manual

AFINIA LABEL
AFINIA LABEL Afinia 502 Specification sheet

AFINIA LABEL
AFINIA LABEL L901 User manual

AFINIA LABEL
AFINIA LABEL AP200 User manual

AFINIA LABEL
AFINIA LABEL Afinia L501 User manual

AFINIA LABEL
AFINIA LABEL L801 Reference manual

AFINIA LABEL
AFINIA LABEL LT5C User manual

AFINIA LABEL
AFINIA LABEL Afinia L501 Specification sheet