manuals.online logo
Brands
  1. Home
  2. •
  3. Brands
  4. •
  5. Agora
  6. •
  7. Motorized Toy Car
  8. •
  9. Agora Shelby GT500 Super Snake Manual

Agora Shelby GT500 Super Snake Manual

STAGE 91: WINDSHIELD
STAGE 92: WINDSHIELD FRAME
AND WIPERS
STAGE 93: UPPER VENT GRILLE
STAGE 94: REAR WINDOW
STAGE 95: REAR WINDOW FRAME & RADIO
ANTENNA
STAGE 96: DOOR TRIM AND SILL PLATES
STAGE 97: HEADLINER
STAGE 98: SUN VISORS & REAR VIEW MIRROR
STAGE 99: REAR VALANCE, FOG LIGHTS &
CONNECTING THE BODY TO THE CHASSIS
STAGE 100: REAR BUMPER, FRONT & REAR
LICENSE PLATES
Pack 12 |Build Instructions
Your Shelby GT500 Super Snake is a finely detailed model replicating every
aspect of the original car. From the paint color to the smallest interior details,
every piece is precisely reproduced. To finish building your model, you will
also need 3 x LR4G or AG13 batteries.
In your twelfth model pack, you will assemble:
2
AGORAMODELS SHELBY SUPER SNAKE
Name Quantity
Windshield 1
STAGE 91 PARTS LIST
The windshield will be fixed
with parts in the next stage.
For now, open the packaging
and move on to stage 92.
Stage 91: Windshield
Windshield
3
AGORAMODELS SHELBY SUPER SNAKE
STAGE 92 PARTS LIST
You will now fix the windshield
and windshield frame to the body
section of your Super Snake.
Stage 92: Windshield Frame and Wipers
Windshield Frame
Windshield Wiper LWindshield Wiper R
Name Quantity
Windshield Frame 1
Windshield Wiper L 1
Windshield Wiper R 1
4
AGORAMODELS SHELBY SUPER SNAKE
STEP 1
1
2
3
4
5
ATTACH THE WINDSHIELD FRAME &
WINDSHIELD
Introduce the windshield to the car body
as shown, resting it in place. Then take the
Windshield Frame, observing the tabs around
the edge. Position the frame over the Windshield,
tucking the tabs into their lower holes indicated
by the arrows. Push the outer two tabs in firmly
before pushing the centre tab. Follow with the
tabs on the upper part of the frame.
The Windshield Wipers will be attached in the
next stage.
Stage 92: Windshield Frame and Wipers
ADVICE FROM THE EXPERTS
Be careful to only push on the window
frame, not the window itself.
!
5
AGORAMODELS SHELBY SUPER SNAKE
Stage 92 complete!
Stage 92: Windshield Frame and Wipers
6
AGORAMODELS
Stage 93: Upper Vent Grille
You will fix the windshield
wipers to the upper vent grille
and install the assembled parts
to the hood section.
Name Quantity
Upper Vent Grille 1
Screws TYPE MD06 3 [including 1 spare]
Screws TYPE MP08 3 [including 1 spare]
STAGE 93 PARTS LIST
SHELBY SUPER SNAKE
Upper Vent Grille
Screws
7
AGORAMODELS SHELBY SUPER SNAKE
STEP 1
1
2
3
4
FIX THE WIPERS TO THE GRILLE
Take the wiper marked R and position it on the
grille as shown. Holding it in position, secure in
place on the reverse side with an MP08 screw.
Repeat with the wiper marked L on the left side
of the grille. There is a notch in the wiper pegs to
make sure they sit at the correct 'parked' angle.
Stage 93: Upper Vent Grille
1 x MP08
1 x MP08
8
AGORAMODELS SHELBY SUPER SNAKE
STEP 2
1
2
3
INSTALL THE UPPER VENT GRILLE
Fit the Grille between the windshield and the
hood as shown. Check it is correctly aligned and
secure in place from the underside of the body
using 2 x TYPE MD06 screws. Note: please follow
the usual precautions when turning the bodywork
upside down. Ensure you have a soft cloth or
piece of foam on your worksurface to protect the
paintwork!
Stage 93: Upper Vent Grille
Stage 93 complete!
2 x MD06
9
AGORAMODELS
Stage 94: Rear Window
Just as for the front
windshield, the rear window
will be fixed along with the
frame in the next stage. For
now, remove the rear window
from its packaging.
Name Quantity
Rear Window 1
STAGE 94 PARTS LIST
SHELBY SUPER SNAKE
Rear Window
10
AGORAMODELS
Stage 95: Rear Window Frame & Radio Antenna
You will now fix the rear window with
the frame.
Name Quantity
Rear Window Frame 1
Radio Antenna 1
Screws TYPE MP02 2 [including 1 spare]
STAGE 95 PARTS LIST
SHELBY SUPER SNAKE
Rear Window Frame
Radio Antenna
Screws
11
AGORAMODELS SHELBY SUPER SNAKE
STEP 1
1
2
3
FIT THE REAR WINDOW
Introduce the Rear Window to the rear of the
body as shown. Rest it in place. Then take
the Rear Window Frame and install it by first
aligning the tabs along its bottom edge with the
corresponding holes. Push firmly into position,
starting from the outer tabs and working
inwards. Repeat along the upper edge of the
Window Frame, pushing the tabs firmly into
place.
Keep the Radio Antenna for installation in a later
stage.
Stage 95: Rear Window Frame & Radio Antenna
Stage 95 complete!
ADVICE FROM THE EXPERTS
Be careful to only push on the window
frame, not the window itself.
!
12
AGORAMODELS
Stage 96: Door Trim and Sill Plates
In this stage you will attach the door trim
and sill plates.
Name Quantity
Door Trim L 1
Door Trim R 1
Door Sill Plate L 1
Door Sill Plate R 1
Screws TYPE MD13 3 [including 1 spare]
STAGE 96 PARTS LIST
SHELBY SUPER SNAKE
Door Trim L
Door Trim R
Door Sill Plate LDoor Sill Plate R
Screws
13
AGORAMODELS SHELBY SUPER SNAKE
STEP 1
1
2
3
4
ATTACH THE RIGHT DOOR TRIM &
SILL PLATE
Align the lugs on the Door Trim with the door
frame as shown. Press along the trim to fix it
firmly into position. Take the Right Door Sill
Plate and align it along the bottom of the door
frame. Push the lugs into the corresponding
holes to fix it into position. Note: the curved part
of the Sill Plate faces the rear of the car. Repeat
these steps for the Left Door Trim and Sill Plate.
Keep the MD13 screws for use in the next stage.
Stage 96: Door Trim and Sill Plates
14
AGORAMODELS SHELBY SUPER SNAKE
Stage 96 complete!
Stage 96: Door Trim and Sill Plates
15
AGORAMODELS
Stage 97: Headliner & Attaching the Doors
Your Super Snake headliner will be fixed
in the next stage with the sun visors.
First, you will attach the doors.
Name Quantity
Headliner 1
STAGE 97 PARTS LIST
SHELBY SUPER SNAKE
Headliner
16
AGORAMODELS SHELBY SUPER SNAKE
STEP 1
1
2
3
4
5
6
ATTACHING THE RIGHT DOOR
With the body on its side, align the left door hinge
with the corresponding holes on the body as
shown. Secure the parts together using a TYPE
MD13 screw. Turn the body over and check that
the door opens and closes correctly. Repeat to
attach the right door.
The Headliner will be fixed into place with further
components in the next stage.
Stage 97: Headliner & Attaching the Doors
1 x MD13
1 x MD13
ADVICE FROM THE EXPERTS
Hold the door closed while you tighten the
screw to make sure the door fits properly.
!
17
AGORAMODELS SHELBY SUPER SNAKE
Stage 97 complete!
Stage 97: Headliner & Attaching the Doors
18
AGORAMODELS
Stage 98: Sun Visors & Rear View Mirror
In the next stage you will
attach the sun visors and
rear view mirror to the
headliner before installing
them to the interior of the
body. Finally, the radio
antenna will be fixed in
place.
Name Quantity
Sun Visor L 1
Sun Visor R 1
Rear View Mirror 1
Rear View Mirror Bracket 1
Screws TYPE MD06 7 [including 1 spare]
Screws TYPE MD14 3 including 1 spare]
Screws TYPE MP05 2 [including 1 spare]
STAGE 98 PARTS LIST
SHELBY SUPER SNAKE
Sun Visor R
Rear View Mirror Rear View Mirror Bracket
Screws
Sun Visor L
19
AGORAMODELS SHELBY SUPER SNAKE
STEP 1
1
2
3
4
FIX THE SUN VISORS AND REAR VIEW
MIRROR TO THE HEADLINER
Align the Right Sun Visor with the grooves on the
Headliner as shown. Insert the lug on the outer
end of the visor in the hole, and then press to
engage it in the central grooves. Repeat to fix the
Left Sun Visor into position. Now take the Rear
View Mirror and the Bracket, assembling the two
parts as shown. They can only be assembled in
one position. Gently push the lug on the Bracket
into the hole behind the Mirror.
Stage 98: Sun Visors & Rear View Mirror
20
AGORAMODELS SHELBY SUPER SNAKE
STEP 2
5
6
7
1
2
ATTACH THE HEADLINER TO THE
INTERIOR OF THE ROOF
Check your worksurface has anti-scratch
protection in place.
There are four fixing points for the Headliner as
shown in picture 1. With the body on its roof, align
these points with the corresponding lugs on the
interior of the body and push firmly to secure in
place.
Stage 98: Sun Visors & Rear View Mirror
1 x MP05
CONTINUED...
Position the other end of the Bracket between
the two Sun Visors as shown. Fix into place with
a TYPE MP05 screw. Check that both Sun Visors
swing up and down correctly.

Other manuals for Shelby GT500 Super Snake

2

Other Agora Motorized Toy Car manuals

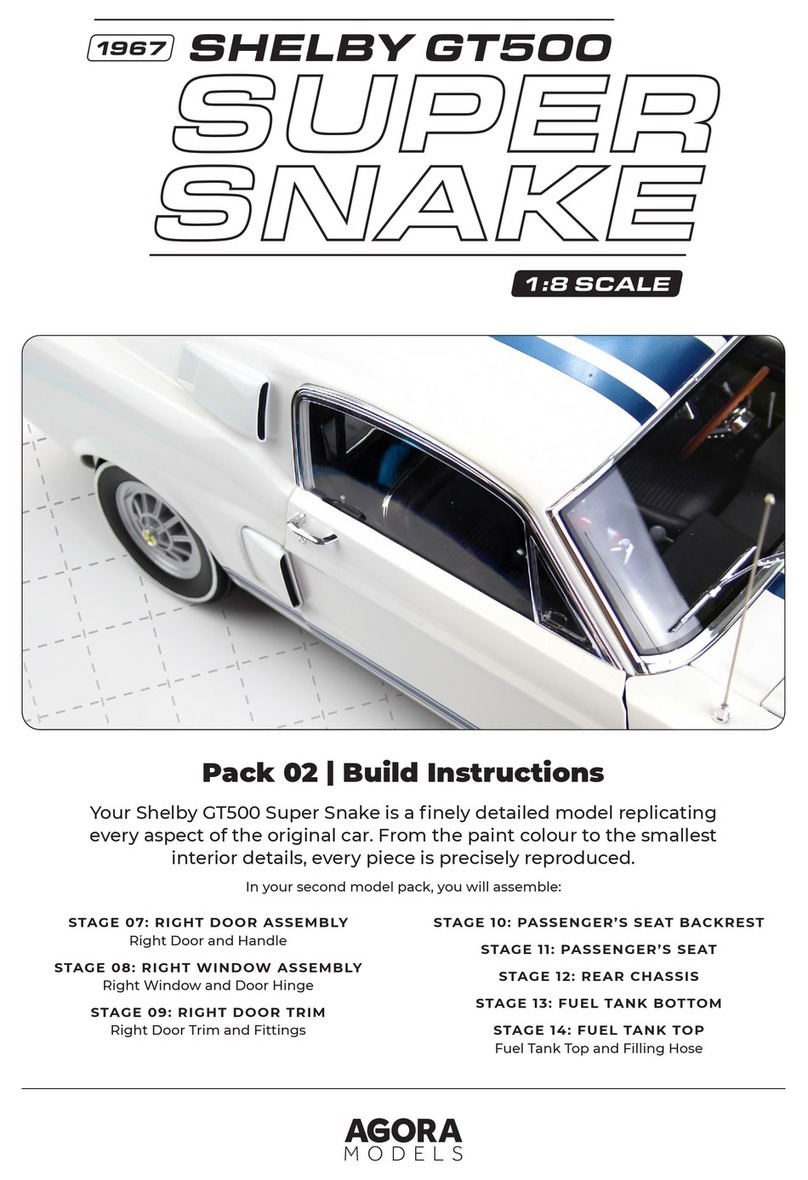
Agora Shelby GT500 Super Snake Manual

Agora

Agora Shelby GT500 Super Snake Manual

Agora Shelby GT500 Super Snake 1967 Manual

Agora

Agora Shelby GT500 Super Snake 1967 Manual

Agora FDNY FIRE TRUCK TOWER LADDER 9 Pack 12 Manual

Agora

Agora FDNY FIRE TRUCK TOWER LADDER 9 Pack 12 Manual

Agora SHELBY COBRA 427 SEMI-COMPETITION 1965 Manual

Agora

Agora SHELBY COBRA 427 SEMI-COMPETITION 1965 Manual

Agora LAMBORGHINI MIURA Pack 03 Manual
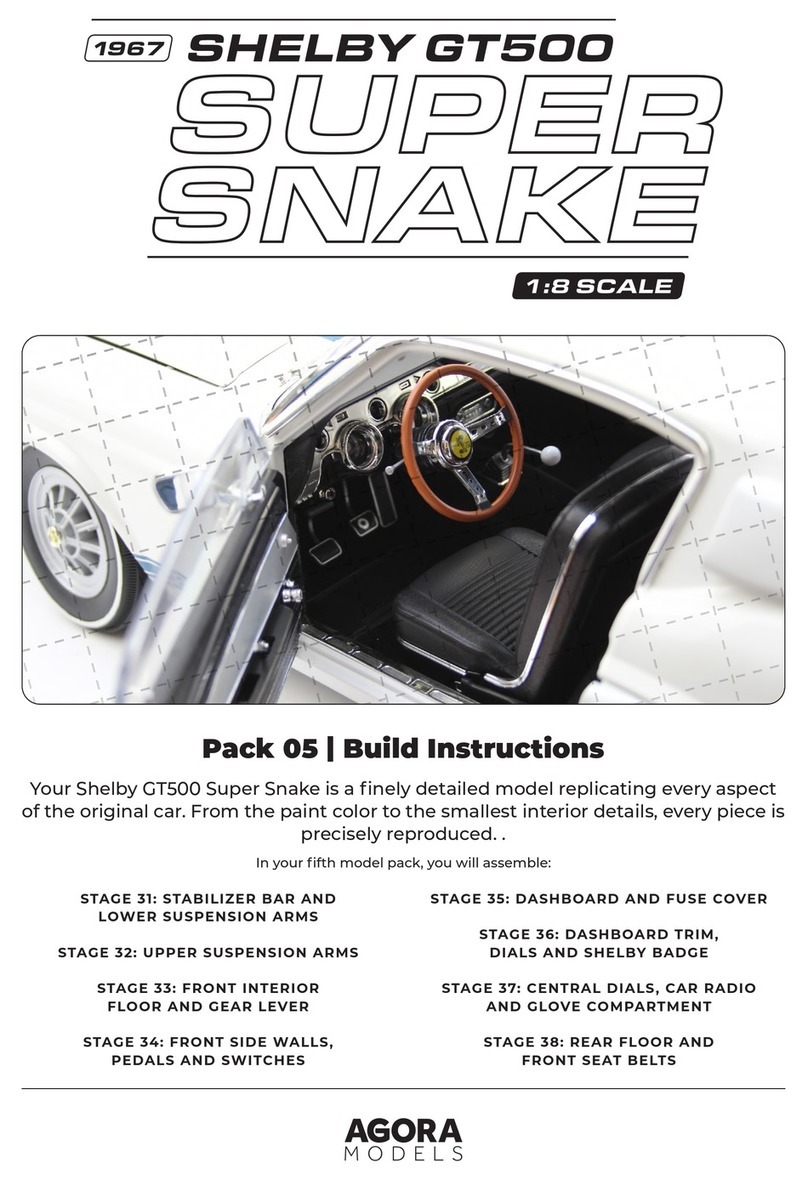
Agora

Agora LAMBORGHINI MIURA Pack 03 Manual

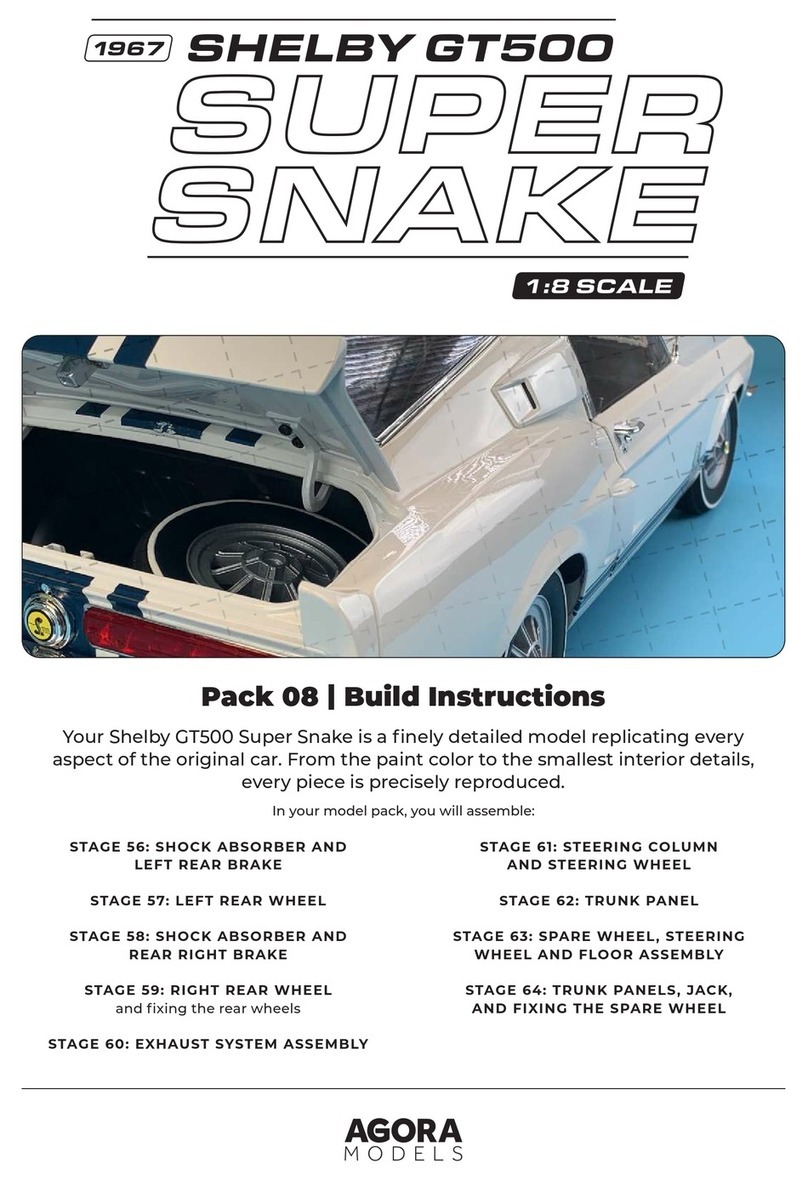
Agora SHELBY SUPER SNAKE Manual

Agora

Agora SHELBY SUPER SNAKE Manual

Agora Shelby GT500 Super Snake Manual

Agora

Agora Shelby GT500 Super Snake Manual
Popular Motorized Toy Car manuals by other brands

Walkera HM 60# Series User handbook

Walkera

Walkera HM 60# Series User handbook

Tigershark 3318A instruction manual

Tigershark

Tigershark 3318A instruction manual

HOBBY ENGINE 0703 instruction manual

HOBBY ENGINE

HOBBY ENGINE 0703 instruction manual

Traxxas Nitro Sport 4510 operating instructions

Traxxas

Traxxas Nitro Sport 4510 operating instructions

Kyosho DRT instruction manual

Kyosho

Kyosho DRT instruction manual

Associated Electrics RC10T2 Booklet

Associated Electrics

Associated Electrics RC10T2 Booklet

REVELL KIT 1546 Assembly manual

REVELL

REVELL KIT 1546 Assembly manual

Peg-Perego Polaris Ranger RZR Use and care

Peg-Perego

Peg-Perego Polaris Ranger RZR Use and care

EXOST XTREME BUSTER instructions

EXOST

EXOST XTREME BUSTER instructions

FMS HUMMER H1 instruction manual

FMS

FMS HUMMER H1 instruction manual

Jamara Bagger J-Matic 2,4GHz instructions

Jamara

Jamara Bagger J-Matic 2,4GHz instructions

Monogram '85 Fiero GT Assembly manual

Monogram

Monogram '85 Fiero GT Assembly manual

Traxxas TRX4 82056-4 installation instructions

Traxxas

Traxxas TRX4 82056-4 installation instructions

Carrera RC Turnator Assembly and operating instructions

Carrera RC

Carrera RC Turnator Assembly and operating instructions

REVELL KIT 2084 Assembly manual

REVELL

REVELL KIT 2084 Assembly manual

Jamara Jaguar F-Type SVR Instruction

Jamara

Jamara Jaguar F-Type SVR Instruction

Himoto Monster Truck E10MT Assembly and operation manual

Himoto

Himoto Monster Truck E10MT Assembly and operation manual

ROBBE MAN F2000 Pritsche Assembly and operating instructions

ROBBE

ROBBE MAN F2000 Pritsche Assembly and operating instructions

manuals.online logo
manuals.online logoBrands
  • About & Mission
  • Contact us
  • Privacy Policy
  • Terms and Conditions

Copyright 2025 Manuals.Online. All Rights Reserved.