8
AGORAMODELS SHELBY SUPER SNAKE
STEP 1
STEP 2
STEP 3
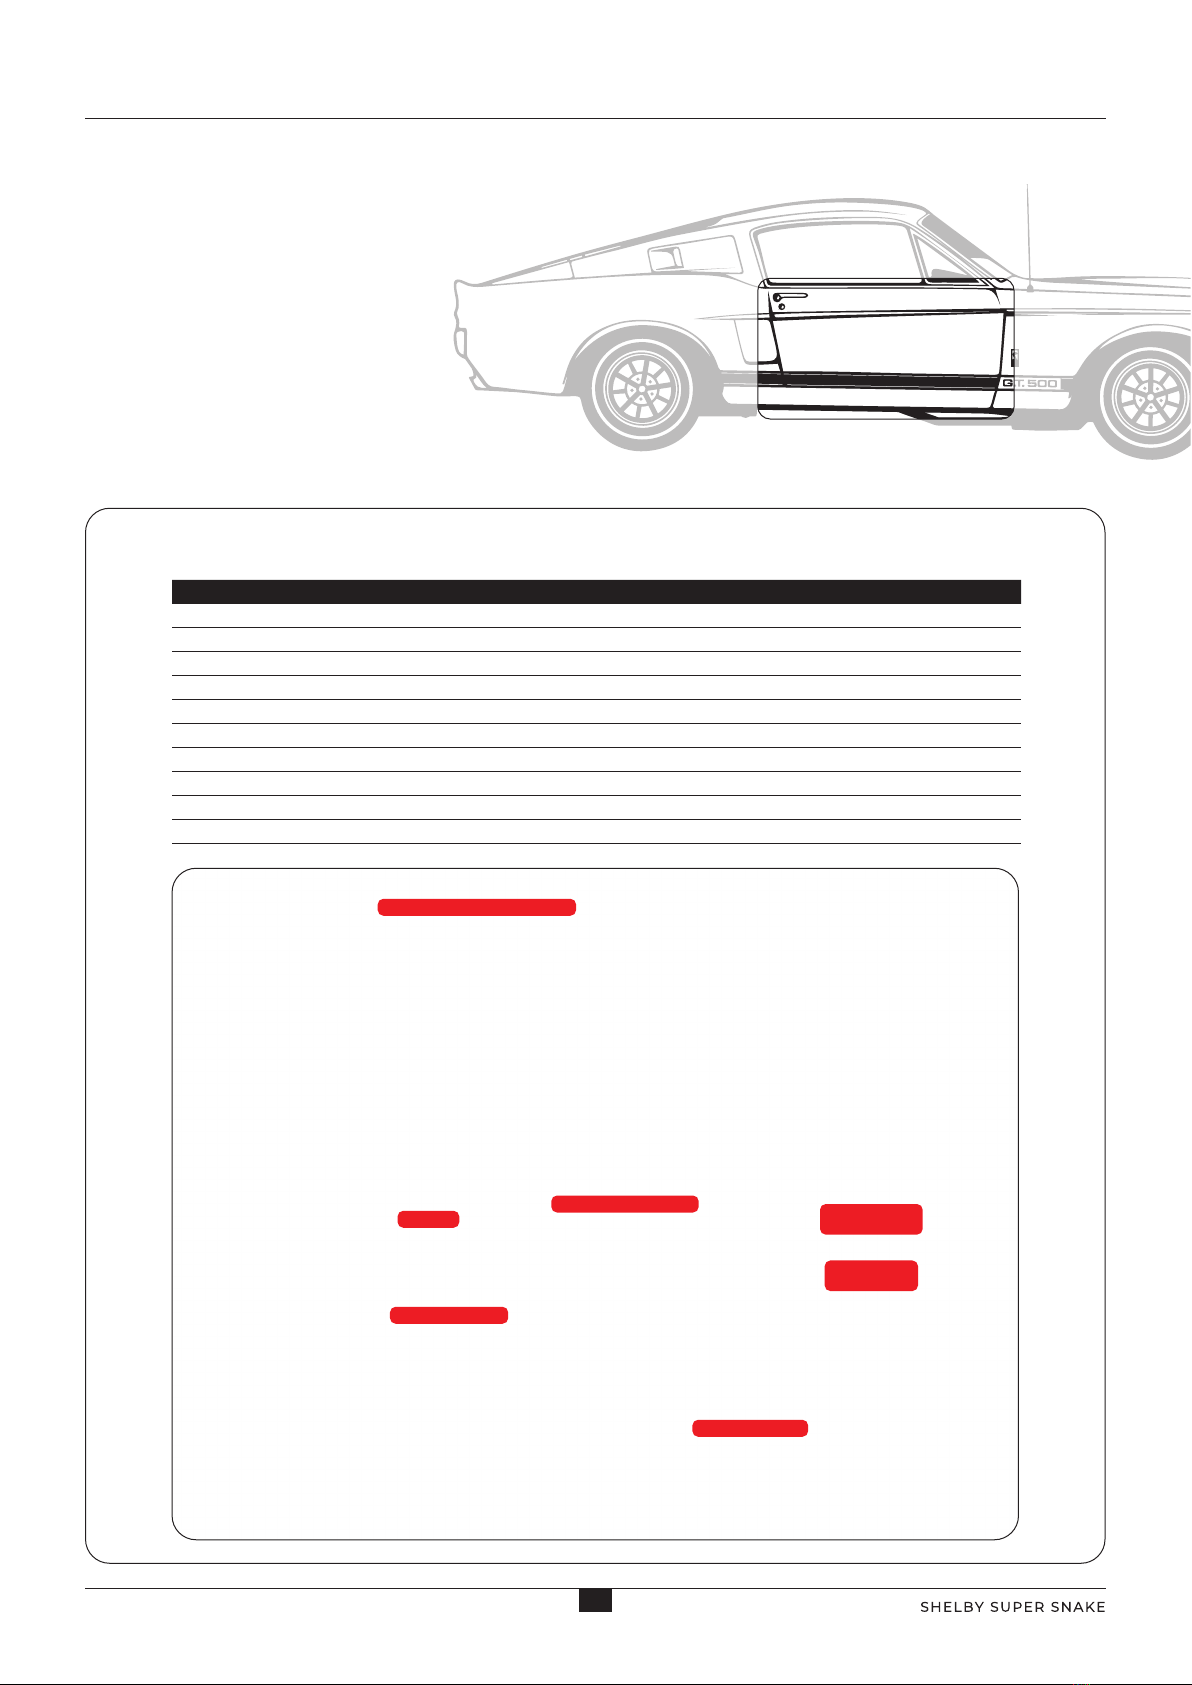
ATTACH THE LOWER TRIM STRIP
Line up the lugs on the Lower Trim Strip and slot
them into the corresponding holes in the Main
Panel. Screw the parts together from the reverse
side with 2 x TYPE MP01 screws.
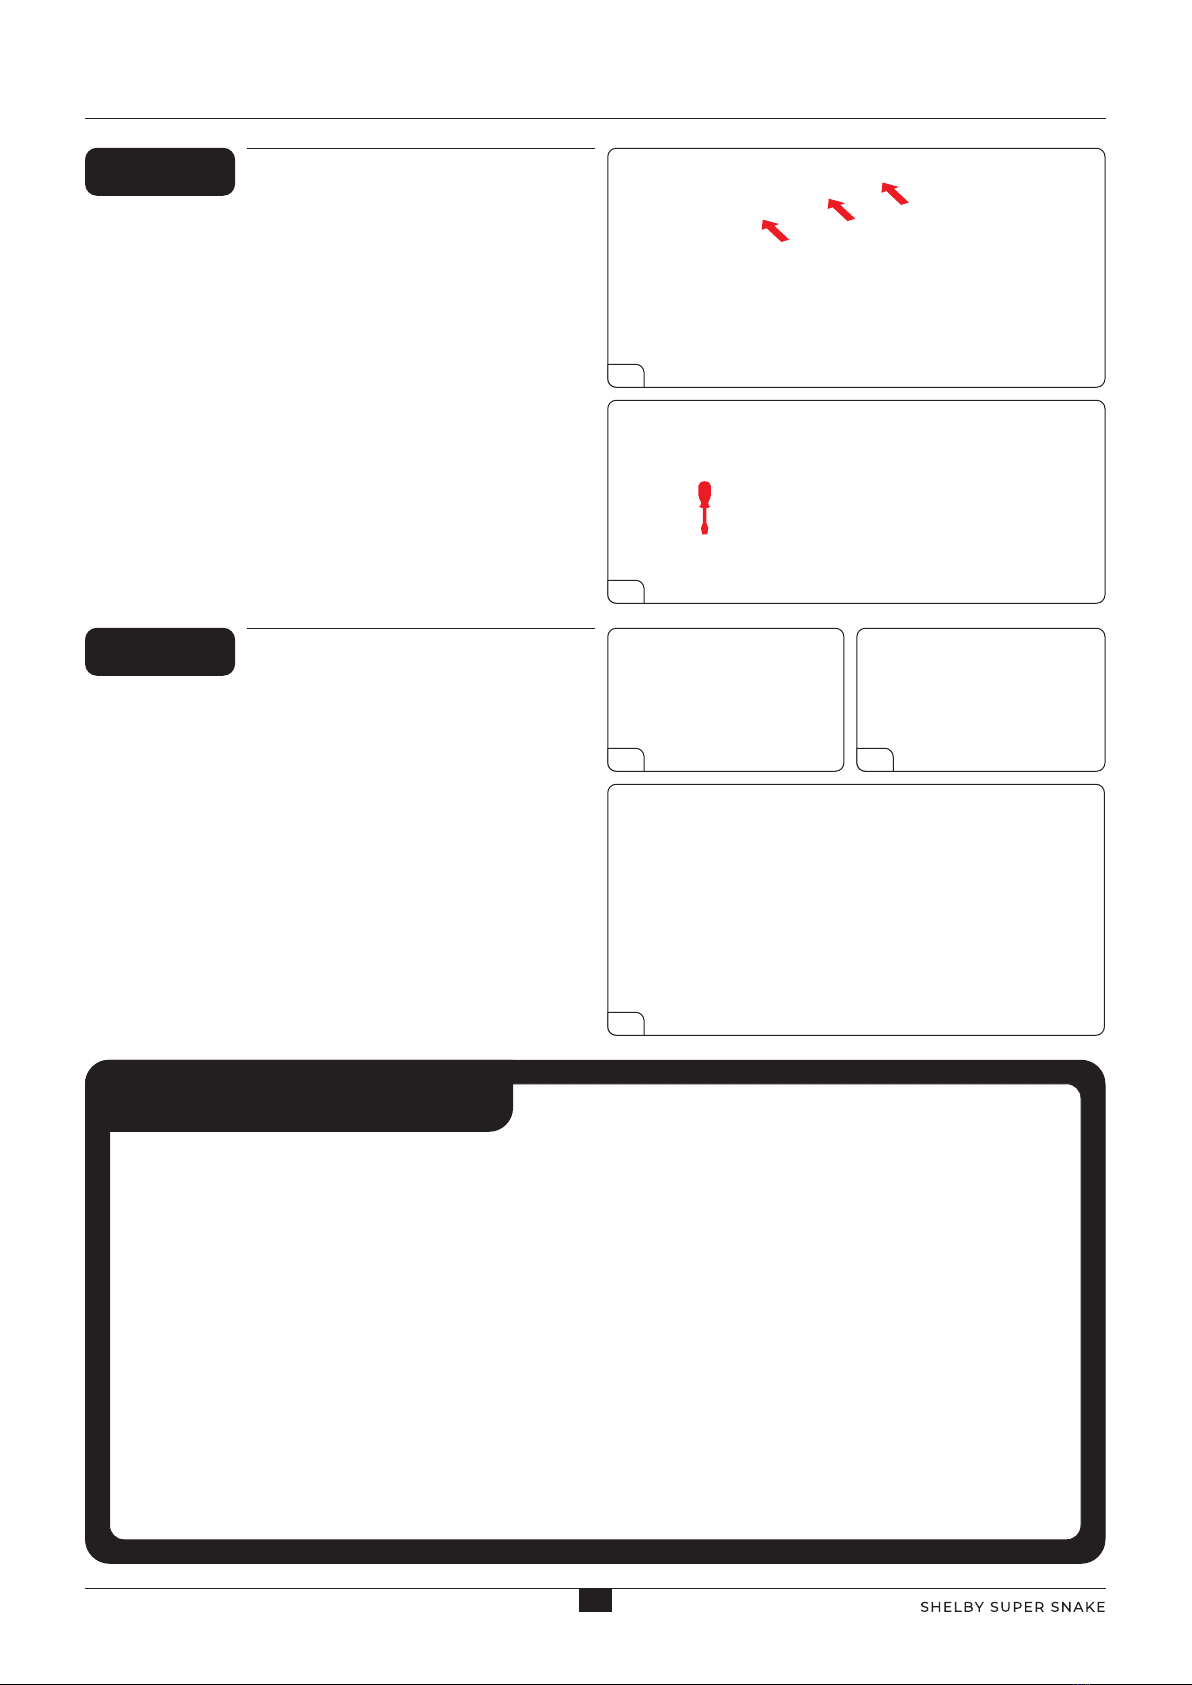
ATTACH THE INTERIOR DOOR HANDLE
Take the Interior Door Handle and place into position
in the Door Handle Bracket. Hold the Handle in
position in the holder and push through the slot on
the reverse side of the Main Inside Panel. The Door
Handle should protrude from the interior side of
the Inside Door Panel. Secure in place with 2 x TYPE
MP02 screws, securing the Handle with 1 x TYPE MP03
screw, ensuring the Handle rotates freely.
ATTACH THE WINDOW CRANK HANDLE
Line up the small stud on the Window Crank
Handle with the xing hole on the interior side of
the Main Panel. Secure in place from the reverse
side with 1 x TYPE MP02 screw.
1
1
2
2
3
3
1
3
2
4
MP02
MP02
MP03
Stage 09: Right Door Trim
EXPERT TIP
Occasionally, you may nd a bit of ash
(rough edge) along the edge of a model
piece, preventing it from being positioned
easily. This is easily xed by sanding off
the ash with an emery board – the kind
used for gently ling nger nails.
EXPERT TIP
Be careful not to over-tighten screws
MP02 or you may strip the thread. It’s
easier to t both screws loosely, then
carefully tighten them both.
!
!