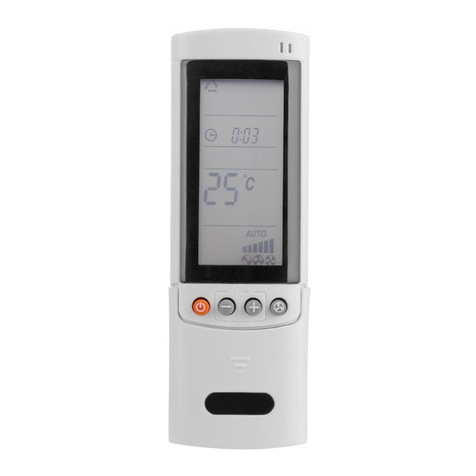
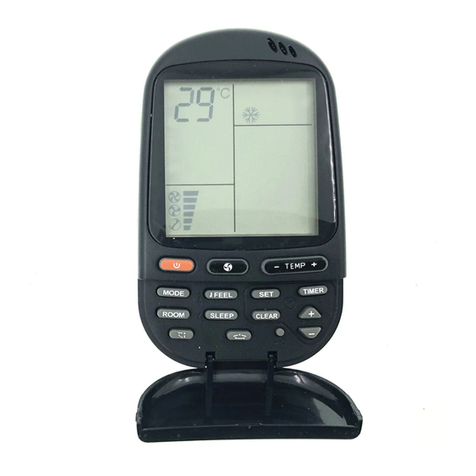
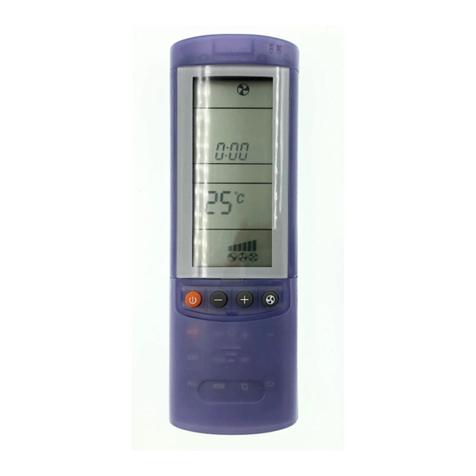
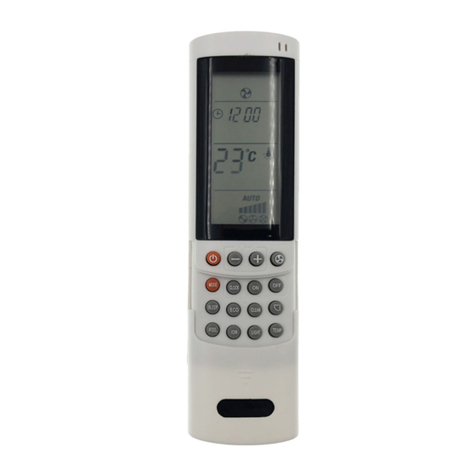
Airwell RCW25 User manual

IIMPORTANT NOTETANT NOTE:
Read this manual carefully before installing or operating your new air conditioning unit. Make sure to
save this manual for future reference.
20.AW.RCW25.UM.EN.FR.07.23
User manual
RCW25 Remote control wired
English Manual

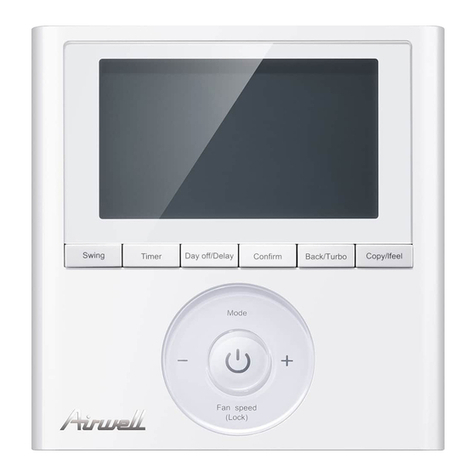
The control panel of wire controller is responsible for it is timing off for 24h. At this time, if you press the Timer button, it controlling the operation status of the system by the button and will deactivate Timing Off.displaying the working status of the entire system by its LCD screen, and is responsible for communicating with the control board of the system.1The Fan Speedbutton is valid in the Cooling mode, Heating mode and Ventilation mode.2Press the Fan Speed button of the wire controller or the Volume button of the remote controller in the Cooling mode Heating mode or Ventilation mode, and the volume changes as follows3There is no Auto wind in the Ventilation mode, and the volume changes as follows Press it to display the Swing icon. The Swing icon will swing back and forth.2Press the Swing button, and the upper and lower wind deflectors will swing within the specified range automatically, and the left and right wind deflectors will swing within the specified range automatically, and press it again to stop the swing.1) Short press this button , Enter a state of energy saving of 26 , namely the setting temperature is 26.This function under the boot of Refrigeration and Heating mode is effective. 2) Long press this button,will enter the query condition.It will exit the query condition,when you press this button again and do not operate for five seconds in the condition of the query.By pressing and Button to check the current state of indoor unit in the query condition.The first time is to display the address and model HP of the indoor unit, the second time is to display the address and the power consumption of the indoor unit, the third time is to display the address of the indoor unit and T1 temperature , the fourth time is to display the address of the Control the On/Off status of the system.indoor unit and T2 temperature, the fifth time is to display the address of the indoor unit and T2B temperature, the sixth time is When the air conditioning is powered on, every time you press to display the address of the indoor unit and T2 average mode button or the mode button of remote controller, the mode temperature, the seventh time is to display the address of the will change in the following sequence.indoor unit and opening of expansion valve, and recovery the Auto ModeRefrigerationDehumidificationHeatingmain page status for the eight time.VentilationAuto Mode1Boot state, pressandButton, increase/decreasethe setting temperatureRefrigerationDehumidificationVentilation and Heating mode Scope of temperature setting: 121The first,second,third bit of the DIP Switch is no meaning. ~ 28℃The setting temperature do not adjust in Auto ModeThe factory all dial to the OFF state.Press theand button for 3s simultaneously to lock The fourth bit ON of the DIP switch indicates it is With this button. At this time, It will display the locking icon in LCD. Power Failure Memory function, and the fourth bit OFF indicates it Deactivate this button, and press the and button again is Without Power Failure Memory function.The factory dials to the simultaneously." " OFF state.Set Timing On or Timing Off. The wire controller to set the time range as 1-24h.1Press the Timer button in the Off statusto go into the Timing On for 1 hour, and then press the Timer button plus 1 until it is timing on for 24h. At this time, if you press the Timer button, it will deactivate Timing On.2Press the Timer button in the On status to go into the Timing Off for 1 hour, and then press the Timer button plus 1 until ) """""" ) 、: ) : ) ) ℃℃" "" "" " →→→→→ ) " "" ".,, ) ℃.2) " "" " 2)" "" ") ) Operation and Instruction:" "Button(ON/OFF):ButtonDescription of DIP Switch:" " and " " Button(TEMP+ and TEMP-):" " Button(TIMER): " "Button(FAN):" " Button(SWING):1" "Button(26℃/CHECK):(MODE): Operation and Instruction:" "Button(FAN):" " Button(SWING): " "Button(26℃/CHECK):" "Button(ON/OFF):Button(MODE):Description of DIP Switch: "" and "" Button(TEMP+ and TEMP-): ButtonTIMER " " " "():
High speedMiddle speedLow speed Auto wind
I. Use-methodI. Use-method
ON
with power failure memoryOFFwithout power failure memory4
Figure NumberMaterial Code: Figure Number:Material Code :: :
High speedMiddle speedLow speed
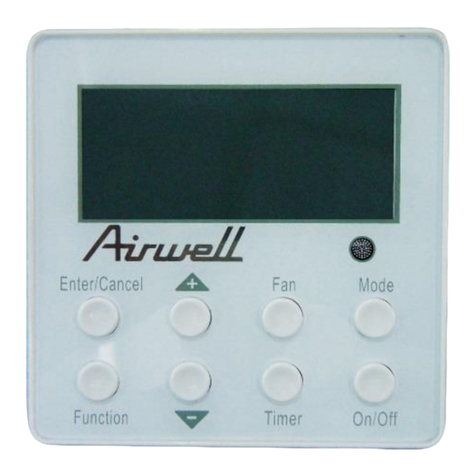
Fig1 Appearance of Wire Controller Fig2 LCD display content of Wire Controller
5h
Auto
FANSET TEMPSWINGVRFFORCETIMER ON OFFTiming settingsState of temperature settingand fanlt displayThe lock key displayFault status is displayedPut the wind iconAutomatic modeCooling modeDehumidification modeVentilation modeHeating mode Wind speed setting state
AUTO
?26CWiirree CCoonnttrroolllleerr MMaannuuaallpls read this manual carefully before installation and install according to the instruction
II. Installation of Wire ControllerSafety PrecautionsConnect the wire controller in the way as shown in the figure belowBrief description of the installation process is as follows:Installation and disassembly of the wire controller1、The installation position and requirements of the wire controller3、Disassembly of the wire controller! After the completion of the installation, confirm there is no 2、The installation of the wire controllerabnormity for the commissioning, and deliver the instruction to customers for storage. Read the safety precautions carefully before installation.The following is the important content to be paid for the safety, be sure to follow it.The meaning of each part: ! ! ! 1)The signal lines of short through rectangle hole of the wire controller bottom plate, and then pull out five core twisted pair from the wall 1)Please do not install the wire controller in damp or direct sunligh t installation hole. Finally connect the line and the other end.places.2)Use screws M4 x 25 to fix the controller base plate on the moun ting 2)Please do not install the wire controller in the places,where is near holes of the wal l.the high temperature or easy to spl ash water.3)Put the wire controller panel and floor buttons together, and this 3)To avoid the interference of the neighbors' remote controller which installation is complete. When installation, plea se reserve a certain length has the same model , then cause abnormal work. Please do not install the of the line at the bottom of box, to facilit ate mainte nance late r removed.wire controller where the face up to the window.4)Before installation , please cut off the power which is Buried in the wall mounting holes. The whole installation process does not allow operation with power.5)In order to avoid the unit by reason of electromagnetic interference caused by abnormal work . When wiring , please pay attention to the following matters. A)Ensure that communication line access right, otherwise will lead to communication failures. B)If the air conditioning unit is installed on the places , which is influence by electromagnetic interference . the wire controller signal lines must use shielded twis ted-pair cable .6)The standard accessories which is insta llation need to prepare : installed inside a wall socket bottom box, controller base plate, screw the M4 x 25, control panel. First of all, the wire controller signal line connection mode is as follows: 1)Open interior electrical lifted the lid, and the signal wires through the rubber ring; 2)Plug the wire controller signal lines within the five core needle base on the indoor machine circuit boards, and using cable tie line tied tightly fixed. Next, the wire controll er installation step s as shown in the figure below: II. Installation of Wire ControllerSafety PrecautionsInstallation and disassembly of the wire controllerConnect the wire controller in the way as shown in the figure belowBrief description of the installation process is as follows:1、The installation position and requirements of the wire controller3、Disassembly of the wire controller2、The installation of the wire controller! After the completion of the installation, confirm there is no abnormity for the commissioning, and deliver the instruction to customers for storage.Wire controllerPlease use the 5-core shielded cabl e in the attachment. If the total wiring length in the at tachment is not long enough, it can be lengthened. However, the overall length shall not exceed 20m.Electric control board for indoor unitRedBlackOrangeBrownYellow
RedBlackOrangeBrownYellow
!!Warning:Warning:Indicate it may cause the death or serious injury for theimproper operation. Indicate it may cause the death or serious injury for theimproper operation. !!Note:Note:
!!
Notes:Notes:
●Please do not install the wire controller in damp or direct sunlight places.●Please do not hit, throw and frequent disassembling the wire controller. ●Please do not operating the wire controller with Wet hand ; Don't make any fluid into the wire controller .●Please do not do dismantling the wire controller without authorization. Please consult after-sales maintenance personnel If you have a problem .●To prevent water and dust into t he wire controller, Affect the wire controller normal use. Please dismantle the wire controller When the indoor decoration and maintenancee .●It may cause the rear cover deformed if the screw is tightened too much.●It is necessary to reserve a certain length for the connecting cable of the wire controller during the installation, so as to take down the wire controller for the maintenance.Note:Note:!!
Other manuals for RCW25
1
Other Airwell Remote Control manuals

Airwell
Airwell RC4 User manual

Airwell
Airwell RC5 User manual

Airwell
Airwell RCW4 User manual

Airwell
Airwell RC08C User manual

Airwell
Airwell RC5 User manual

Airwell
Airwell RCW11 Installation instructions

Airwell
Airwell RC18 User manual

Airwell
Airwell RC7 User manual

Airwell
Airwell RC08C User manual

Airwell
Airwell RCV03 User manual