Akw Onyx Linea AKW23980WH User manual

Onyx Linea Shower Tray
INSTALLATION INSTRUCTIONS
Read all instructions before installation and leave this document with the end user
for future reference as it contains important warranty information

General: 01905 823 298 | www.akw-ltd.co.uk
2
Contents
Important Safety Information................................................................................................................................ 3
Installer Information............................................................................................................................................... 4
Wooden Floor Installation...................................................................................................................................... 5
Solid Floor Installation ...........................................................................................................................................6
User Care & Warranty.............................................................................................................................................7
Contact Us..............................................................................................................................................................8

Technical Support: 01905 560 219Order: 01905 823 299 |orders.akw-ltd.co.uk
3
Important Safety Information
When you unpack the product:
Take care when you unpack the product. Do not cut into the packaging with a sharp object.
Make sure that you do not inadvertently damage or discard anything.
While you work:
Make sure that all surfaces are clean, dry and free from loose debris or dust.
Protect the surfaces of the shower tray and cover the waste to prevent the loss of small
components and prevent debris from entering the waste trap.
Make sure that you follow the manufacturer’s instructions to degrease any surfaces that you
need to apply silicone to.
Use the external packaging to protect the oor and wall when you assemble the product.
Use a spirit level throughout the installation.
Always wear safety glasses when you use power tools and use the appropriate personal
protective equipment.
Always have the correct tools available. Disconnect power tools from the electrical supply
when you have nished using them.
Make sure that any electrical cables do not cause a trip hazard.
Take care when handling as nger traps can occur around the edges of the installation.
Follow the manufacturer’s safety instructions when you use any silicone sealant or adhesives.
Keep small parts and packaging away from children.
The product is heavy (up to 25 kg for some parts). Get someone to help lift, assemble
and install it, if necessary.
Always check the installation area for electrical cables or pipework before cutting or drilling
into any surface.
Installation must be carried out in accordance with these instructions, and must be conducted by
a qualied and competent installer.
Before you start
Please remove all protective covering and examine carefully. Check that all items are present before
discarding all packaging. Please notify the retailer immediately of any damage or faults. The
manufacturer cannot be held responsible for any installation costs that may arise from damaged or
faulty products being installed and not in accordance with these instructions. The guarantee does not
cover impact related damage, see warranty details. Please dispose all packaging in accordance with
local recycling authorities.
Safety
–
–
–
–
–
–
–

General: 01905 823 298 | www.akw-ltd.co.uk
4
Installer Information
Placement
Trimmable Trays
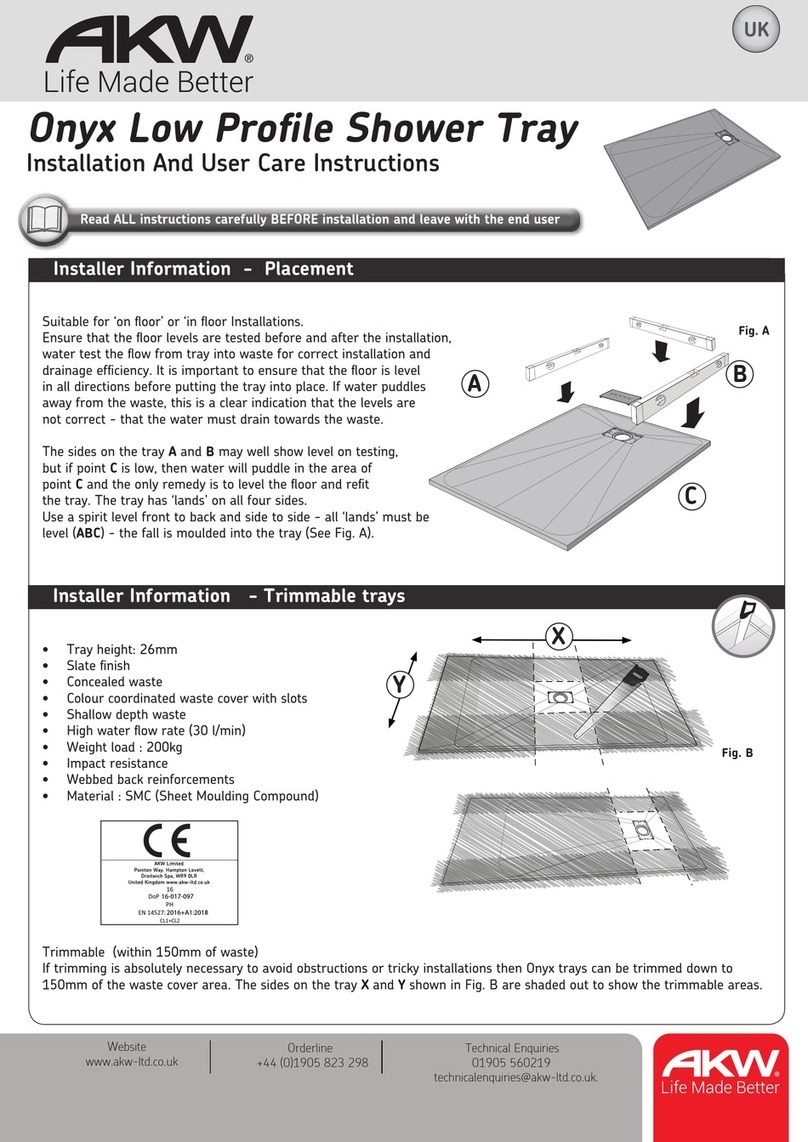
Suitable for ‘on oor’ or ‘in oor’ installations.
For wooden oor installation, use a suitable grab adhesive.
For solid oor installation, use a mix of 6:1 sand and
cement to secure the tray down into position. It is
recommended when removing solid oor material, to
remove a minimum depth of double the thickness of
the tray.
Ensure that the oor levels are tested before and
after the installation, water test the ow from tray into
waste for correct installation and drainage efciency.
It is important to ensure that the oor is level in all
directions before putting the tray into place. If water
puddles away from the waste, this is a clear indication
that the levels are not correct. The water must drain
towards the waste.
• Tray height excluding waste: 26mm
• Slate nish
• Stainless Steel waste cover with slots
• Concealed waste
• Shallow depth waste
• High water ow rate (30 l/min)
• Weight load : 200kg
• Impact resistant
• Webbed back reinforcements
• Material : SMC (Sheet Moulding Compound)
Y
X
A
C
B
Trimmable to within 150mm of waste.
If trimming is absolutely necessary to avoid
obstructions or tricky installations then Onyx
trays can be trimmed down to within 150mm
of the waste cover area. The sides on the tray
Xand Yshown are shaded out to show the
trimmable areas.
The sides of the tray Aand Bmay well show level on testing, but if point Cis low, then water will
puddle in the area of point C and the only remedy is to level the oor and ret the tray. The tray has
‘lands’ on all four sides. Use a spirit level front to back and side to side - all ‘lands’ must be level
(ABC) - the fall is moulded into the tray.
Specication

Technical Support: 01905 560 219Order: 01905 823 299 |orders.akw-ltd.co.uk
5
Wooden Floor Installation
220 mm
355 mm
355 mm
355 mm
220 mm
Position the tray over the desired
location for the shower and outlet
pipe. Mark around the edge of the
shower tray.
The waste area must be supported
with additional noggins, 220mm
around the waste. Additional
noggins or joists must be used on
all tray edges and between joists
centres at a minimum of 355mm.
For ‘in’ oor installation, cut into
the ooring, taking care not to
cut through supporting joists or
any plumbing or electrical wiring.
Install the waste drain trap and
waste outlet pipe. Do not cut into
the joists, always drill through
when connecting to the waste
outlet pipe.
Carefully remove the oor
boards and locate the waste
outlet pipe. For ‘on’ oor
installation, remove the oor
boards around the waste area.
Water test the waste drain trap
for ow and any leaks. Ensure
that the rubber seal is in place.
Remove any debris and ensure
that there are no sharp edges or
raised areas and check levels.
Apply grab adhesive to all the
contact points between the tray,
joists and noggins. Lower the tray
over the waste position and rmly
secure the tray into position and
check all 4 sides are level again.
Attach the waste trap to the tray
with the waste clamping ring,
see separate waste instructions.
Apply a waterproof membrane to
the whole of the showering area,
see manufacturers instructions.
Safety ooring or tiles should
nish ush up to the edges of
the tray and sealed with sealant.
Protect the waste trap and cover
from debris during installation.

General: 01905 823 298 | www.akw-ltd.co.uk
6
Solid Floor Installation
Position the tray over the desired
location for the shower and outlet
pipe. Mark around the edge of the
shower tray and the waste area.
For ‘in’ oor installation, cut into
the ooring, taking care not to
cut through any supporting
material, plumbing or electrical
wiring.
Install the waste drain trap and
waste outlet pipe. Water test the
waste for ow and for any leaks.
Ensure that the rubber seal is in
place on top of the trap. Check the
waste drain position with the tray.
Carefully remove the ooring to
suit the nished height of the
tray and nal oor covering. For
‘on’ oor installation, remove the
material around the waste area.
Remove any debris and ensure
that there are no sharp edges or
raised areas that will affect the
tray height. Add 6:1 cement mix to
the full tray area and correct height
including all supporting edges.
For ‘in’ floor or ‘on’ floor
installation remove the floor
material for the waste area and
a channel for the outlet pipe.
Lower the tray into position and
check the height compared to
the nished oor height. Firmly
secure the tray into position and
check all 4 sides are level again.
Attach the waste trap to the tray
with the waste clamping ring,
see separate waste instructions.
Apply a waterproof membrane to
the whole of the showering area,
see manufacturers instructions.
Safety ooring or tiles should
nish ush up to the edges of
the tray and sealed with sealant.
Protect the waste trap and cover
from debris during installation.

Technical Support: 01905 560 219Order: 01905 823 299 |orders.akw-ltd.co.uk
7
User Care & Warranty
After Care
Provided that the shower tray has been correctly installed, difculties should not be encountered.
If any maintenance is required, it must be carried out by a competent installer.
It is advised that this product is cleaned regularly as part of a routine maintenance regime.
Always rinse the shower tray down using warm water after every wash to remove any insoluble
products. If you use hair dye, immediately rinse the shower tray with soap and water.
For routine cleaning, use hot soapy water or a mild detergent and a soft cloth to wash and rinse
the showering area. Never use abrasive cloths or any aggressive cleaning materials to clean the
showering area. Do not use industrial cleaners that have abrasive or harsh chemical properties as
this could affect the surface nish.
The surface of this shower tray should never directly come into contact with strong industrial
acids or alkalis, organic solvents, caustic soda, lacquers or nail polishes, bleaches or any dry
powder cleaning agents. Do not use paint strippers or stain removers to remove any stubborn
staining. If more thorough cleaning is needed using domestic cleaning products always test on a
small area rst.
Warranty
Lifetime guarantee applies only to manufacturing or material defects. AKW products should be
installed by a competent installer or trades persons using appropriate xings suitable for the
condition of the surfaces on which the product is to be attached.
The selection of any specic xings must be made by the installer based upon the requirements
for each individual installation.
If you do not install these products in accordance with these supplied instructions, or if you carry
out any unauthorised modications to this product, you will affect product safety and invalidate
this warranty. Warranty starts from the date of installation. Always keep proof of purchase.
Warranty does not cover
• Normal wear and tear, inappropriate use or accidental damage.
• Damage or defects that result from incorrect installation, improper use, breakages or lack of
maintenance including the build up of grime, dirt, lime-scale and water-borne debris.
• Damage resulting from inappropriate cleaning, staining or water ingress.
• Damage or defects that result from repairs or modications undertaken by persons who are
not installers or service engineers.
What to do if something goes wrong?
In the event that you should encounter a problem with this product, please contact your local
installer and if this does not resolve the issue, then contact AKW technical enquiries who will
provide further advice and, if necessary, arrange for a maintenance engineer to visit and report
any issues.
As part of our quality and training program, calls may be monitored or recorded.
None of the foregoing affects your statutory rights.

20-012-001-01 UK
Orders & Quotes
01905 823 299
General Enquiries
01905 823 298
Technical Enquiries
01905 560 219
Kitchen Enquiries
01905 823 262
Fax
01905 823 297
AKW
Pointon Way, Hampton Lovett
Droitwich Spa, WR9 0LR
www.akw-ltd.co.uk
orders.akw-ltd.co.uk
© AKW Medi-Care Limited 2020
Contact Us
Follow us on Social:
This manual suits for next models
1
Table of contents
Other Akw Plumbing Product manuals

Akw
Akw Itherm Quick guide

Akw
Akw PW90 User manual

Akw
Akw AKW23196CH Quick start guide

Akw
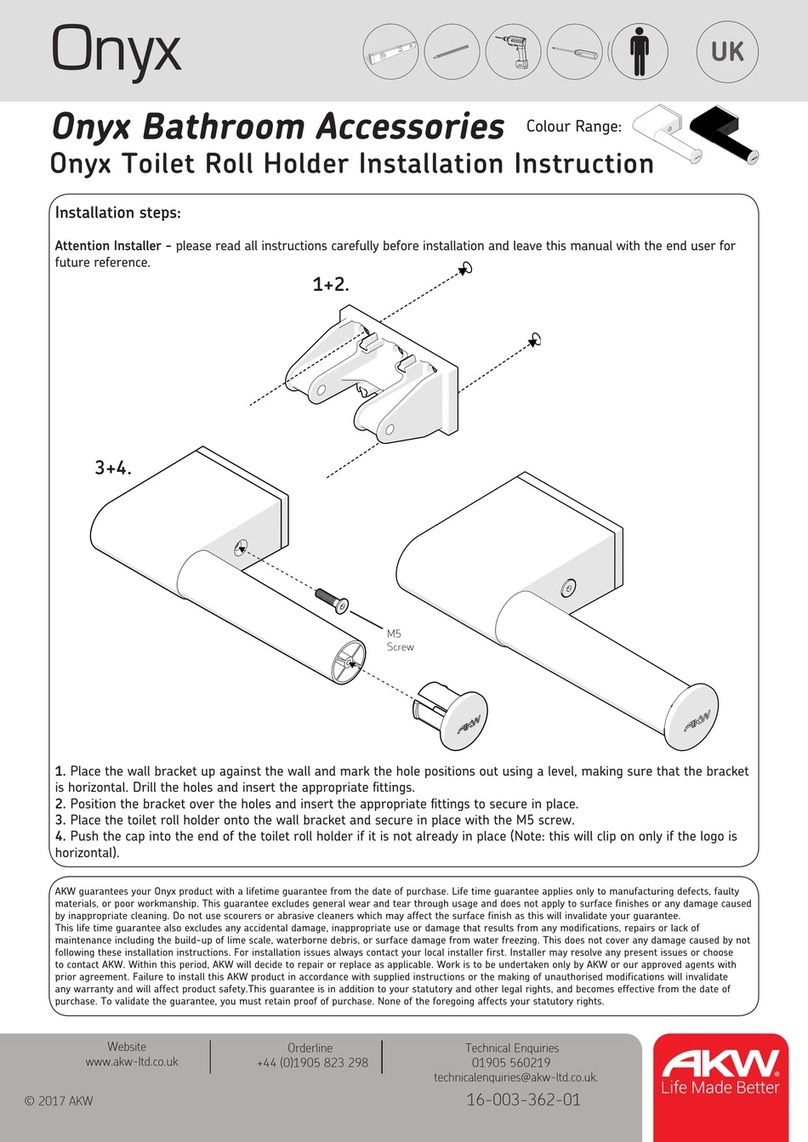
Akw Onyx Installation guide

Akw
Akw Arka Thermostatic Cool Touch TMV2 User manual

Akw
Akw Larenco User manual
Akw
Akw Option P User manual

Akw
Akw SMV-001 Guide

Akw
Akw MediCare Installation guide

Akw
Akw M DigiPumps Series User manual