PS-011 MANUAL
4.4.3. Deleting Languages
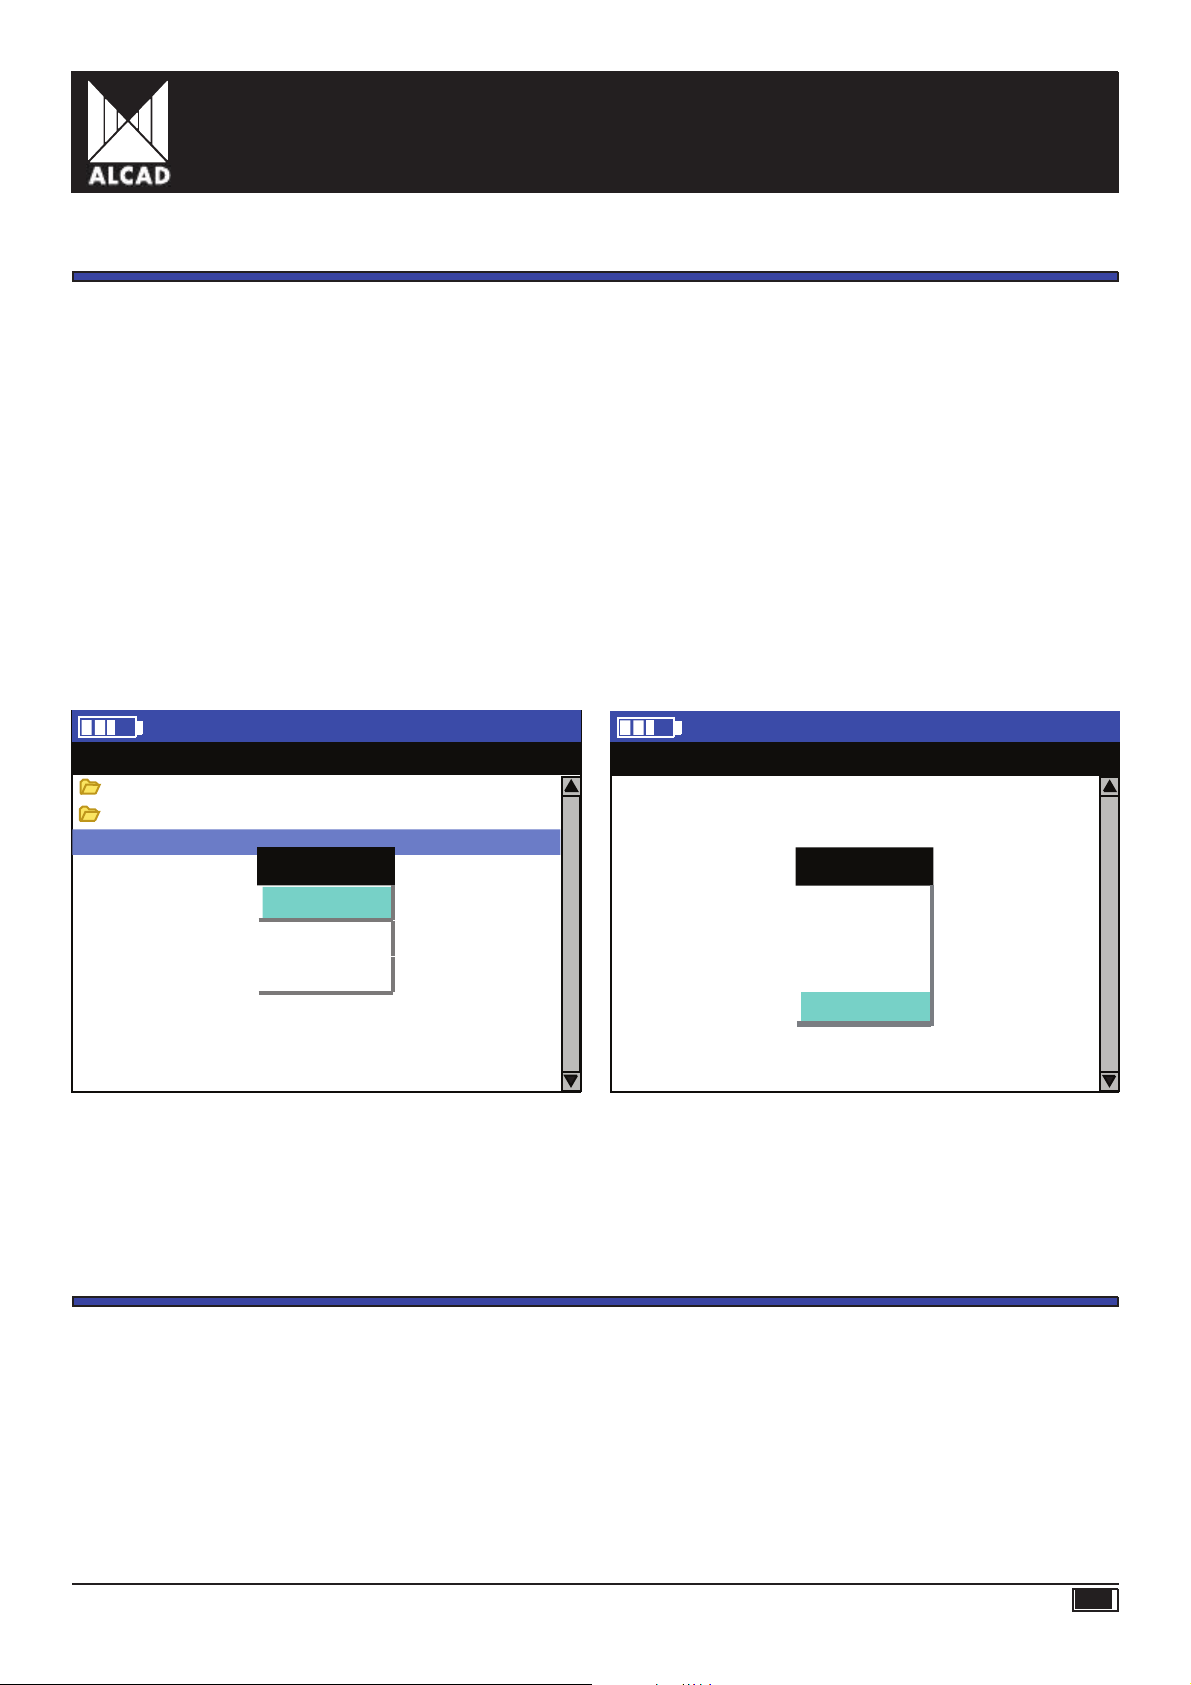
Justas languagescanbe added, theycanalsobe deleted,by selectingtheoption Deletelanguage
from the menu. All the languages which have been added to the list of languages will be shown
on the screen and can be deleted.
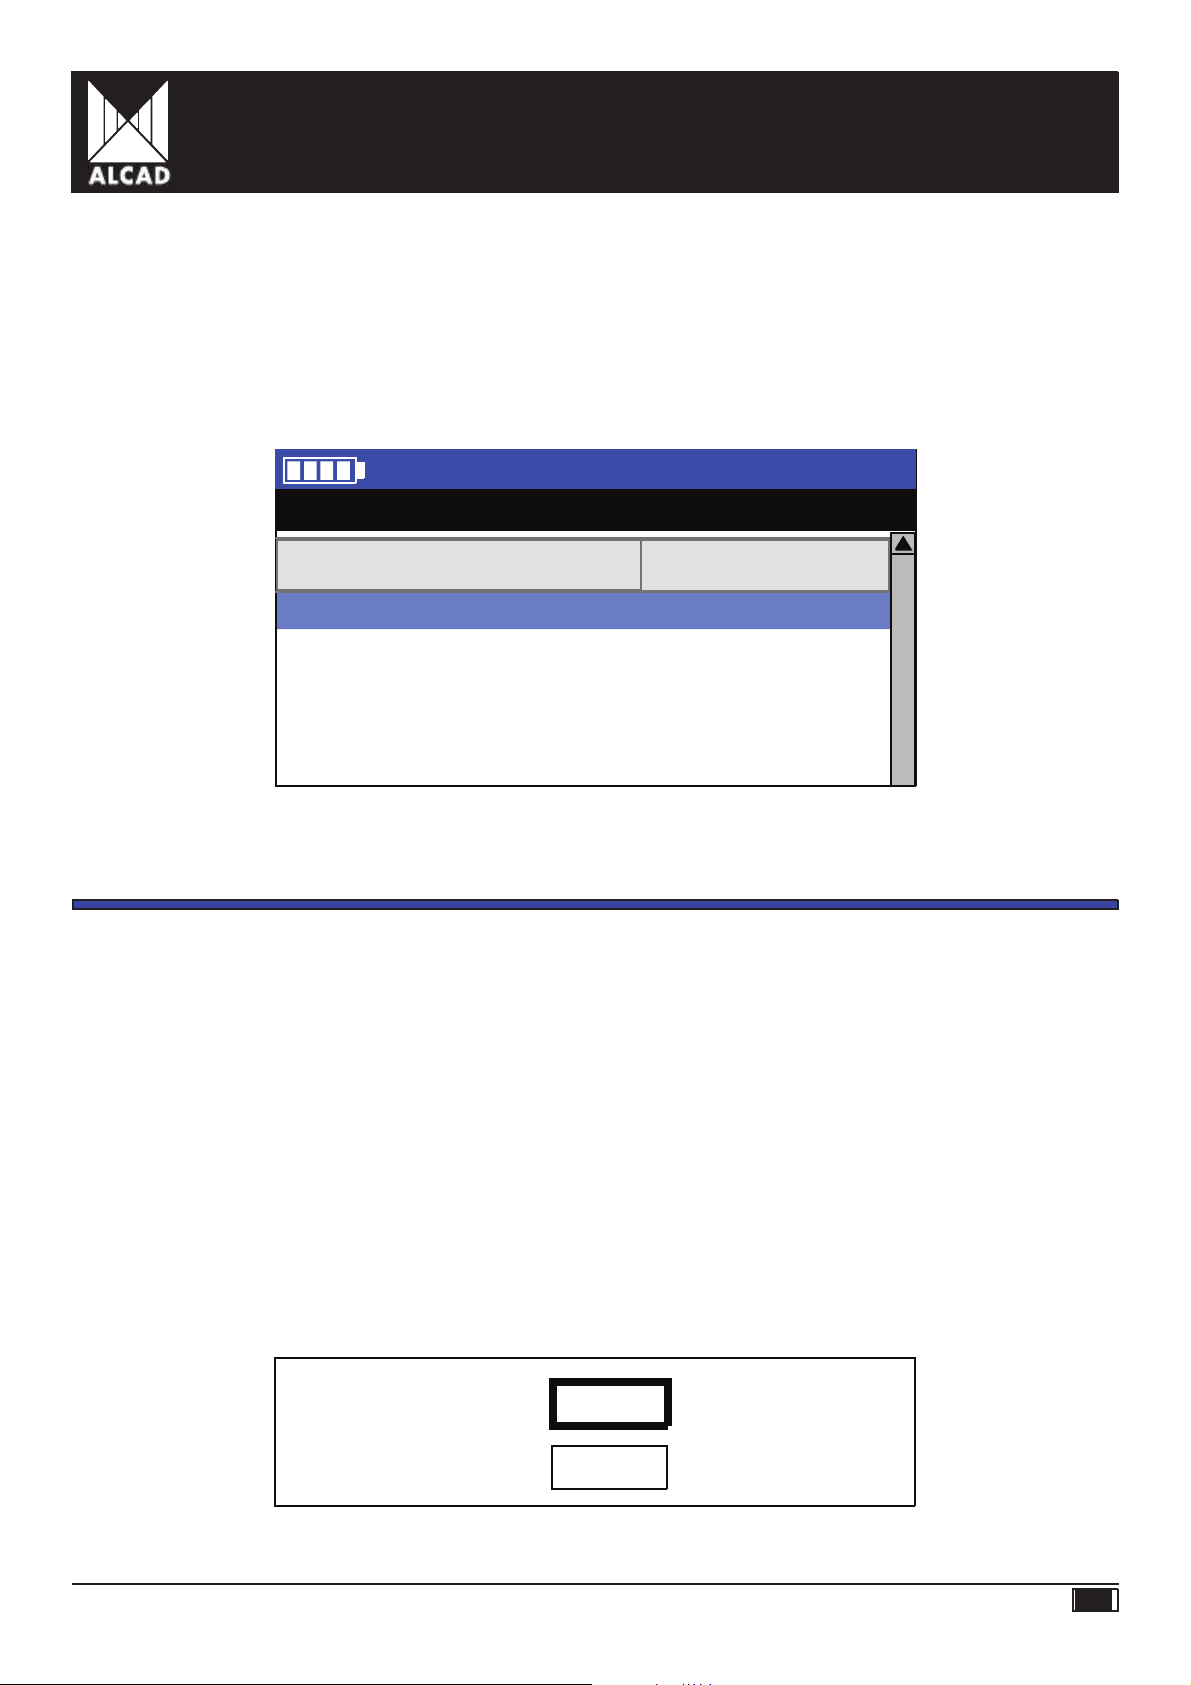
NOTE:When the programmer is turned on for the first time, you will seethat the language in which the menus are displayed
is English. If you wish to change this: on the Main menu screen, select Configure
PS
programmer and then Select language.
When you have donethis, choose one of the other two pre-installed languages –Françaisor Español–confirming you choice
with the OK key and pressing
ESC
to exit from the menu.
5.
COMMUNICATIONS
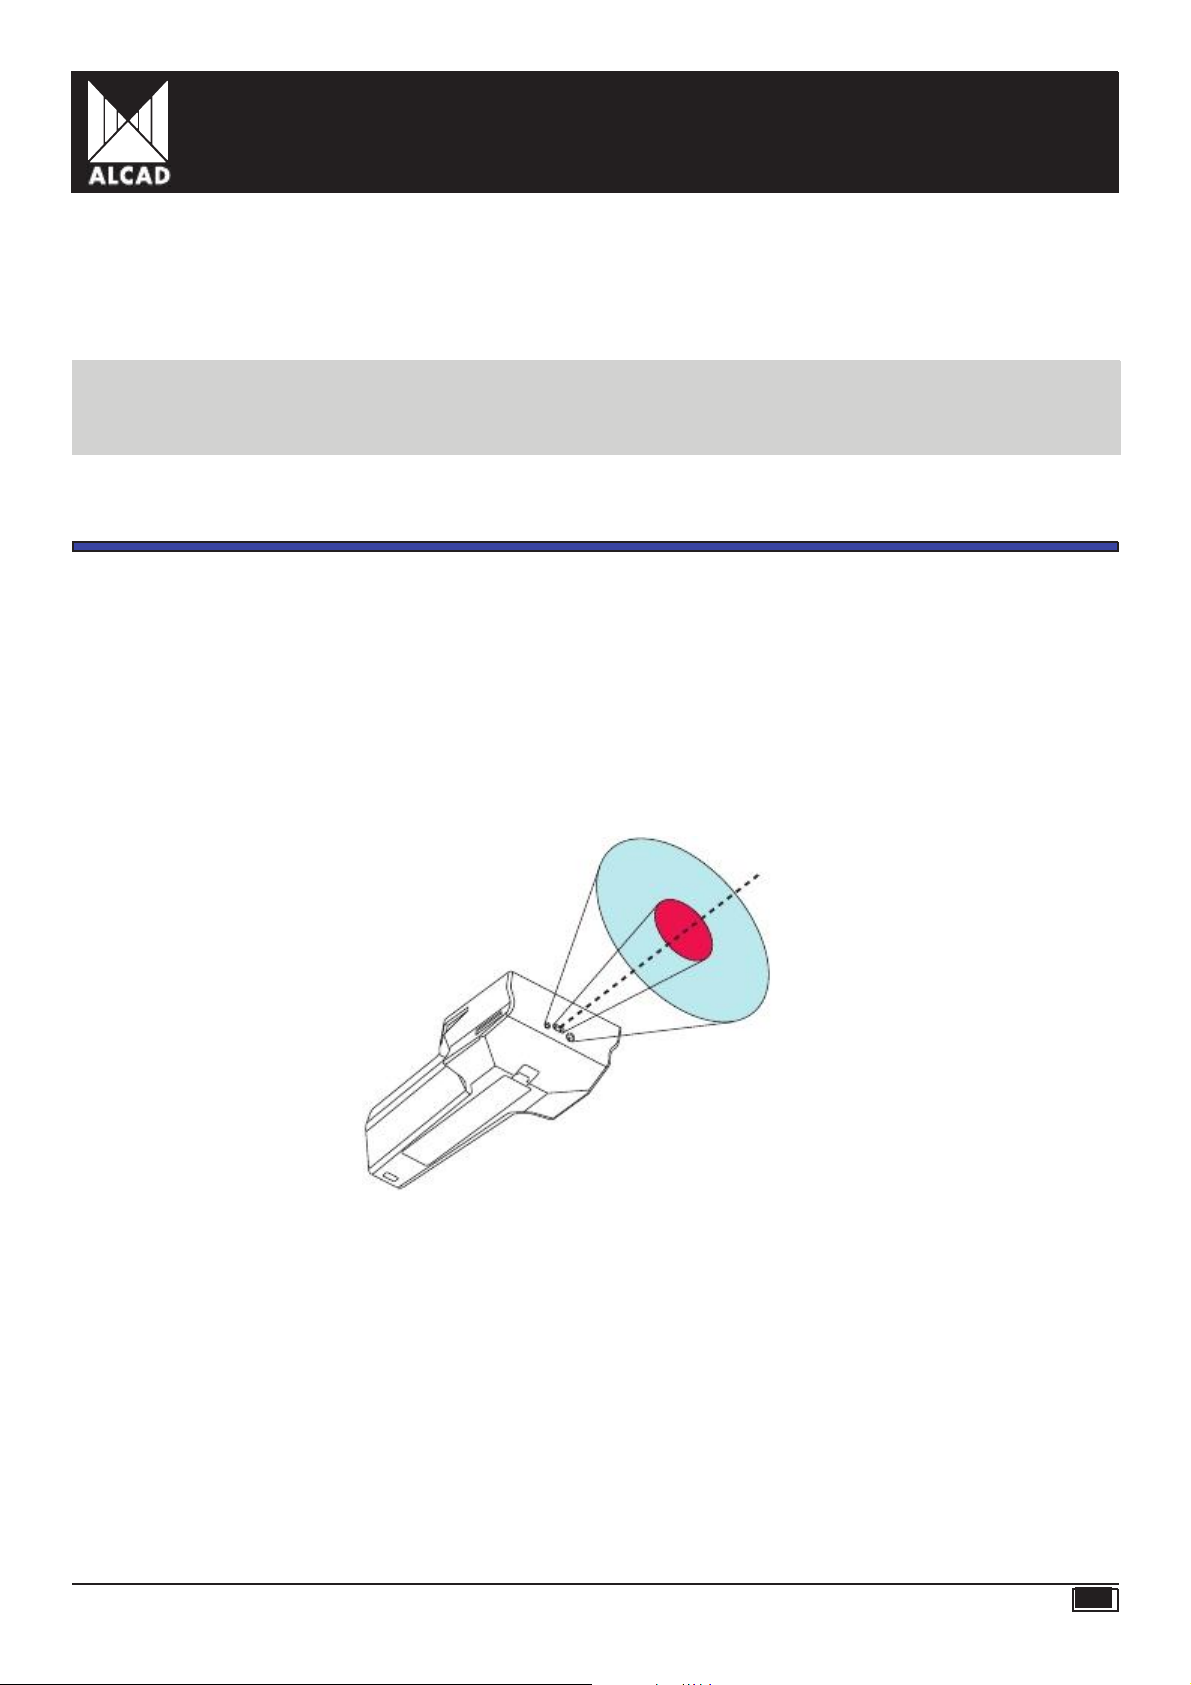
5.1. Infrared Communication
ThePS-011hastwotypesof protocolforinfraredsso thatit cancommunicatewithbotholderdevicesfrom
the ALCAD range (compatible with this technology) and more recent devices which useIrDA technology.
It must be borne in mind, however, that IrDA technology enables communication that is faster and more
advanced in nature; consequently agreater quantity of data can be sent. On the other hand, it must be
pointed out that it has agreater directivity in communication, an important factor since it means that it
is
essential
to
aim
directly
and
with
precision
at
the
infrared
receiver
for
communication
to
take
place
properly.
IR
IrDA
5.2. USBCommunication
Thismakes it possible to connect external USBmemory devices as supports:
-to save and load configurations of equipment and installations;
-to load new languages not installed in the programmer;
-to update the PS-011 programmer software.
5.3. SD Card Connection
Thisenables the connection of SD cards to be used as supports:
-to save and load configurations of equipment and installations;
-to load new languages not installed in the programmer;
-to update the PS-011 programmer software.
PS-011 MANUAL PAG. 28
ENG