Alcolizer Druglizer LE5 User manual

REF: Alcolizer LE5 Alcohol Tester User Manual V15 docx
Page 1
© Alcolizer Technology
LE5 Alcohol Tester User Manual
User Manual
Disclaimer –External Documents note to reader
The g/210L BrAC reading obtained by correct use of this instrument is only considered accurate at the time
of testing. Great care has been taken to ensure the accuracy of each reading.
Neither the manufacturer, the distributor, nor the owner accepts liability or responsibility due to any action
or claim arising from the reading produced by this instrument, whether used correctly or incorrectly.

REF: Alcolizer LE5 Alcohol Tester User Manual V15 docx
Page 2
© Alcolizer Technology
Contents
1Introduction ..................................................................................................................................................5
2Description of LE5 .........................................................................................................................................5
2.1
Equipment Overview .............................................................................................................................5
2.2
Instrument Overview.............................................................................................................................5
2.2.1 LCD Colour Graphics Display..........................................................................................................6
2.2.2 Mouthpiece Locator and Sample Inlet Spigot ...............................................................................7
2.2.3 Up and Down Buttons....................................................................................................................7
2.2.4 USB Port.........................................................................................................................................7
2.2.5 Battery Charger Port......................................................................................................................7
3Operating Instructions ..................................................................................................................................7
3.1
General Information ..............................................................................................................................7
3.1.1 Cleaning requirements...................................................................................................................8
3.2
Testing Types .........................................................................................................................................8
3.3
Mouthpieces..........................................................................................................................................9
3.4
Charging the Battery..............................................................................................................................9
3.5
Turning on the Instrument...................................................................................................................10
3.5.1 Mouthpiece Testing.....................................................................................................................11
3.5.2 Taking a Mouthpiece Breath Sample...........................................................................................11
3.5.3 Analysing a Mouthpiece Breath Sample......................................................................................13
3.5.4 Passive Testing.............................................................................................................................15
3.5.5 Enabling Passive Standard ...........................................................................................................15
3.5.6 Taking a Passive Standard Breath Sample...................................................................................15
3.5.7 Analysing a Passive Breath Sample..............................................................................................16
3.5.8 Enabling Passive Only ..................................................................................................................18
3.5.9 Taking a Passive Only Breath Sample ..........................................................................................18
3.5.10 Pressure Activated Passive Breath Test.......................................................................................18
3.6
Back Operation ....................................................................................................................................20
3.7
Shutting Down .....................................................................................................................................20
4Test Options Menu......................................................................................................................................21
4.1
Test Cancel...........................................................................................................................................21
4.2
Test Refusal..........................................................................................................................................21
5Accessing the Setup Menu..........................................................................................................................22
5.1
Date & Time..........................................................................................................................................24
5.2
Test Prompts........................................................................................................................................27
5.3
Test Options Menu...............................................................................................................................29
6User Menu Setup ........................................................................................................................................31
6.1
Enable GPS...........................................................................................................................................31

REF: Alcolizer LE5 Alcohol Tester User Manual V15 docx
Page 3
© Alcolizer Technology
6.2
Enable Area Code.................................................................................................................................31
6.3 Enable ID Code.....................................................................................................................................32
6.4 Enable Location Code...........................................................................................................................33
6.5 Enable Print Last ..................................................................................................................................34
6.6 Enable Print Record .................................................................................................................................
6.7 Enable Print Summary..........................................................................................................................35
6.8 Enable Print Setup Menu.....................................................................................................................37
6.9 Enable Show Last Record.........................................................................................................................
6.10 Enable Records.....................................................................................................................................38
6.10.1 Accessing Records........................................................................................................................38
6.10.2 Clearing Records ..........................................................................................................................38
6.11 Enable Set Time....................................................................................................................................39
6.12 Enable Set Date....................................................................................................................................39
6.13 Enable Test Counter.............................................................................................................................40
7GPS..............................................................................................................................................................40
7.1 Acquiring GPS Satellites.......................................................................................................................40
7.2 GPS Mode Configuration .....................................................................................................................41
7.3 Static GPS Mode Operations................................................................................................................41
7.4 Mobile GPS Mode Operations .............................................................................................................42
8Bluetooth Comms .......................................................................................................................................43
8.1 Bluetooth Connection..........................................................................................................................43
8.2 Printer..................................................................................................................................................45
8.3 Printer Driver........................................................................................................................................47
8.3.1 Installing the Printer Driver .........................................................................................................47
8.4 Auto Print.............................................................................................................................................48
8.4.1 Auto Print Standard .....................................................................................................................48
8.4.2 Auto Print Passive........................................................................................................................49
8.5 Setting the Bluetooth Printer PIN........................................................................................................49
8.6 Ticket Format Type ..............................................................................................................................50
8.7 Printing Records...................................................................................................................................51
8.7.1 Automatic Printing.......................................................................................................................51
8.7.2 Printing Records...........................................................................................................................51
8.8 Serial Instrument .................................................................................................................................52
8.9 Setting the Bluetooth Serial Instrument PIN .......................................................................................54
8.10 Auto Send.............................................................................................................................................55
8.10.1 Auto Send Standard.....................................................................................................................56
8.10.2 Auto Send Passive........................................................................................................................56
9Reading Options..........................................................................................................................................57
REF: Alcolizer LE5 Alcohol Tester User Manual V15 docx
Page 4
© Alcolizer Technology
9.1 Changing colour set points ..................................................................................................................57
10 Timeouts .........................................................................................................................................................
11 Localization.....................................................................................................................................................58
12 Keep Previous..............................................................................................................................................59
13 Records........................................................................................................................................................60
14 Speaker........................................................................................................................................................60
15 LCD Brightness.............................................................................................................................................60
16 Recovery Countdown..................................................................................................................................61
17 Warning Beacon Display .............................................................................................................................61
18 Calibration...................................................................................................................................................62
18.1 Calibration Alerts .................................................................................................................................62
18.2 Replacing Sample Module.......................................................................................................................63
19 Specifications ..............................................................................................................................................64
20 AlcoCONNECT..............................................................................................................................................64
20.1 Installing AlcoCONNECT Software .......................................................................................................64
20.2 Using AlcoCONNECT Toolbox...............................................................................................................65
20.2.1 Navigating Around the Event Log Page........................................................................................66
20.2.2 Set Log Settings (Filtering Data)...................................................................................................67
20.2.3 Saving Logs...................................................................................................................................68
20.2.4 Erasing Event Logs or Clearing Logs on an Instrument................................................................69
20.2.5 Configuration Editor ....................................................................................................................69
21 About Screen ..................................................................................................................................................70
22 Splash Screen Display .....................................................................................................................................71

REF: Alcolizer LE5 Alcohol Tester User Manual V15 docx
Page 5
© Alcolizer Technology
1Introduction
This User Manual details the operation of the Alcolizer LE5 alcohol breath testing
instrument and AlcoCONNECT software for managing and analysing breath test
results.
2Description of LE5
2.1
Equipment Overview
The LE5 Equipment List includes the following items:
•LE5 Handheld instrument Li-ION powered
•USB cable
•Battery Charger, vehicle 12/24VDC
•Battery Charger, mains
•Silicon protective cover and wrist strap
•Carry bag or protective hard case (optional)
•Bluetooth printer (optional).
2.2
Instrument Overview
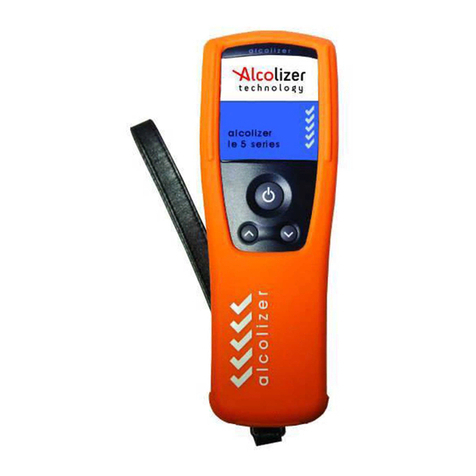
The LE5 is a handheld instrument consisting of a hard-plastic outer case, silicon cover, wrist
strap and the following user displays, buttons and adaptor sockets (refer Figure 1):
a. Test Key
b. LCD Colour Graphics Display
c. Mouthpiece Locator and Sample Inlet Spigot
d. Up and Down Buttons
e. USB Port
Note
This User manual is applicable to the Alcolizer LE5 alcohol tester certified to AS3547:2019.

REF: Alcolizer LE5 Alcohol Tester User Manual V15 docx
Page 6
© Alcolizer Technology
Mouthpiece Spigot Locator (c)
USB Port (e)
Up Button (d)
LCD Colour Graphics Display (b)
Test Key (a)
Down Button (d)
Silicon Cover
Battery Charging Port
Figure 1 –User Display, Buttons and Adapter Sockets
Figure 2 –Charging Port
2.2.1 LCD Colour Graphics Display
Displays the various functions of the instrument including:
•Welcome screen which includes days remaining until next calibration
•Various test modes (Mouthpiece, Passive Standard, and PassiveOnly)
•Extensive menus and options
•Ready notification
•Blow notification including progress bar
•BrAC levels in various formats
•GPS acquisition data
•Printer setup
•Records information
These and other displays are explained in the Operating Instructions section.

REF: Alcolizer LE5 Alcohol Tester User Manual V15 docx
Page 7
© Alcolizer Technology
2.2.2 Mouthpiece Locator and Sample Inlet Spigot
The disposable mouthpiece (sample tube) is located on the Mouthpiece Locator which
surrounds the Sample Inlet Spigot.
2.2.3 Up and Down Buttons
The Up and Down buttons allow navigation through menus. Operation of both buttons also
facilitates access to the Off function (refer Section 3).
2.2.4 USB Port
The USB port facilitates connection instrument to a USB equipped computer using the cable
included with the instrument. Charging through the USB port is available on instrument with
hardware version X20. Refer to Section 11 for instructions on using the USB port with
AlcoCONNECT Toolbox.
2.2.5 Battery Charger Port
The Battery Charging Port is located under the wrist strap bracket and facilitates connection
to the battery chargers included with the instrument.
3Operating Instructions
3.1
General Information
The following information should be observed when conducting breath test analysis using
this instrument:
•For accurate testing results, food, beverages, medications, smoking, vaping or
substances that contain alcohol should not be consumed for at least 15 minutes
prior to testing.
•Allow 15 minutes for any potential interfering alcohol to be cleared from the donor
before testing again.
•Blood alcohol concentration can continue to rise for up to 2 hours after the
cessation of drinking and care should be taken if a result close to the
designated blood alcohol concentration is indicated.
•When a high blood alcohol level has been reached, it can take 10 hours or morefor
the blood alcohol level to return to zero.
•If the test result is above the operational maximum limit, a plus sign (+) after
the result will be displayed.
CAUTION
While the LE5 is a robust instrument, it does contain sensitive instrumentation and should
not be subject to rough handling or become submerged in water.
Do not store the instrument in direct sunlight or places where extreme temperature
conditions can occur.
NOTE
The LE5 has optional features which may or may not be active on your instrument. The
screen images shown in the User Manual may differ to your instrument depending onthe
features enabled.

REF: Alcolizer LE5 Alcohol Tester User Manual V15 docx
Page 8
© Alcolizer Technology
3.1.1 Cleaning requirements
•The instrument should be cleaned with a soft cloth and antibacterial spray or anti-
bacterial wipes. It is recommended that the instrument is turned off before cleaning.
•The outside of the instrument can be cleaned by wiping it over with a soft moist cloth
followed by a soft dry cloth.
•Screen –the screen of the instrument can be cleaned by wiping it over with a soft
moistcloth followed by a soft dry cloth.
•Ensure the Spigot Inlet is not blocked.
•Do not use alcohol based cleaners.
•Do not use harsh cleaning agents, abrasive cleaning pads or chemicals.
•Rubber gloves should be used during cleaning of the instrument.
3.2
Testing Types
The LE5 can perform both Mouthpiece and Passive testing:
•
Standard –Mouthpiece test
•
Passive Standard –If alcohol is present, the instrument will require a Mouthpiece
test
•
Passive Only –The instrument will not automatically require a Mouthpiecetest
following an alcohol present passive test
Mouthpiece testing provides a BrAC reading in g/210L (or other measuring units as
required). Passive testing will display the presence of alcohol in breath. If a Passive test
indicates the presence of alcohol, a Mouthpiece test should be performed if an accurate
BrAC is required.
NOTE
Mouthpiece testing is also referred to as Standard or Active Testing.

REF: Alcolizer LE5 Alcohol Tester User Manual V15 docx
Page 9
© Alcolizer Technology
3.3
Mouthpieces
There are two types of Mouthpieces available for use on the LE5, these are the:
•
Spit Trap Non-Return Valve Mouthpiece (SKU 430435)* and;
•
Standard Spigot Locator Mouthpiece (SKU 430405).
NOTE: *USA only has one mouthpiece available for use SKU 430435
Ribbed
Non Return
Spit Trap
Mouthpieces
Sample Inlet
Ports
Standard
Mouthpiece
Figure 3- Mouthpiece Types Non Ribbed End
The spit trap non return valve mouthpieces is a more hygienic option with most of the
saliva in the exhaled breath collected preventing spittle exiting the mouthpiece.
3.4
Charging the Battery
Prior to initial use, the LE5 battery should be fully charged. The battery charge cycle may
take up to three (3) hours.
Charge the battery as follows:
•
Connect the charger DC socket to the LE5 battery charging port (Refer Figure1)
•
Connect the AC or DC (vehicle) plug to a suitable power supply and switch onpower,
or connect the USB (PC) or USB (Wall Plug)
Charging times
Charger Type
Charge Time in hours (from depleted to full battery)
USB (PC)
6 –7 hours
USB (Wall Plug)
6 –7 hours
Mains DC Adaptor (12V)
2.5 –3 hours
CAUTION
The battery in the LE5 instrument is a Li-ION battery. As such, it should not be tampered
with in anyway. Should any problems occur that are related to the battery, contact your
local Alcolizer representative for advice.
Only use the battery charger supplied with the Alcolizer equipment. Use of non Alcolizer
battery chargers could damage the instrument and render it inoperative.

REF: Alcolizer LE5 Alcohol Tester User Manual V15 docx
Page 10
© Alcolizer Technology
The instrument will automatically start, and charging will be displayed.
When the battery is fully charged, the battery condition indicator on the LCD Colour
Graphics Display will display five bars (Refer Figure 4).
Figure 4- Battery Condition Indicator
Recharge the battery when the battery condition indicator shows one bar to ensure testing
will not be interrupted by a depleted battery.
3.5
Turning on the Instrument
Turn the instrument on as follows:
NOTE: At start up a clicking sound will be heard
•
Press either the Test key or Up/Down buttons. A company logo screen will appear
for a period of five seconds prior to the test screen displaying. The logo screen can
be terminated sooner by pressing either the Test key or Up/Down buttons a second
time.
NOTE
On specially configured instruments, additional information may be displayed on start-up
e.g. Instrument serial number, Sample module serial number and days until calibration.
To temporarily hold the display information on the screen at start-up, press and hold any
key when turning the instrument on.
•The display will show press to test (Refer Figure 5).
NOTE
The instrument cannot be used for testing during charging but can be used for accessing
Records (Refer Section 8).

REF: Alcolizer LE5 Alcohol Tester User Manual V15 docx
Page 11
© Alcolizer Technology
Figure 5- Press to test message
3.5.1 Mouthpiece Testing
Attach the mouthpiece to the instrument as follows:
•Grasp the mouthpiece at the non-ribbed end and tear the plastic wrapping from the
ribbed end, downwards to expose the sample inlet hole.
•Locate the mouthpiece sample inlet port over the mouthpiece locator in line with
the recesses that surround the spigot.
•Press the mouthpiece sample inlet port onto the locator until it is attached securely
(Refer Figure 6). The orientation of the mouthpiece will not affect thesampling.
•Remove the remaining portion of the plastic wrap just prior to testing to
ensure hygienic use.
•A new mouthpiece must be used for each mouthpiece test.
Figure 6- Mouthpiece Correctly Positioned
3.5.2 Taking a Mouthpiece Breath Sample
CAUTION
To maintain a healthy sampling environment, the following procedures must be strictly
adhered to.
Note
Before taking a breath sample, ensure the subject has not consumed alcohol for at least
15 minutes.
If any step in a breath test sequence is not completed or the instrument is left idlefor
longer than 60 seconds, the instrument will terminate the breath test and displaytest
timed out. The instrument will return to the press to test display.
If a test time out does occur during a breath test, a new breath test must be performed.

REF: Alcolizer LE5 Alcohol Tester User Manual V15 docx
Page 12
© Alcolizer Technology
Perform a Mouthpiece Test as follows:
•Press the Test key, the instrument will perform a background self-test whilePlease
wait….is displayed on the screen.
•BLOW will be displayed when the instrument is ready (Refer Figure 7).
Figure 7- Blow is displayed when the instrument is ready
•After taking a deep breath, the test subject places their mouth over the mouthpiece
inlet (ribbed end) and blows a gentle to medium breath sample into the mouthpiece
(Refer Figure 8).
Figure 8- Providing a Sample
•The exhaled breath volume is indicated via a sample progress bar; scrolling left to
right at the bottom of the screen and a graph showing air flow over time inseconds
(Refer Figure 9).
Note
If the self-check is unsuccessful an error code will be displayed, the instrument will not accept a
breath sample. Contact an Alcolizer representative if an error code is displayed.If error code 81 is
present: follow onscreen prompt to restart the device.

REF: Alcolizer LE5 Alcohol Tester User Manual V15 docx
Page 13
© Alcolizer Technology
A beeping sound is also heard during the breath sample delivery phase, indicating a
satisfactory breath sample is being delivered.
Figure 9- Sample Progress Bar
•The test subject continues blowing until the instrument takes a sample of the
exhaled breath volume, indicated by a click and long beep sound.
The frequency of the sound beeps increases with the intensity of the blow pressure. Blowing
too hard or too soft will result in ‘Invalid Sample Try Again’ being displayed (Refer Figure
10). The deice will return to the Blow screen for another sample to be taken.
Figure 10- Invalid Sample Try Again Message
3.5.3 Analysing a Mouthpiece Breath Sample
After a valid breath sample is taken, the Analysing Sample message is displayed until the
instrument calculates the BrAC reading. This will normally take a few seconds. In cold
climate conditions it may take longer to display the BrAC reading (Refer Figure 11).

REF: Alcolizer LE5 Alcohol Tester User Manual V15 docx
Page 14
© Alcolizer Technology
Figure 11- Analysing Sample Message
When the BrAC reading is calculated, it will be displayed on the screen together with the
unit of measurement (e.g. g/210L BrAC, g/100ml BAC) and be retained until the recovering
period has ended. The screen colour will vary depending on the percentage of alcohol
present; green for zero to 0.019 g/210L BrAC, yellow for 0.020 g/210L BrAC to 0.049 g/210L
BrAC and red for readings greater than 0.050 g/210L BrAC. The Recovering period is
indicated by ‘Recovering’ shown on the display (Refer Figure 12).
Refer to Section 9 for instructions on how to change the Setpoint values.
Figure 12- Various BrAC and Screen Colour Displayed
•The Recovering period is the time the fuel cell sensor requires to recover from the previous breath
test. This period will vary according to BrAC readings displayed, longer for higher readings.
•Remove the used mouthpiece by rotating it and it will come away from the spigot easily. Dispose of
the mouthpieces in a responsible manner.
•To perform another breath test, repeat steps from section 3.5.1 and 3.5.2. Results will display on the
screen for 10 seconds. A user is able to override this function by pressing key to continue as displayed
on the screen.
•Overrange result is if a result above 0.462g/210L is obtained the below screen will appear (Figure
12b)
Figure 12b- Overrange screen display

REF: Alcolizer LE5 Alcohol Tester User Manual V15 docx
Page 15
© Alcolizer Technology
3.5.4 Passive Testing
Passive testing is a test that is performed in a non-invasive manner and without using
mouthpieces. Passive testing on the LE5 can activated in one of two ways, either button
activated by the operator or pressure activated by the donor blowing.
A passive test by button activation is performed by holding the instrument 5 cm in front of
the test subject’s mouth, Press the Test Key and ask them to count or talk so that exhaled
breath may be picked up by the instrument and analysed for the presence of any alcohol.
Pressure Activated Passive is performed by holding the instrument approximately 5cm in
front of the test subject mouth and asking them to blow into the Passive Cup. The pressure
of the blow activates a passive test.
When using Passive Standard testing, a Mouthpiece test is automatically enabled, should
the instrument detect alcohol on the subject’s exhaled breath. Passive Only testing does not
prompt the user for further testing.
3.5.5 Enabling Passive Standard
If Passive standard mode has not been enabled, proceed as follows:
•With the screen displaying press to test, press the Up and Down buttons
simultaneously. The User Menu will be displayed.
•Press the down button to scroll down to Test Type.
•Press the Test key until Passive Std is displayed (Refer Figure 13).
Figure 13- Passive Standard Displayed
•Passive Standard is now enabled. To leave the user menu, press the Up and Down
buttons simultaneously or press the Down button until Back is highlighted followed
by the Test key.
3.5.6 Taking a Passive Standard Breath Sample
Perform a Passive Standard test as follows:
Note
If any step in a breath test sequence is not completed or the instrument is left idle for
longer than 60 seconds, the instrument will terminate the breath test and display test
timed out. The instrument will return to the press to test display.
If a test time out does occur during a breath test, a new breath test must be performed.

REF: Alcolizer LE5 Alcohol Tester User Manual V15 docx
Page 16
© Alcolizer Technology
•On the press passive test page, press the Test Key. The instrument will perform a
background self-test while Please wait….is displayed on the screen.
•The instrument will then display the Ready for passive test screen (Refer Figure14).
Figure 14- Ready for Passive Test Message
•Hold the instrument no further than 5cmin front of the test subject’s mouth; so that
the subject is breathing or talking directly into the instrument’s sample inlet port
(Refer Figure 15).
Figure 15- Providing a Passive Sample
•Ask the subject to start counting from 20 onwards in a one second rhythm, untilyou
tell them to stop,”20…21…22…23…24…25…etc.”
•Press the Test button while the subject is counting. The instrument will make a series
of 3 clicking sounds (pump clicks) as the sample is being taken.
•The passive test will have 3 short beeps and clicks followed by a longer beep.
Position the mouth 5cm away from the breath entry port. Blow steadily into the
passive cup, listening until a long beep is heard indicating the breath collection is
complete. Stop blowing. The instrument will take a short moment to analyse the
sample followed by displaying the result.
During these three pump activations, the operator must hold the instrument steady and at
the same distance from the subject. After the three pump clicks, the instrument will sound a
long beep indicating the test is complete. Analysing Sample will then be displayed (Refer
Figure 11).
3.5.7 Analysing a Passive Breath Sample
After a valid breath sample is taken, the Analysing Sample message is displayed until the
instrument determines if alcohol is present. This will normally take a few seconds. In cold
climate conditions it may take longer to display the result.
When the Passive standard reading is calculated, it will be displayed and retained until the
recovering period has ended.

REF: Alcolizer LE5 Alcohol Tester User Manual V15 docx
Page 17
© Alcolizer Technology
If a Pass No Alcohol reading is displayed the instrument has indicated that no alcohol was
detected in the near vicinity of subject’s exhaled breath. When the recovering period has
ended the instrument is ready for the next Passive Standard Breath Test (Refer Figure 16).
Figure 16- Pass No Alcohol Message
To perform another Passive Standard breath test, repeat steps in paragraph 3.5.6.
If a Warning Alcohol Present reading is displayed, the instrument has indicated that alcohol
was detected in the near vicinity of subject’s exhaled breath (Refer Figure 17).
Figure 17- Warning Alcohol Present Message
After the recovery period has ended, the instrument is enabled automatically to take an
Active Mouthpiece sample (Refer Figure 18). Perform an Active test in accordance with the
procedures in section 3.5.1 and 3.5.2.

REF: Alcolizer LE5 Alcohol Tester User Manual V15 docx
Page 18
© Alcolizer Technology
Figure 18- Warning Alcohol Present/ Press for Active Test Display
3.5.8 Enabling Passive Only
To enable Passive Only, perform the same steps as in section 3.5.5. Press the Test key
until Passive Only is displayed.
3.5.9 Taking a Passive Only Breath Sample
The procedures for performing a Passive Only test are the same as those for performing
a Passive Standard Test (Refer Section 3.5.6.).
3.5.10 Pressure Activated Passive Breath Test
Perform a Pressure Activated Passive test as follows:
•Attach the supplied red Passive Cup to the sample inlet port of the instrument(Refer
Figure 19).
•On the Press Passive Test screen, press the Test Key. The instrument will performa
background self-test while Please wait….is displayed on the screen.
Note
A Passive Only test will not automatically enable an Active (Mouthpiece) test the same
way a Passive Standard test does.
Note
When a Warning Alcohol Present reading is displayed after performing a Passive Only
test, it is strongly recommended that a Mouthpiece Breath Test be performed, after the
recovery period has ended (Refer Paragraph 3.5.6).
Note
If any step in a breath test sequence is not completed or the instrument is left idlefor
longer than 60 seconds, the instrument will terminate the breath test and displaytest
timed out. The instrument will return to the press to test display.
If a test time out does occur during a breath test, a new breath test must be performed.

REF: Alcolizer LE5 Alcohol Tester User Manual V15 docx
Page 19
© Alcolizer Technology
•The instrument will then display the Ready for passive test screen (Refer Figure 20).
•The screen will prompt to either Blow or Press the Test key to take the test. Pressure
Activated Passive testing is using the Blow option.
Figure 19 –LE5 with Passive Cupattached
Figure 20- Ready for Passive TestMessage
•Hold the instrument no further than 50mm front of the test subject’s mouth; so that
the subject is breathing directly into the instrument’s sample inlet port (Refer Figure
21).
Figure 21- Providing a Passive Sample
•Blow firmly into the passive cup, listening until a long beep is heard indicating the
breath collection is complete. Stop blowing.
•The passive test will have 3 short beeps and clicks followed by a longerbeep.

REF: Alcolizer LE5 Alcohol Tester User Manual V15 docx
Page 20
© Alcolizer Technology
•The instrument will take a short moment to analyse the sample followedby
displaying the result.
•During these three pump activations, the operator must hold the instrument steady
and at the same distance from the subject.
To remove the passive cup, pull the cup from the LE5 without bending the cup from the LE5
sample spigot.
Cleaning
1. The Passive Cup should be cleaned with a soft cloth and antibacterial spray. It is
recommended that the instrument is turned off before cleaning.
2. Do not use alcohol-based cleaners.
3. Do not use harsh cleaning agents, abrasive cleaning pads or chemicals.
4. Rubber cloves should be used during cleaning of the instrument.
Cleaning Frequency
The Passive Cup should be cleaned daily or as required based on the volume of testing and
local conditions.
3.6
Back Operation
The user menus include a Back selection which when selected will return to the previous
screen. To select Back, proceed as follows:
•Press the Up/ Down buttons until Back is highlighted.
Figure 22- Screen Back Selection
•Press the Test key, the display will return to the previous screen.
3.7
Shutting Down
The LE5 will automatically shut down after a period of inactivity. Should the instrument be
required to be shut down manually (e.g. to conserve battery life), perform the following
procedures:
•With the screen displaying press to test, press the up and down buttons
simultaneously. The User Menu will be displayed.
•Using the down button, scroll down to off (Refer Figure 23).
Other manuals for Druglizer LE5
6
Table of contents
Other Alcolizer Test Equipment manuals

Alcolizer
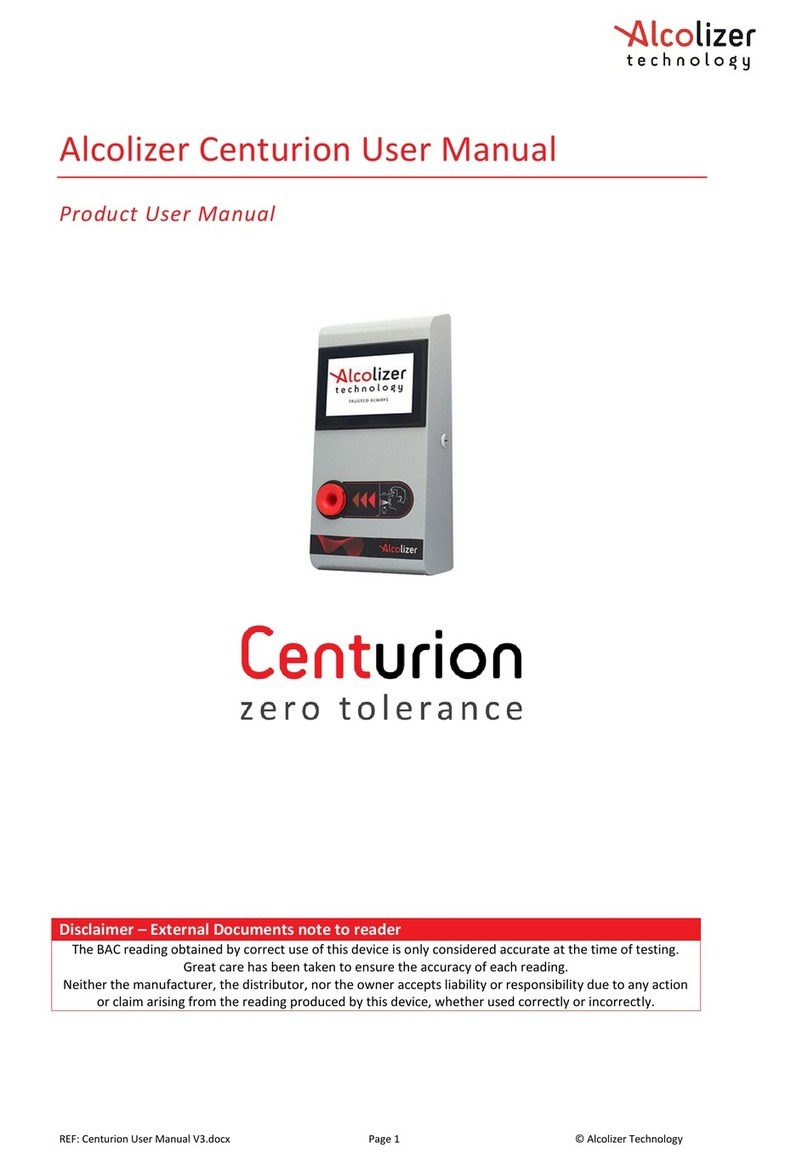
Alcolizer Centurion User manual

Alcolizer
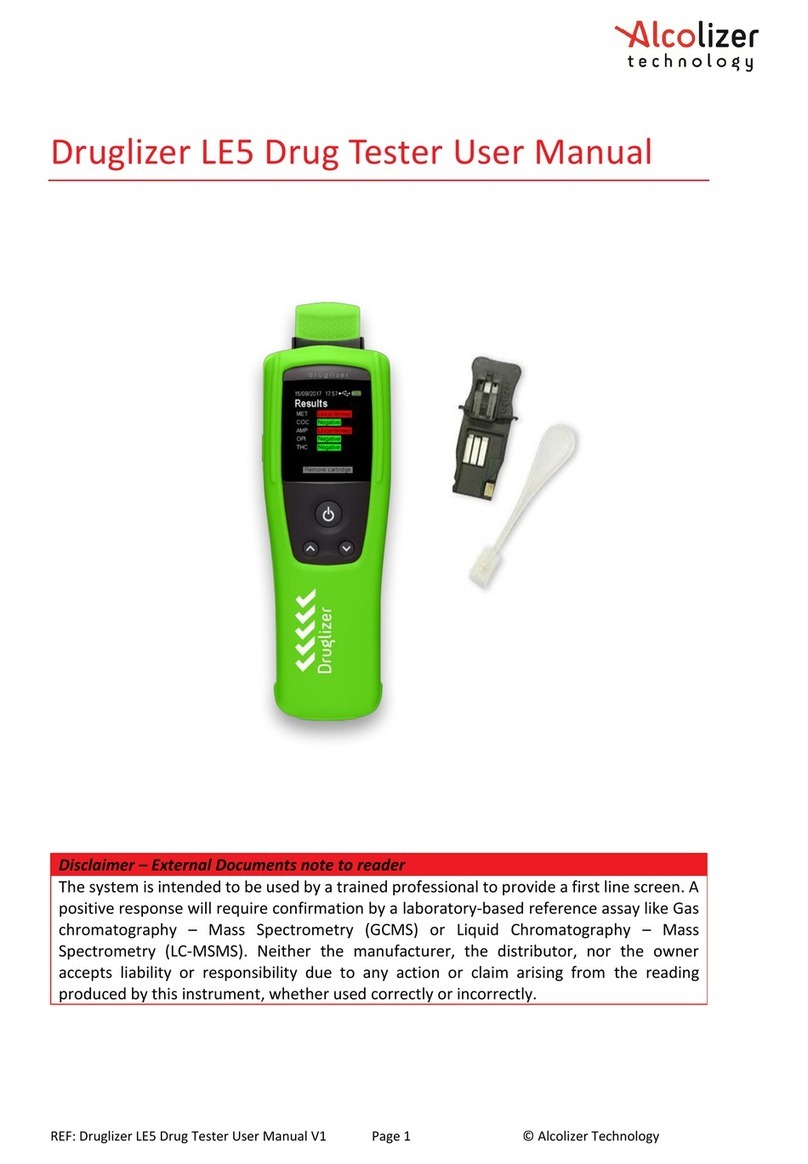
Alcolizer Druglizer LE5 User manual

Alcolizer
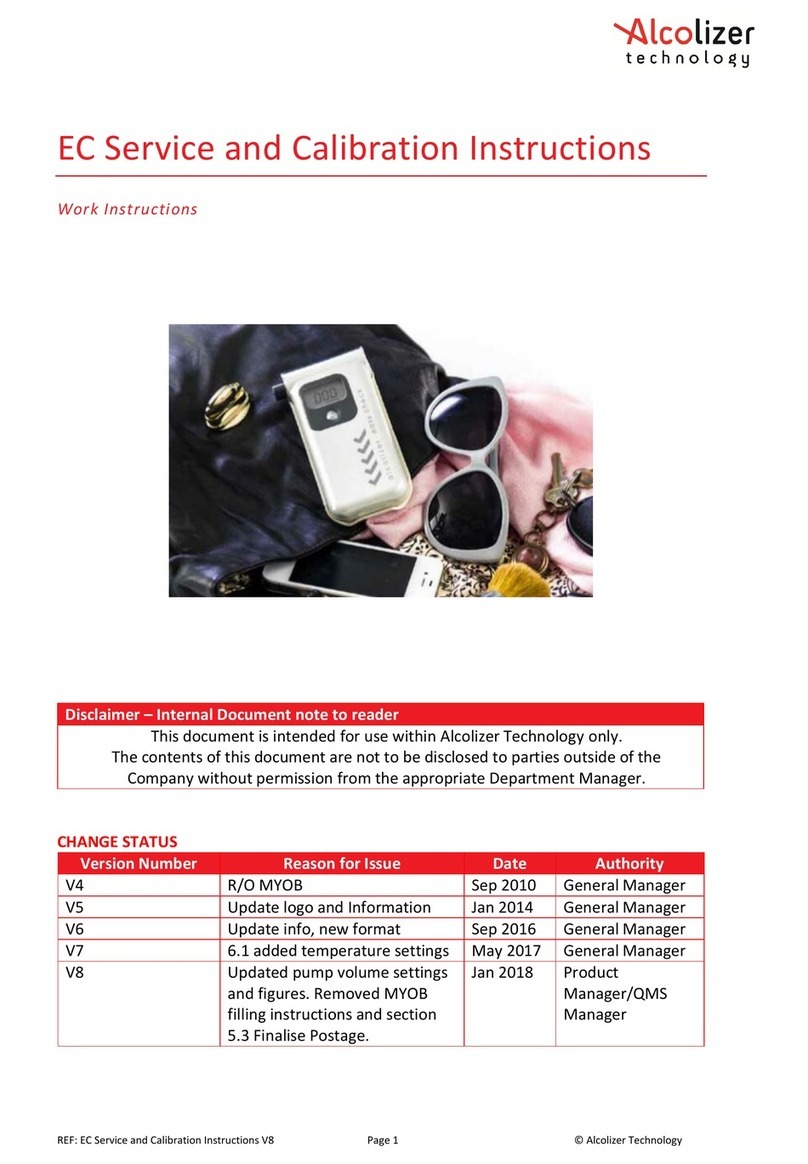
Alcolizer EC Calibration Station Operating instructions

Alcolizer
Alcolizer Druglizer LE5 User manual

Alcolizer
Alcolizer Druglizer LE5 User manual

Alcolizer
Alcolizer HH4 User manual

Alcolizer
Alcolizer WM4 User manual

Alcolizer
Alcolizer Centurion Quantum User manual

Alcolizer
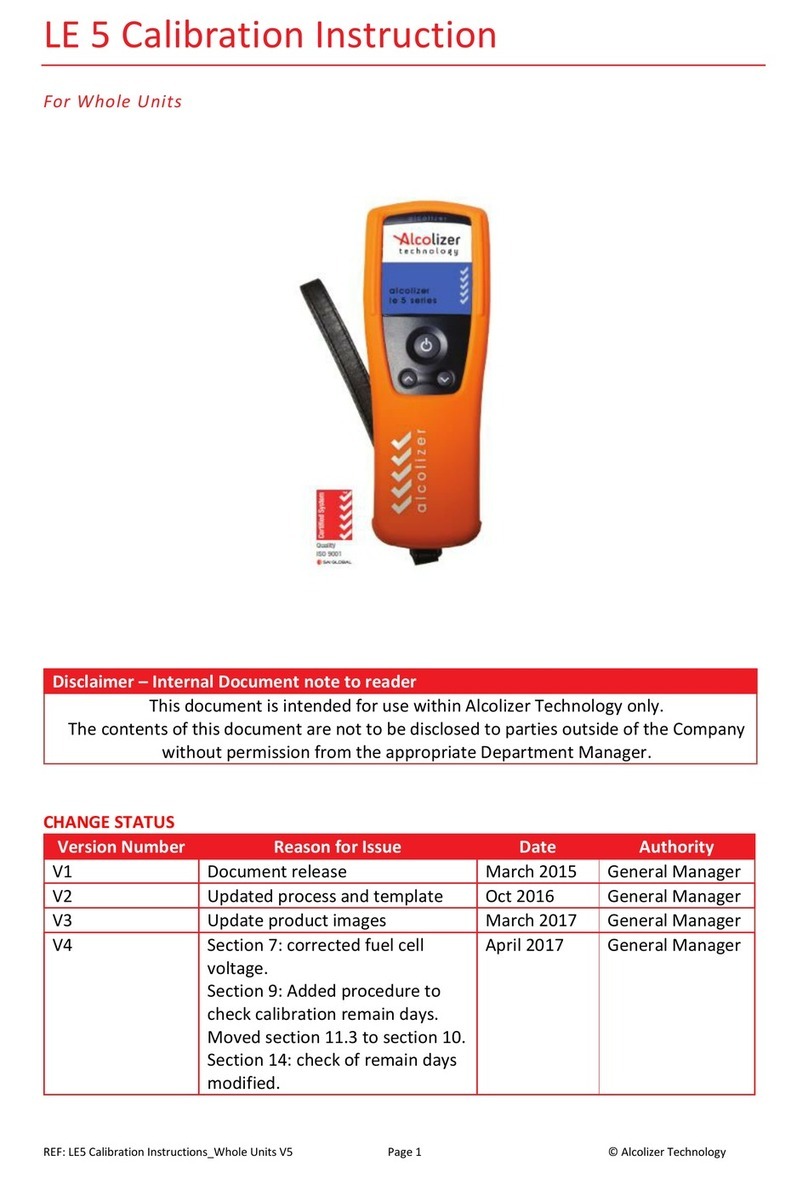
Alcolizer LE 5 User manual

Alcolizer
Alcolizer WM4 User manual