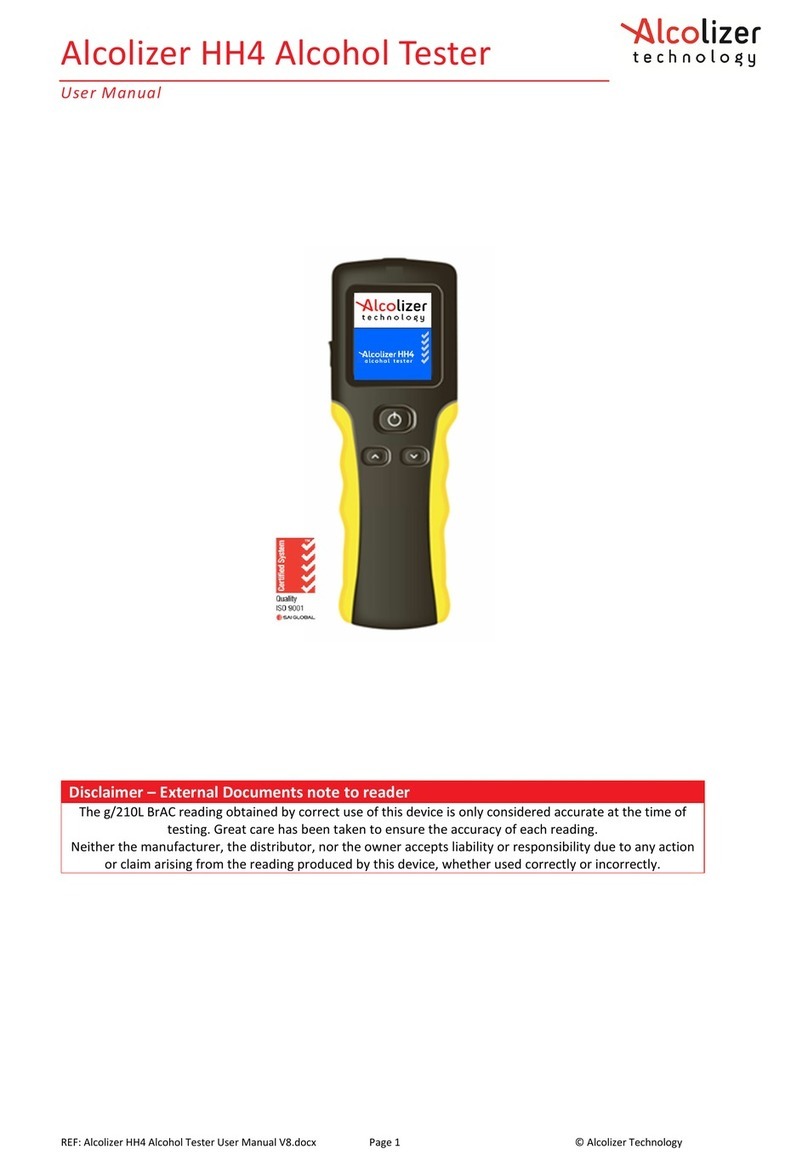
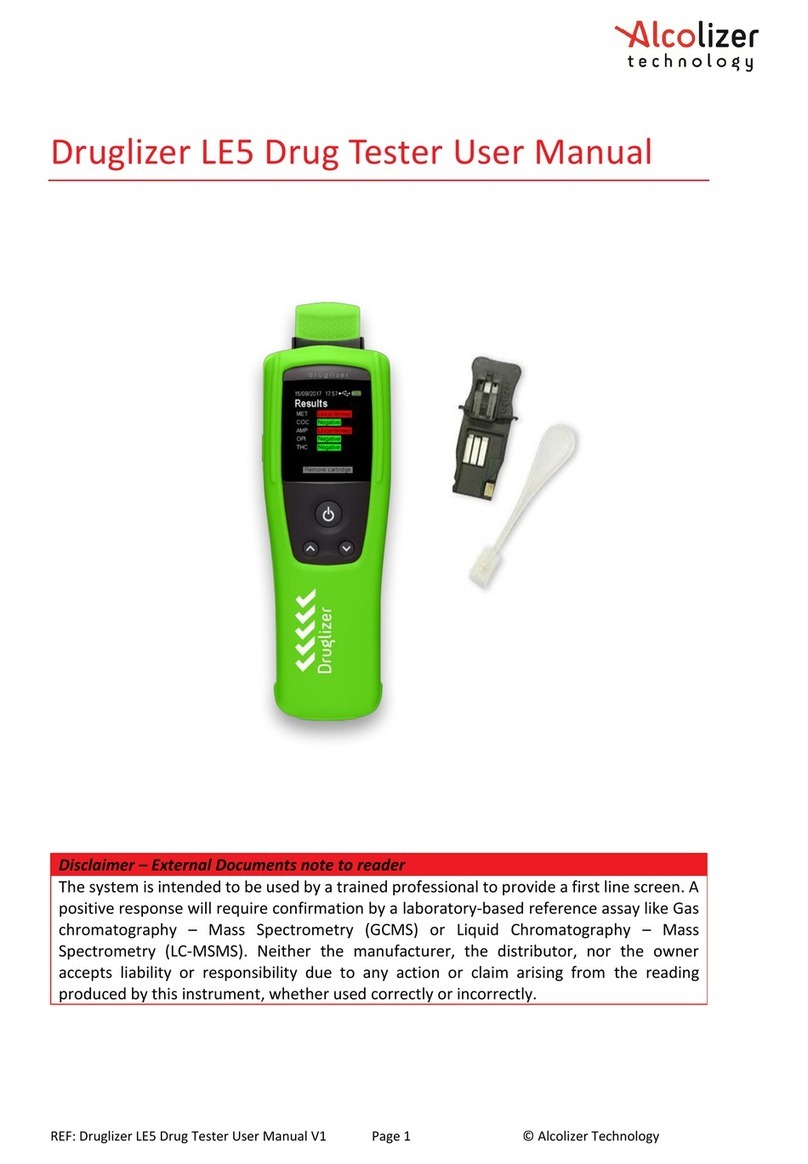
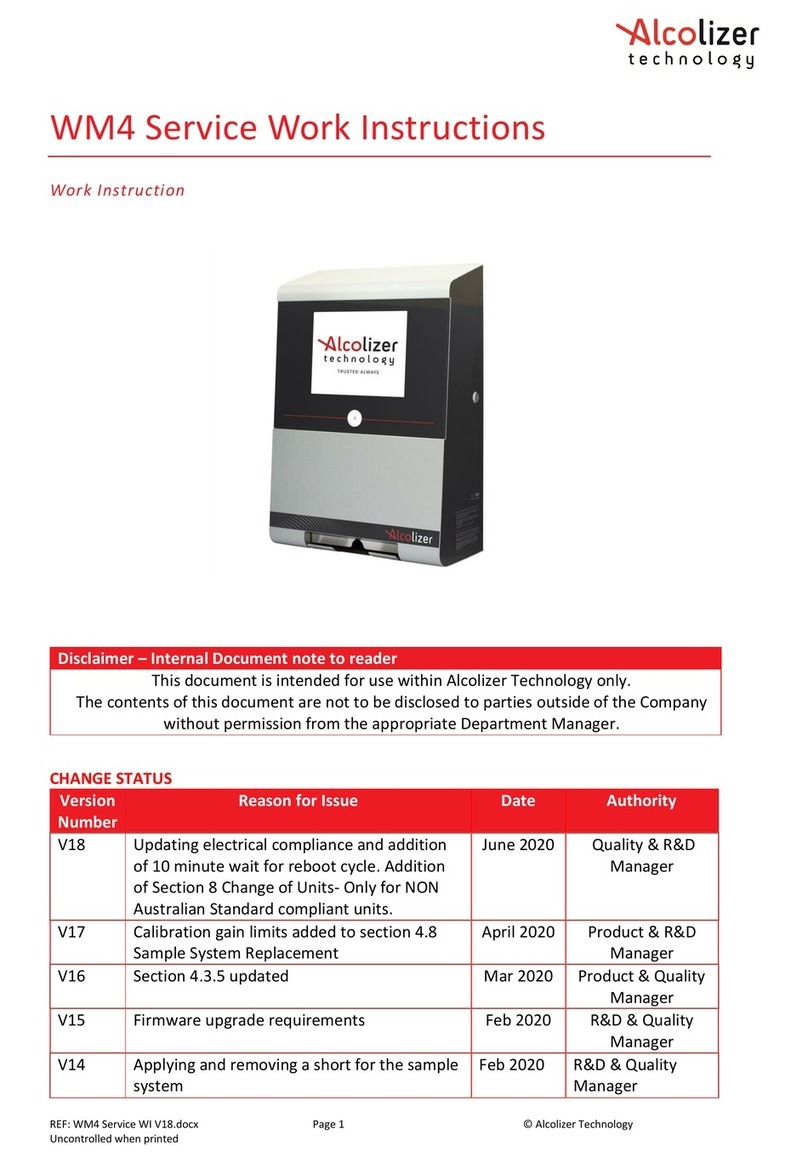
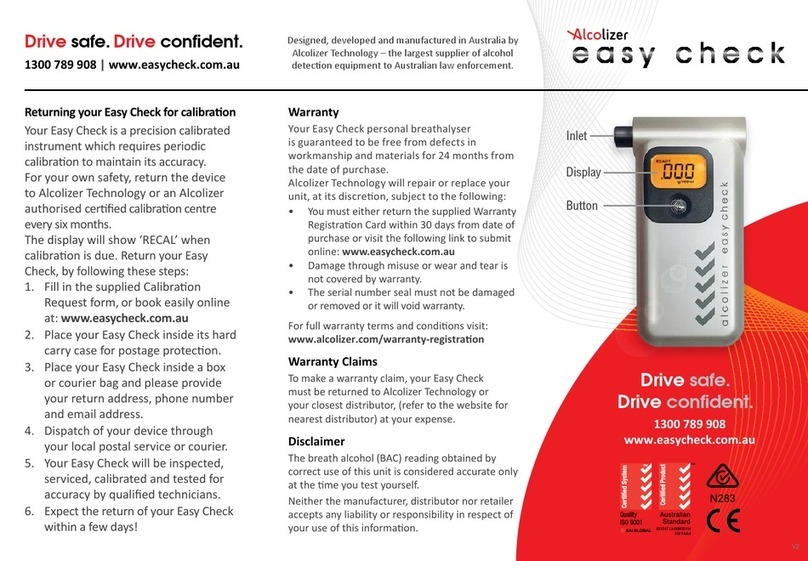
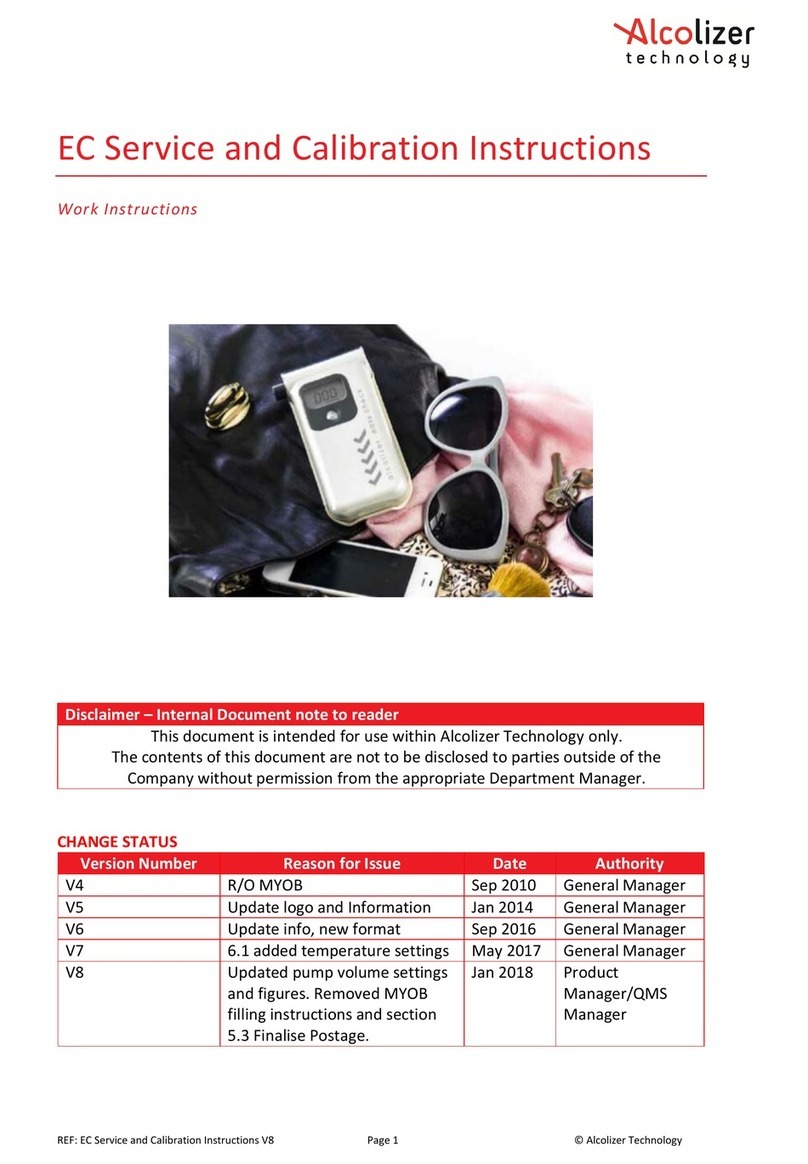
Alcolizer Centurion Quantum User manual

Centurion Quantum
User Manual
REF: Centurion Quantum User Manual V2.docx Page 1 © Alcoli er Technology
Uncontrolled when printed.
The BrAC reading obtained by correct use of this device is only considered accurate at the
time of testing. Great care has been taken to ensure the accuracy of each reading.
Neither the manufacturer, the distributor, nor the owner accepts liability or responsibility
due to any action or claim arising from the reading produced by this device, whether used
correctly or incorrectly.

Centurion Quantum
User Manual
REF: Centurion Quantum User Manual V2.docx Page 2 © Alcoli er Technology
Uncontrolled when printed.
Contents
1
Introduction ....................................................................................................................... 5
2
Description of Centurion Quantum ................................................................................... 6
2.1
The Instrument ............................................................................................................ 6
2.2
Accessories .................................................................................................................. 6
2.3
Specifications............................................................................................................... 6
2.4
Equipment Overview ................................................................................................... 7
2.4.1
External View ....................................................................................................... 7
2.4.2
Internal View ........................................................................................................ 7
3
Installation Procedure ........................................................................................................ 9
3.1
Installing the Back Plate .............................................................................................. 9
3.1.1
Mounting Location ............................................................................................... 9
3.1.2
Mounting Height and Position ............................................................................. 9
3.1.3
Choosing a suitable mounting location ............................................................... 9
3.1.4
Mounting Instructions ......................................................................................... 9
3.2
Mounting and Starting the Instrument ..................................................................... 10
3.2.1
Mounting ............................................................................................................ 10
3.2.2
Electrical Connection ......................................................................................... 10
3.2.3
Electrical Power Supply Plug .............................................................................. 10
3.2.4
Other Electrical Connections ............................................................................. 10
3.2.5
Initial Start-Up .................................................................................................... 11
4
Operating Instructions ..................................................................................................... 12
4.1
Providing a Breath Sample ........................................................................................ 12
4.2
Analysing the Breath Sample .................................................................................... 13
5
Owner Servicing ............................................................................................................... 15
5.1
Cleaning ..................................................................................................................... 15
5.2
Cleaning Frequency ................................................................................................... 15
5.3
Mouthpieces.............................................................................................................. 15
6
User Controls ................................................................................................................... 16
6.1
Buttons ...................................................................................................................... 16
6.2
Status LED Lights ....................................................................................................... 17
6.3
Keyboard ................................................................................................................... 17
7
User Interface .................................................................................................................. 19
7.1
Accessing the User Menu .......................................................................................... 19
7.2
Status ......................................................................................................................... 19
7.2.1
Instrument ......................................................................................................... 20

Centurion Quantum
User Manual
REF: Centurion Quantum User Manual V2.docx Page 3 © Alcoli er Technology
Uncontrolled when printed.
7.2.2
Alcohol Sample Module ..................................................................................... 20
7.2.3
Status Items ....................................................................................................... 20
7.2.4
Network Connections ........................................................................................ 20
7.3
About ......................................................................................................................... 21
7.4
Settings ...................................................................................................................... 21
7.4.1
Instrument Information ..................................................................................... 21
7.4.2
Clock ................................................................................................................... 21
7.4.3
Authorisation ..................................................................................................... 21
7.4.4
Shutdown Instrument ........................................................................................ 22
7.5
Custom Appearance .................................................................................................. 22
7.5.1
General Information .......................................................................................... 22
7.5.2
Background Graphics ......................................................................................... 22
7.5.3
Custom Text ....................................................................................................... 23
7.6
Intervals ..................................................................................................................... 23
7.7
Logs ............................................................................................................................ 24
7.7.1
View ................................................................................................................... 24
7.7.2
Export ................................................................................................................. 25
7.7.3
Exporting ............................................................................................................ 25
7.7.4
Erase Event Logs ................................................................................................ 25
7.8
Networks ................................................................................................................... 26
7.8.1
Configuration ..................................................................................................... 26
7.8.2
Network Setup ................................................................................................... 26
7.8.3
Services .............................................................................................................. 27
7.8.4
Authorisation Over Network .............................................................................. 27
7.8.5
Alcoli er Portal ................................................................................................... 27
7.8.6
Enabling AlcoCONNECT Data Management Portal ............................................ 28
7.9
Email .......................................................................................................................... 29
7.9.1
Email Settings ..................................................................................................... 29
7.9.2
Settings – Mail Template ................................................................................... 29
7.9.3
Settings – Server Test Mail ................................................................................ 30
7.9.4
Test Mail ............................................................................................................. 30
7.9.5
Email Status ........................................................................................................ 31
7.9.6
Email Reports ..................................................................................................... 31
7.9.7
Breath Test Results ............................................................................................ 31
7.9.8
Instrument Status .............................................................................................. 32
7.9.9
Event Log Report ................................................................................................ 32
Centurion Quantum
User Manual
REF: Centurion Quantum User Manual V2.docx Page 4 © Alcoli er Technology
Uncontrolled when printed.
7.10
Relays ........................................................................................................................ 32
7.10.1
Hardware ........................................................................................................... 33
7.10.2
Configuration ..................................................................................................... 33
7.11
Functions ................................................................................................................... 34
7.11.1
Functions Menu ................................................................................................. 34
7.12
Self-Check .................................................................................................................. 35
8
Breath Test Authorisation ................................................................................................ 36
8.1
Authorisation Code Entry .......................................................................................... 36
8.2
Serial Port Authorisation ........................................................................................... 36
8.2.1
Americium Serial Protocol ................................................................................. 36
9
Upgrade Software ............................................................................................................ 37
9.1
Saving software into the USB stick ............................................................................ 37
9.2
Installing the update on your Centurion ................................................................... 37
9.3
Checking the software version in your Centurion .................................................... 38
10
Calibration ........................................................................................................................ 39
10.1
Calibration Interval .................................................................................................... 39
10.2
Alcohol Sample Module (ASM) calibration ............................................................... 39
10.3
Instructions for replacing the ASM ........................................................................... 39
10.3.1
Turn the instrument OFF ................................................................................... 39
10.3.2
Exchanging the ASM .......................................................................................... 40
10.3.3
Main Module servicing ...................................................................................... 40
11
Printer Setup .................................................................................................................... 41
12
Troubleshooting ............................................................................................................... 42
12.1
Contacting Service ..................................................................................................... 42
12.1.1
Routine servicing of the ASM ............................................................................. 42
12.1.2
Contacting Alcoli er ........................................................................................... 42
12.1.3
Returning equipment to Alcoli er ...................................................................... 42
12.2
Troubleshooting FAQ ................................................................................................ 43

Centurion Quantum
User Manual
REF: Centurion Quantum User Manual V2.docx Page 5 © Alcoli er Technology
Uncontrolled when printed.
1 Introduction
This User Manual details the operation of the Alcoli er Technology Centurion Quantum
alcohol breath testing instrument.
Centurion Quantum comes in a variety of models with various configurations. Depending on
the type of Centurion Quantum purchased, this manual may contain information that is not
applicable to your model.
This manual is divided into various sections and sub-sections to enable the user to access
the required information with ease. It includes Warnings, Cautions and Notes applicable to
the Centurion Quantum instrument.
SAFETY WARNING
This device contains no owner serviceable parts. Should the instrument require
servicing please contact Alcoli er Technology on 1300 789 908.
This appliance is not intended for use by persons (including children) with reduced
physical, sensory, or mental capabilities, or lack of experience and knowledge, unless
they have been given supervision or instruction concerning use of the appliance by a
person responsible for their safety.
Children should be supervised to ensure that they do not play with the appliance.
If the supply cord is damaged, it must be replaced by the manufacturer, its service
agent, or similarly qualified persons in order to avoid a ha ard.

Centurion Quantum
User Manual
REF: Centurion Quantum User Manual V2.docx Page 6 © Alcoli er Technology
Uncontrolled when printed.
2 Description of Centurion Quantum
2 1 The Instrument
Centurion Quantum is a wall mounted alcohol breath testing machine. It is designed for high
volume, fixed point commercial and industrial alcohol breath testing applications. The
Alcoli er Centurion Quantum incorporates innovative and patented replacement module
technology, which means no more returning the Breathaly er to base for service, Alcoli er
Technology simply ships you an exchange module.
2 2 Accessories
The Centurion Quantum has the following accessories available:
• Alert System (LED Strobe and Bu er)
• Card Reader
• iPad Connectivity, (using Wi-Fi connection router)
• Printer
• Wiegand
Some accessories require specific installation and operating instructions. Please contact
your Alcoli er Technology representative for further advice.
2 3 Specifications
Item Specification
Dimensions 410m (H) x 210mm (W) x 110mm (D)
Weight 5kg
Power 100-240V
∿
50/60H 60W
Housing Steel construction
Sensor Alcohol specific electrochemical fuel cell
Response Time Within 3-5 seconds for a 0.100g/210L BrAC reading
Display - Type 18cm (7”) colour graphics LCD
Recovery Time Instantaneous for 0.000 BrAC readings (reading remains on
screen for 10 seconds
Operating Temp -10 to 55°c
Storage Temp -10 to 70°c
Measurement Display 4 Digits (x.xxx g/210L BrAC)
Detection Range 0.000 - 0.500 g/210L
Accuracy Absolute accuracy to better than +/- 0.005 g/210L (BrAC)
Sample volume 1.0 Litre
Minimum Air Flow Rate
10 L/min
Calibration 12-month module exchange system for on-site calibration
Certifications
AS3547 – 2019: Breath alcohol testing devices for
personal use
AS/NZS 3100:2017: General requirements for electrical
equipment

Centurion Quantum
User Manual
REF: Centurion Quantum User Manual V2.docx Page 7 © Alcoli er Technology
Uncontrolled when printed.
2 4 Equipment Overview
With a long-lasting and durable steel construction, Centurion is manufactured to withstand
long-term use. Weighing under 10kg, Centurion can be wall mounted in multiple, accessible
locations. A large display screen also makes for clearer and easier reading of displayed
results.
2 4 1 External View
2 4 2 Internal View

Centurion Quantum
User Manual
REF: Centurion Quantum User Manual V2.docx Page 8 © Alcoli er Technology
Uncontrolled when printed.
Male Lift Off
Hinge
Mounting Holes
Mounting Holes

Centurion Quantum
User Manual
REF: Centurion Quantum User Manual V2.docx Page 9 © Alcoli er Technology
Uncontrolled when printed.
3 Installation Procedure
3 1 Installing the Back Plate
3 1 1 Mounting Location
When choosing a suitable mounting location, the following factors should be considered:
The instrument must be mounted on a wall or structure that can support the weight
of the instrument.
The instrument must not be exposed to rain or water.
The instrument should be mounted near to a mains power socket to allow for easy
connection and network point if advanced connectivity functions are being used.
The instrument must not be exposed to extreme temperatures outside of the
defined operating range (see Product Specifications Table).
3 1 2 Mounting Height and Position
The instrument must be mounted and positioned at a height to accommodate the majority
of expected users and in such a way to allow access to the key lock and to allow the machine
to swing open.
3 1 3 Choosing a suitable mounting location
The Centurion Quantum is designed to be a rugged device however consideration must be
made to its physical location and the possible environmental impacts on the instrument,
particularly from the weather.
The ideal mounting location is indoors, in an ambient, temperature and humidity-controlled
environment. This is typically what you would find in a normal office environment.
The Quantum is designed for industrial and commercial uses which may not lend itself to
the “ideal mounting location” and may necessitate its mounting outdoors or in other
“uncontrolled environments”. In this case consideration must be made towards optimi ing
the mounting and ensuring the instrument operates within its design specifications.
Aspects to consider when mounting the Centurion:
Ensure the instrument is protected from the direct effects of the weather, in
particular that it has shelter from rain and other forms of moisture e.g., snow, frost,
condensation.
The instrument should not be mounted in the path of direct sunlight – this can raise
the internal temperature of the instrument beyond its design specifications.
In particular, watch for the changing angel of the sun e.g., the morning or setting
sun, winter sun vs. summer sun when positioning the instrument.
3 1 4 Mounting Instructions
Mount the back plate in accordance with the following procedures:
1 Unpack and remove the instrument from the packaging. Unlock the instrument and
remove the back plate from the unit.
2 Choose a suitable mounting site as described previously.
WARNING
When the unit is open or not installed on the back plate, electrical components are
exposed. Ensure electrical power is isolated at the supply power point whenever the unit
is open unless specifically required for special troubleshooting requirements.

Centurion Quantum
User Manual
REF: Centurion Quantum User Manual V2.docx Page 10 © Alcoli er Technology
Uncontrolled when printed.
3 Remove any cutaway portions on the back plate to permit cable access if applicable,
such as an Ethernet cable.
4 Fix the back plate to the wall using masonry fixing hardware (e.g., medium duty
anchors).
5 The fixings should be strong enough to support the instrument weight and any
incidental loading such as a person leaning or pulling on the instrument.
3 2 Mounting and Starting the Instrument
3 2 1 Mounting
Mount the instrument in accordance with the following procedures:
1 Using an assistant if required, hang the instrument onto the back plate by aligning
the male lift off hinge pins on the back plate with the main instrument female hinge
tubes.
2 Confirm the instrument swings effectively and does not impact any other fixtures.
3 Route any cables to avoid damage and trip ha ards.
4 Visually check that there are no loose components from transportation.
5 Remove any packing materials.
6 Remove the screen protector film from the front of the display screen.
3 2 2 Electrical Connection
The Quantum should be provided with an independent electrical supply and should not be
dependent upon a third-party device for power.
Quantum will automatically power up in the presence of a mains input.
3 2 3 Electrical Power Supply Plug
The Quantum is provided with an electrical plug suitable for use within Australia. Should a
need arise to replace this plug please refer to the ‘Wall Mounted Products Technical
Manual’.
3 2 4 Other Electrical Connections
The Quantum has a variety of input/output ports for connecting peripherals. For guidance
on how to connect to/from these ports please consult the ‘Wall Mounted Products
Technical Manual’.
WARNING
Do not use adhesives as the method of fixing as these are not considered to be a reliable
or safe fixing means for the Centurion Quantum.
WARNING
The correct way to turn Quantum off is to open the back panel and press the “OFF”
button. It is not recommended to turn the supply off or unplug the device from the
socket as this can damage instrument log retention and discharge the emergency back-up
battery unnecessarily.

Centurion Quantum
User Manual
REF: Centurion Quantum User Manual V2.docx Page 11 © Alcoli er Technology
Uncontrolled when printed.
3 2 5 Initial Start-Up
Perform the following steps for the initial start-up:
1 The Centurion will automatically begin the start-up process once you plug it into
mains power.
2 The instrument will take several minutes to start up. The loading screen will be
visible.
3 The instrument is ready to use when the display screen is visible and ready to receive
a sample.

Centurion Quantum
User Manual
REF: Centurion Quantum User Manual V2.docx Page 12 © Alcoli er Technology
Uncontrolled when printed.
4 Operating Instructions
4 1 Providing a Breath Sample
Perform a breath test in accordance with the following procedure:
a. Ensure the instrument is ready to take a sample. This is indicated with a welcome
screen and instructions on how to provide a breath sample.
a. There may be a specific customer welcome screen.
b. Take a straw from the straw holder provided.
a. Alcoli er recommends the use of individually wrapped straws.
c. Place the straw in the sample port
d. Start blowing and continue blowing until the progress bar reaches 100%. During the
blow sequence, a beeping sound will be heard.
PRE-TESTING NOTE
Users should follow good hygiene practices and we recommend donors wash their
hands before and after using the instrument
For accurate testing results, food, beverages, medications, smoking, vaping, or
substances that contain alcohol should not be consumed for at least 15 minutes prior
to testing.
Allow 15 minutes for any potential interfering alcohol to be cleared from the donor
before testing again.
It is recommended not to clean the instrument with high-alcohol content materials;
residual alcohol can cause background interference which a sensitive breathalyse will
detect.
Breath alcohol concentration can continue to rise for up to 2 hours after the cessation
of drinking and care should be taken if a result close to the designated breath alcohol
concentration is indicated.
When a high breath alcohol level has been reached, it can take 10 hours or more for
the breath alcohol level to return to ero.
If the test result is above the operational maximum limit, a plus sign (+) after the result
will be displayed.
CAUTION
Never inject fluids into the sample port. This could render the instrument inaccurate for
subsequent tests or temporarily disable it and may void any instrument warranty

Centurion Quantum
User Manual
REF: Centurion Quantum User Manual V2.docx Page 13 © Alcoli er Technology
Uncontrolled when printed.
e. Stop blowing when the display shows Stop Blowing. This will also be indicated by a
long beep.
f. After each test, ensure straws are disposed appropriately according to your local
authority disposal regulations.
4 2 Analysing the Breath Sample
The instrument will perform an analysis and then display the result.
The colour of the display is programmed to change according to the level of alcohol
detected:
If the BrAC detected is ero, the display will be green

Centurion Quantum
User Manual
REF: Centurion Quantum User Manual V2.docx Page 14 © Alcoli er Technology
Uncontrolled when printed.
from 0.001 to 0.046g/210L, the display will be orange
and for readings above 0.046 g/210L, the display will be red. The result will continue to be
displayed while the instrument resets itself ready for the next test. For ero readings this
will typically be about ten seconds but will be longer for increased alcohol readings.
Invalid Sample
The invalid blow screen is displayed if the user
stops blowing before 1.0L of breath is recorded,
blows too softly
blows too hard
doesn’t blow for long enough.
If the blow is invalid, cease blowing, wait until the Insert Straw and Blow screen is displayed
and then provide another sample.

Centurion Quantum
User Manual
REF: Centurion Quantum User Manual V2.docx Page 15 © Alcoli er Technology
Uncontrolled when printed.
5 Owner Servicing
5 1 Cleaning
We recommend daily outside cleaning of the instrument and surrounding surfaces.
Main body - Clean by wiping it over with a soft moist cloth followed by a soft dry cloth.
Screen – the screen of the machine can be cleaned by wiping it over with a soft
moist cloth followed by a soft dry cloth.
Sample Module - It is recommended that the instrument is turned off before cleaning.
Disconnect the sample module by unscrewing the Knob Thumb.
We recommend cleaning be conducted using appropriate personal protective equipment
(PPE) e.g.: gloves
The instrument should be cleaned with a soft cloth and antibacterial spray
Do not use harsh cleaning agents,
Do not use alcohol-based cleaning products, abrasive cleaning pads or chemicals.
Non-alcohol-based cleaning wipes can be used to clean the Centurion Quantum
As part of routine cleaning, use the brush provided to clean out the Centurion Quantum
sample port as follows:
Insert the brush bristles into the sample port
Do not exceed the length of the bristles through the sample port.
Continue a backward & forward motion with the brush for about 5 minutes.
Test by blowing a breath sample through the unit.
5 2 Cleaning Frequency
1. The Sample Port and Flow Diverter should be cleaned at least daily or as required
based on the volume of testing and local conditions.
2. The Main Body of the instrument and the Screen should be cleaned at least daily or
as required based on the volume of testing and local conditions.
5 3 Mouthpieces
The Alcoli er Centurion Quantum has been designed for use with standard drinking straws.
For the supply of individually wrapped, hygienic, biodegradable straws, contact Alcoli er.

Centurion Quantum
User Manual
REF: Centurion Quantum User Manual V2.docx Page 16 © Alcoli er Technology
Uncontrolled when printed.
6 User Controls
6 1 Buttons
Inside the Centurion Quantum are buttons which can be used to access certain menus
during setup and fault finding. Users should not access the machine and press these buttons
unless following instructions in this manual, or instructions verbally given when in contact
with your Alcoli er Technology technical representative.
Access the buttons by unlocking the Centurion Quantum and swinging it gently open. The
buttons are located on the main circuit panel.
The only buttons that users need to operate are FN1, FN4 and OFF. Do not touch the other
buttons.
The buttons have the following functions:
FN1: Show/hide the Status page. Does the same as pressing F1 on the keyboard.
FN4: Save the event log to USB flash memory. This opens the ‘Functions Menu’ on
the instrument front screen.
OFF: Power-off and power-on the instrument.
o If the instrument is running, press and release once to power down.
o If the instrument is powered off, press once to start up.
WARNING
When the unit is open or not installed on the back plate, electrical components are
exposed. The following steps require the user to open the Centurion Quantum with
power applied. During the procedures ensure only the buttons mentioned are activated.
Do not come in contact with any exposed components.
WARNING
The only correct way to power the instrument down is to press & release the OFF button.
Pressing and holding the OFF button is a service only function and may cause irreparable
damage to the instrument.

Centurion Quantum
User Manual
REF: Centurion Quantum User Manual V2.docx Page 17 © Alcoli er Technology
Uncontrolled when printed.
6 2 Status LED Lights
The Centurion status can also be assessed by viewing the status LEDs on the main circuit
board while the unit is on. Only STAT4 and STAT5 LEDs display status. STAT4 displays the Log
Export State and STAT5 displays the Centurion State.
The LEDs various displays indicate the following:
STAT4:
o LED Off - Log save not in progress
o LED On - Log save triggered or in progress
STAT5:
o LED fast blinking – Reset
o LED two short pulses – Starting up
o LED continuous one short pulse – Running
o LED steady blinking – Shutting down
o LED on – Shut down (power still connected and on)
o LED off – Unit Off
If any other blinking patterns are noticed, contact your authorised Alcoli er service
technician on 1300 789 908.
6 3 Keyboard
A standard 101 style keyboard (with a standard USB connection) or a wireless keyboard can
be connected to the Centurion to access certain menus during setup and fault finding. Users
should not access the machine and attach a keyboard unless specifically following
instructions in this manual or verbal instructions when in contact with your Alcoli er
Technology technical representative.
Access the USB ports by unlocking the Centurion and swinging it gently open. There are four
ports located on the main circuit panel.
WARNING
When the instrument is open or not installed on the back plate, electrical components are
exposed. The following steps require the user to open the Centurion with power applied.
Do not come in contact with any exposed components.
CAUTION
Use care when inserting the connector to the port to ensure neither are damaged.

Centurion Quantum
User Manual
REF: Centurion Quantum User Manual V2.docx Page 18 © Alcoli er Technology
Uncontrolled when printed.
Once the keyboard is connected, access to the menu is available.
The keyboard functions are as follows:
F1: Toggle Status screen
F4: Save event log
Alt: Toggle instrument configuration menu
Esc: Toggle instrument configuration menu
Alt+up: Switch to previous configuration page
Alt+down: Switch to next configuration page
Alt+left: Switch to previous tab or page
Alt+right: Switch to next tab or page
Ctrl+Alt+P: Write screen shot to USB
TAB: Used to navigate within the page across different sections.
Note
Use only the left Alt key. The right Alt key has no function.
The spacebar has the same functionality as the Enter key in normal usage. When entering
data, use the spacebar not the Enter key.
USB Connectors x 4

Centurion Quantum
User Manual
REF: Centurion Quantum User Manual V2.docx Page 19 © Alcoli er Technology
Uncontrolled when printed.
7 User Interface
7 1 Accessing the User Menu
To access the User Menu, perform the following steps:
1. Connect a keyboard in accordance with paragraph 6.3.
2. Press the F1 key to access the Centurion Quantum User Menu area.
3. Press the left Alt key to bring up available menu choices.
4. Press the down key and move down to the required menu (e.g., Settings).
5. Press left Alt to hide the menu and give clear access to the selected page.
7 2 Status
The status page provides a variety of information for the user:
NOTE
A mouse can be used to operate the various User Interface menus. Connect the mouse or
mouse wireless connector in the same manner as the keyboard.

Centurion Quantum
User Manual
REF: Centurion Quantum User Manual V2.docx Page 20 © Alcoli er Technology
Uncontrolled when printed.
7 2 1 Instrument
Serial Number: A number that uniquely identifies the Centurion Quantum. This
number is also printed on the side panel safety label located on the side of the
instrument.
Software Version: The version of software running in the Centurion Quantum (e.g.,
fm-17.0).
7 2 2 Alcohol Sample Module
Serial Number: A number that uniquely identifies the Alcohol Sample Module.
Application Version: The version of software running in the Alcohol Sample Module
(e.g., 2.06).
Days to Calibration: Total days until the next calibration is due.
7 2 3 Status Items
Each status item is classified as one of the following.
Fault: The instrument has encountered a critical error and is unable to perform
breath analysis. The fault must be manually cleared (or repaired) by an authorised
Alcoli er service technician on 1300 789 908
Alert: The instrument has encountered a temporary condition that is preventing the
unit from performing breath analysis. The alert will clear automatically. Breath
analysis is disabled if an alert is active.
Warning: The instrument has discovered a problem but is able to function normally
(for the time being).
Notice: Information that might be useful to a technician but in no way represents a
problem with the instrument. Breath analysis is enabled if a notice is active.
Disabled: Breath testing is disabled for a reason other than a fault or alert.
7 2 4 Network Connections
The Network Connections area shows status information for the Centurion Quantum
Ethernet port.
A valid network connection is not required for the instrument to operate correctly,
however if a Centurion has an internet connection, the date and time will be
automatically adjusted.
If connected to a valid network the instrument's IPv4 address is displayed (e.g.,
192.168.15.133).
If not connected to a valid network, none available is displayed.
NOTE
Status items are displayed to the user on the Status page in the instrument's current
language. Each status item also includes a unique code to help identify the status item
when the instrument is in a different language.
WARNING
When the instrument is open or not installed on the back plate, electrical components are
exposed. The following steps require the user to open the Centurion with power applied.
Do not come in contact with any exposed components.
Table of contents
Other Alcolizer Test Equipment manuals

Alcolizer
Alcolizer Druglizer LE5 User manual

Alcolizer
Alcolizer WM4 User manual

Alcolizer
Alcolizer HH4 User manual

Alcolizer
Alcolizer Druglizer LE5 User manual

Alcolizer
Alcolizer Easy Check User manual

Alcolizer
Alcolizer Druglizer LE5 User manual

Alcolizer
Alcolizer Druglizer LE5 User manual

Alcolizer
Alcolizer LE 5 User manual

Alcolizer
Alcolizer Druglizer LE5 User manual

Alcolizer
Alcolizer EC Calibration Station Operating instructions