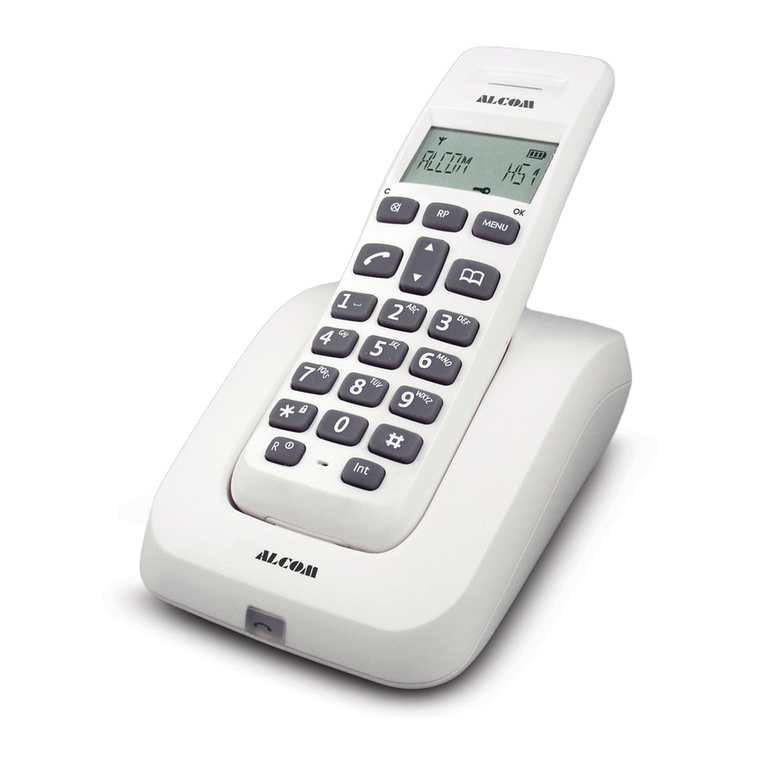
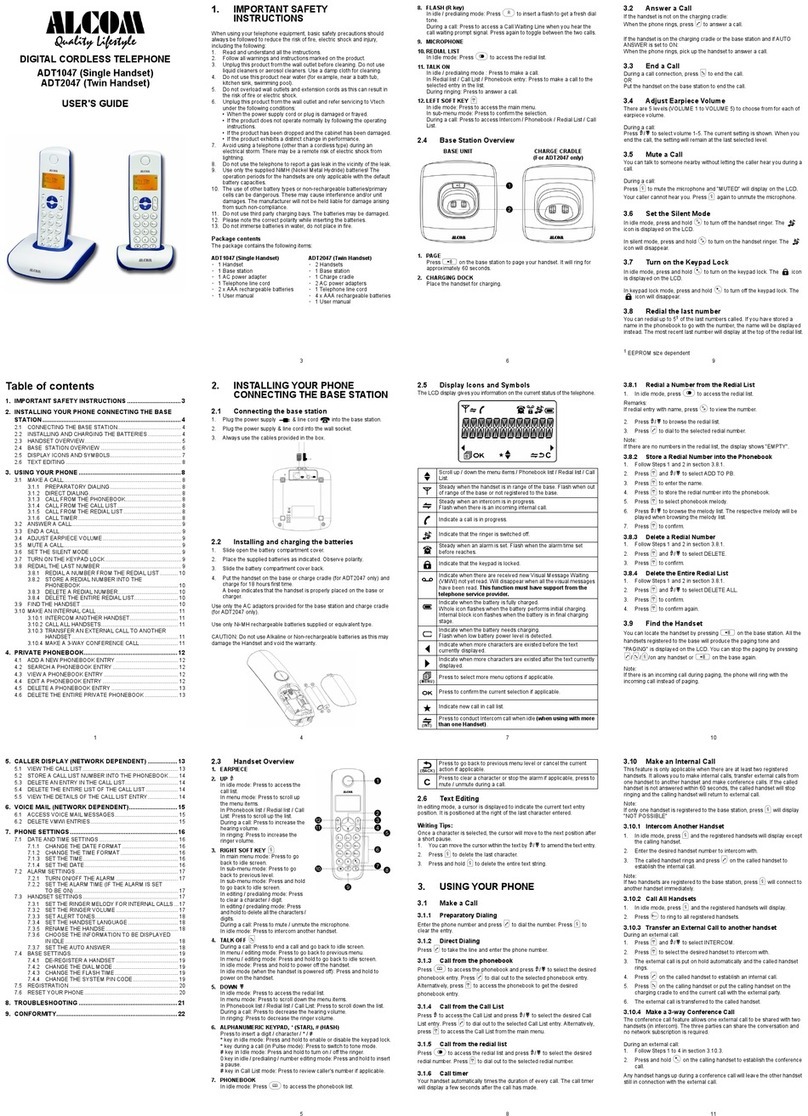
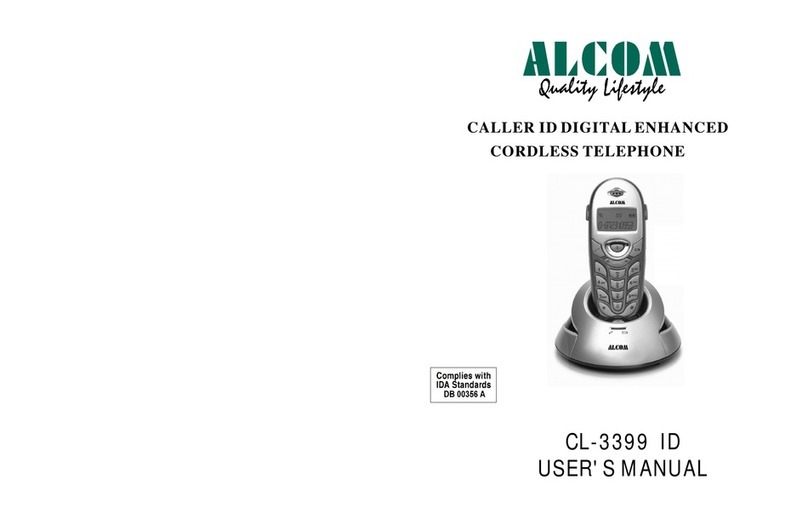
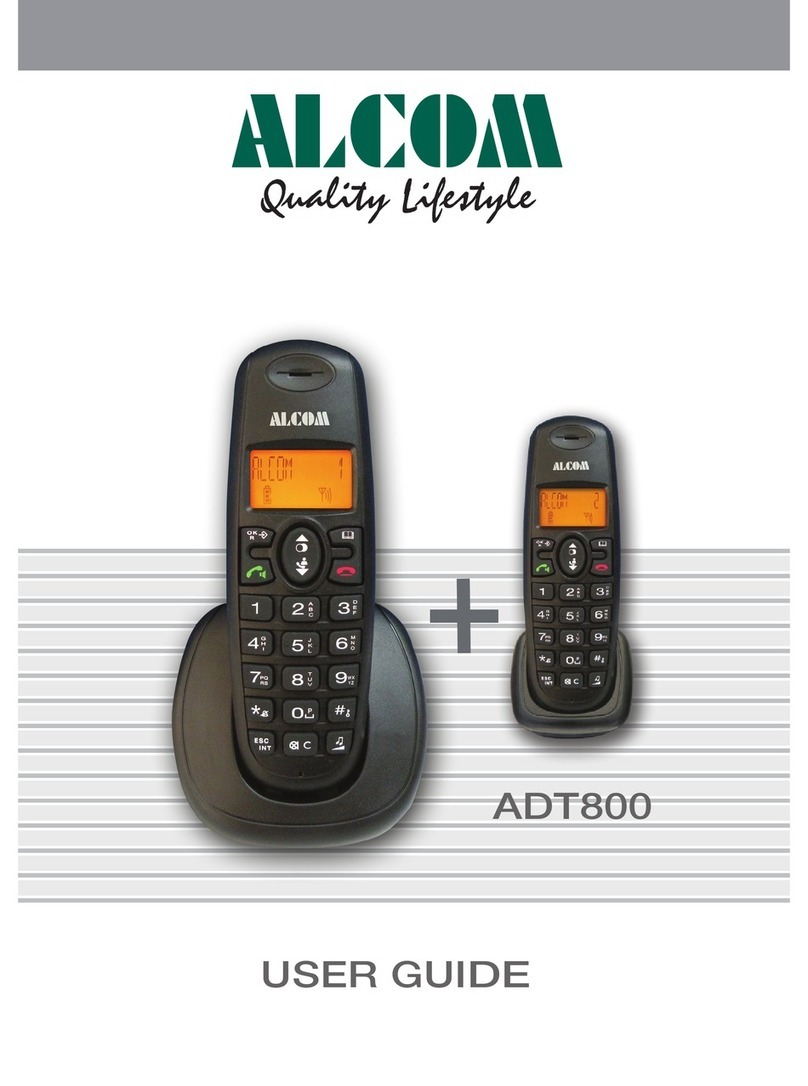
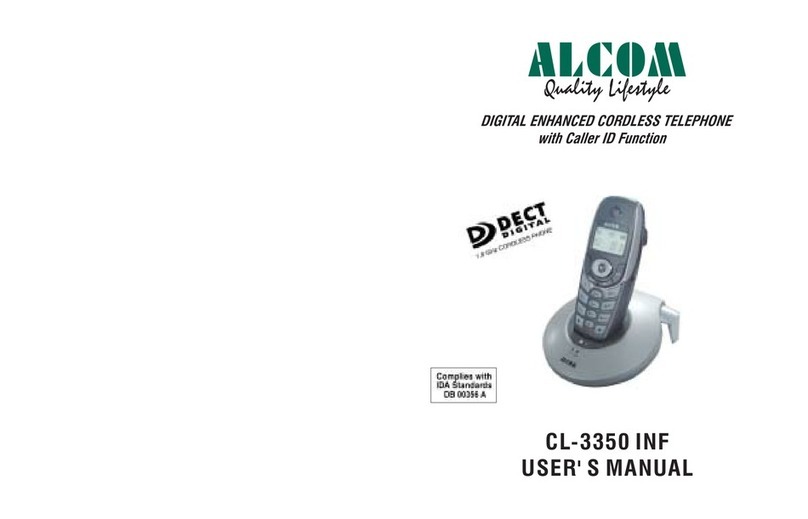
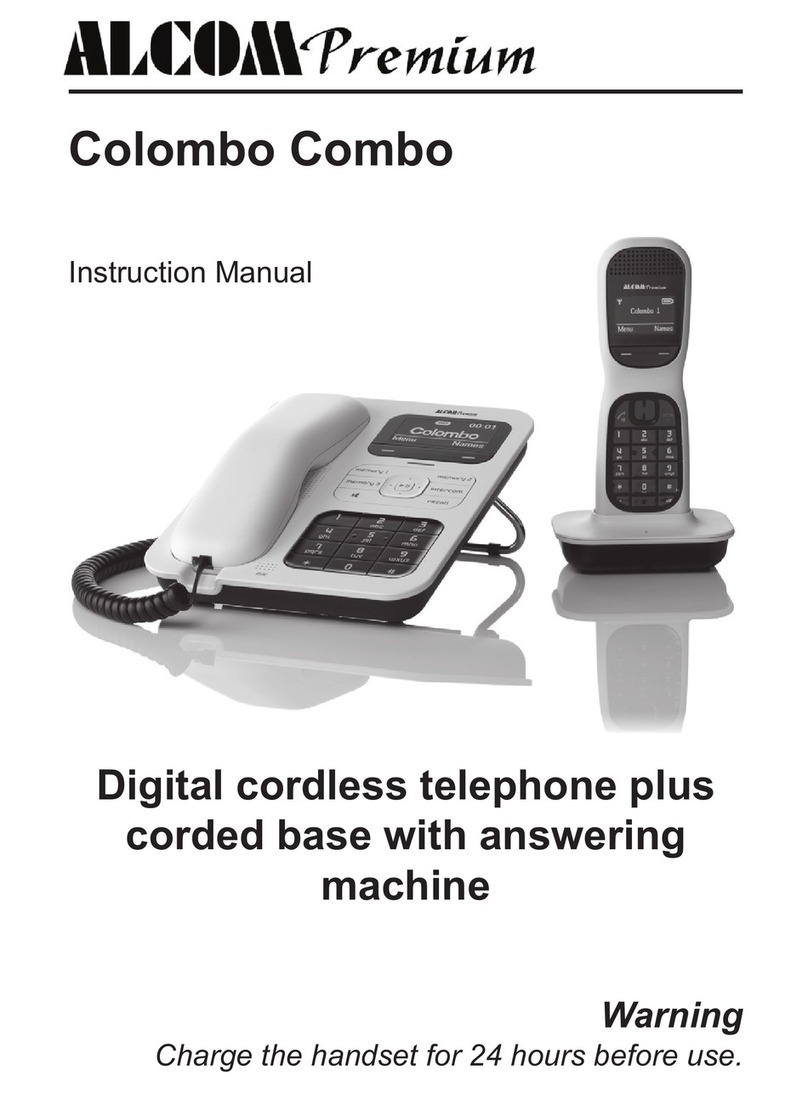
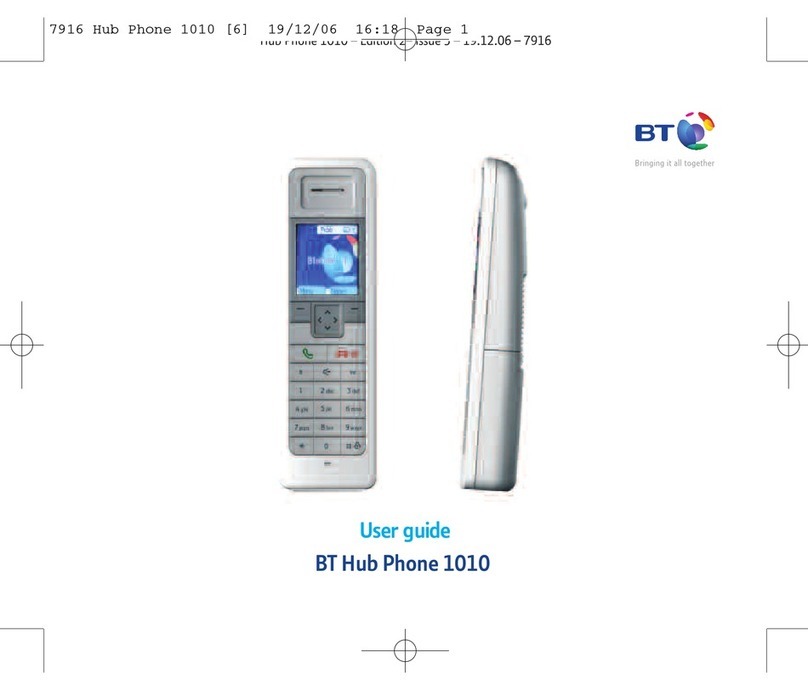
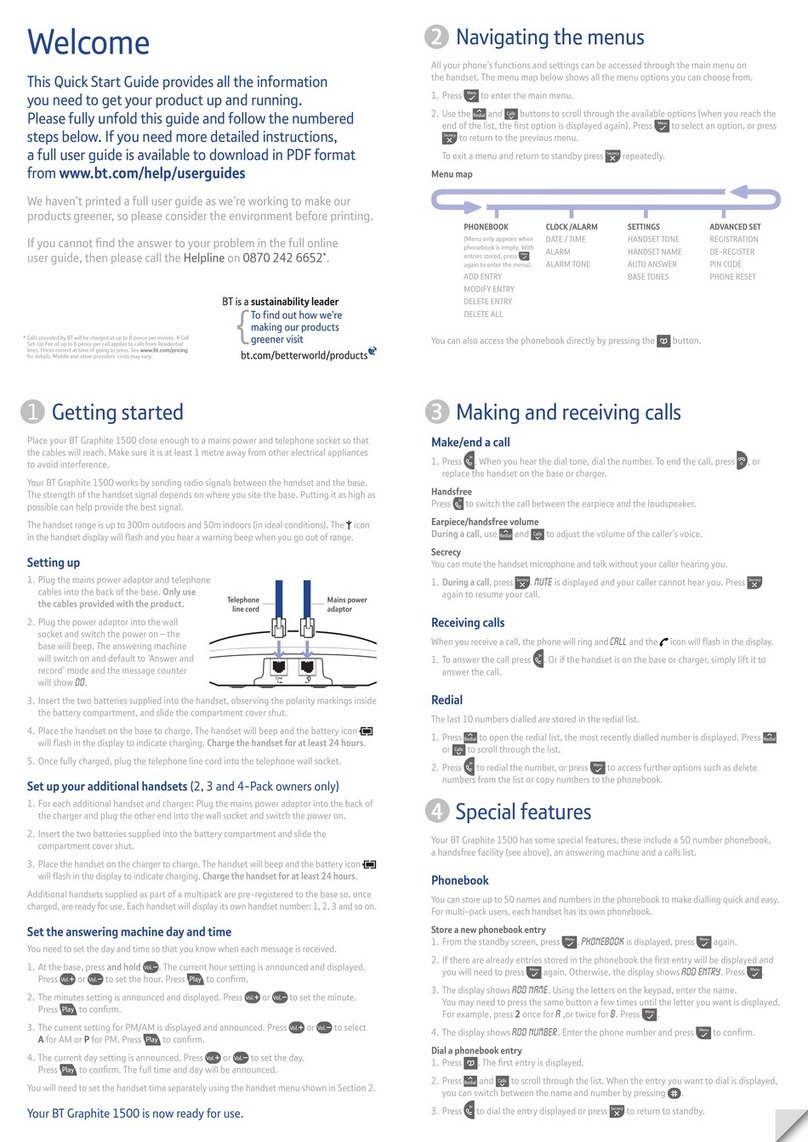
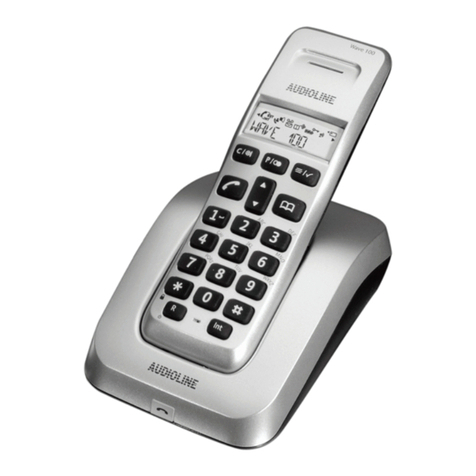
ALcom CL-3121 IDM User manual


CL-3121 IDM
ULTRA CLEAR LONG RANGE
CALLER ID CORDLESS PHONE
USER'S MANUAL
Approved by IDA for
use in Singapore.
DB 00356A
900MHZ (924-925MHz)

PART 5: Things you should know PAGE 21
NOTE: When you use the unit for the first time, please do as the following step:
1. Plug the DC adaptor to the wall outlet firstly.
2. Then connect the telephone line.
Pay attention to the sequence of the process. It is important.
Before charging the cordless handset, please remove the battery cover from the back
of your handset and plug the battery's plug into it's jack.
To avoid the electromagnetic interference, please keep the base unit away from
electronic appliances, such as a TV, personal computer, or another cordless phone. And it
will be better to put it in a HIGH and CENTRAL location with no obstructions.
When a power failure occurs
During a power failure, you cannot make or answer calls on the cordless handset or on
base speakerphone. But you still can use the base corded handset to make or answer
calls, and the redial and memo numbers stored in the base will be retained even if a
power failure occurs.
The programmed contents will be retained even if power failure occurs.
The redial and memo dial numbers stored in the handset will be retained even if the
handset battery runs down.
Statements to the user:
Conversations performed using this device are liable to eavesdropping and their privacy
is not ensured.
Operation of this device is subject to the following two conditions:
1) The device shall not cause harmful interference.
2) The user shall accept any interference received by the device.
If you are unable to solve the problem, please always bring
together to the service department.
IMPORTANT NOTE : cordless
handset & base unit
MENU
Feature list
Getting started
Telephone operations
Special functions
Operations for caller ID
Things you should know
Accessories
Connecting
Charging
Front view
LCD information
Digital security
Handset On/Off switch
Setting
Making & answering calls
Last number redial
Channel selection(40 channels)
Flash function
Memory Operations
Transferring calls
Intercom function
65536 combination security coding
Out of range detection
Base unit location/noise
Caution
Troubleshooting
2
2
3
3
7
7
9
18
18
18
19
8
5
16
2
7

PART 5: Things you should know
PAGE 20
* You may have too many extension phones on your
telephone line to allow all of them to ring.
Try unplugging some of the other phones.
lf you hear noise or static * Move close to the base unit.
during a phone conversation * keep the base unit away from personal computer,
family video, game Machines and facsimiles.
* Press the " " button to switch to another channel
The TV or VCR picture be- * Install the base unit as far away from the TV or VCR
comes distorted while talking as possible.
Interference and noise on line * Move away from TV, VCR, Computers, Fax Machine,
Electronic Equipment and other Motor Machine. Please
Avoid using two cordless telephone sets.
If the LOW BATTERY indicator * The battery needs recharging.
on the display
Ifthebatterywillnotbecharged *Nevertouchthebatterycontactsonthebaseunitand
at all handset with sweaty or dirty hands. Contamination of
the battery contact may result in charging failure.
If the battery contacts are contaminated, clean them
with cloth or swab.
Problem Cause & Remedy
CH.
PART 0: Feature list
1.
2. FSK+DTMF dual system Caller ID cordless telephone
3. Stores up to 70 calling numbers in base unit, 60 calling numbers in cordless handset
4. Stores up to 45 dialled numbers in base unit, 10 dialled numbers in cordless handset
5. Line transfer between handsets and base unit
6. 40 channels auto scan
7. Last number redial
8. Speakerphone in base unit
9. Pause,
11. Speaker/Talk volume select
12. Ringer volume/melody select on handset
13. Compander circuit for noise reduction
14. LCD indicates: channel number, operation mode, dial digits, real time and memory dial
digits
15. T
16. Out of range warning tone
17. Low battery indicator
18. Pre-enters dial digit with edit function
19. Back light on handset
20. Area code filter
21. Multi-handset compatibility, up to 3 handsets
Flash
10. 10 two-touch memory numbers with 30 digits
imer
900MHz (924-925MHz) ultra clear long range
PAGE 1

PART 5: Things you should know PAGE 19
5. Recharge only the battery(ies) provided with or identified for use with this product. The
battery may leak corrosive electrolyte or explode if it is not the correct type.
6. When inserting the battery into this product, the proper polarity or direction must be
observed. Reverse insertion of batteries can cause charging that may result in leakage or
explosion.
7. Do not store this product, or the battery(ies) provided with or identified for use with this
product, in high-temperature areas. Batteries should be stored in a freezer or refrigerator for
the purpose of extending shelf life and stabilized at room temperature prior to use after
cold storage.
8. Disconnect telephone lines before installing batteries.
5-C. Troubleshooting
If you experience trouble with your unit, please check the following before sending for
service
The unit does not work * AC adaptor unplugged or in case of a power failure.
If you hear two long beeps * The handset is being used beyond the range of the
When you try to use your handset base unit or the base unit and the handset are set
different security code. Reset code if necessary.
* Move close to the base unit. Then, try again a few
seconds later
If the phone does not ring when * Make sure the telephone line cord is connected
you receive a call Firmly to the base unit and the telephone jack.
* Make sure the AC adaptor is plugged into an outlet
not controlled by a wall switch.
* You may be too far from the base unit. Move close
to the base unit.
Problem Cause & Remedy
PART 1: Getting started
1-A. Accessories
Two AC Adaptors(Three
for twin-handset pack)
First carefully remove your phone from the giftbox. In addition to one cordless handset
(two for twin-handset pack), one charger (two for twin-handset pack) , one corded handset
and one telephone base, each carton contains the following accessories:
One user's manual One battery (Two for
twin-handset pack)
One telephone line cord
1-B. Connecting
A. CONNECTING BASE UNIT B. CONNECTING CHARGER
Telephone Line Cord
Single-Line
Telephone
Jack
AC Adaptor
LINE
PART 1: Getting started
PAGE 2
CL-3121 IDM
ULTRACLEARLONG RANGE
CALLERID CORDLESS PHONE
USER'S MANUAL
ApprovedbyIDA for
useinSingapore.
DB00356A
900MHZ(924-925MHz)

PAGE 18
5-A. Base unit location/noise
Calls are transmitted between the base unit and the handset using wir less radio waves.
For maximum distance and free of operation, the recommended base unit location is:
e
Away from electrical
appliances, such as a TV,
personal computer or
another cordless phone.
InaHIGHandCENTRAL
location with no
obstructions such as walls.
Note:
While using the handset:
--- If you are near a microwave
oven which is being used, noise
may be heard at the receiver.
Move away from the microwave
oven and closer to the base unit.
--- If more than one cordless phone
is being used and your handset
is near another cordless phone's
base unit, noise may be heard.
Move away from the other
cordless phone's base unit and
closer to your base unit.
To reduce the risk of fire or Injury to Persons, read and follow these instructions.
1. Use only the battery(ies) pack type provided with the unit.
2. Do not dispose of the battery(ies) in a fire. The cell may explode. Check with local codes
for possible special disposal instructions.
3. Do not open or mutilate the battery(ies). Released electrolyte is corrosive and may cause
damage to the eyes or skin. It may be toxic if swallowed
4. Exercise care in handing battery(ies) in order not to short the battery with conducting
materials such as rings, bracelets, and keys. The battery or conductor may overheat and
cause burns.
5-B. Caution
PART 5: Things you should know
1-C. Charging
Please place the cordless handset
onthechargerinbaseorcharger.
n
Charge it for hours before
initial use.
24n
Red
Bl ac k
Battery
n
n
Before charging, please plug the battery
connector into the jack properly.
Put the cover of battery into the cordless handset.
(a) (b)
1-D. Front view
(a)Base unit
NOTE: Whenever battery is low, battery low icon will show on the LCD.
CHARGE INDICATOR LIGHT
HOOK
SWITCH
VOL.
SPEAKER
CID
PAUSE
MEMO
CODE
INT
FLASH
SET REDIAL SPEAKERPHONE
BUTTON
MIC
CHARGE CONTACTS
LCD DISPLAY IN USE LED
BUTTON
DEL
BUTTON
BUTTON
CHARGER LED
CHARGE INDICATOR LIGHT
CORDED HANDSET
PART 1: Getting started PAGE 3

PART 4: Operations for caller ID PAGE 17
When the LCD shows calling number, press button once to delete the call number. Press
and hold for about 3 seconds to delete all the calling numbers, a confirmation tone will
be heard, and the LCD shows NO CALL. ( button on the base )
Deleting the calling number
DEL/
DEL/
DEL
CID or TALK/ST-BY
OPERATION:
TALK
ST-BY
CID
s
t
(b)Handset unit
HANDSET ANTENNA
RECEIVER
IN USE LED
LCD
FLASH
MEMO
PAUSE
DEL/
INT/TRANS.
REDIAL
CID
SET/VOL.
CH.
MIC
TALK/ST-BY
CHARGE CONTACTS
PART 1: Getting started
PAGE 4
Using the Cordless Handset
1. Press button, the LCD will show the last called number ,
the sequence, the date & time and icon will flash.
Press button to review the other called number, press
key to review the other digits of the number if the number
contains more than 12 digits. Press button to exit.
2. If you get the desired number shown on
the LCD, press button, the number
will be dialled out. Or press button
to dial out the number with first digit .
CID
0
CID
TALK/ST-BY
CH.
0
stor
the
,
1. Press button, the LCD will show the last called
number, the sequence, the date & time and the icon
will flash. Press button to review the other called
numbers, press key to review the other digits of the
number if the number contains more than 14 digits. Press
button to exit.
Making a call from caller ID list
CID
0
CID
Using the Base Unit
stor
2. If you get the desired number shown on the
LCD, press button or pick up the
handset, the number will be dialled out. Or press
button to diall out the number with first digit 0.
SPEAKERPHONE
CODE
CID or SPEAKERPHONE
OPERATION:
CID
SPEAKERPHONE

PAGE 16
OPERATION:
OPERATION:
REDIAL or TALK/ST-BY
REDIAL or SPEAKERPHONE
TALK
ST-BY
REDIAL
s
t
REDIAL
SPEAKERPHONE
PART 4: Operations for caller ID
1-E. LCD information
PART 1: Getting started
LCD display
Handset display Base unit display
88888888888888
88
88-88 88 88
In standby mode, the LCD will show the handset number, date and real time.
IN USE indicator: After pressing button on the cordless handset, the icon
will show on the handset display. After lifting the corded handset, the icon will
show on the base unit display. If you press button , the icon will
show on the base unit display. Above icons indicate that the unit is in use mode, and
the unit will start timer after dialling about 6 seconds.
NEW CALL: If there are new calls in memory, the icon will turn on. After all the new
calls have been reviewed, the icon will be turned off.
REPEAT marking: If the call comes repeatedly, the icon will turn on.
Low battery indicator: If the battery is low, the low battery icon will show as .
Outgoing call indicator: After pressing button, the icon and the call
sequence will show on the LCD.
Incoming call indicator:
TALK/ST-BY
CID
SPEAKERPHONE
REDIAL
After pressing button, there will show the icon and call
sequence, it means the number is an incoming call.
12- 12-25
1 02-01 02-01 00:01
Handset display Base unit display
PAGE 5
PART 4: Operations for Caller ID
Making a call from last dialled numbers
NOTE:
REDIAL
0
REDIAL
SPEAKERPHONE
The dialled number will be kept in the memory after
dialling out 10 seconds.
1. Press button, the LCD will show the last dialled
number, the sequence, the duration and the icon will
flash. Press button to review the other dialled
numbers, press key to review the other digits of the
number if the number contains more than 14 digits. Press
button to exit.
2. If you get the desired number shown on the
LCD, press button or pick up the handset.
Using the Base Unit
stor
Using the Cordless Handset
1. Press button, the LCD will show the last dialled
number, the sequence, the duration and the icon will
flash. Press button to review the other dialled
numbers, press key to review the other digits of the
number if the number contains more than 12 digits. Press
button to exit.
2. If you get the desired number shown on
the LCD, press button.
REDIAL
0
REDIAL
TALK/ST-BY
stor
88 88-88 88 88
888888888888

PART 1: Getting started
PAGE 6 PART 3: Special functions PAGE 15
Memory indicator: When press button and enter the memory storage, the icon
will turn on.
Message waiting: When somebody leaves messages in the mail box, the icon will
turn on from the telephone company's signal.
PRIVATE( ---P---):Ifthecaller has exercised the option to prevent his number from
being sent, the display will show"---P---".
OUT OF AREA( ---0---):"---0---"will display when someone calls from an area
where the telephone company is not offering the caller Identification services or an
area that is not yet providing number delivery to your area via the long distance net
work.
When you are choosing the polyphonic ringtones, the icon will turn on.
The icon will turn on when you are setting the LCD contrast.
When you are setting time, the icon will turn on.
After setting the area code, the icon will appear on the LCD.
If the cordless handset number is 1, the icon will appear on the LCD. And the
icon means that the cordless handset number is 2.
MEMO
----P----
01 02-01 14:24
----0----
03 02-01 15:30
12
1
2
3-C. 65536 Combination security coding
The telephone uses a digital coding security system to prevent unauthorized use of your
telephone line by other cordless phones nearby .The telephone has 65,536 possible security
code combinations . Each combination of the code is randomly generated every time the
cordless handset is picked up
The telephone is equipped with an Out of Range detection system .If you go too far away
from the base during a call, the cordless handset may lose link with the base unit . When this
happens, the cordless handset will sound a series of short beeps.
IN RANGE IN RANGE
If you hear this warning signal, you should come
closer to the base unit
If the warning signal continues after three beep
sounds ,the base unit will return to standby mode
and the cordless handset will make noise until
button is pressed. This will return the
cordless handset to standby mode.
TALK/ST-BY
3-D. Out of Range Detection
1. In standby mode, press the button, the base unit and the cordless handset start
to ring to indicate that the intercom function is activated.
2. The base unit user can respond by pressing button or lifting the corded
handset
3. If the base unit does not respond, the cordless handset user can press the
button to cancel or about 20 seconds the cordless handset will make fail beep.
4. The cordless handset user can end the conversation by pressing button or
button or put the cordless handset on charger.
Activating the Intercom using the Cordless handset:
INT/TRANS.
SPEAKERPHONE
.
INT/TRANS.
TALK/ST-BY
INT/TRANS.

PART 2: Telephone Operations PAGE 7
PART 2: Telephone Operations
2-A. Digital Security
If you need to register the code again, please do as follow:
1. Make sure the base unit is connected into the AC power outlet.
2. Press and hold button on the base unit.
3. Press and hold button on the cordless handset. The handset will make a sound for
confirmation of code setting and the LCD will indicate the handset No( -1). Then release
button.
4. If you have more than one handset, pick up the second handset, press and hold button
until you get a beep and display - 2. If you have the third handset, continue the same
procedure. If not, release the button on the base unit.
: The button on the base unit should be kept pressing during the whole procedure.
* In the standby mode, press button for about 3 seconds and the power turns off,
will show on the LCD. In this mode, all functions are invalid but to recharge.
* Press button again for about 3 seconds and the power turns on, and the LCD shows
real time, you can do any operation in this mode.
IMPORTANT NOTICE: The base unit and the cordless handset in your hands have been
already factory code set.
CODE
CH.
CH.
CH.
CODE
NOTE CODE
DEL/ OF
DEL/
ATTENTION! When the and the show on the LCD,
the unit need to be recharged, you can not do any other operation but to
recharge the battery. When the power is full, the OF will disappear
automatically and the battery icon shows as .
OF low battery icon
PART 3: Special functions
PAGE 14
2-B. Handset On/Off Switch
You can have a two-way conversation between the cordless handset and base unit through the
intercom feature.
1. In standby mode, press button then press the cordless handset number, the base and
cordless handset will ring.
2. The base unit user can cancel the intercom by pressing button or button
or pick up the corded handset.
3. The cordless handset user can respond by pressing button, the LCD shows HS-1
USE on base unit and channel number on cordless handset. The both unit enter into the
intercom state. The base unit can talk in mode or pick up the corded handset.
4. The cordless handset user can end the conversation by pressing button or
button or put the cordless handset on charger.
Activating the Intercom With the Base Unit:
INT
INT SPEAKERPHONE
INT/TRANS.
SPEAKERPHONE
TALK/ST-BY
INT/TRANS.
3-B. Intercom function
Transferring Calls (Cordless Handset to another Cordless Handset)
If extra cordless handsets are set to the base unit,
1. In talk mode, press button then the other cordless handset number. The outside
line will be on hold and make music sounds to the other end. Both the two cordless handsets
will ring.
2. If the other cordless handset user does not answer, press button again to return
to the call.
3. The other cordless handset user can press button to answer the call
automatically after receiving the transfer ring.
4. If the other cordless handset does not respond within 25 seconds, the line will disconnect
automatically.
There is no intercom between the handsets.
TALK/ST-BY
TALK/ST-BY
NOTE:
INT/TRANS.
PAGE 8
Clock set
Ringer melody selection
Ringer volume selection
LCD contrast setting
Hearing volume selection
Speaker volume select
Area code filter
In the standby mode, press or button until the icon flashes, then press button
and the month digits will flash, use or button to set the month, press button to
confirm and meanwhile enter the next item setting, the sequence is month - date - hour - minute
-second, press button again to exit and you will hear a confirmation tone. ( button
on base unit)
When receiving a FSK Caller ID signal, the time will be auto set.
In the standby mode, press or button until the icon flashes, then press button
to enter the ringer melody selection, use or button to select(up to 16 kinds and OFF), press
button to confirm and exit.
In the standby mode, press button and the LCD will show RING 1 or 2, press
button again to select another value, and then wait to exit to standby mode.
In the standby mode, press or button until the icon flashes, then press button
to enter the contrast setting, use or button to select the contrast level 1~4, press
button to confirm and exit.
In talk mode, press button to select the talk volume high ( ) or low ( ).
In speaker mode, press button to select the speaker volume.(up to 4 levels)
In standby mode:
1. Press or button until the icon flashes on the LCD.
2. Press button, then the LCD will show ON or OFF, use or button to select the other state,
press button to confirm. If you set to ON, press button again to set the area code number,
using the key pad, dial the area code number (up to 6 digits) you want to store, press button to
delete the previous digit.
3. Press button, now the number has been stored.
E.g. : If you store the area code number 0592, and the incoming call number is 05926036442, the LCD
only shows 6036442.
st
st
st
st
st
st
st
st
SET/VOL.
SET/VOL.
SET/VOL. SET
NOTE:
SET/VOL.
SET/VOL.
SET/VOL. SET/VOL.
SET/VOL.
SET/VOL.
SET/VOL.
VOL.
SET
SET SET
DEL
SET
(Only cordless handset can be set)
(only the cordless handset can be set)
(only the base unit can be set)
(Only base unit can be set, and it is not applicable for use in
PAGE 13
2-C. Settings
This feature allows you to transfer a call from base speakerphone to base handset or vice versa
from base unit to cordless handset or vice versa and between cordless handsets.
During a phone conversation with handset , press button and then hang up
the handset to transfer calls to speakerphone. To resume conversation with handset, simply
pick up the handset.
1). In talk mode, press button then the handset number. The outside line will be on
hold and make music sounds to the other end. The cordless handset and base unit will ring.
2). If the cordless handset user does not answer, press button again to return to the call
.(Base Unit User)
3). The cordless handset user can press any key to answer the call automatically after receiving
the transfer ring.
4). If the cordless handset user does not respond within 25 seconds, the line will disconnect
automatically.
No intercommunication is possible during call transfer.
1). Press button then key on the cordless handset, then the cordless handset and
base unit will ring.
2). Press key to return to the call if the base unit user does not respond. (Cordless
Handset User)
3). Press button or pick up the corded handset to answer the call. (Base Unit
User).
4). If the base unit does not respond within 25 seconds, the line will disconnect automatically.
Transferring Calls between Base Speakerphone and Base Handset
Transferring Calls (Base unit to Cordless Handset)
Transferring Calls (Cordless Handset to Base unit)
SPEAKERPHONE
INT
INT
NOTE:
INT/TRANS. 0
TALK/ST-BY
SPEAKERPHONE
3-A. Transferring calls
PART 3: Special functions
PART 2: Telephone operations PART 3: Special functions
Singapore)

PART 2: Telephone Operations PAGE 9
PAGE 12
2-D. Making & Answering calls
Making a call
TALK/ST-BY
SPEAKERPHONE
Using the Cordless Handset:
Using the Base Handset
Using Base Unit Speakerphone:
1. Press button, the "IN USE LED" indicator
on the base and "IN USE LED" on the cordless handset
will light up solidly when the unit finds a clear channel.
2. Dial the phone number.
1. Pick up the base handset, listen for a dial tone.
2. Dial the phone number.
1. Press the button, listen for a dial
tone.
2. Dial the phone number.
Pre-inputing Dial Digit and Editing
DEL/ DEL
PAUSE
TALK/ST-BY
SPEAKERPHONE
This function is a dial-number input method which is similar to mobile phone operation.
When the unit is in standby mode, user can enter the dial-number up to 30 digits.
1. Dial the phone number, then you can check it.
2. The error digits can be deleted entirely by pressing button ( button on base).
3. Press the button to insert a pause between numbers if necessary.
4. Press button on the handset or pick up the base handset or press
button on base to seize line and dial out.
SPEAKERPHONE
TALK
ST-BY
Memory Dialing
Storing Speed Dial Numbers
Dialling Speed Dial Numbers
Changing or Replacing a Speed Dial Number
Storing the CID number in two-touch memory
Dialling the numbers from two-touch memory
The memory system can store up to 10 groups of 30 digits different phone numbers. It will be saved
even after removing the battery.
When the unit is in standby mode,
1. Press button, the first memory number will appear and the icon will flash on the LCD.
2. Use or button to review the other memory numbers.
3. If the memory is empty, the LCD shows NO CALL(NO Code on base unit). If you want to store a
number in memory, just press button( button on base), then dial the number you want
to store(you can press or button to delete the last digit of the number), press
button( button on base) to confirm, press button to exit. The number can be up to 30 digits
long.
Press the button, and use the or button to find your desired numbers, then press
button on cordless handset or pick up the handset or press button on
base unit to dial out the number.
When the unit is in standby mode,
1. Press button, the first memory number will appear and the icon will flash on the LCD.
2. Use or button to review the other memory numbers.
3. When you get the number you want to change, press button, then dial the new number
on keypad(you can press or button to delete the last digit of the number), press
button to confirm, press button to exit. ( button on base)
In standby mode, press button and the icon will turn on, use or button to get the desired
number, press button then press the memory location button (0~9) to store the number.
When the unit is in talk mode,
2. Press buttons in the following sequence:
E.g.: Use cordless handset to dial the number you assigned to key 8, you have to press
MEMO
SET/VOL. SET
DEL/ DEL SET/VOL.
SET MEMO
MEMO
TALK/ST-BY SPEAKERPHONE
MEMO
SET/VOL.
DEL/ DEL SET/VOL.
MEMO SET
CID
MEMO
TALK/ST-BY,
MEMO, 8.
st
st
st
st
[ ] + memory location(0~9)MEMO
2-H. Memory Operations
PART 2: Telephone operations

PART 2: Telephone operations
PAGE 10 PART 2: Telephone operations
Receiving a Call
SPEAKERPHONE
NOTES:
Ending a Call
TALK/ST-BY
SPEAKERPHONE
PAUSE function
PAUSE PAUSE
Using the Base Unit
Using the Cordless Handset
Using the Cordless Handset:
Using the Base Unit:
Simply pick up the base handset from the base or press button.
Press any key when pick up the cordless handset .
You can answer only after receiving the callers number.
Since the telephone features "Auto-Standby", simply return the cordless handset to the charger
or press the button if you are away from the charger.
1. Place the base handset on base to hang up.
2. Press button to hang up.
Allows you to insert a temporary pause during dialling sequence. For example, dialling an
international number (eg: 011-886-22-795-1234), some telephone company systems will not
register the entire number entry without a pause between the prefix numbers. You may have to
dial 011- , dial 886 - . This allows adequate timing for the phone number to register
with the telephone company's system and complete the call.
PAGE 11
If you get a busy signal, you can use the
function to automatically dial the last dialed phone
number.
1. Press the button and listen for a dial
tone.
2. Press the button.
1. Pick up the base handset or press
button and listen for a dial tone.
2. Press the button.
redial
TALK/ST-BY
REDIAL
SPEAKERPHONE
REDIAL
Using the Cordless Handset:
Redial Using the Base Unit:
2-E. Last number redial
NOTE: redialCordless handset and base unit functions are independent from each other. Both
the cordless handset and base unit will redial only numbers stored in their own redial memory.
2-F. Channel selection(40 channels)
When you are in talk mode with the cordless handset, the telephone
auto-scans for the best channel.
If the existing channel becomes noisy or starts having interference,
press the button on the cordless handset. The telephone
will automatically scan for the best channel.
It takes about 2 seconds for the unit to scan to the next
clear channel.
Channel Scan (Auto-Scan)
Channel Scan (Manual)
CH.
NOTE:
nPress the button to
scan to the best channel
CH.
2-G. Flash function
During conversation, press to access customer calling features such as Call Waiting
provided by your local phone company. Consult your local phone company for more details.
FLSAH
REDIAL
SPEAKERPHONE
TALK
ST-BY
REDIAL
CH.
Table of contents
Other ALcom Cordless Telephone manuals

ALcom
ALcom DT-830 User manual

ALcom
ALcom Lifestyle 1900 User manual

ALcom
ALcom BL100 User manual

ALcom
ALcom SN200 User manual

ALcom
ALcom CL-3399 ID User manual

ALcom
ALcom CL-3332 IDM User manual

ALcom
ALcom AT6128 User manual

ALcom
ALcom ADT800 User manual

ALcom
ALcom CL-3350 INF User manual

ALcom
ALcom CL-3375 User manual
Popular Cordless Telephone manuals by other brands

Uniden
Uniden TCX905 - Cordless Extension Handset owner's manual

Sanyo
Sanyo CLT-D6220 instruction manual

AEI COMMUNICATIONS
AEI COMMUNICATIONS VX-8108-SMBU(S) quick start guide

Southwestern Bell
Southwestern Bell 26963 user guide

Panasonic
Panasonic KX-TG6811NZ operating instructions

Toshiba
Toshiba FT-6202 owner's manual