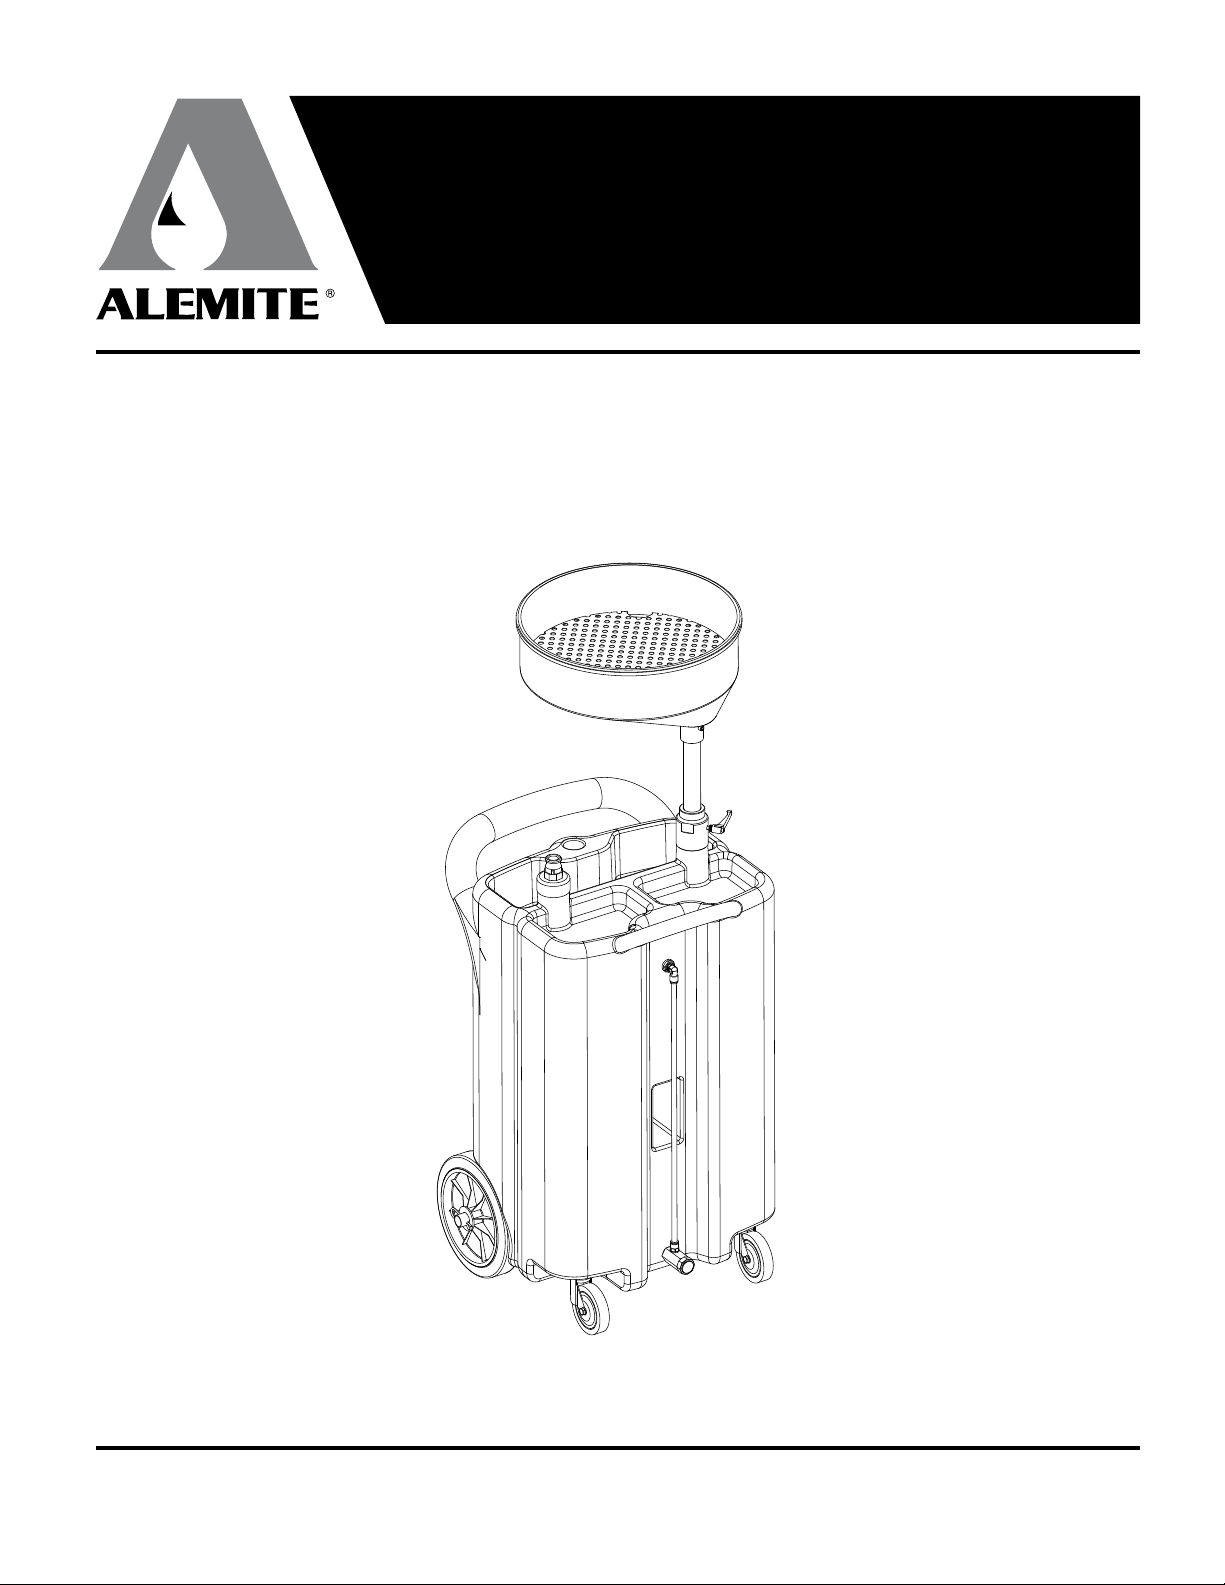
Description
Model 8592 is a portable non-pressurized drain designed to safely
capture fluids drained from vehicles on service lifts.
Owner/Operator Responsibility
It is the owner/operator responsibility to properly use and maintain
this equipment. The instructions and warnings contained in this
manual shall be read and understood by the owner/operator prior to
operating this equipment. If an owner/operator does not under-
stand English, the contents of this manual shall be explained in the
owner/operator’s native language to assure that the owner/operator
comprehends. The owner/operator shall retain this manual for the
future reference to important warnings, operating and maintenance
instructions.
General Safety Standards
The Standards listed below must be observed to prevent injury to
operators and damage to the Used Fluid Drain.
•Read all Labels on the Used Fluid Drain carefully, do not cover
them and replace them immediately if damaged.
•The Used Fluid Drain must only be used by authorized personal
trained in its use.
•NEVER leave Drain unattended when operating or evacuating.
•NEVER use Drain near open flame or heat source.
•NEVER use Drain for handling highly volatile fuels and fluids.
•Do not use acid solutions which could damage the Drain and/or
injure persons.
•The Drain will remain in place up to a maximum gradient of
0.5%, before beginning to slide.
Inspection
Prior to operation or maintenance, a visual inspection shall be
made. Check for worn, damaged, loose and/or missing parts.
If the Drain is damaged, badly worn or operates abnormally, it
should be removed from service. Contact a factory authorized ser-
vice center for repair.
An annual tank/component inspection is recommended to be per-
formed by a factory authorized service center.
Tank Maintenance
The Drain does not require any special maintenance, other than
normal cleaning, which should be done with a damp cloth (water
and alcohol or normal detergent for household appliances made out
of plastic).
C AUTION
IMPORTANT! Do not use cleaning solutions that can damage
plastic containers.
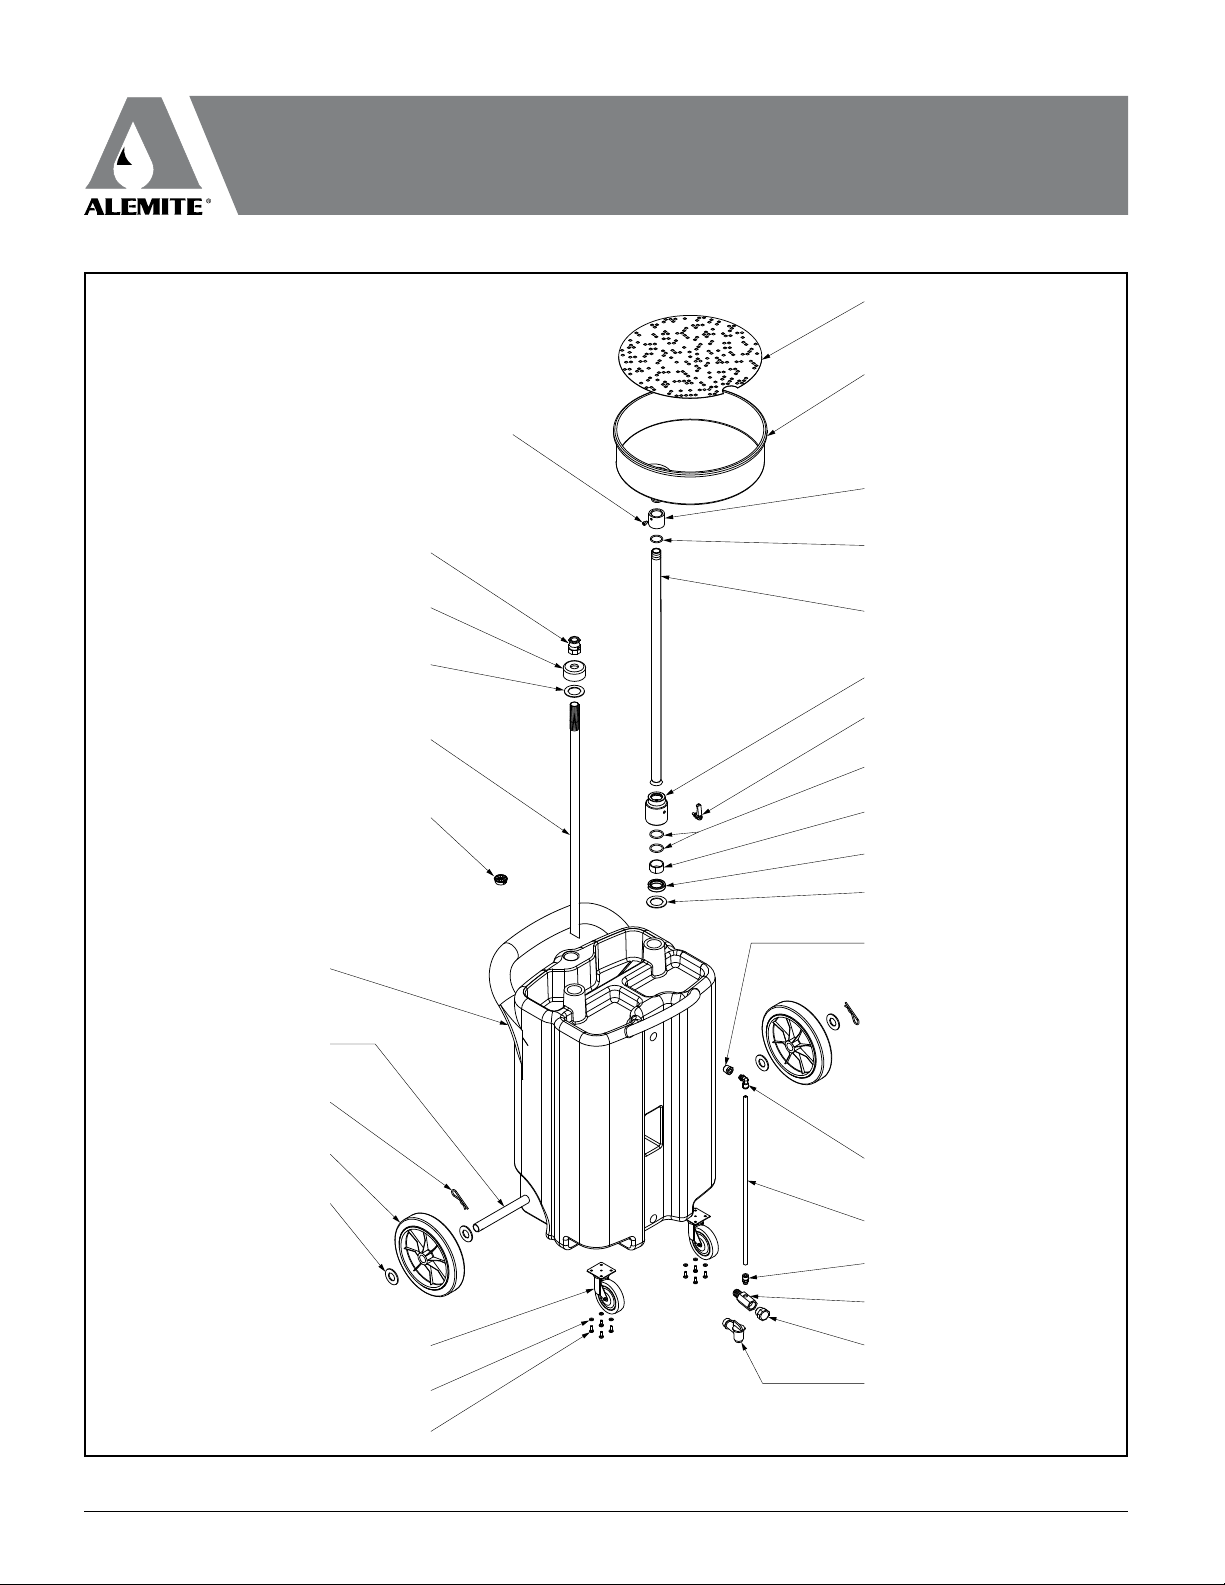
Emptying the Tank
Before the tank approaches maximum fill (as seen through the
Sight-Gauge (5) , empty the tank by connecting Camlock Fitting (20)
to an Evacuation System. The length of Suction Pipe (22) ensures
that it clears the tank bottom to prevent solids and sediments from
being sucked into and damaging the evacuation pump.
C AUTION
It is highly recommended that the tank be emptied and cleaned
of all sediments through frequently scheduled maintenance.
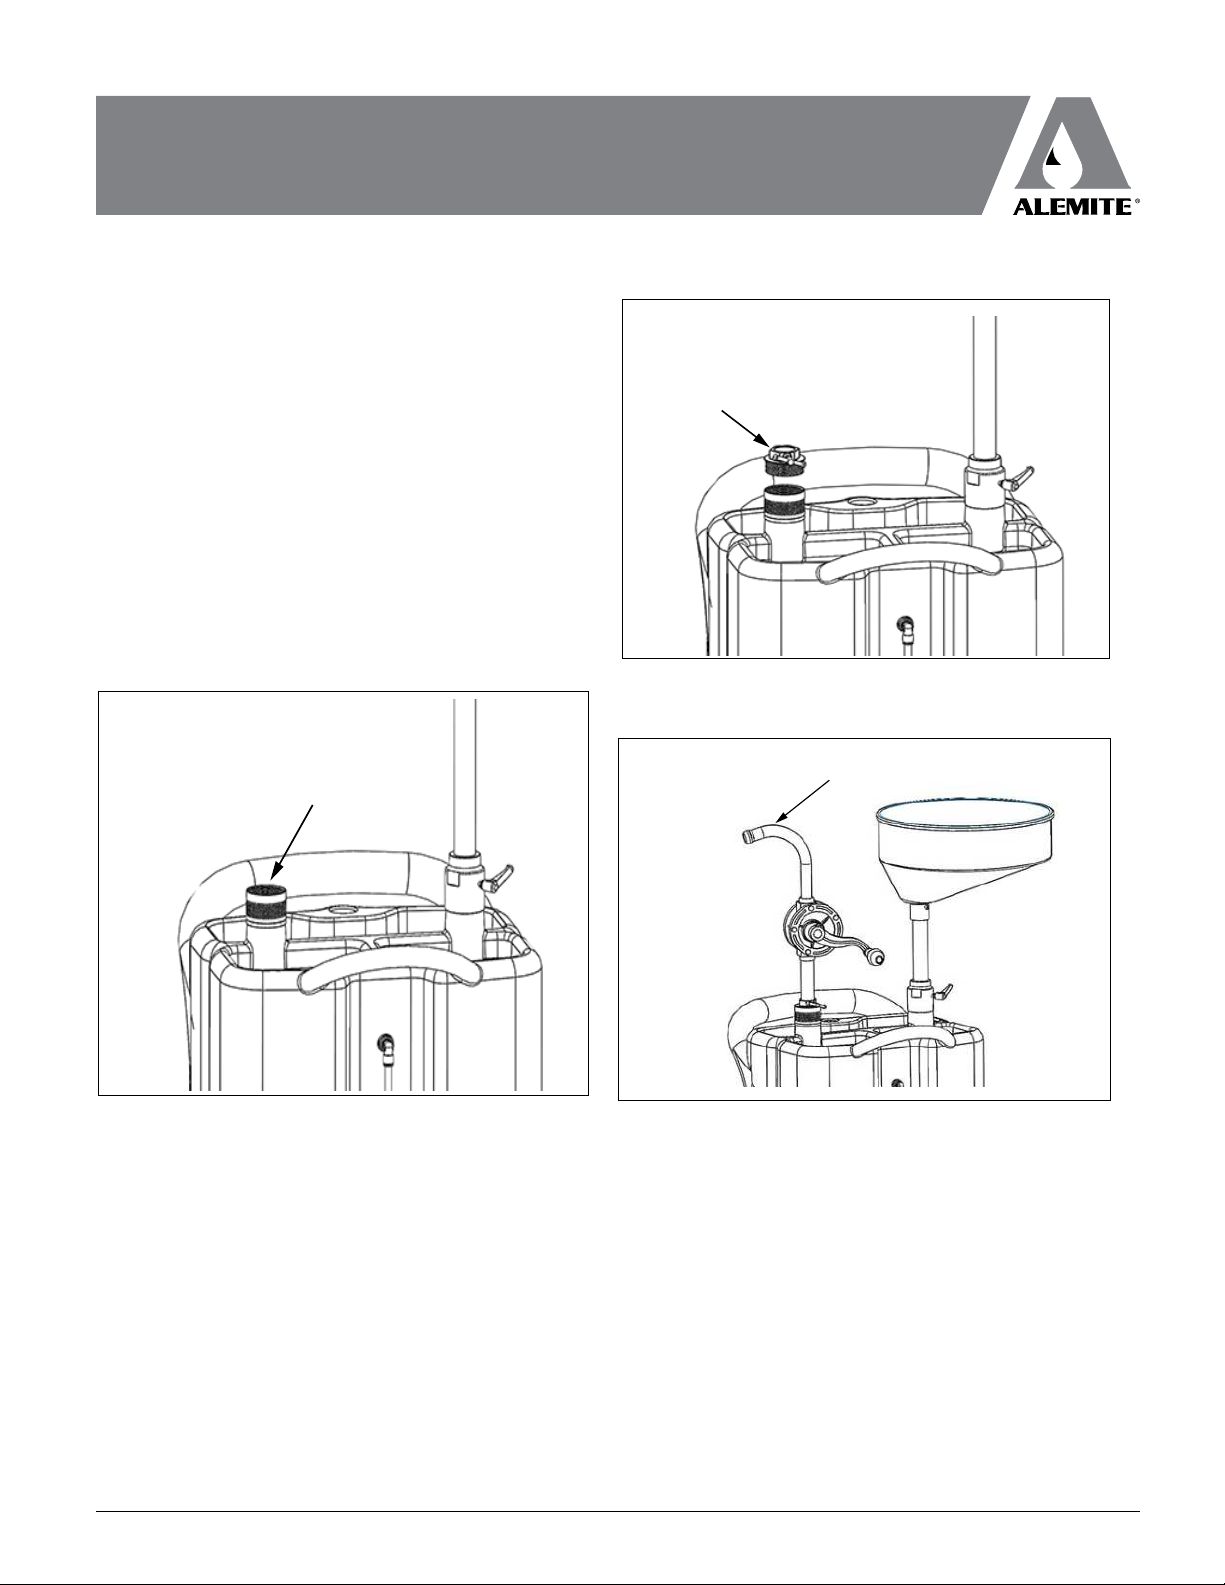
Sediments may build up high enough to start clogging the Suction
Pipe (22) before the next scheduled tank purge. A stop-gap feature
has been designed into the Suction Pipe (22) to enable oil evacua-
tion to proceed temporarily (See Figure 3).
1.
Apply a wrench to Camlock Fitting (20) and turn it counter
clockwise. [If necessary, secure Plug (21) with a pipe wrench to
hold it stationary.]
2.
Raise the Suction Pipe (22) to a maximum height of 1-5/8
inches (41mm).
3.
Connect Camlock Fitting (20) to an evacuation system and com-
plete emptying of the tank.
4.
Schedule a tank purge as soon as possible before the tank fills
up with more sediments and solids.
5.
Upon completion of the tank purge, turn Camlock Fitting (20)
clockwise as far down as possible to reset the Suction Tube (22)
height.
Portable Used Fluid Drain 8592
02-2020 2 Alemite, LLC
Figure 3: Raising Suction Piping