manuals.online logo
Brands
  1. Home
  2. •
  3. Brands
  4. •
  5. Allen + Roth
  6. •
  7. Indoor Furnishing
  8. •
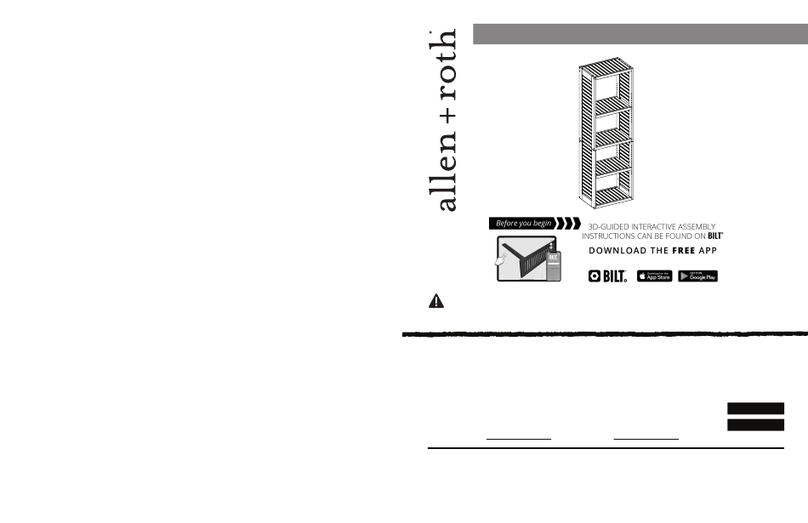
  9. Allen + Roth 0884006 User manual

Allen + Roth 0884006 User manual

Questions?/Des questions?
Call customer service at 1-866-439-9800,
8 a.m. - 8 p.m., EST, Monday - Sunday.
You could also contact us at [email protected].
Communiquez avec notre service à la clientèle au
1-866-439-9800, entre 8 h et 20 h (HNE), du lundi
au dimanche. Vous pouvez également communiquer
avec nous à l’adresse [email protected].
.
PACKAGE CONTENTS/CONTENU DE L’EMBALLAGE
HARDWARE CONTENTS/QUINCAILLERIE INCLUSE
Wood Screw
Vis
AA BB
Ax 1 Bx 1
ATTACH YOUR RECEIPT HERE/JOIGNEZ VOTRE REÇU ICI
Serial Number/Numéro de série
Purchase Date/Date d’achat
Mounting Bracket
Charnière
24 in. - 36 in. = x 2
48 in. - 60 in. = x 3
72 in. = x 4
60.96 cm à 91.44 cm = x 2
121.92 cm à 152.4 cm = x 3
182.88 cm = x 4
24 in. - 36 in. = x 4
48 in. - 60 in. = x 6
72 in. = x 8
60.96 cm à 91.44 cm = x 4
121.92 cm à 152.4 cm = x 6
182.88 cm = x 8
Valance Clip
Attache de cantonnière
CC
24 in. - 36 in. = x 2
48 in. - 60 in. = x 4
72 in. = x 4
60.96 cm à 91.44 cm = x 2
121.92 cm à 152.4 cm = x 4
182.88 cm = x 4
®
ALLEN+ROTH and logo design are trademarks
or registered trademarks of LF, LLC.
All rights reserved.
ALLEN + ROTH et le logo sont des marques de
commerce ou des marques de commerce
déposées de LF, LLC. Tous droits réservés.
MODEL/MODÈLE 94623 - 94640 & 32169 – 32174
CORDLESS DAY-NIGHT
ROLLER SHADE
STORE À ENROULEMENT
SANS CORDON POUR
LE JOUR ET LA NUIT
ITEM/ARTICLE/ARTÍCULO # 0884006, 0887563, 0887564, 0887565,
0887566, 0887567, 0887568, 0887569, 0887570, 0887571, 0887572,
0887573, 0887574, 0887575, 0887576, 0887577, 0887578, 0887579,
1068364, 1068365, 1068366, 1068368, 1068370, 1068372, 31985387,
31985388, 31985389, 31985390, 31985391, 31985392, 44905002,
44905003, 44905004, 44905005, 44905006, 44905007, 44905008,
44905009, 44905010, 44905011, 44905012, 44905013, 44905014,
44905015, 44905016, 44905017, 44905018, 44905019
Blind
Store
Valance
Cantonniѐre
1AS22073
PREPARATION/PRÉPARATION
BRACKET LOCATION AND INSTALLATION
Before beginning installation of product, make sure all parts are present. Compare parts with package contents list and
hardware contents list. If any part is missing or damaged, do not attempt to assemble, install or operate the product.
Estimated Assembly Time: 30 minutes
Tools Required for Assembly (not included): Measuring tape, drill with 3/32 in. bit, pencil, and Phillips head screw driver.
Outils nécessaires pour l’assemblage (non inclus) : ruban à mesurer, perceuse et foret de 3/32 po, crayon et tournevis
cruciforme.
Avant de commencer l’installation du produit, assurez-vous d’avoir toutes les pièces. Comparez le contenu de l’emballage avec
la liste des pièces et celle de la quincaillerie. S’il y a des pièces manquantes ou endommagées, ne tentez pas d’assembler,
d’installer, ni d’utiliser le produit.
Temps d’assemblage approximatif : 30 minutes
SAFETY INFORMATION/CONSIGNES DE SÉCURITÉ
Please read and understand this entire manual before attempting to assemble or install the product.
Assurez-vous de lire et de comprendre l’intégralité de ce manuel avant de tenter d’assembler le produit.
The shade may be installed either inside or outside the window frame. A mounting bracket should be positioned on each end of
the headrail. Wider shades that require 3 or more brackets should be spaced evenly between the two outermost brackets.
Always position the brackets such that there is no interference with cords and mechanisms inside the headrail. The procedure
outlined below will assure proper bracket placement.
Vous pouvez installer le store à l’intérieur ou à l’extérieur du châssis de la fenêtre. Posez une charnière à chaque extrémité du
caisson. Pour les grands stores nécessitant 3 charnières, espacez-les de façon uniforme. Assurez-vous que les charnières ne
font pas obstacle aux cordons et aux mécanismes du caisson. Suivez les étapes ci-dessous pour installer les charnières
correctement.
1b
AA
A
1. Attaching the mounting brackets
(AA). The clear piece on the front of the
mounting brackets (AA) acts as a
button to release and hang the blind
(A). To attach the mounting brackets
(AA) place the front tongue of the
mounting bracket (AA) on the front rail
of the blind (A) as shown in 1a and 1b.
Then either use the button on the front
of the mounting bracket (AA) or push
down on the back of the mounting
bracket (AA) to simply snap it in place as shown in 1c.
(Note: Valance (B) can be installed before or after shade installation. Proceed to ASSEMBLY INSTRUCTIONS | OPTONAL
on page 3 to complete installation.)
Installation des supports de fixation (AA). La pièce transparente qui se trouve à l’avant des supports de fixation (AA) sert
de bouton permettant d’accrocher et de décrocher le store (A). Pour fixer les supports de fixation (AA), glissez la languette
avant du support de fixation (AA) dans la rainure avant du store (A), comme le montrent les illustrations 1a et 1b. Vous
pouvez ensuite appuyer sur le bouton qui se trouve à l’avant du support de fixation (AA) ou exercer une pression sur
l’arrière du support de fixation (AA) pour qu’il s’enclenche, comme le montre l’illustration 1c.
(Remarque : L’installation de la cantonnière (B) peut se faire avant ou après celle du store. Passez à la section
INSTRUCTIONS POUR L’ASSEMBLAGE | FACULTATIF à la page 3 pour terminer l’installation.)
2
ASSEMBLY INSTRUCTIONS/INSTRUCTIONS POUR L’ASSEMBLAGE
3. Mounting of the blind (A). With the mounting brackets
(AA) installed, place the front groove of blind (A) on the
front tongue of the mounting brackets (AA), as illustrated in
3a. Then rotate the blind (A) towards the window until it
snaps into place as illustrated in 3b. Removal of the blind
(A). As stated in step 1, the clear front portion of the
mounting bracket (AA) works as a button to slide the
tongue back and allow the blind (A) to be removed. The
button can also be used to mount the blind (A). 3c and 3d
is an alternative view of the mounting process as
described above.
OPTIONAL: Attach valance clips
(CC) to blind head rail (A) and be
sure the clips are secure for
valance installation. Squeeze the
tips of the valance clips (CC)
together and slide the grove of
the valance (B) onto the clips.
Then position the clips (CC) as
needed so the valance (B) is
spaced evenly end to end in
front of the blind head rail (A).
FACULTATIF : Fixez les
attaches de cantonnière (CC) au
caisson du store (A) et
assurez-vous que les attaches
sont bien fixées pour l’installation
de la cantonnière. Pressez les
2. Installing the blind (A)
For both inside and outside
mounting: Measure and mark
the center of your blind (A) and
the window you will be installing
it into. Follow instructions in
step 1. to attach the mounting
brackets (AA). With the
mounting brackets attached,
line up the center markings on
the shade (A) and wall and then
mark the placement of the
mounting brackets (AA) as
illustrated in step 2a.
For inside mounting. Remove
the mounting brackets (AA)
from the shade (A) and line
them up with the
markings made earlier. Use the
wood screws (BB) included to
fix them in place as shown in
2b.
For outside mounting.
Remove the mounting brackets
(AA) from the shade (A) and line
them up with the
markings made earlier. Use the
wood screws (BB) included to
fix them in place as shown in
2c.
3a
AA
A
4a
A
CC
4b
A
B
CC
3b AA
A
3c AA A
2a AA
A
2b
AA
BB
2c AA
BB
3d
AA
A
Installation du store (A)
Pour une installation à l’intérieur ou à l’extérieur du
châssis : mesurez et marquez le centre de votre store (A)
et le centre de la fenêtre sur laquelle il sera installé. Suivez
les instructions de l’étape 1 pour accrocher les supports de
fixation (AA). Une fois les supports de fixation accrochés,
alignez la marque du centre du store (A) sur la marque du
centre de la fenêtre, puis marquez l’emplacement des
supports de fixation (AA), comme le montre l’illustration 2a.
Installation à l’intérieur du châssis. Retirez les supports
de fixation (AA) du store (A) et alignez-les sur les marques
faites précédemment. Fixez les supports à l’aide des vis à
bois (BB) incluses, comme le montre l’illustration 2b.
Installation à l’extérieur du châssis. Retirez les supports
de fixation (AA) du store (A) et alignez-les sur les marques
faites précédemment. Fixez les supports à l’aide des vis à
bois (BB) incluses, comme le montre l’illustration 2c.
Installation du store (A). Une fois les supports de fixation
(AA) installés, insérez la languette avant des supports de
fixation (AA) dans la rainure avant du store (A), comme le
montre l’illustration 3a. Faites ensuite basculer le store (A)
vers la fenêtre jusqu’à ce qu’il s’enclenche, comme le montre
l’illustration 3b.
Retrait du store (A). Comme cela a été mentionné à
l’étape 1, la partie transparente du support de fixation (AA)
sert de bouton permettant de décrocher le store (A) en
poussant la languette vers l’arrière. Vous pouvez également
utiliser ce bouton pour accrocher le store (A).
Les illustrations 3c et 3d montrent l’autre processus
d’installation décrit ci-dessus.
3
extrémités des attaches de cantonnière (CC) ensemble, puis
faites glisser la rainure de la cantonnière (B) sur les attaches.
Ensuite, placez les attaches (CC) au besoin de manière à ce
que la cantonnière (B) soit espacée bout à bout de façon
uniforme à l’avant du caisson du store (A).
Printed in Taiwan
Imprimé en Taiwan
ONE-YEAR LIMITED WARRANTY/GARANTIE LIMITÉE DE UN AN
REPLACEMENT PARTS LIST/LISTE DES PIÈCES DE RECHANGE
For replacement parts, call customer service 1-866-439-9800. 8 a.m. - 8 p.m., EST, Monday - Sunday.
You could also contact us at [email protected].
Pour obtenir des pièces de rechange, communiquez avec notre service à la clientèle au 1 866 439-9800, entre 8 h et 20 h (HNE),
du lundi au dimanche. Vous pouvez également communiquer avec nous à l’adresse [email protected].
CARE AND MAINTENANCE/ENTRETIEN
The aluminum headrail and bottom rail can be wiped clean with a damp sponge. To clean the shade fabric, use a feather duster
or vacuum lightly using the soft brush attachment. Be careful not to crease or crush the fabric when cleaning.
For a period of one (1) year from the date of purchase, the manufacturer will replace this window covering with one of equal or
superior value, if this window covering is found to be defective in material or workmanship. To obtain warranty service contact
our customer service department at 1-866-439-9800. This warranty does not cover damage of defects caused by or resulting
from improper maintenance, negligent or improper use, abuse, misuse, neglect, accidents, act of God, alteration, commercial
use, installation, removal or reinstallation. This warranty is restricted to normal consumer use within the United States and
Canada. MANUFACTURER WILL NOT BE LIABLE FOR INCIDENTAL OR CONSEQUENTIAL DAMAGES, SOME STATES
DO NOT ALLOW THE EXCLUSION OR LIMITATION OF INCIDENTAL OR CONSEQUENTIAL DAMAGES, SO THE ABOVE
LIMITATION OR EXCLUSION MAY NOT APPLY TO YOU. This warranty gives you specific legal rights, and you may also have
other rights which vary from state to state.
Le fabricant remplacera cette parure de fenêtre par une autre d’une valeur égale ou supérieure si elle présente un défaut de
matériaux ou de fabrication dans une période de un (1) an suivant la date d’achat. Pour effectuer une réclamation,
communiquez avec notre service à la clientèle au 1 866 439-9800. Cette garantie ne couvre pas les dommages ou les défauts
résultant d’un entretien inadéquat, d’une négligence, d’un usage abusif ou inapproprié, d’un accident, d’un cas de force
majeure, d’une modification, d’un usage commercial, de l’installation, du retrait ou de la réinstallation. Cette garantie est valable
uniquement si l’article s’avère défectueux dans des conditions normales d’utilisation aux États-Unis ou au Canada. LE
FABRICANT N'EST PAS RESPONSABLE DES DOMMAGES ACCESSOIRES OU CONSÉCUTIFS. CERTAINS ÉTATS OU
CERTAINES PROVINCES NE PERMETTENT PAS L’EXCLUSION OU LA LIMITATION DES DOMMAGES ACCESSOIRES
OU CONSÉCUTIFS, DE SORTE QUE LES LIMITATIONS ET EXCLUSIONS CI-DESSUS PEUVENT NE PAS S’APPLIQUER À
VOUS. Cette garantie vous confère des droits précis. Il est possible que vous disposiez également d’autres droits, qui varient
d’un état ou d’une province à l’autre.
Le caisson et la traverse inférieure en aluminium peuvent être nettoyés à l’aide d’une éponge humide. Pour nettoyer le tissu du
store, utilisez un plumeau ou un aspirateur muni d’une brosse douce. Prenez soin de ne pas froisser ou écraser le tissu lors du
nettoyage.
ASSEMBLY INSTRUCTIONS/INSTRUCTIONS POUR L’ASSEMBLAGE
4. Operation of the blind (A). After installation grasp the center of the
bottom rail of the blind (A) as shown in 4a and pull down to lower.
To raise, grasp the center of the bottom rail and raise up to the
desired height as shown in 4b. Raise and lower shade gently for a
smooth operation.
Utilisation du store (A). Une fois le store installé, saisissez la
traverse inférieure du store (A) comme le montre l’illustration 4a,
puis tirez-la vers le bas pour abaisser le store.
Pour relever le store, saisissez la traverse inférieure et relevez-la à
la hauteur désirée, comme le montre l’illustration 4b. Relevez et
abaissez le store doucement pour assurer un fonctionnement fluide.
4a
A
4b
A
Hardware pack/Paquete de aditamentos (Contents/Contenido AA x 2, BB x 4)
79074-6SC1Z000HW2LA
PART/PIEZA # DESCRIPTION/DESCRIPCIÓN
4
WARNING/MISE EN GARDE
STRANGULATION HAZARD – Young children can be strangled by cords. Immediately remove this
product if a cord longer than 22 cm or a loop exceeding 44 cm around becomes accessible.
RISQUE D’ÉTRANGLEMENT – Les enfants en bas âge peuvent s’étrangler avec des cordons. Enlevez
immédiatement ce produit si un cordon mesurant plus de 22 cm devient accessible ou si le contour
d’une boucle de plus de 44 cm devient accessible.

This manual suits for next models

47

Other Allen + Roth Indoor Furnishing manuals

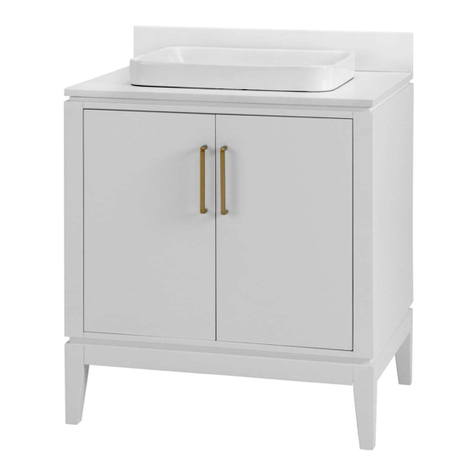
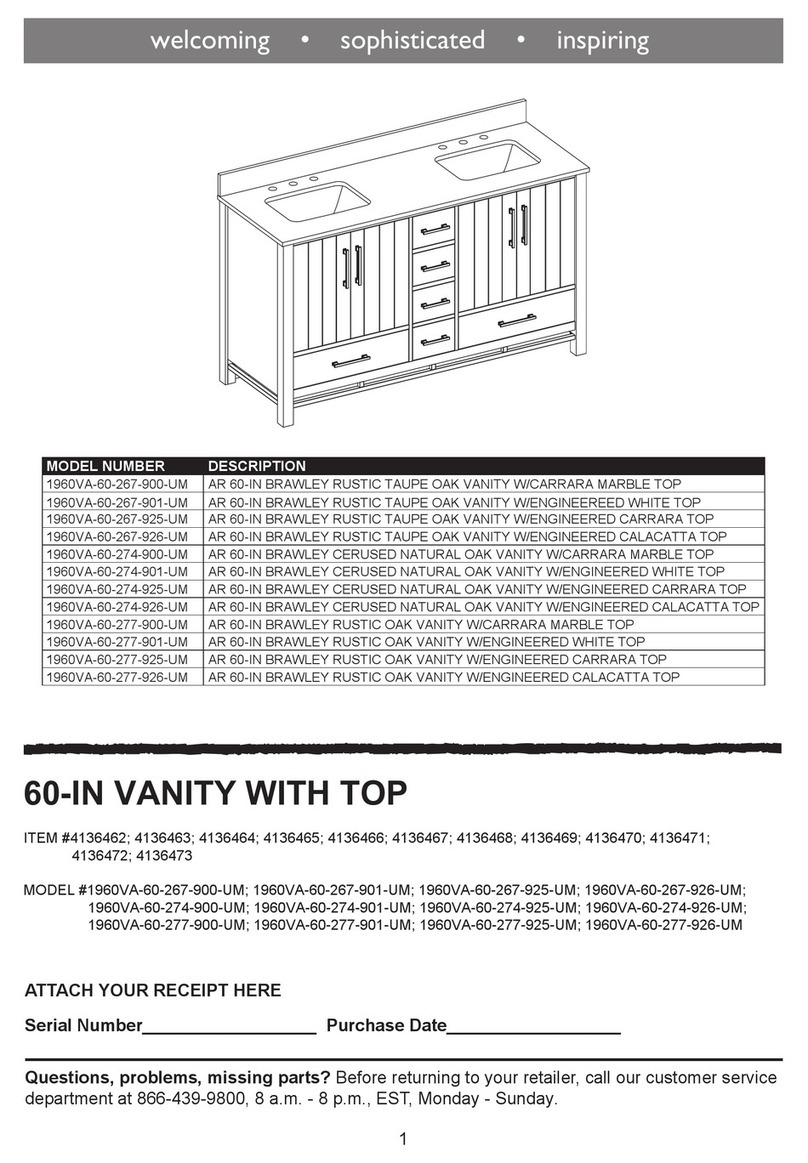
Allen + Roth 1541VA-30-242-925 User manual

Allen + Roth

Allen + Roth 1541VA-30-242-925 User manual

Allen + Roth LWSD48VG User manual

Allen + Roth

Allen + Roth LWSD48VG User manual

Allen + Roth WSWS-VWU1C User manual

Allen + Roth

Allen + Roth WSWS-VWU1C User manual

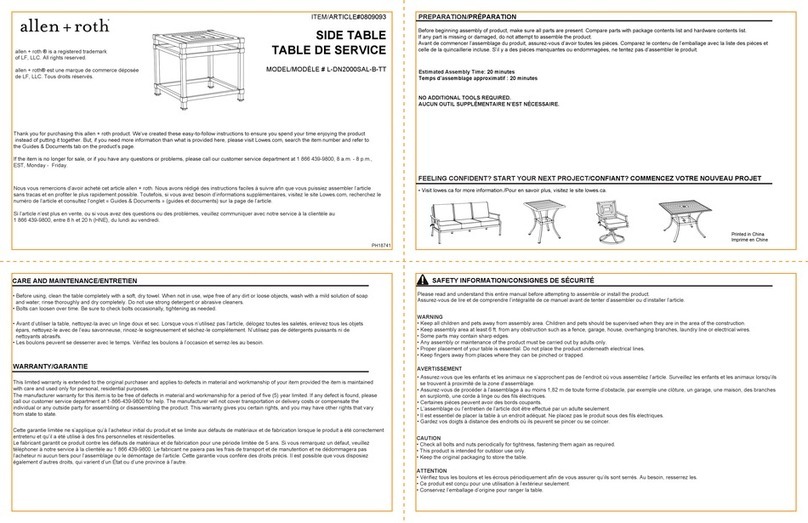
Allen + Roth L-DN2000SAL-B-TT User manual

Allen + Roth

Allen + Roth L-DN2000SAL-B-TT User manual

Allen + Roth 0339211 User manual

Allen + Roth

Allen + Roth 0339211 User manual

Allen + Roth WSCO-72C-AR User manual

Allen + Roth

Allen + Roth WSCO-72C-AR User manual

Allen + Roth LWSD60VG User manual

Allen + Roth

Allen + Roth LWSD60VG User manual

Allen + Roth LG-2156-DRT User manual

Allen + Roth

Allen + Roth LG-2156-DRT User manual

Allen + Roth RONALD 36AT DG User manual

Allen + Roth

Allen + Roth RONALD 36AT DG User manual

Allen + Roth WSWS-CS1C User manual

Allen + Roth

Allen + Roth WSWS-CS1C User manual

Allen + Roth Everdene WSLW48LGV User manual

Allen + Roth

Allen + Roth Everdene WSLW48LGV User manual

Allen + Roth WSLDKFP1J User manual

Allen + Roth

Allen + Roth WSLDKFP1J User manual

Allen + Roth CLARITA 48W User manual

Allen + Roth

Allen + Roth CLARITA 48W User manual

Allen + Roth S17VBCU4218 User manual

Allen + Roth

Allen + Roth S17VBCU4218 User manual

Allen + Roth SP6504 User manual

Allen + Roth

Allen + Roth SP6504 User manual

Allen + Roth LWSK36VG User manual

Allen + Roth

Allen + Roth LWSK36VG User manual

Allen + Roth EFC11-WB01 User manual

Allen + Roth

Allen + Roth EFC11-WB01 User manual

Allen + Roth LG-4236-ET-B-1 User manual

Allen + Roth

Allen + Roth LG-4236-ET-B-1 User manual

Allen + Roth WSWS-SS1621-1C User manual

Allen + Roth

Allen + Roth WSWS-SS1621-1C User manual

Allen + Roth WSWS-CS1C User manual

Allen + Roth

Allen + Roth WSWS-CS1C User manual

Allen + Roth BROOKVIEW 1789MR-28-201 User manual

Allen + Roth

Allen + Roth BROOKVIEW 1789MR-28-201 User manual

Allen + Roth P0217-09A User manual

Allen + Roth

Allen + Roth P0217-09A User manual

Allen + Roth LG-2156-SM User manual

Allen + Roth

Allen + Roth LG-2156-SM User manual

Allen + Roth L-DN2051SAL-B User manual

Allen + Roth

Allen + Roth L-DN2051SAL-B User manual

Popular Indoor Furnishing manuals by other brands

Birlea CORONA 2 DOOR 5 DRW SIDEBOARD Assembly instructions

Birlea

Birlea CORONA 2 DOOR 5 DRW SIDEBOARD Assembly instructions

hawa Multifold 30/W installation instructions

hawa

hawa Multifold 30/W installation instructions

Naomi Home Laura Reversible Sleeper Sectional Sofa Assembly instructions

Naomi Home

Naomi Home Laura Reversible Sleeper Sectional Sofa Assembly instructions

Whittier Wood Furniture 2091AFGSPc Assembly instructions

Whittier Wood Furniture

Whittier Wood Furniture 2091AFGSPc Assembly instructions

Amart Furniture YOSHI 55472 Assembly instruction

Amart Furniture

Amart Furniture YOSHI 55472 Assembly instruction

Sauder North Avenue 420032 quick start guide

Sauder

Sauder North Avenue 420032 quick start guide

Dorel Home Products Dakota Upholstered Bed 4027139 manual

Dorel Home Products

Dorel Home Products Dakota Upholstered Bed 4027139 manual

modway EEI–2807 manual

modway

modway EEI–2807 manual

VS Vereinigte Spezialmöbelfabriken FlipTable Shift+ Series operating instructions

VS Vereinigte Spezialmöbelfabriken

VS Vereinigte Spezialmöbelfabriken FlipTable Shift+ Series operating instructions

Baby Appleseed TODDLER CONVERSION Assembly manual

Baby Appleseed

Baby Appleseed TODDLER CONVERSION Assembly manual

Home affaire 23345327 Assembly instructions

Home affaire

Home affaire 23345327 Assembly instructions

Roll-A-Shade Plus+ installation instructions

Roll-A-Shade

Roll-A-Shade Plus+ installation instructions

Martin Svensson Space Saver 899922 Assembly instructions

Martin Svensson

Martin Svensson Space Saver 899922 Assembly instructions

Forte RAVEN RVXS836 Assembling Instruction

Forte

Forte RAVEN RVXS836 Assembling Instruction

Frama Signature Sintra 4060 manual

Frama

Frama Signature Sintra 4060 manual

fantastic furniture Twilight manual

fantastic furniture

fantastic furniture Twilight manual

GoodHome Atomia 5036581055097 manual

GoodHome

GoodHome Atomia 5036581055097 manual

Safavieh Furniture FOX7006 manual

Safavieh Furniture

Safavieh Furniture FOX7006 manual

manuals.online logo
manuals.online logoBrands
  • About & Mission
  • Contact us
  • Privacy Policy
  • Terms and Conditions

Copyright 2025 Manuals.Online. All Rights Reserved.