manuals.online logo
Brands
  1. Home
  2. •
  3. Brands
  4. •
  5. Allen + Roth
  6. •
  7. Indoor Furnishing
  8. •
  9. Allen + Roth LW113P01-M User manual

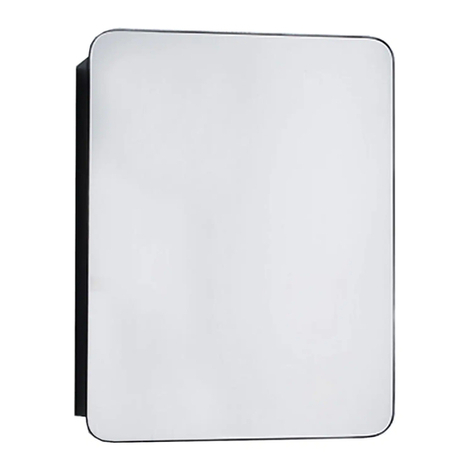
Allen + Roth LW113P01-M User manual

ITEM/ #0398438
MODEL/ #LW113P01-M
Questions/
Call customer service at 1-866-439-9800,
8 a.m. - 8 p.m., EST, Monday - Friday.
• Wipe with a soft and dry cloth as needed. Do not use abrasive cleaner. Use a small amount of glass cleaner to clean mirror
surface.
The manufacturer warrants this product to be free from defects in workmanship and material present at time of shipment from
the factory for a limited lifetime from the date of purchase. This warranty applies only to the original purchaser. To obtain
warranty service, call our customer service department at 1-866-439-9800 for return authorization and shipping instructions.
Any damage to the product by accident, misuse or improper installation, or by affixing accessories not produced by the
manufacturer are the purchaser's responsibility. The manufacturer assumes no responsibility whatsoever for product installation
during the warranty period. There is no further expressed warranty. The manufacturer disclaims any and all implied warranties.
The manufacturer shall not be liable for incidental, consequential or special damages arising at or in connection with product
use or performance except as may otherwise be accorded by law. This warranty supersedes all prior warranties.
A
ATTACH YOUR RECEIPT HERE
Serial Number/
Purchase Date/
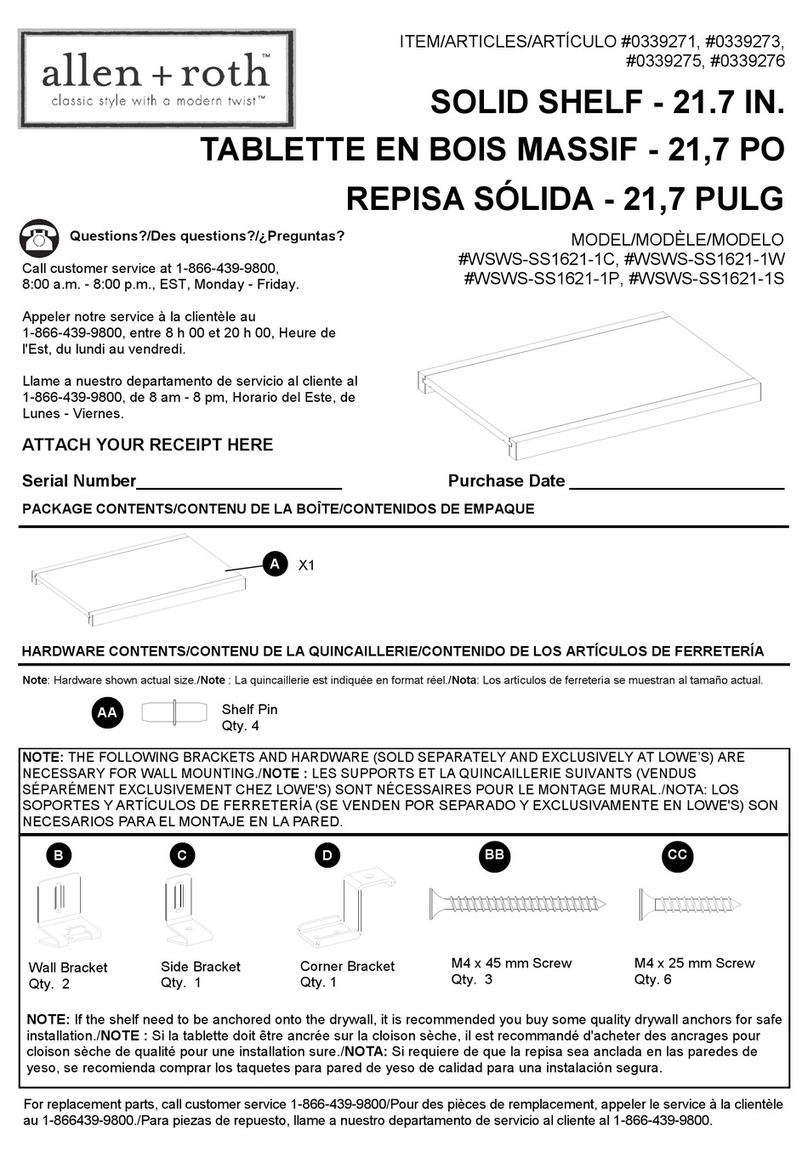
x 1
Mirror
Note: Hardware shown actual size./
AA
BB
Screw
Anchor
For replacement parts, call our customer service department at 1-866-439-9800, 8 a.m. - 8 p.m., EST, Monday - Friday./
CC
DD
x1
x1
allen + roth® is a registered trademark of LF, LLC.
All Rights Reserved.
AA
Screw
Part Description Part #
BB
Anchor
CC
18-3/4 in. Template
DD
22-3/4 in. Template x2
x2
Sun19
MIRROR
Sun20
Sun21
Sun22
Lowes.com/allenandroth
allen + roth® is a registered trademark of LF, LLC.
All Rights Reserved.
( not show n to siz e)
ARTICLE/
Miroir
MOD LE/
É
JOIGNEZ VOTRE REÇU ICI
Numéro de série
Date d'achat/
allen + roth® est une marque de commerce
déposée de LF, LLC. Tous droits réservés
Des questions?/
Communiquez avec notre service à
la clientèle au 1 866 439-9800, entre 8 h
et 20 h (HNE), du lundi au vendredi.
Miroir
Remarque : La quincaillerie est illustrée en grandeur réelle./
Vis (grandeur non réelle)
Cheville d'ancrage (grandeur
non réelle)
• Nettoyez l'article à l'aide d'un linge doux et sec au besoin. N'utilisez pas de nettoyant abrasif. Nettoyez la surface du miroir à
l'aide d'une petite quantité de nettoyant pour vitres.
Le fabricant garantit cet article contre les défauts de matériaux ou de fabrication présents au moment de l'expédition de l'usine
pendant une période limitée à compter de la date d'achat. Cette garantie ne s'applique qu'à l'acheteur initial. Pour effectuer une
réclamation au titre de la garantie, communiquez avec notre service à la clientèle au 1 866 439-9800 afin d'obtenir une autorisation
de retour et des instructions d'expédition. L'acheteur est responsable de tout dommage causé au produit par un accident, un
usage inapproprié ou une installation inadéquate, ou par l'ajout d'accessoires qui ne sont pas produits par le fabricant. Le
fabricant n'est aucunement responsable de l'installation du produit durant la période de garantie. Aucune autre garantie explicite
n'est consentie. Le fabricant décline toute garantie implicite. Le fabricant n'est pas responsable des dommages accessoires,
consécutifs ou spéciaux découlant de l'utilisation ou du rendement du produit, à l'exception de ce qui pourrait être prévu
autrement par la loi. Cette garantie remplace toute garantie antérieure.
Pour obtenir des pièces de rechange, communiquez avec notre service à la clientèle au 1 866 439-9800, entre 8 h et 20 h (HNE),
du lundi au vendredi.
Impreso en China
allen + roth® est une marque de commerce
déposée de LF, LLC. Tous droits réservés
Espejo
ARTíCULO
MODELO
ADJUNTE SU RECIBO AQUí
/ Número de serie
Fecha de compra
¿Preguntas?
Llame al Servicio al Cliente al 1-866-439-
9800, de 8 a.m. a 8 p.m. hora estándar
del Este, de lunes a viernes.
Espejo
Nota: Los aditamentos se
muestran en tamaño real.
Tornillo (no se muestra en
tamaño real)
Ancla de expansión (no se
muestra en tamaño real)
Allen + roth® es una marca registrada de LF,
LLC. Todos los derechos reservados
• Limpie con un paño suave y seco cuando sea necesario. No use limpiadores abrasivos. Use una pequeña cantidad de
limpiador para ventanas para limpiar la superficie del espejo.
El fabricante garantiza que este producto no presenta defectos en la fabricación ni los materiales presentes en el momento del
transporte desde la fábrica durante un período limitado de por vida a partir de la fecha de compra. Esta garantía es válida sólo
para el comprador original. Para obtener los servicios cubiertos por la garantía, llame a nuestro Departamento de Servicio al
Cliente al 1-866-439-9800 para recibir una autorización de devolución y las instrucciones de envío. Cualquier daño al producto
producido por accidente, uso indebido o instalación incorrecta, o a causa de elementos accesorios que no son del fabricante,
será responsabilidad del comprador. El fabricante no asume ningún tipo de responsabilidad por la instalación del producto
durante el período de garantía. No existe otro tipo de garantía explícita. El fabricante rechaza cualquiera y todas las garantías
implícitas. El fabricante no se hará responsable por da?os accidentales, resultantes o especiales que surjan en relación con
el uso o el funcionamiento del producto, excepto que la ley indique lo contrario. Esta garantía sustituye cualquier garantía previa.
Para obtener piezas de repuesto, llame a nuestro Departamento de Servicio al Cliente al 1-866-439-9800, de lunes a viernes de
8 a.m. a 8 p.m., hora estándar del Este.
Imprimé en Chine
Allen + roth® es una marca registrada de LF,
LLC. Todos los derechos reservados
JOIGNEZ VOTRE REÇU ICI
ADJUNTE SU RECIBO AQUí
Des questions?/¿Preguntas?
18-` 5 /4 in. Template
3
( not show n to siz e)
Gabarit de 47,63 cm (grandeur
non réelle)
Plantilla de 47,63 cm
real)
(no se
muestra en tamaño
22-` 5 /4 in. Template
3
( not show n to siz e)
Gabarit de 57,79 cm (grandeur
non réelle)
Plantilla de 57,79 cm
real)
(no se
muestra en tamaño
HARDWARE CONTENTS/QUINCAILLERIE INCLUSE/ADITAMENTOS
REPLACEMENT PARTS LIST/LISTE DES PIECES DE RECHANGE/LISTA DE PIEZAS DE REPUESTO
WARRANTY/GARANTIE/GARANTíA
CARE AND MAINTENANCE/ENTRETIEN/CUIDADO Y MANTENIMIENTO
PACKAGE CONTENTS/CONTENU DE L’EMBALLAGE/CONTENIDO DEL PAQUETE
'
Before beginning installation of product, make sure all parts are present. Compare parts with package contents list and
hardware contents list. If any part is missing or damaged, do not attempt to assemble, install or operate the product. Contact
customer service for replacement parts.
Estimated Assembly Time: 20 minutes.
Tools Required for Assembly (not included):
1.
•The assistance of another person may be required to help install this unit.
•
determine the insertion points of the anchors (BB). If you want to hang the mirror horizontally,
2.
screwdriver (not included) in recess of anchor (BB). Slowly turn anchor (BB) clockwise
push against anchor (BB) using the drill (not included).
1
2
3
4
3. Insert screw (AA) into anchor (BB) and turn clockwise. Tighten screw (AA) until it
becomes difficult to turn.
4.With help from another person, hang the mirror (A) by placing
the preassembled mounting brackets on the screws (AA).
Please read and understand this entire manual before attempting to assemble, operate or install the product.
Take care when moving the product and never drag the pieces across the floor as this will cause damage to the joints.
•
•
level (not
Use a pencil (not included) to mark the wall through the holes
of template. Use a included) to ensure the mirror (A) will be level and plumb against
the wall.
with slight pressure until the flange just touches the wall at each pencil mark.
Lowes.com/allenandroth
If you want to hang the mirror vertically, place 18 -3/4 in. template (CC) on the wall and use it to
use` 22-3/4 in. template (DD).
Using a 3/16 in. drill bit (not included), drill holes marked on the` wall. Place a Phillips
` Do not
N O TE :
Assurez-vous de lire et de comprendre l'intégralité du présent manuel avant de tenter d'assembler, d'installer ou d'utiliser l'article.
Vous pourriez avoir besoin de l'aide d'une autre personne pour installer cet article.
•
•
Lorsque vous déplacez l'article, prenez soin de ne jamais faire glisser les pièces sur le sol afin d'éviter d'endommager les
joints.
Avant de commencer l'installation de l'article, assurez-vous d'avoir toutes les pièces. Comparez le contenu de l'emballage avec
la liste des pièces et celle de la quincaillerie. S'il y a des pièces manquantes ou endommagées, ne tentez pas d'assembler,
d'installer ni d'utiliser l'article. Communiquez avec notre service à la clientèle pour obtenir des pièces de rechange.
Temps d'assemblage approximatif : 20 minutesTemps d'assemblage approximatif : 20 minutes
Outils nécessaires pour l'assemblage (non inclus) : tournevis cruciforme, perceuse électrique, foret de 3/16 po, crayon et niveau.
Si vous voulez accrocher le miroir à la verticale, placez le gabarit de 47,63 cm (CC) sur le
mur et servez-vous-en comme guide pour déterminer l'emplacement des points d'insertion
des chevilles d'ancrage (BB). Si vous voulez accrocher le miroir à l'horizontale, utilisez le
gabarit de 57,79 cm (DD). à l'aide d'un crayon (non inclus), faites une marque sur le mur
à l'emplacement de chacun des trous du gabarit. à l'aide d'un niveau (non inclus), vérifiez
que le miroir (A) est de niveau et d'aplomb contre le mur.
emplacements marqués sur le mur. Placez un tournevis cruciforme (non inclus) dans la cavité
d'une cheville d'ancrage (BB). Tournez lentement la cheville d'ancrage (BB) dans le sens des
aiguilles d'une montre en exerçant une légère pression, jusqu'à ce que la bride effleure le mur
à chacun des emplacements marqués. REMARQUE : N'exercez pas une pression sur la
cheville d'ancrage (BB) à l'aide de la perceuse (non incluse).
Insérez une vis (AA) dans la cheville d'ancrage (BB) et tournez-la dans le sens des aiguilles
d'une montre. Serrez la vis (AA) jusqu'à ce qu'elle soit difficile à tourner.
Avec l'aide d'une autre personne, accrochez le miroir (A) en plaçant les supports de fixation
préassemblés sur les vis (AA).
Lea y comprenda completamente este manual antes de intentar ensamblar, usar o instalar el producto.
Puede ser necesaria la ayuda de otra persona para instalar esta unidad.
Tenga cuidado al mover el producto y nunca arrastre las piezas en el piso, ya que al hacerlo puede dañar las juntas.
Antes de comenzar a instalar el producto, asegúrese de tener todas las piezas. Compare las piezas con la lista del contenido del
paquete y la lista de aditamentos. No intente ensamblar, instalar ni usar el producto si falta alguna pieza o si estas están dañadas.
Póngase en contacto con el Departamento de Servicio al Cliente para obtener piezas de repuesto.
Tiempo estimado de ensamblaje: 20 minutos
Herramientas necesarias para el ensamblaje (no se incluyen): Compuesto sellador, adhesivo líquido tipo clavo para construcción.
Coloque la barra de sujeción (B) en la pared y úsela como guía para determinar los puntos
de inserción del anclaje (BB). Use un lápiz (no se incluye) para marcar la pared a través de
los orificios pretaladrados de la barra de sujeción (B). Use un nivel (no se incluye) para
asegurarse de que el gabinete (A) quede nivelado y a plomo en la pared.
Retire la barra de sujeción (B) y déjela a un lado. Coloque un destornillador Phillips (no se
incluye) en la ranura de las anclas de expansión (BB). Gire lentamente las anclas de
expansión (BB) en dirección de las manecillas del reloj presionando levemente hasta que la
pestaña toque la pared en cada lugar marcado con el lápiz. NOTA: No presione las anclas de
expansión (BB) con el taladro (no se incluye).
Vuelva a colocar la barra de sujeción (B) en la pared y alinee los orificios con las anclas de
expansión (BB). Con una broca para taladro de 3/16 pulg. (0,48 cm) (no se incluye) taladre
los puntos marcados en la pared. Introduzca los tornillos (AA) a través de la barra de
sujeción (B) y gírelos en el sentido de las manecillas del reloj. Apriete los tornillos (AA) hasta
que sea difícil seguir girándolos.
Con la ayuda de otra persona, alinee la ranura de la parte posterior del gabinete (A) levemente
por sobre la barra de sujeción (B) y deslice el gabinete (A) hacia abajo hasta que la ranura
descanse en la barra de sujeción (B).
Tiempo estimado de ensamblaje: 20 minutos
l'aide d'une perceuse et d'un foret de 3/16 po (non inclus), percez un trou à chacun des
À
Phillips Screwdriver, E lectric Drill, 3/16 in.Bit,`Pencil and Level.
SAFETY INFORMATION/CONSIGNES DE SECURITE/INFORMACION DE SEGURIDAD
'
'
'
WARNING/AVERTISSEMENT/ADVERTENCIA
CAUTION/MISE EN GARDE/PRECAUCION
'
PREPARATION/PREPARATION/PREPARACION
'
ASSEMBLY INSTRUCTIONS/INSTRUCTIONS POUR L’ASSEMBLAGE/INSTRUCCIONES DE ENSAMBLAJE
Other Allen + Roth Indoor Furnishing manuals

Allen + Roth LWS47PSD User manual

Allen + Roth

Allen + Roth LWS47PSD User manual

Allen + Roth LW-8610 User manual

Allen + Roth

Allen + Roth LW-8610 User manual

Allen + Roth EFC-WS13-007 User manual

Allen + Roth

Allen + Roth EFC-WS13-007 User manual

Allen + Roth WSWS-CS1C User manual

Allen + Roth

Allen + Roth WSWS-CS1C User manual

Allen + Roth 1412VA-48-201-925 User manual

Allen + Roth

Allen + Roth 1412VA-48-201-925 User manual

Allen + Roth MW-8711-LC-S 0878050 User manual

Allen + Roth

Allen + Roth MW-8711-LC-S 0878050 User manual

Allen + Roth POINTE BREAK FRS81130L User manual

Allen + Roth

Allen + Roth POINTE BREAK FRS81130L User manual

Allen + Roth FELIX 72VG User manual

Allen + Roth

Allen + Roth FELIX 72VG User manual

Allen + Roth LWSWMSW User manual

Allen + Roth

Allen + Roth LWSWMSW User manual

Allen + Roth Everdene WSLW36LGV User manual

Allen + Roth

Allen + Roth Everdene WSLW36LGV User manual

Allen + Roth BENTON RIDGE CH1934WA User manual

Allen + Roth

Allen + Roth BENTON RIDGE CH1934WA User manual

Allen + Roth 1116VA-36-242-905 User manual

Allen + Roth

Allen + Roth 1116VA-36-242-905 User manual

Allen + Roth YORKSHIRE 1412WC-24-201 User manual

Allen + Roth

Allen + Roth YORKSHIRE 1412WC-24-201 User manual

Allen + Roth L-DN1779SAL-A-RC User manual

Allen + Roth

Allen + Roth L-DN1779SAL-A-RC User manual

Allen + Roth 2TIER FOLDING LOREN SHELF EFC-BS13-004 User manual

Allen + Roth

Allen + Roth 2TIER FOLDING LOREN SHELF EFC-BS13-004 User manual

Allen + Roth LWS60DVAG User manual

Allen + Roth

Allen + Roth LWS60DVAG User manual

Allen + Roth LEELAND LLBVT3039D User manual

Allen + Roth

Allen + Roth LEELAND LLBVT3039D User manual

Allen + Roth WSLSD1J User manual

Allen + Roth

Allen + Roth WSLSD1J User manual

Allen + Roth L-BC223PST-A User manual

Allen + Roth

Allen + Roth L-BC223PST-A User manual

Allen + Roth LLBVT2439D User manual

Allen + Roth

Allen + Roth LLBVT2439D User manual

Allen + Roth RONALD 30AT User manual

Allen + Roth

Allen + Roth RONALD 30AT User manual

Allen + Roth LG-2156-DRT User manual

Allen + Roth

Allen + Roth LG-2156-DRT User manual

Allen + Roth HAVERHILL TJ-0113V4822BR User manual

Allen + Roth

Allen + Roth HAVERHILL TJ-0113V4822BR User manual

Allen + Roth LWS60HWV User manual

Allen + Roth

Allen + Roth LWS60HWV User manual

Popular Indoor Furnishing manuals by other brands

Bestar 29420-1117 manual

Bestar

Bestar 29420-1117 manual

Draper Spring-Roller Window Shade Installation and operating instructions

Draper

Draper Spring-Roller Window Shade Installation and operating instructions

BUT OLKEN 4894223213110 Assembly instructions

BUT

BUT OLKEN 4894223213110 Assembly instructions

Mocka Bronte Buffet Assembly instructions

Mocka

Mocka Bronte Buffet Assembly instructions

Great Little Trading Greenaway L5009 manual

Great Little Trading

Great Little Trading Greenaway L5009 manual

Office Star Products work smart ECH52601 operating instructions

Office Star Products

Office Star Products work smart ECH52601 operating instructions

OSP Home Furnishings ABB26 manual

OSP Home Furnishings

OSP Home Furnishings ABB26 manual

Furniture of America CM-DK933-1 Assembly instructions

Furniture of America

Furniture of America CM-DK933-1 Assembly instructions

ZONE KIZ 311-055V00 manual

ZONE KIZ

ZONE KIZ 311-055V00 manual

Cuckooland MG 7769 Assembly instructions

Cuckooland

Cuckooland MG 7769 Assembly instructions

Func COOEE WALL Assembly guide

Func

Func COOEE WALL Assembly guide

Linea Deco MILO BILLA DESK Assembling instructions

Linea Deco

Linea Deco MILO BILLA DESK Assembling instructions

overstock CM7130D Assembly instructions

overstock

overstock CM7130D Assembly instructions

Kvik H925-060-050-040 Assembly manual

Kvik

Kvik H925-060-050-040 Assembly manual

Restol Teen TER-1C Fitting-Up Instruction

Restol

Restol Teen TER-1C Fitting-Up Instruction

Gami BROOKLYN H53 Assembly instructions

Gami

Gami BROOKLYN H53 Assembly instructions

Robern PL PORTRAY Series Mounting instructions

Robern

Robern PL PORTRAY Series Mounting instructions

Dyconn Cloud M22 Series quick start guide

Dyconn

Dyconn Cloud M22 Series quick start guide

manuals.online logo
manuals.online logoBrands
  • About & Mission
  • Contact us
  • Privacy Policy
  • Terms and Conditions

Copyright 2025 Manuals.Online. All Rights Reserved.