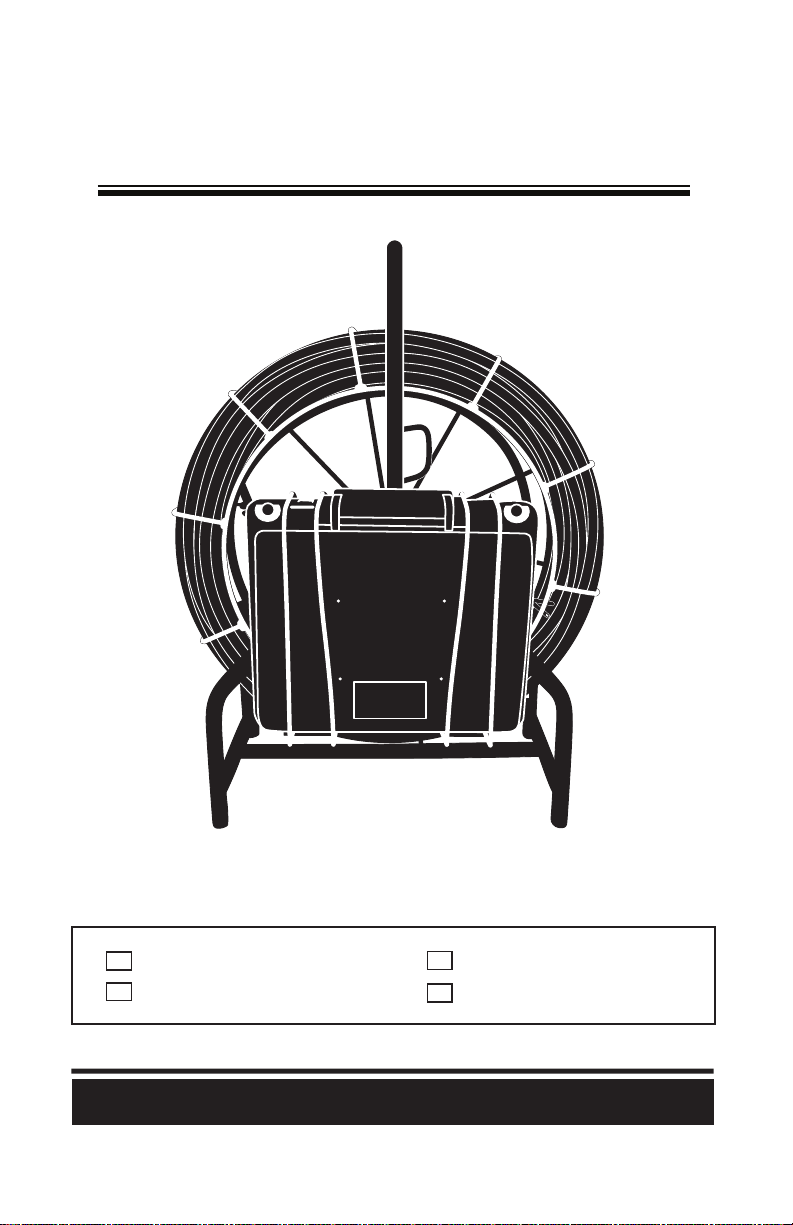
TROUBLE SHOOTING
10
The trouble shooting guide lines below are designed to
help you out in the field. If you cannot figure out the
problem or fix it without voiding your warranty, please call
the number listed in the back of your manual to speak
with a repair technician.
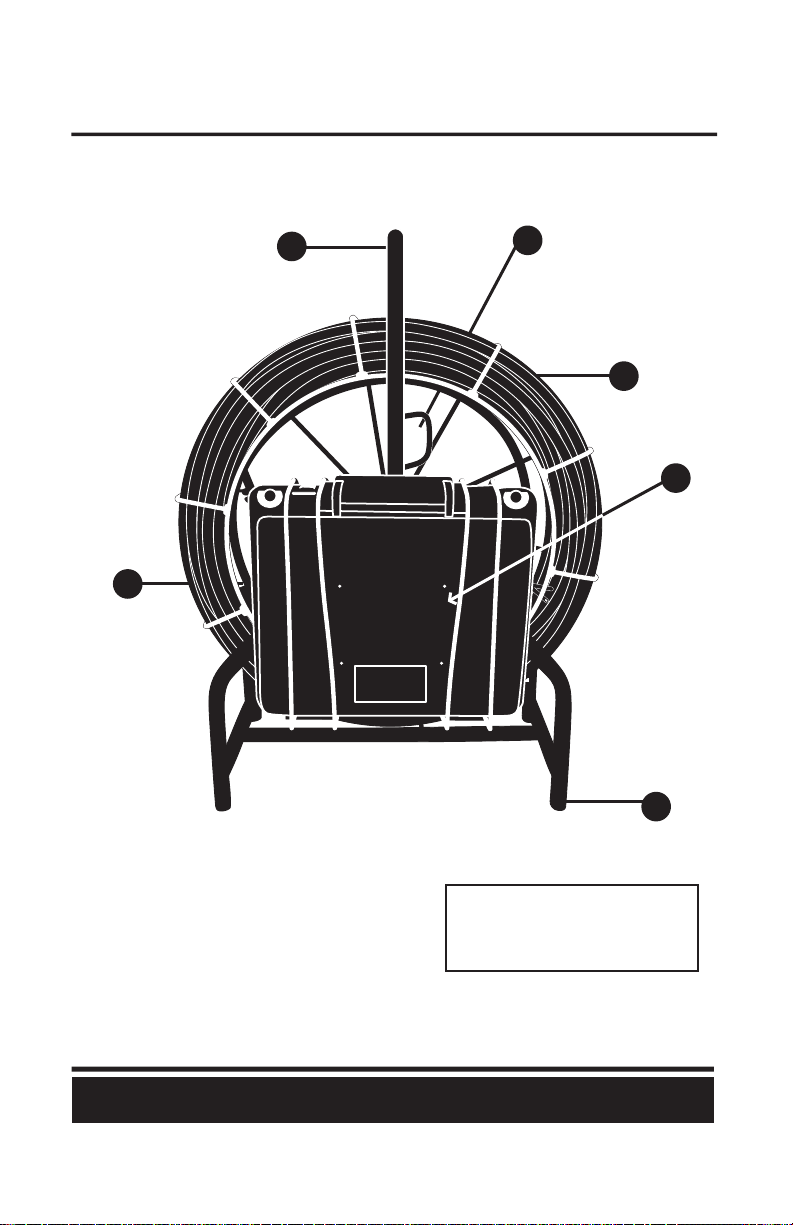
LIGHTS TURN ON – NO VIDEO
Possible problems:
-Monitor Not Functioning
-Faulty Video Cable
-Broken or loose connection in Camera Head
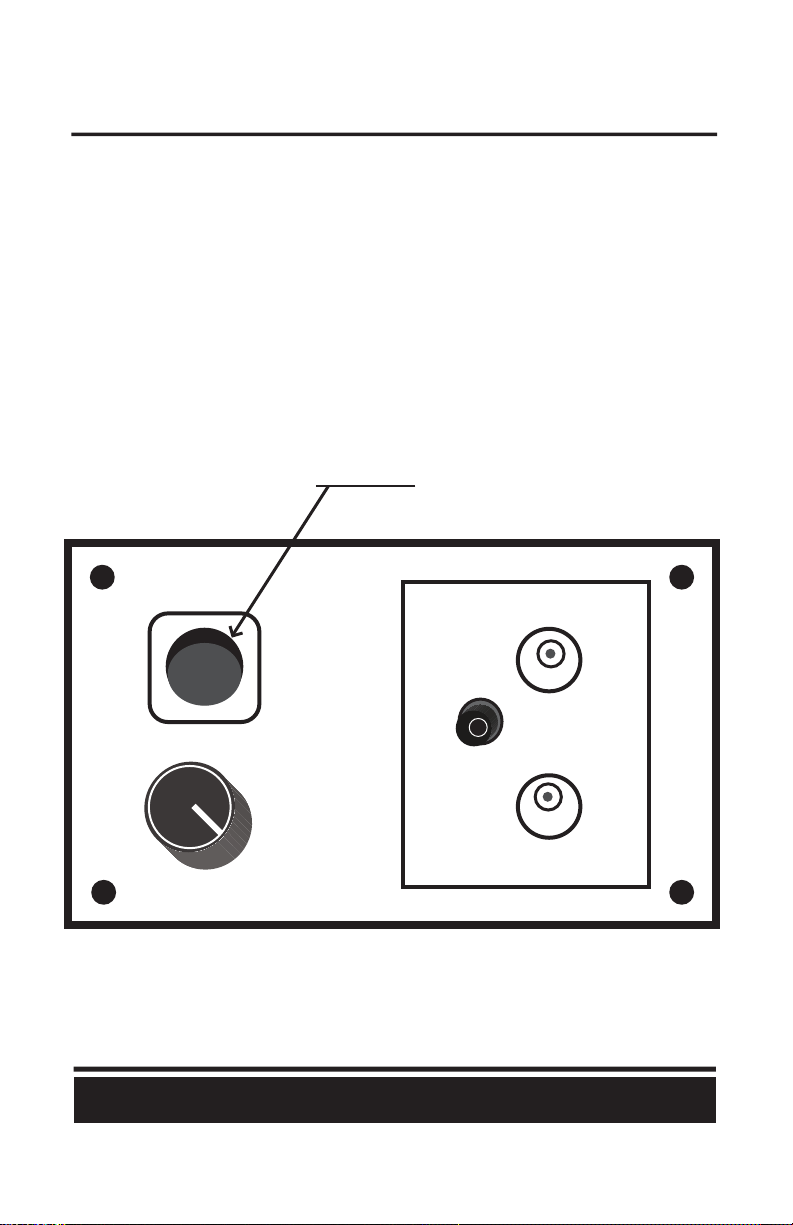
TRY THIS:
First plug the camera system into another monitor or
standard television that accepts standard RCA
connections. If you get a picture then you know the problem
is located in your monitor.
If you still have no picture on another monitor try
changing the video cable that goes from your reel to
your monitor.Any standard RCAadapter will work with
your camera system.
If you have no picture with a new
cable and another monitor then the problem is located
with the camera system. Call the repair department to
get the proper instructions on how to have the equipment
diagnosed.
www.amazingmachinery.com