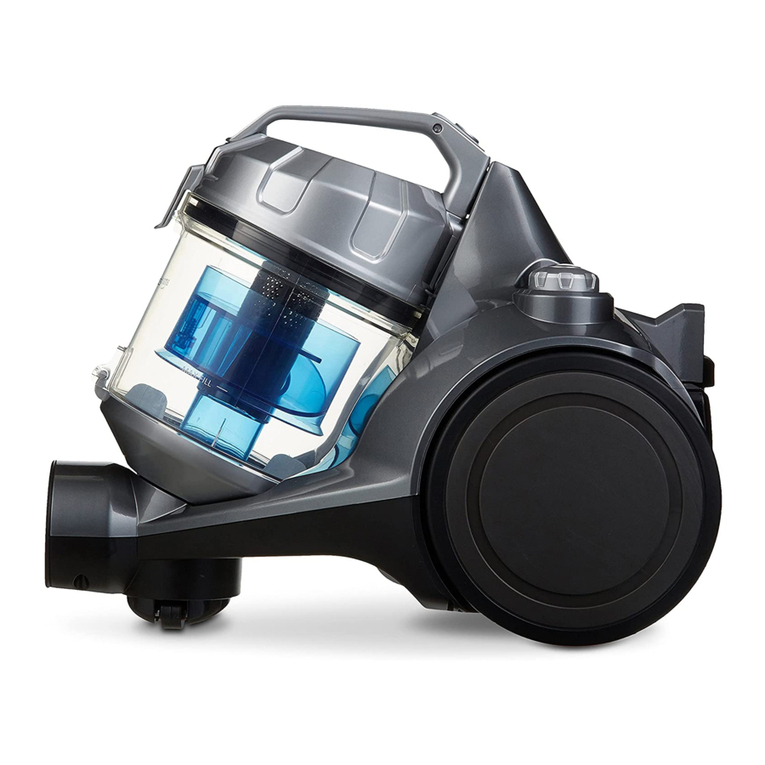
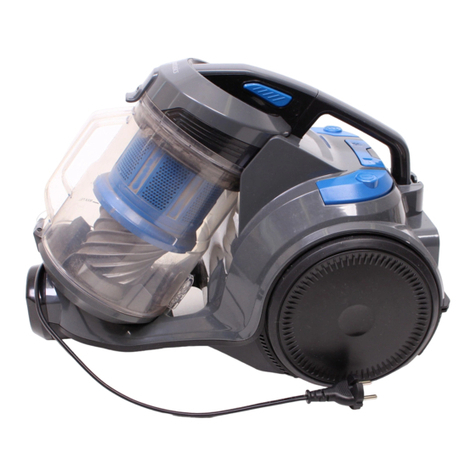
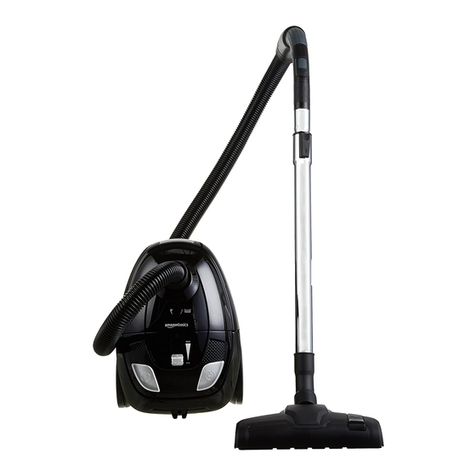
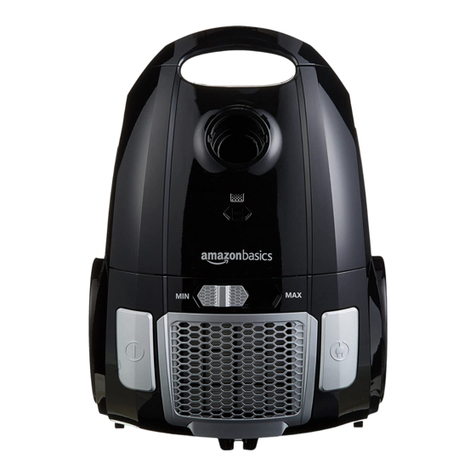
AmazonBasics B0BN5F6MJY User manual

EN . . . . . . . . . . . . . . . . . . . . . . . . . . . . . . . . . . . . . . . . . . . . . . . . . . . . . . . . . . Page 2
FR . . . . . . . . . . . . . . . . . . . . . . . . . . . . . . . . . . . . . . . . . . . . . . . . . . . . . . . . . . Page 22
ES . . . . . . . . . . . . . . . . . . . . . . . . . . . . . . . . . . . . . . . . . . . . . . . . . . . . . . . . .Página 42
Upright Bagless Lightweight Vacuum Cleaner
Aspirateur-Balai Sans Sac, Léger
Aspiradora Vertical Liviana Sin Bolsa
B0BN5F6MJY

EN
2
Table of Contents
1. Important Safety Instructions ................................................................................................. 3
1.1 Polarization Instruction ...................................................................................................... 4
2. Intended Use ................................................................................................................................ 4
3. Appliance Description ............................................................................................................... 5
4. Accessories Description ............................................................................................................. 6
5. Before First Use ........................................................................................................................... 6
6. Assembly ....................................................................................................................................... 7
7. Operation ...................................................................................................................................... 8
7.1 Switching on/o .................................................................................................................. 8
7.2 Using the appliance ............................................................................................................ 8
7.3 Using accessories ................................................................................................................. 9
7.4 Using the extension wand .............................................................................................. 10
8. Cleaning, Storage and Maintenance ................................................................................... 12
8.1 Cleaning ............................................................................................................................. 12
8.2 Storage ............................................................................................................................... 16
8.3 Maintenance ...................................................................................................................... 19
9. Frequently Asked Questions ................................................................................................. 20
10. Specications ......................................................................................................................... 20
11. Feedback and Help .............................................................................................................. 21

EN
3
1. IMPORTANT SAFETY
INSTRUCTIONS
Read these instructions carefully and retain them for future use. If this
appliance is passed to a third party, then these instructions must be
included.
When using electrical appliances, basic safety precautions should always be followed
including the following:
READ ALL INSTRUCTIONS BEFORE USING THIS APPLIANCE
WARNING Risk of re, electric shock or injury!
To reduce the risk of re, electric shock or injury: Do not leave appliance when plugged
in. Unplug from outlet when not in use and before servicing.
WARNING Risk of electric shock!
To reduce the risk of electric shock - Do not use outdoors or on wet surfaces.
»Do not allow to be used as a toy. Close attention is necessary when used by or near
children.
»Use only as described in this manual. Use only manufacturer's recommended
attachments.
»Do not use with damaged cord or plug. If appliance is not working as it should, has
been dropped, damaged, left outdoors, or dropped into water, return it to a service
center.
»Do not pull or carry by cord, use cord as a handle, close a door on cord, or pull cord
around sharp edges or corners. Do not run appliance over cord. Keep cord away from
heated surfaces.
»Do not unplug by pulling on cord. To unplug, grasp the plug, not the cord.
»Do not handle plug or appliance with wet hands.
»Do not put any object into openings. Do not use with any opening blocked; keep free
of dust, lint, hair, and anything that may reduce air ow.
»Keep hair, loose clothing, ngers, and all parts of body away from openings and
moving parts.
»Turn o all controls before unplugging.
»Use extra care when cleaning on stairs.
»Do not use to pick up ammable or combustible liquids, such as gasoline, or use in
areas where they may be present.
»Do not pick up anything that is burning or smoking, such as cigarettes, matches, or
hot ashes.
»Do not use without dust container and/or lters in place.
EN
4
Additional Safety Instructions for Canada
»This appliance is not intended for use by persons (including children) with reduced
physical, sensory or mental capabilities, or lack of experience and knowledge, unless
they have been given supervision or instruction concerning use of the appliance by a
person responsible for their safety.
»Children should be supervised to ensure that they do not play with the appliance.
»If the supply cord is damaged, it must be replaced by the manufacturer, its service
agent or similarly qualied persons in order to avoid a hazard.
1.1 Polarization Instruction
To reduce the risk of electric shock, this appliance has a polarized plug (one blade is
wider than the other). This plug will t in a polarized outlet only one way. If the plug
does not t fully in the outlet, reverse the plug. If it still does not t, contact a qualied
electrician to install the proper outlet. Do not change the plug in any way.
SAVE THESE INSTRUCTIONS
2. Intended Use
»This appliance is intended for vacuuming of dust, lint and general dirt on soft and
hard surfaces. Do not use it for vacuuming ashes, sharp objects e.g. glass, or to
vacuum liquids or other ammable substances.
»This appliance is intended for household use only.
»This appliance is intended to be used in dry indoor areas only.

EN
5
3. Appliance Description
1
2
3
4
5
6
7
8
10
11
12
13
26
14
18
19
25
24
23
22
21
20
9
16
15
17

EN
6
1Handle 14 Crevice tool
2Extension wand port 15 Foam lter
3Extension wand 16 Cyclone lter
4Dusting brush 17 Inlet cup
5Accessory holder 18 Hose handle
6Filter port 19 Suction port
7Power switch pedal 20 Lower cord storage hook
8Vacuum recline pedal 21 Power cord
9Brush roll 22 Upper cord storage hook
10 Dust container empty button 23 Flexible hose
11 Dust container 24 Hose clip
12 Carrying handle 25 Extension wand release
13 Dust container release button 26 Cord clip
4. Accessories Description
4Dusting brush Suitable for removing dust from furniture, counter tops,
blinds, and air vents.
14 Crevice tool Suitable for hard-to-reach areas, such as behind
furniture and between crevices and corners.
5. Before First Use
DANGER Risk of suocation!
Keep any packaging materials away from children and pets – these materials are a
potential source of danger, e.g. suocation.
»Remove all the packing materials.
»Check the appliance for transport damages.
»Before connecting the appliance to the power supply, check that the power supply
voltage and current rating corresponds with the power supply details shown on the
appliance rating label.

EN
7
6. Assembly
1. Insert the handle (1) into the appliance body (Fig. 1) until it clicks into place.
11
2. Connect the hose handle (18) to the suction port (19) (Fig. 2).
2
18
19

EN
8
7. Operation
7.1 Switching on/o
1. Turn the upper cord storage hook (22) to release the power cord (21) and connect the
plug to a suitable socket outlet (Fig. 3).
3
22
21
2. To switch the appliance on, step once on the power switch pedal (7) (Fig. 4).
4
7
3. To switch the appliance o, step once on the power switch pedal (7) (Fig. 4).
7.2 Using the appliance
NOTICE Make sure the dust container (11), lters and accessories are tted
properly before use.
1. Turn the upper cord storage hook (22) to release the power cord (21) and connect the
plug to a suitable socket outlet (Fig. 3).
2. Hook the power cord (21) onto the cord clip (26) to avoid tripping over it.

EN
9
3. Press the vacuum recline pedal (8) with your foot to adjust the position of the
appliance for regular oor vacuuming or low reach vacuuming (Fig. 5).
NOTICE The angle of the appliance does not lock in place. It is freely adjustable
when the vacuum recline pedal (8) is unlocked.
5
1
2
8
4. After vacuuming, switch the appliance o.
5. To return the appliance to its upright position, push the handle (1) forward until the
vacuum recline pedal (8) clicks into place.
7.3 Using accessories
NOTICE Switch o the appliance and disconnect the plug before attaching any
accessories.
1. Detach the hose handle (18) from the suction port (19) (Fig. 6).
6
18
19

EN
10
2. Insert the crevice tool (14) or dusting brush (4) into the hose handle (18) (Fig. 7).
7
4
18 18
14
3. Use the appliance accordingly with the tted accessory.
7.4 Using the extension wand
1. Detach the hose handle (18) from the suction port (19) (Fig. 6).
2. Press the extension wand release (25) and pull the extension wand (3) out (Fig. 8).
8
1
2
25
3

EN
11
3. Place the hose handle (18) into the extension wand port (2) and turn the hose handle
(18) until locked in place (Fig. 9).
9
1
2
18
2
4. Insert the crevice tool (14) or dusting brush (4) into the extension wand (3) (Fig. 10).
10
4
3 3
14

EN
12
5. Carry the appliance by the carrying handle (12) and use the extension wand (3) with
the tted accessory as necessary (Fig. 11).
11
3
12
8. Cleaning, Storage and Maintenance
WARNING Risk of electric shock!
»To prevent electric shock, unplug the appliance before cleaning.
»During cleaning do not immerse the electrical parts of the appliance in water or
other liquids. Never hold the appliance under running water.
»Do not attempt to repair the appliance yourself. In case of malfunction, repairs are
to be conducted by qualied personnel only.
8.1 Cleaning
»To clean the appliance, wipe with a soft, slightly damp cloth.
»Wipe the appliance dry after cleaning.
»Never use corrosive detergents, wire brushes, abrasive scourers, metal or sharp
utensils to clean the appliance.

EN
13
8.1.1 Emptying the dust container
NOTICE Regularly empty the dust container (11) to avoid damage to the
appliance. Do not let dust or debris build up beyond maximum capacity.
1. Press the dust container release button (13) to detach the dust container (11)
(Fig. 12).
12
12
13
11
2. Hold the dust container (11) over a trash bin and press the dust container empty
button (10) to empty the container (Fig. 13).
13
1
2
11
10
3. Close the dust container lid until it clicks into place.
4. Align the dust container (11) with the dust container release button (13) and push
until the container clicks into place.

EN
14
8.1.2 Cleaning the dust container lter
NOTICE It is recommended to clean the foam lter (15) when it is visibly dirty. It
may require more frequent cleaning if vacuuming ne dust.
1. Lift the dust container lter lid (Fig. 14).
14
2. Pull the foam lter (15) from the lid (Fig. 15).
15
15
3. Rinse the foam lter (15) with warm water to wash away dust buildup and residue.
4. Allow at least 24 hours for the foam lter (15) to dry completely.
5. Place the foam lter (15) back into the dust container lter lid.
8.1.3 Cleaning the cyclone (cyclone lter and inlet cup)
NOTICE It is recommended to clean the cyclone lter (16) when it is visibly dirty or
clogged. It may require more frequent cleaning if vacuuming ne dust.
1. Lift the dust container lter lid (Fig. 13).

EN
15
2. Squeeze the tabs to pull the cyclone from the dust container (11) (Fig. 16).
16
1
2
11
3. Twist the inlet cup (17) to separate it from the cyclone lter (16) (Fig. 17).
17
1
2
16
17
4. Remove dirt and debris from the cyclone lter (16) and inlet cup (17). Rinse if
necessary.
5. After rinsing, let the cyclone lter (16) and inlet cup (17) dry completely.
6. Realign the cyclone lter (16) with the inlet cup (17). Twist to lock.
7. Ret the cyclone into the dust container (11). Align the cyclone with the lip of the
dust container (11) then push down.

EN
16
8.2 Storage
»Store the appliance in its original packaging in a dry area. Keep away from children
and pets.
8.2.1 Accessories storage
Place the crevice tool (14) and dusting brush (4) onto the accessory holder (5) on either
side of the appliance (Fig. 18).
18
5
414
8.2.2 Cord storage
1. Turn the upper cord storage hook (22) to its upright position (Fig. 19).
19
22
2. Wrap the power cord (21) around the lower cord storage hook (20) and upper cord
storage hook (22).

EN
17
8.2.3 Checking for clogs
WARNING Risk of electric shock!
Switch o the appliance and disconnect the plug before checking for clogs.
CAUTION Risk of injury!
Clogs or obstructions may contain sharp objects. Remove with care.
NOTICE Tools required: screwdriver
Clogged hose (lter port)
1. Detach the angled end of the exible hose (23) from the lter port (6)
(Fig. 20).
20
1
2
23
6
2. Remove any obstructions.
3. Ret the angled end of the exible hose (23) into the lter port (6).

EN
18
Clogged hose (suction port)
1. Detach the hose handle (18) from the suction port (19) (Fig. 5).
2. Unscrew the suction port (19) (Fig. 21).
21
19
3. Remove any obstructions.
4. Ret the suction port (19) and the hose handle (18).
Clogged brush roll
1. Flip the appliance frontside down with the brush roll (9) facing outwards.
2. Unscrew the base plate to detach it from the brush cover (Fig. 22).
22
12

EN
19
3. Grab both ends of the brush roll (9) and pull it out from the drive belt (Fig. 23).
23 1
2
9
4. Remove any string, hair, carpet ber or other obstructions.
5. Reposition the brush roll (9) on the drive belt and push the brush roll (9) into the
brush cover (Fig. 24).
24
1
2
9
6. Rotate the brush roll (9) a few times to make sure it aligns with the drive belt.
7. Ret the base plate onto the brush cover.
8.3 Maintenance
»Any other servicing than mentioned in this manual should be performed by a
professional repair center.
»Switch o and unplug the appliance before performing maintenance.

EN
20
9. Frequently Asked Questions
Problem Solution
The appliance does not
switch on.
Check if the plug is connected to the socket outlet. Use
voltage tester to verify if the socket outlet is powered.
The suction power is weak.
»The dust container (11) is full. Empty the dust
container (11).
»Detach and clean the foam lter (15) or cyclone lter
(16) and inlet cup (17).
»Make sure the exible hose (23) is tted securely at
both ends.
»Make sure the dust container (11) is fully inserted
and dust container release button (13) is pushed in
completely.
»Check if the exible hose (23), extension wand (3),
or other accessories are obstructed. To remove the
obstruction, see Chapter Cleaning.
»Check if the exible hose (23) is punctured or
damaged. Contact a professional repair center for
inspection and repair.
Motor is abnormally noisy.
»Stop using the appliance if the noise persists.
»The brush roll (9) may be clogged or tangled. For
cleaning, see Chapter Cleaning.
»The drive belt is worn out. Contact a professional
repair center for inspection and repair.
»Check if the exible hose (23), extension wand (3),
or other accessories are obstructed. To remove the
obstruction, see Chapter Cleaning.
»Contact a professional repair center for inspection
and repair.
10. Specications
Model number VUS29AE1B
Rated voltage 120 V AC, 60 Hz
Rated current 6 A
Dust container capacity max. 7.2 cups (1.7 L)
Cord length 18’ (5.5 m)
Suction power 70 W, 12 kPa
Net weight approx. 8.4 lbs (3.8 kg)
Dimensions (W x H x D) approx. 11.4 x 41.3 x 11.9" (28.9 x 104.9 x 30.2 cm)
Table of contents
Languages:
Other AmazonBasics Vacuum Cleaner manuals

AmazonBasics
AmazonBasics B0716T5FW2 User manual

AmazonBasics
AmazonBasics B071VNCNLF Operating and safety instructions

AmazonBasics
AmazonBasics B07SG47LWK User manual

AmazonBasics
AmazonBasics B07SG47NS3 User manual

AmazonBasics
AmazonBasics B07C3N686Y Installation and operating manual

AmazonBasics
AmazonBasics B07C3N6BKX User manual

AmazonBasics
AmazonBasics B07GSTX6VM User manual

AmazonBasics
AmazonBasics B071VNCNLF User manual

AmazonBasics
AmazonBasics B0716T5FW2 User manual

AmazonBasics
AmazonBasics B071VNC8M4 User manual