©2016 The Ames Companies, Inc. GR4855 (9/16)
OWNER’S MANUAL
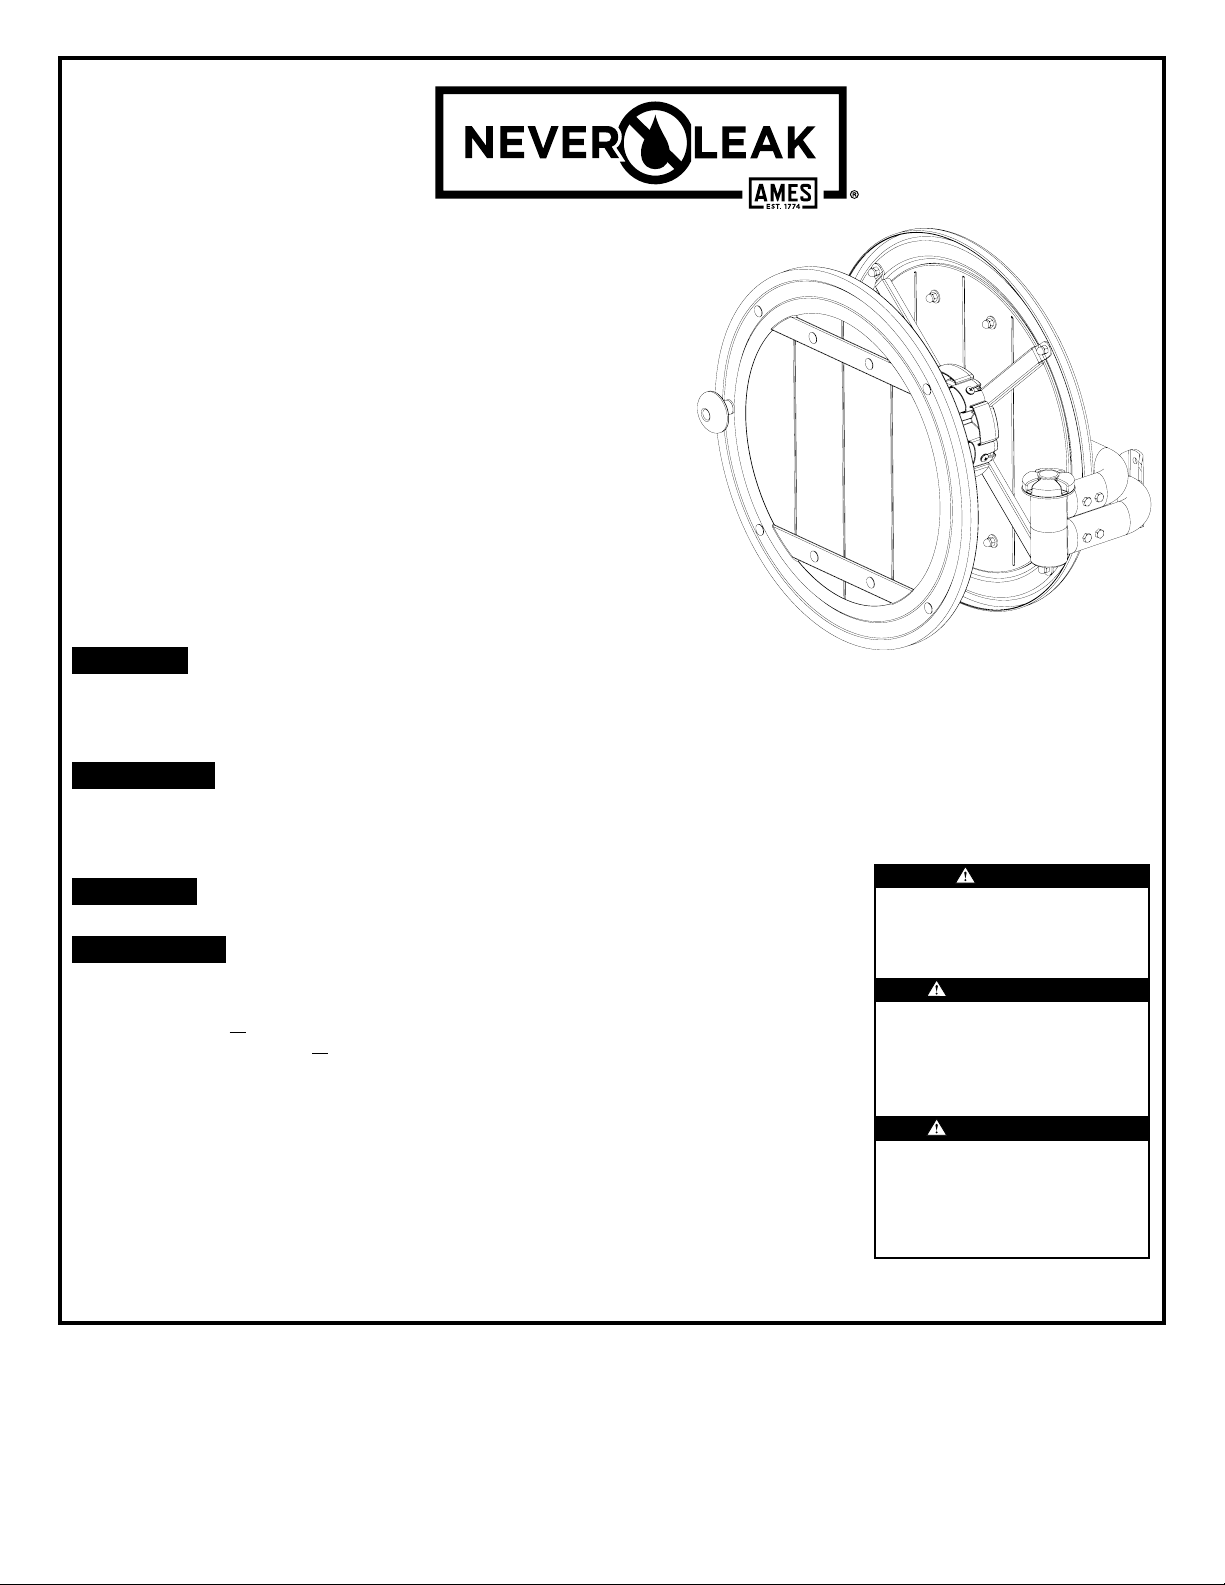
SWIVEL METAL WALL
MOUNT HOSE REEL
MANUAL DEL PROPIETARIO
PORTAMANGUERA METÁLICO Y
GIRATORIO DE PARED
TOOLS REQUIRED
Powered Hand Drill or Hammer Drill
3/8”(10 mm) Masonry Drill Bit or 3/16”(4.5 mm) Standard Drill Bit
Small Hammer or Mallet
#2 Phillips Screwdriver
1/2”(13 mm) or 13/32”(10 mm) Open-End Wrench
Plumber’s Tape (optional, not included)
HERRAMIENTAS REQUERIDAS
Taladro eléctrico o martillo perforador
Broca para mampostería de 10 mm (3/8 pulg.) o broca estándar de 4.5 mm (3/16 pulg.)
Martillo o mazo pequeño
Destornillador Phillips #2
13 mm (1/2 pulg.) o 10 mm (13/32 pulg.) llave de boca
Cinta de plomero (opcional, no incluida)
NOTE: Do not completely tighten bolts until assembly is completed.
For easier assembly, it is recommended that two people assemble this product.
NOTA: No apriete completamente los pernos hasta que el ensamblaje esté completo.
Para facilitar el ensamblaje, se recomienda dos personas para ensamblar este producto.
ITEM #2398700
⚠CAUTION
Please consider carefully the appropriate method to be used in mounting this hose reel. Hardware is included for your convenience,
but may not be suitable for all mounting conditions. Some surfaces like vinyl siding or stucco may require special considerations
or additional hardware. Improper mounting can cause personal injury or property damage. If you are unsure, contact a home
improvement professional.
⚠PRECAUCIÓN
Favor de considerar cuidadosamente el método apropiado para el montaje de este portamanguera. Se incluye la ferretería para su
conveniencia pero puede no ser apropiada para todas las condiciones de montaje. Algunas supercies como los revestimientos de
vinilo o de estuco pueden requerir consideraciones especiales o ferretería adicional. Un montaje inadecuado puede causar lesiones o
daños a la propiedad. Si no está seguro, contacte a un profesional en instalaciones.
Before you begin...
This product has been packaged to assure it arrives in best possible condition.
Please be careful when unpacking. Read instructions prior to assembly. This
kit contains parts that can be damaged if incorrectly assembled. Please follow
instructions. The Ames Companies, Inc.® is not responsible for replacing parts
damaged due to incorrect assembly.
Antes de comenzar ...
Este producto ha sido empacado para resguardarlo y permitir que llegue en
la mejor condición posible. Tenga cuidado al desempacarlo. Sírvase leer el
manual de instrucciones antes de ensamblarlo. Este juego contiene piezas
que pueden ser dañadas si ensambladas incorrectamente. Siga las instrucciones.
Cuando las piezas han sido ensambladas incorrectamente, The Ames Companies,
Inc.® no reemplazará las piezas dañadas.
5 Year Limited Warranty
The Ames Companies, Inc. warrants to the original purchaser only of the accompanying product that such product will be free from defects in material and workmanship for 5 years from the date of purchase. In the event of any such defect in material or
workmanship, The Ames Companies, Inc. will provide a replacement product at no charge if the product is returned to its place of purchase or to The Ames Companies, Inc. at 465 Railroad Avenue. Camp Hill, PA 17011. Damage to the product caused by
accident, misuse, abuse, unauthorized repair, or use in other than normal home or personal use or private non commercial use, is not covered by this limited warranty. The Ames Companies, Inc. shall not be liable for incidental or consequential damages, for
breach of any express or implied warranty, but some states do not allow the exclusion or limitation of incidental or consequential damages, so to the extent that they do not, the above limitation may not apply to you.This warranty gives you specic legal rights
and you may have other specic legal rights which vary from state to state and from province to province.
Garantía limitada de 5 años
The Ames Companies, Inc. garantiza este producto solamente al comprador original por medio de la presente, contra defectos en los materiales o en la mano de obra, por un período de 5 años, después de la fecha de compra. En caso de que haya defectos en
los materiales o en la mano de obra, The Ames Companies, Inc. proporcionará un producto de reemplazo sin costo, si devuelve el producto al detallista o a The Ames Companies, Inc., 465 Railroad Avenue, Camp Hill, PA 17011. Los daños al producto, debidos a un
accidente, utilización inadecuada, abuso, reparaciones no autorizadas o una utilización diferente a la utilización doméstica común o personal o una utilización que no sea comercial privada, no están cubiertos en esta garantía. The Ames Companies, Inc. no será
responsable por los daños incidentales o indirectos, o violaciones a cualquier garantía expresa o implícita. Algunos estados no permiten la exclusión o la limitación de daños incidentales o indirectos, así como la exclusión de la limitación que se encuentra arriba,
puede ser que esto no se le aplique a Ud. Esta garantía le otorga derechos legales específicos y Ud. puede tener otros derechos que varían de estado a estado o de provincia a provincia.
Ensure there are no live electrical wires or plumbing in the wall at the location you are drilling.
⚠WARNING
⚠ADVERTENCIA
Asegúrese de que no haya cables eléctricos cargados ni plomería en la pared donde lo taladra.
Este producto le podría exponer al plomo que el estado de
California sabe que puede causar cáncer y defectos de
nacimiento u otros daños del sistema reproductivo. Para
obtener más información, visite el sitio
www.P65Warnings.ca.gov. NO coloque las manos en la
boca después de utilizar el artículo. NO coloque el artículo
en la boca. NO beba el agua de esta manguera. LÁVESE
LAS MANOS DESPUÉS DEL USO.
ADVERTENCIA
Cet article pourrait vous exposer au plomb, reconnu par
l’État de Californie comme cause de cancer, de malforma-
tions congénitales ou autres problèmes du système de
reproduction. Pour obtenir plus d’information, visiter le
site www.P65Warnings.ca.gov. NE PAS placer les mains
dans la bouche après avoir utilisé cet article. NE PAS placer
cet article dans la bouche. NE PAS boire d’eau de ce tuyau.
SE LAVER LES MAINS APRÈS USAGE.
AVERTISSEMENT
This product can expose you to Lead, which is known to
the State of California to cause cancer and birth defects or
other reproductive harm. For more information go to
www.P65Warnings.ca.gov. DO NOT place your hands in
your mouth after handling the product. DO NOT place the
product in your mouth. DO NOT drink water from the hose.
WASH HANDS AFTER USE.
WARNING


