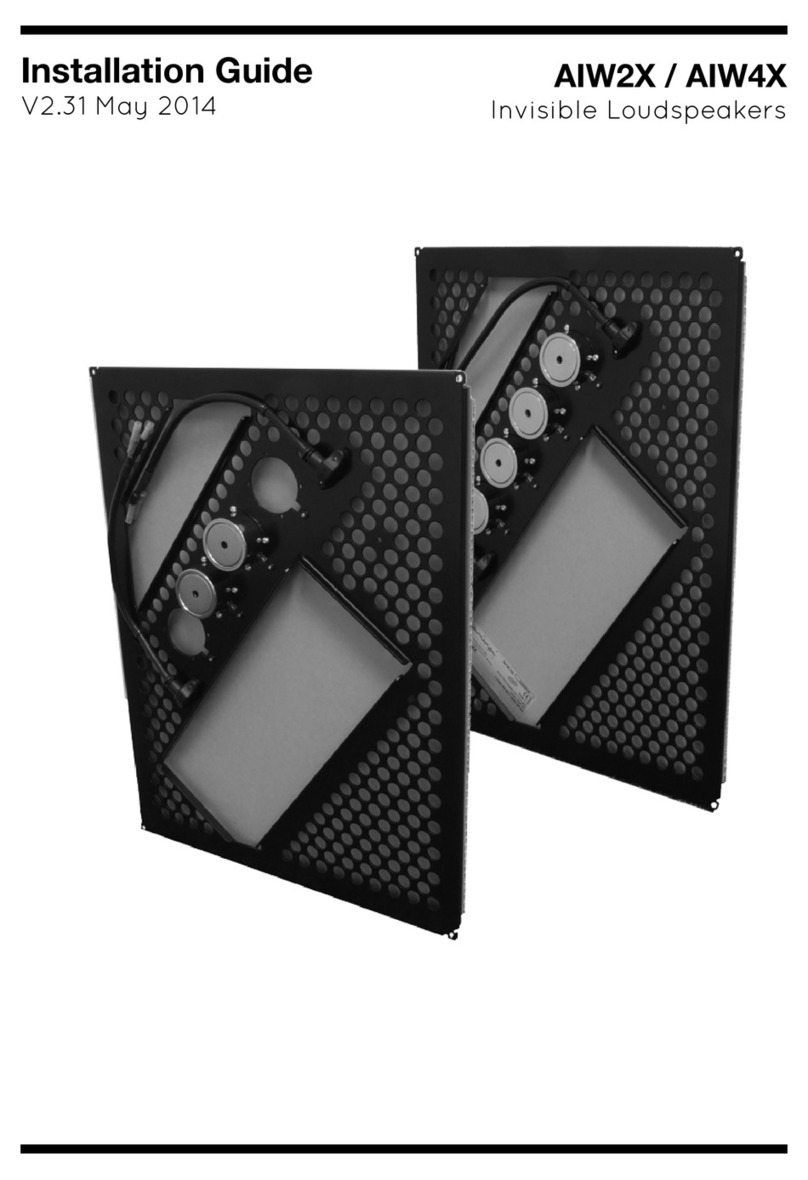
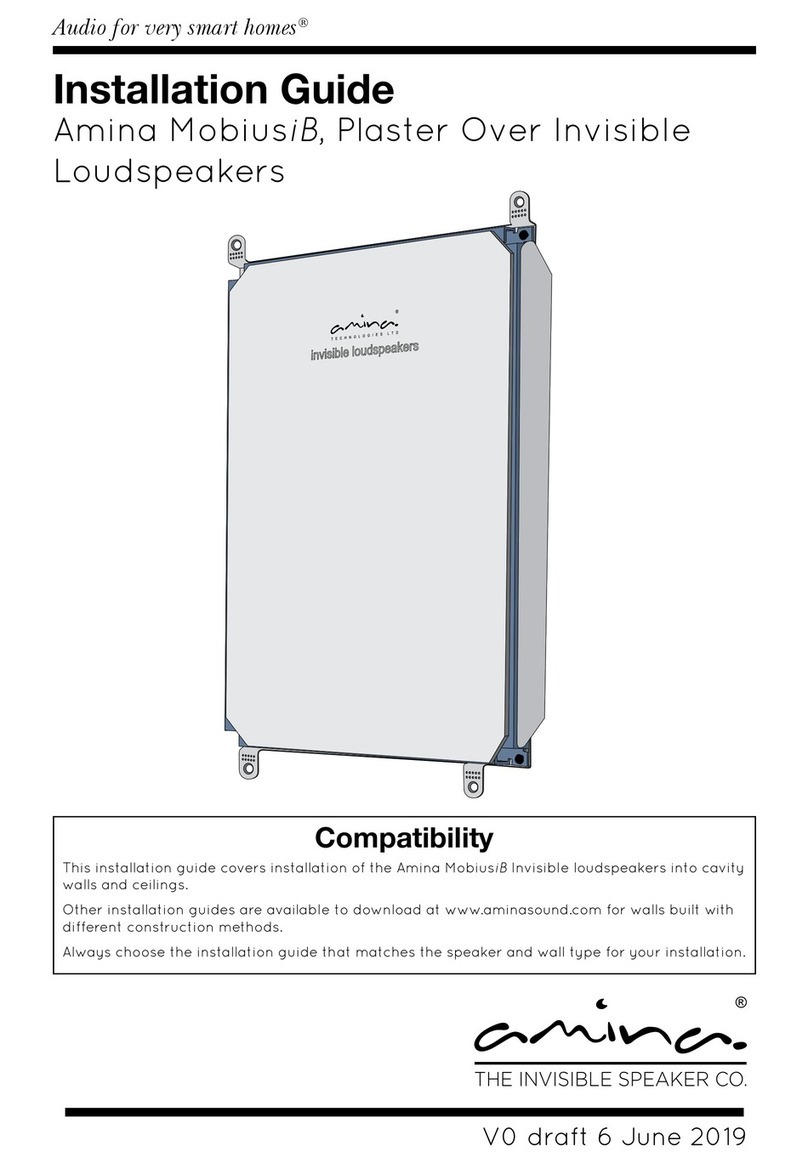
Amina MOBIUS 7 User manual

Audio for very smart homes®
®
THE INVISIBLE SPEAKER CO.
V4.5 June 2019
Plaster-Over Invisible Loudspeakers
(Panel loudspeaker with separate Backbox or Mounting Blocks)
Installation Guide
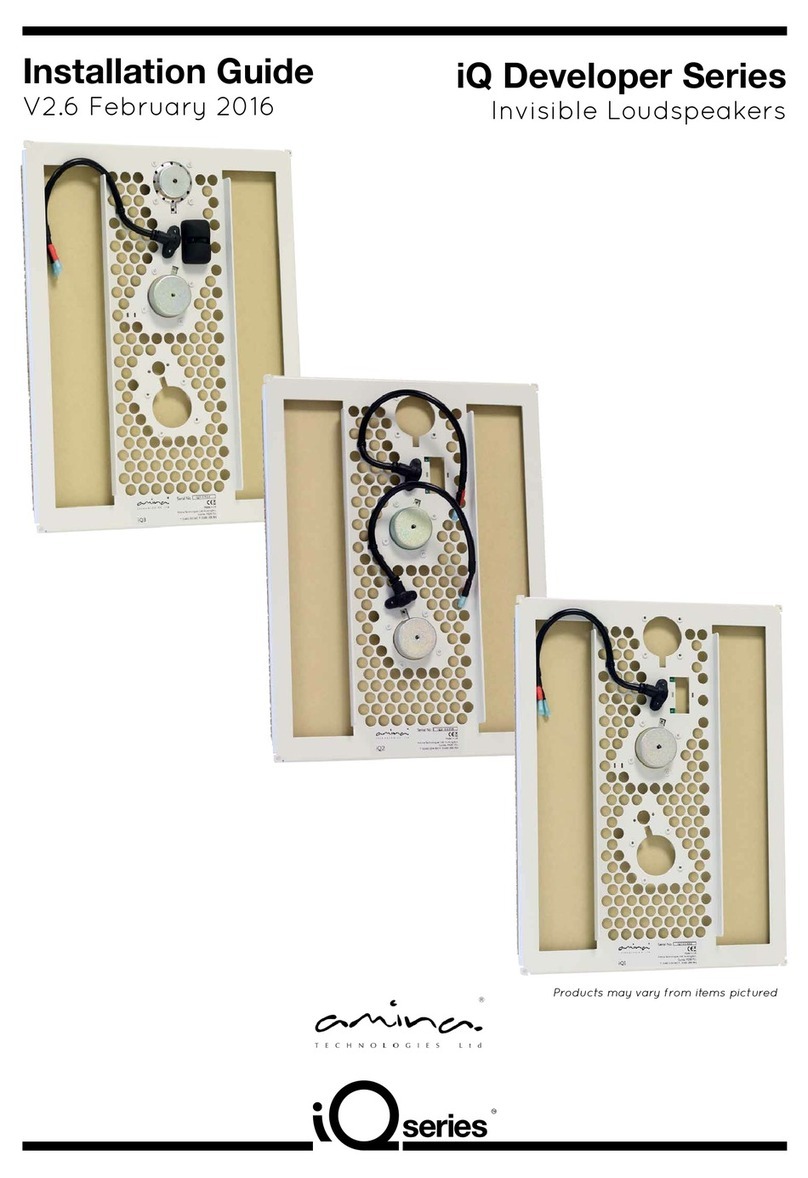
Mobius 5
Mobius 7
iQ3

Caution: Read before installing this product...1
Environmental................................................................ 3
Sound in your Home:.................................................. 4
Sound in your Work or Leisure Environment: 4
Message from the Managing Director ...............5
About the Manufacturer ............................................5
Interactive PDF guide ................................................ 6
Introduction .....................................................................7
Installation options .................................................7
Unpacking ........................................................................7
Packaging.........................................................................7
Overview...........................................................................7
Setup tips......................................................................... 9
Installation....................................................................... 11
Mounting accessories ........................................... 11
Speaker protectors ............................................... 12
Cavity wall or solid wall installation.............14
Installation (cavity walls)........................................ 15
Correct fixing method for BackboxCV........ 15
Shims............................................................................18
Shim sizes.............................................................18
Fixing shims to the speaker.........................18
Fixing shims to the BackboxCV .................18
Cavity wall alignment options ........................19
Alignment and preparation ............................ 20
For new stud walls / ceilings using
BackboxCV......................................................... 20
Retrofit / pre-skimmed plasterboard
(full wet skim finish)......................................... 21
Retrofit / pre-skimmed plasterboard
(patch plastered finish) ................................ 22
Retrofit / pre-skimmed plasterboard
(feathered skim finish)..................................23
Retrofit or new drywall..................................24
For new stud walls / ceilings using
Fixing Blocks .......................................................25
Fixing the speaker ................................................26
Connecting the speaker....................................26
Installation (solid walls).......................................... 27
Create aperture in brickwork/ concrete. .. 27
Create channel for cable .................................. 27
Solid wall alignment options ..........................28
New build/New solid walls cutaway
(Full wet skim finish).......................................29
Retrofit / pre-skimmed solid wall
cutaway (Patch plaster finish) ................. 30
Retrofit / pre-skimmed solid wall
cutaway (Feathered plaster finish) ......... 31
Connecting the speaker....................................32
Fixing the speaker................................................32
Testing.............................................................................33
Testing the speaker .............................................33
Resistance test ..................................................33
Connect the APU protection device.......33
Sweep test...........................................................33
Music test .............................................................33
Problems during test......................................33
Problems during test...........................................34
Insecure drywall ...............................................34
Metal studs ..........................................................34
Cable buzzing ...................................................34
Lighting fixtures................................................34
Finishing .........................................................................35
Filling the perimeter ............................................35
Taping the joints and panel surface ............35
Plastering options .................................................36
Full plaster skim coat .......................................... 37
Patch plaster ...........................................................38
Feather skim............................................................39
Decorating.................................................................... 40
Maintenance and cleaning................................... 40
Accessories.....................................................................41
Subwoofers ...............................................................41
Troubleshooting..........................................................42
Advice for testing..................................................42
No or low sound output .....................................42
Distortion, buzzing or rattles at modest
volumes......................................................................43
Very low output after speaker passes
electrical tests ........................................................43
Distortion at higher volume levels ...............43
Specifications............................................................. 44
Mobius series - Plaster over products ....... 44
iQ series - Plaster over products.................. 44
Fire resisting installation........................................45
Warranty information..............................................45
Copyright information ............................................45
Contact information................................................ 46
Contents

1
Click here to return to the index
WARNING:
No attempt should be made to install
this product within existing building
structures unless you are certain that no
electric cables, water pipes, gas pipes or
supporting joists will be cut through.
FIRE PROTECTION:
When making an intrusion into an
internal wall or ceiling to install an
Amina loudspeaker be sure to check the
appropriate regulations pertaining to the
required fire rating. Depending on the
location of the intrusion and the applicable
regulations it may be necessary to build in
or install additional fire rated components
or products to enclose the speaker and
back box. Amina Technologies take no
responsibility for the correct specification
and installation of any such fire protection
system that is required behind their
loudspeakers.
SPEAKER PROTECTION:
Amina loudspeakers should be installed
with an APU or other suitable electrical
overload protection device. These devices
help ensure the loudspeaker operates
reliably for many, many years ahead, by
limiting and protecting against temporary
excessive audio signals that could damage
the product.
Common sense should always prevail
though. Your product should never be
operated at repeated or consistently
excessive audio levels. Never operate your
Amina speakers at a level where audio
reproduction appears distorted.
For the ultimate in protection, Amina
recommend using the Amina A100Q digital
amplifier to drive your loudspeakers. It
prevents unwanted and excessive electrical
energy from reaching the speaker whilst
allowing it to perform at its very best at all
times.
Caution: Read before installing this product
METAL FRAME CEILINGS:
When installing in metal frame (MF) ceilings
(& walls), please ensure the assembled metal
frame is fully solid and secure and that all
metal mating joints are mechanically fixed
or bonded together. Metal joints that are not
tightly fixed have the potential to generate
spurious buzzing noises as the two free
edges rub against each other when activated
by the acoustic energy generated by the
Amina Loudspeaker. All debris, loose screws,
excess materials etc, should be removed from
above the ceiling to avoid unwanted rattles.
CLEANLINESS DURING
INSTALLATION:
Always install the speaker when the general
environment is clean and dust free. Keep
each speaker protected in its shipping
carton until cutting work is complete and the
installation room has been cleaned down
thoroughly. Never expose the rear of the
loudspeaker to an environment containing
airborne metallic particles and dust, as these
will be attracted to the speakers high power
magnet causing damage to the loudspeaker.

2
Click here to return to the index
• To ensure optimal performance, please
read this guide carefully and keep in a
safe place for future reference.
• Install this product in a cool, dry, clean
place - away from direct sunlight,
cold bridges and heat sources, strong
vibrational forces, chemical fumes, dust
and moisture (steam).
• Do not expose this product to sudden
temperature changes or locate it in an
environment with high humidity. This
is to prevent condensation forming
inside which may cause damage to the
product.
• Do not clean this product with chemical
solvents as this may damage the finish.
Use a clean, dry or damp cloth.
• Ensure that all installation mounting
surfaces are able to support the weight
of the product and any mounting
accessories.
• After installation, avoid pushing on the
wall or ceiling surface immediately
in front of the speaker. Excessive
excursion can crack the plaster around
its perimeter and can damage the
loudspeaker.
• Do not attempt to modify or repair the
product. Contact your distributor or
Amina if a fault should occur.
• The rear of the product should not be
subject to chemical cleaning and should
not be painted in any way.
• When plastering over, ensure only 2mm
of material covers the product. More
than this will degrade the performance
of the product and could lead to
product failure.
• Avoid the use of silicone sealants
within the area of the loudspeaker.
Sublimation of silicone will deposit a
thin layer of silicone material on the
panel surface, severely degrading the
ability of plaster to bond to its surface.
• Prior to plastering, wipe the front panel
surface clean with a damp cloth.
Caution: Read before installing this product

3
Click here to return to the index
Environmental
• Before installing, ensure that the
building is environmentally sealed, de-
humidified to a maximum of RH50%,
and at a stable temperature of at least
16 degrees centigrade (61 degrees
Fahrenheit)
• This product should not be used with
single thick coat plaster solutions or
with other finishing methods that take
days (rather than hours) to dry out.
• Please be aware that when this
product is directly fitted into a
solid brick, block or concrete wall
structure (e.g. when using the solid
wall backbox) vibrational energy is
inevitably transferred into the solid wall
structure. This energy can travel for
some considerable distance up, down
and along the structure. It is therefore
recommended the product be fitted
within acoustically isolated stud walls
or ceiling sections where possible. The
use of the product directly embedded
in solid walls is not recommended in
multi occupancy buildings.
• Please be aware that when this product
is fitted in simple (stud or rafter with
plasterboard/floorboard attached on
either side) stud walls or wooden rafter
ceiling/floor structures, vibrational
energy is inevitably transferred into
the building structure. This energy can
travel for some considerable distance
up, down and along the structure. It is
therefore recommended the product
be fitted within acoustically isolated
stud walls or ceiling sections where
possible. Special care should be taken
when installing the product in multi
occupancy buildings.
• Completed and fully dried plaster
surfaces should be finished with
permeable coatings / materials, to
allow moisture in that coating or
the adhesives used to apply those
materials, to dry into the environment,
rather than trap moisture in the
speaker.
• During installation take care to use
appropriate and suitable joint filling
compounds to fill the gap between
speaker and the surrounding surface.
This gap should be no less than 2mm
and no more than 5mm in width.
Inappropriate compounds used in such
a joint can shrink and crack excessively
and lose strength.
Allow the joint to dry thoroughly
before applying surface skim coats,
as shrinking in the joint depth whilst
drying could create a very slight
embossed outline in the finished and
decorated surface.
• As a general rule in the construction
industry, any drying process should
be gradual rather than forced with
excessive heat otherwise materials can
lose strength and can crack.
• Amina Technologies take no
responsibility for inappropriate use of
materials and environmental conditions
under which they are applied.
Other manuals for MOBIUS 7
1
This manual suits for next models
2
Table of contents
Other Amina Speakers manuals

Amina
Amina AIW150i User manual

Amina
Amina AIW2X User manual

Amina
Amina iQ1 User manual

Amina
Amina MOBIUS 7 User manual

Amina
Amina AIW1X User manual

Amina
Amina AIW1X Manual

Amina
Amina ACPT554E Manual

Amina
Amina EdgeiBSS-EN54 Series User manual

Amina
Amina Life-Fidelity LFi2T Manual

Amina
Amina AIWX Wood User manual