7
P/N 1010807 Rev. P 02/18
MAINTENANCE
Daily
Tools Required:
yHeat-Resistant Gloves
yClean Towels
yMultipurpose Detergent Solution
ySanitizer Solution
1. Turn the power o, unplug the
power cord, and allow the unit to
cool for 30 minutes.
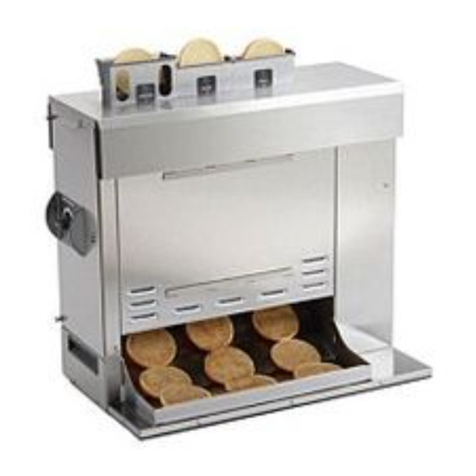
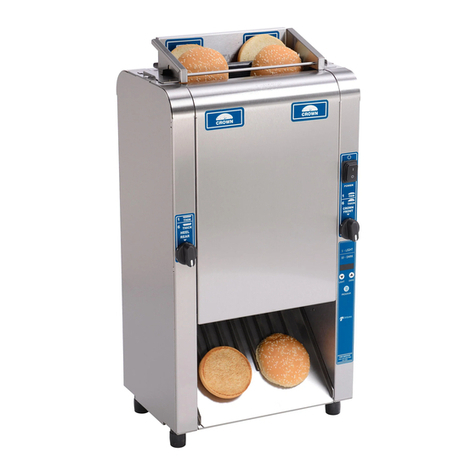
2. Put on heat resistant gloves. Remove
the Bun Feeder, Heat Shield, and Bun
Chute (Figure 1).
3. Wipe the Bun Feeder, Heat Shield,
and Bun Chute with a damp sani-
tized towel and allow them to air dry.
4. Remove the Release Sheet and place
it on a clean, at dry surface.
5. Wipe the silver side with a clean
towel dampened with Multipurpose
Detergent Solution immediately
followed by a second clean towel
dampened with sanitizer. Allow it to
air dry before continuing.
6. Once the silver side of the Release
Sheet is dry, repeat Step 5 on the
black side. If properly cleaned, the
Release Sheet surface should be
smooth to the touch when dry.
7. Open the front Conveyor Cover and
rmly wipe the Belt Wrap (if used)
or Conveyor Belt Chain from left to
right and top to bottom with a clean
towel dampened with Multipurpose
Detergent Solution immediately
followed by a second clean towel
dampened with sanitizer solution.
CAUTION
Turn the power o, disconnect the
power cord, and allow the unit to cool
down 30 minutes before perform-
ing any service or maintenance.
CAUTION
To prevent damage to the unit, do
not use abrasive cleaners on the
Release Sheet or belt wrap.
CAUTION
Failure to use Release Sheets may
result in damage to the unit and
loss of warranty coverage.
8. Close the front Conveyor Cover, open
the rear Conveyor Cover, and clean
the Belt Wrap (if used) or Conveyor
Belt Chain as described in Step 7.
9. Close the rear Conveyor Cover and
reinstall the Heat Shield. Then plug
in the power cord, turn the unit on,
count 10 seconds, then turn the unit
o and unplug the unit. This will
allow the uncleaned sections to be
exposed.
NOTE: As of March 2017, the Interlock
Switch was removed from use.
If your toaster has the Interlock
Switch (Figure 11), you will need
to place the Heat Shield onto the
toaster in order for the conveyors
to turn. If your toaster does not
have an Interlock Switch, the
conveyors will turn as long as the
unit is on.
10. Open the rear Conveyor Cover again,
clean the newly exposed section of
the Belt Wrap (if used) or the Con-
veyor Belt Chain in the same manner
as before. Close the Conveyor Cover.
11. Open the front Conveyor Cover
again and clean the newly exposed
section of the Belt Wrap (if used) or
Conveyor Belt Chain in the same
manner as before.
12. Close the front Conveyor Cover and
wipe down the outside of the toaster
with a clean, damp, sanitized towel.
13. Install a new or clean Release Sheet,
using the reverse side, by draping
it over both sides of the Platen with
the crease centered on the Platen.
NOTE: Rotate from side to side daily or
weekly to prolong the life of the
Release Sheet.
14. Install the Bun Chute so the hooks
are installed over the lower rear yel-
low Support Rod.
15. Install the Heat Shield with the
Release Sheet retainer clips securely
over the Release Sheet and Platen.
16. Reinstall the Bun Feeder and plug in
the unit.
NOTE: Additional Release Sheets can be
purchased through your Autho-
rized Service Agency under P/N
7000249 (3-Pack) or 7000250
(10-Pack).
Replacing the Black and Silver
Release Sheet (Every 4–6 weeks)
NOTE: Depending on toaster usage and
on how well it is cleaned daily,
the Release Sheet should last
between 45–60 days.
1. Remove and discard the Release
Sheet.
2. Lay a new Release Sheet on a clean,
dry surface and fold it in half length-
wise and gently crease it at the fold
using only your ngers (Figure 8).
3. Install the Release Sheet just as you
would after Daily Cleaning.
FOLD OVER SO
ENDS MEET.
PRESS LIGHTLY WITH
FINGER TO FORM
CREASE.
Figure 8. Folding the Release Sheet
Replacing the Optional Belt
Wraps (Every 3–6 months)
NOTE: Depending on toaster usage
and how well they are cleaned
daily, the Belt Wraps should last
between 3–6 months. Additional
Belt Wraps may be purchased
from your Authorized Service
Agency.
1. Turn unit o, unplug the power cord,
and allow the unit to cool before
proceeding.
2. Remove the Bun Feeder and Heat
Shield and set the Bun Thickness
Compression Knobs to 6 & 6 or 6 & F.
3. Open both Conveyor Covers and pull
the Belt Wrap Pin out of the zipper
(Figure 9).
4. Remove and discard the old Belt
Wrap(s).
5. Clean both Conveyor Belt Chains just
as you would clean the Belt Wraps
during daily cleaning.
6. Install the new Belt Wrap(s) around
the Conveyor Belt Chains inside
the yellow rods with the zipper ap
exposed and hanging down (Figures
10 & 11).
7. Close the Conveyor Cover(s), set the
Bun Thickness Compression Knobs
back to their normal settings and
reinstall the Heat Shield and Bun
Feeder.
