Belt Removal:
1. Press and release the Power button to turn the unit
off. The Tortilla Warmer enters a cool-down mode.
Wait until the unit automatically shuts down and
OFF appears on the display.
2. Unplug the power cord.
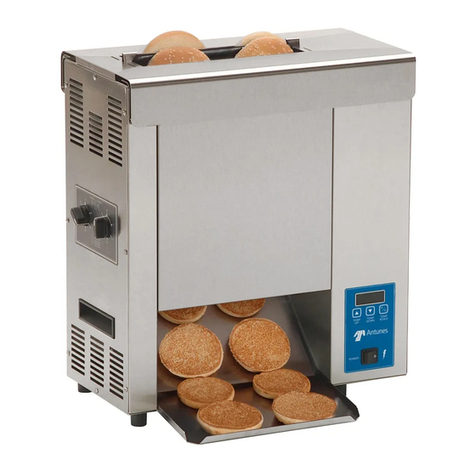
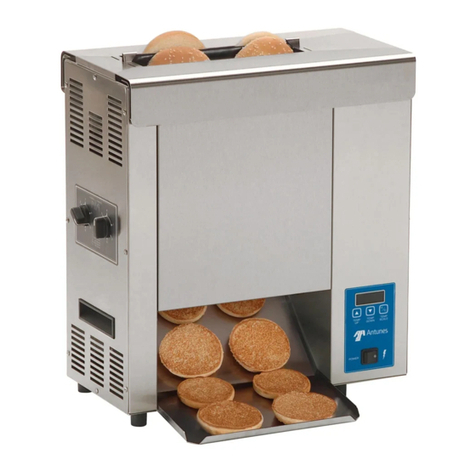
3. Wearing heat resistant gloves, remove the all
accessories, Top cover (if applicable) feeder, chute,
rear panel and set aside (Figure 1)
Figure 1.
(Accessories may be different depending on model number)
4. Facing the front of the unit, move to the right side
panel. Rotate the unit as necessary for access.
5. Unlock the side panel door using a screwdriver,
coin, or similar tool. Open the side panel (Figure 2).
GST BELT REPLACEMENT INSTRUCTIONS (P/N 1012999)
Figure 2.
General
If you experience any problems with these instructions, con-
tact the factory Technical Service Department at 630-784-1000
or toll free in the U.S. at 877-392-7854.
WARNING
Turn the unit off, unplug the power cord and allow the
unit to cool down before performing any service or
maintenance on the unit.
ANTUNES www.antunes.com 180 Kehoe Blvd., Carol Stream, Illinois 60188
TOOLS: Heat Resistant Gloves, Flat Head Screw Driver,
Clean Sanitized Towel and Approved Sanitizer
PARTS INCLUDED
Main Belt Replacement Kit
1 Pack: P/N 7001766
2 Pack: P/N 7001659
Instruction Sheet: P/N 1012999
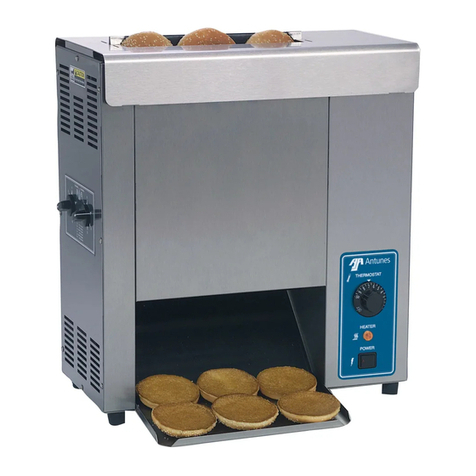
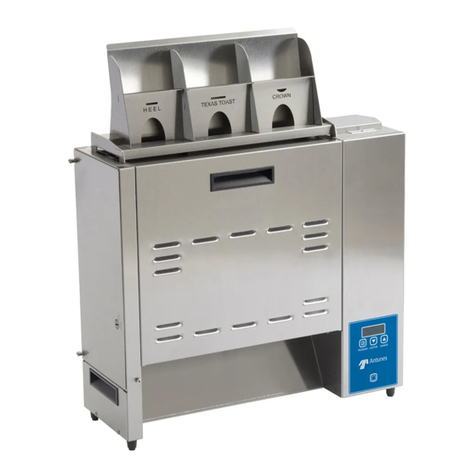
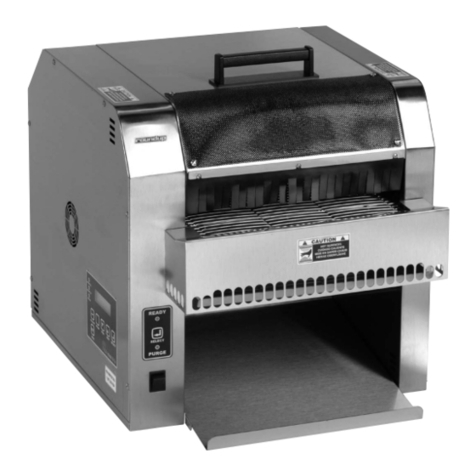
AFFECTED PRODUCTS: GST-1H
TOP COVER
FEEDER
CHUTE
HEATED LANDING ZONE
CLIP
BACK PANEL
BOTTOM
FRONT
ROLLER
SIDE
PANEL
DOOR
LOCK
LEVER
TOP
FRONT
ROLLER
Figure 3.
LIFT THIS
BRACKET
6. TOP BELT:
Remove tension on the Top Belt by pushing the Top
FRONT Roller IN and UP until it locks into position.
7. BOTTOM BELT:
Remove tension on the Bottom Belt by pushing the
Bottom FRONT Roller IN and DOWN.
8. Rotate the knobs shown in gure 3 half turn.
NOTE: If your unit came with clips attached to
the knobs, remove and discard them
9. Lift up on the tension brackets until it locks in the up
position and does not drop down. Repeat process
for opposite side of unit.
KNOB
LOCK LEVER
1
P/N 1012999 Rev. A 03/19
