Apex Digital Sturdy SA-260MB User manual

“
“S
St
tu
ur
rd
dy
y”
”
A
Au
ut
to
oc
cl
la
av
ve
e
S
St
te
er
ri
il
li
iz
ze
er
r
SA-260MB
Instruction Manual
Please read manual carefully before using and keep it well for future reference.

Contents
1. Important Safety Instructions ................................................................................................... 1
2. Explanation of Safety Symbols and Notes ............................................................................... 9
3. Unpacking .............................................................................................................................. 10
4. Installation .............................................................................................................................. 11
4.1 Environment .................................................................................................................. 11
4.2 Install the Sterilizer ........................................................................................................ 11
5. Introduction ............................................................................................................................ 18
5.1 Intended Use ................................................................................................................ 18
5.2 Description of the Sterilizer ........................................................................................... 18
5.2.1 External View ...................................................................................................... 18
5.2.2 Internal Configuration ......................................................................................... 19
5.2.3 Control Panel ...................................................................................................... 20
6. Operation ............................................................................................................................... 21
6.1 Flow Chart with Build-in Program .................................................................................. 27
6.2 Flow Chart with Flash Program(Optional) ..................................................................... 28
6.3 Flow Chart with LIQUID Program(Optional) .................................................................. 29
6.4 Flow Chart with Customization Program ....................................................................... 30
6.5 Prepare Sterilization ...................................................................................................... 31
6.6 Standard Sterilization Program ..................................................................................... 32
6.7 Flash Sterilization Program ........................................................................................... 35
6.8 PRION Sterilization Program ........................................................................................ 38
6.9 LIQUID Program(Optional) ........................................................................................... 41
6.10 Dry Program................................................................................................................ 45
6.11 Customization Program ............................................................................................... 48
6.11.1 Customization with pre-vacuum ........................................................................ 48
6.11.2 Customization without pre-vacuum ................................................................... 53
6.12 Function Test Program ................................................................................................ 58
6.12.1 Leakage Test .................................................................................................... 58
6.12.2 Helix Test .......................................................................................................... 61
6.12.3 B&D Test ........................................................................................................... 64
6.13 System Setup.............................................................................................................. 67
6.13.1 Date and Time .................................................................................................. 67
6.13.2 Units .................................................................................................................. 71
6.13.3 Printer ............................................................................................................... 74
6.13.4 Auto Add Water ................................................................................................. 76
6.13.5 Cycle Counter ................................................................................................... 79
6.13.6 Series Number .................................................................................................. 82
6.13.7 Calibration (Engineering Mode, Authorized Personnel Only) ............................ 84

6.14 Description of Printer .................................................................................................. 86
6.14.1 Dimensions of Printer Paper ............................................................................. 86
6.14.2 Installation of Printer Paper ............................................................................... 86
6.14.2.1 Automatic Feeding Paper ....................................................................... 86
6.14.2.2 Manual Feeding Paper ........................................................................... 89
6.14.3 Printout of Printer .............................................................................................. 92
6.14.3.1 Printout of General Program ................................................................... 92
6.14.3.2 Printout of LIQUID Program(Optional) .................................................... 94
6.14.3.3 Printout of Dry Program .......................................................................... 95
6.14.3.4 Printout of Leakage Test ......................................................................... 96
6.14.4 Printout Button .................................................................................................. 96
6.15 External storage medium – SD Card .......................................................................... 97
6.15.1 Using a SD card ................................................................................................ 97
6.15.2 Readout of a SD card ....................................................................................... 98
6.15.2.1 Readout of General Program .................................................................. 98
6.15.2.2 Printout of LIQUID Program(Optional) .................................................. 100
6.15.2.3 Readout of Dry Program ....................................................................... 101
6.15.2.4 Readout of Leakage Test ...................................................................... 102
6.16 Emergency Stop........................................................................................................ 103
6.17 Placement for items to be sterilized .......................................................................... 104
6.17.1 Sterilization for Implements ............................................................................. 104
6.17.2 Sterilization for Wrap ....................................................................................... 107
6.17.3 Placement for Sterilization box ........................................................................ 108
7 Error Messages and Troubleshooting ................................................................................... 109
7.1 System Message ........................................................................................................ 109
7.2 Component Message .................................................................................................. 110
7.3 Process Message ....................................................................................................... 111
7.4 Test Message .............................................................................................................. 113
7.5 Storage Medium Message .......................................................................................... 114
7.6 General Troubleshooting ............................................................................................. 115
8. Maintenance Instructions ..................................................................................................... 116
8.1 Daily Maintenance ...................................................................................................... 116
8.2 Weekly Maintenance ................................................................................................... 116
8.3 Monthly Maintenance .................................................................................................. 118
8.4 Annually Maintenance ................................................................................................. 120
9 Water Quality ........................................................................................................................ 122
10 Test Instructions .................................................................................................................. 123
10.1 Biological performance of sterilizers ......................................................................... 123
10.2 Air removal (Bowie-Dick type test pack) .................................................................... 124
10.3 Helix test ................................................................................................................... 126

11. Specifications ..................................................................................................................... 128

1
1. Important Safety Instructions
CAUTION: Please install, operate and maintain the sterilizer in accordance with this
Instruction Manual. Failure to do so could result in serious injury or damage to
the unit.
Figure 1
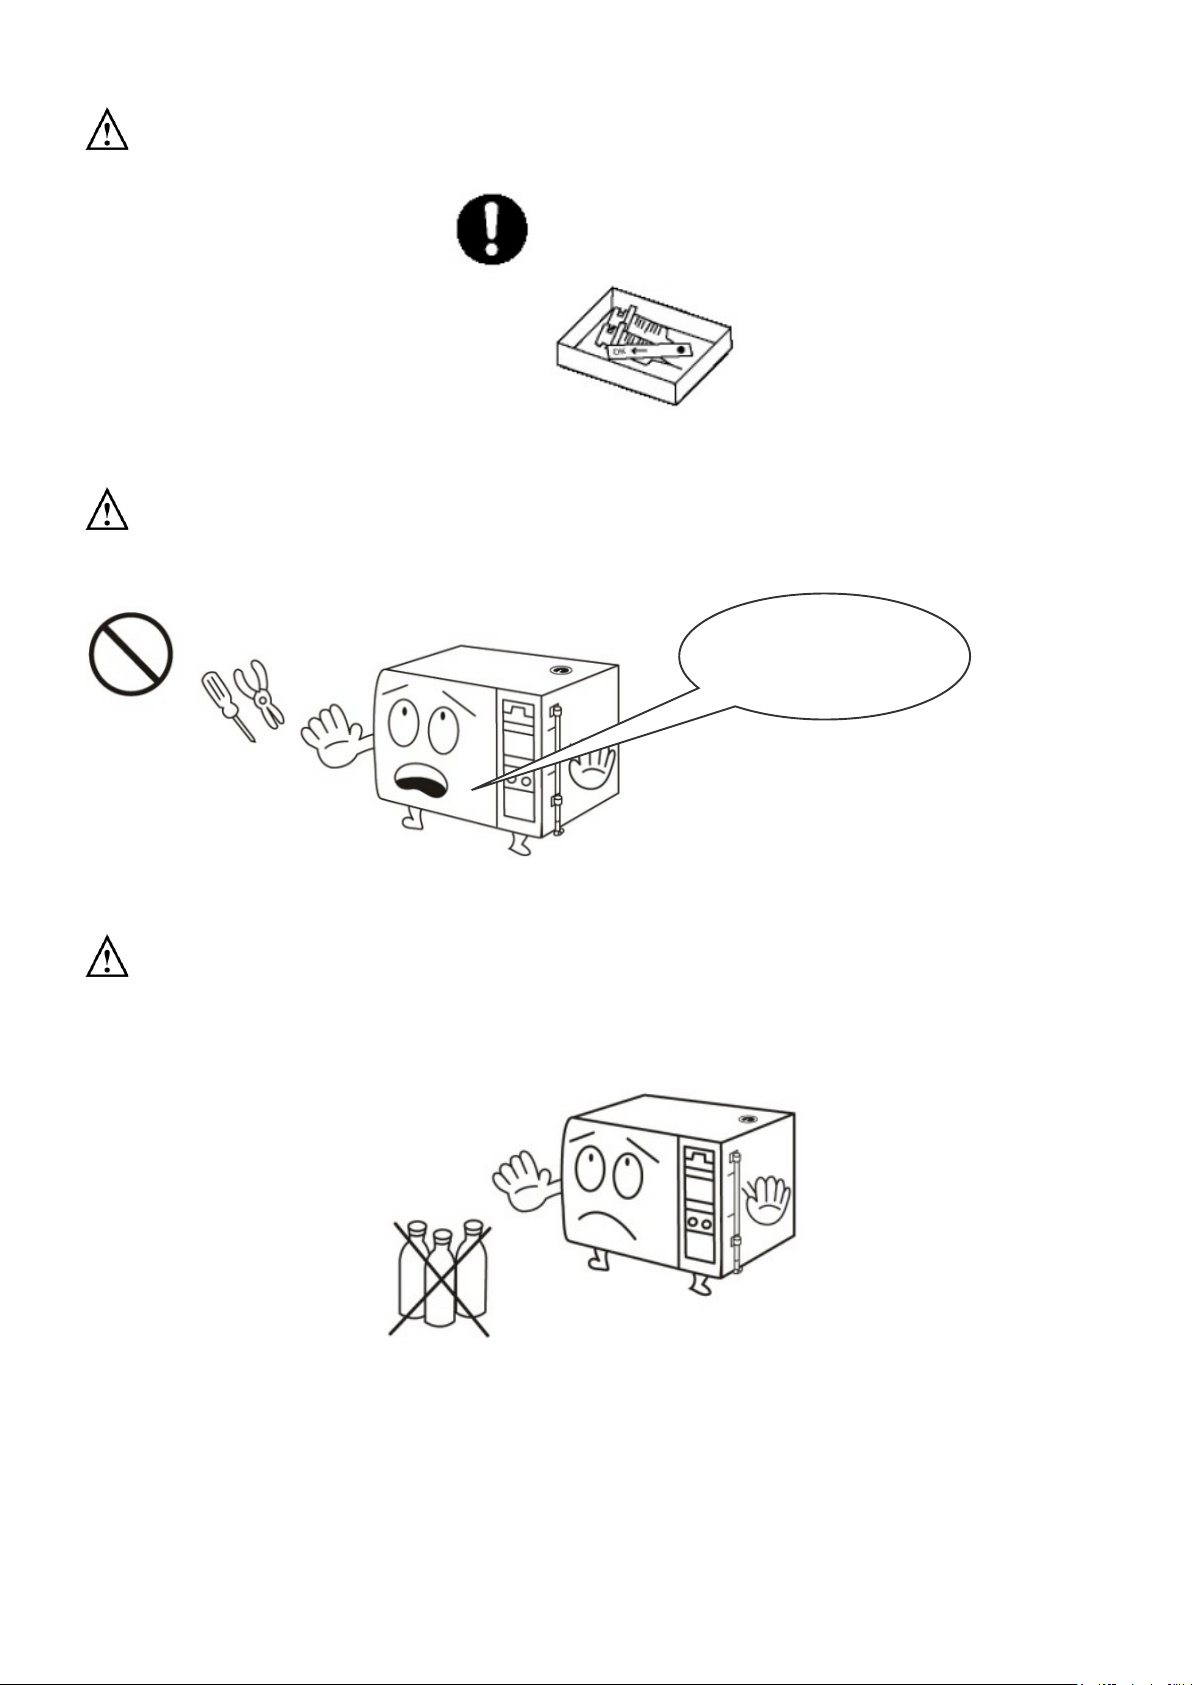
WARNING: DO NOT place alcohol or other flammable items in the sterilizer. An explosion
could occur, causing personal injury.
Figure 2
WARNING: A separate (dedicated) circuit is recommended for the sterilizer. The sterilizer
should not be connected to an electrical circuit with other appliances or
equipment.
Please read
manual.
Gasoline
Alcohol
Gas
Chemical……

2
Figure 3
WARNING: Always check the status of the electric wire; unplug the power cord if breakage
comes up. Contact your supplier for service support.
Figure 4
WARNING: Children are not allowed to use or play with the unit.
Figure 5
Check
Electric wire

3
WARNING: Do not put your fingers into the gap on the hinged side of the door.
Figure 6
WARNING: Always check the pressure gauge before opening the door. DO NOT attempt
to open the door if the pressure is not at zero (0).
Figure 7
WARNING: In an emergency, or before carrying out any maintenance, always disconnect
the power cord from the outlet.
Figure 8
Check Pressure
at “ZERO”
4
WARNING: Use sterilization indicator test strips to check that sterilization has been
successful.
Figure 9
WARNING: Contact your supplier for service support if the safety valve is active for
releasing the over-pressure
Figure 10
WARNING: Use water for sterilization or distilled water. Normal tap water contains
minerals, especially chlorides, which have corrosive effects on stainless steel.
Failure to use water for sterilization or distilled water will invalidate the
warranty.(refer to chapter 9.)
Figure 11
Please call
service supplier
Pure Water
Tap Water
Groundwater
……

5
CAUTION: Do not put objects on the power plug or power cord.
Figure 12
CAUTION: The outer casing and metal surfaces of the sterilizer are hot during operation,
please do not touch it.
Figure 13
WARNING: DO NOT place any objects on the water reservoir of the sterilizer.
Figure 14
6
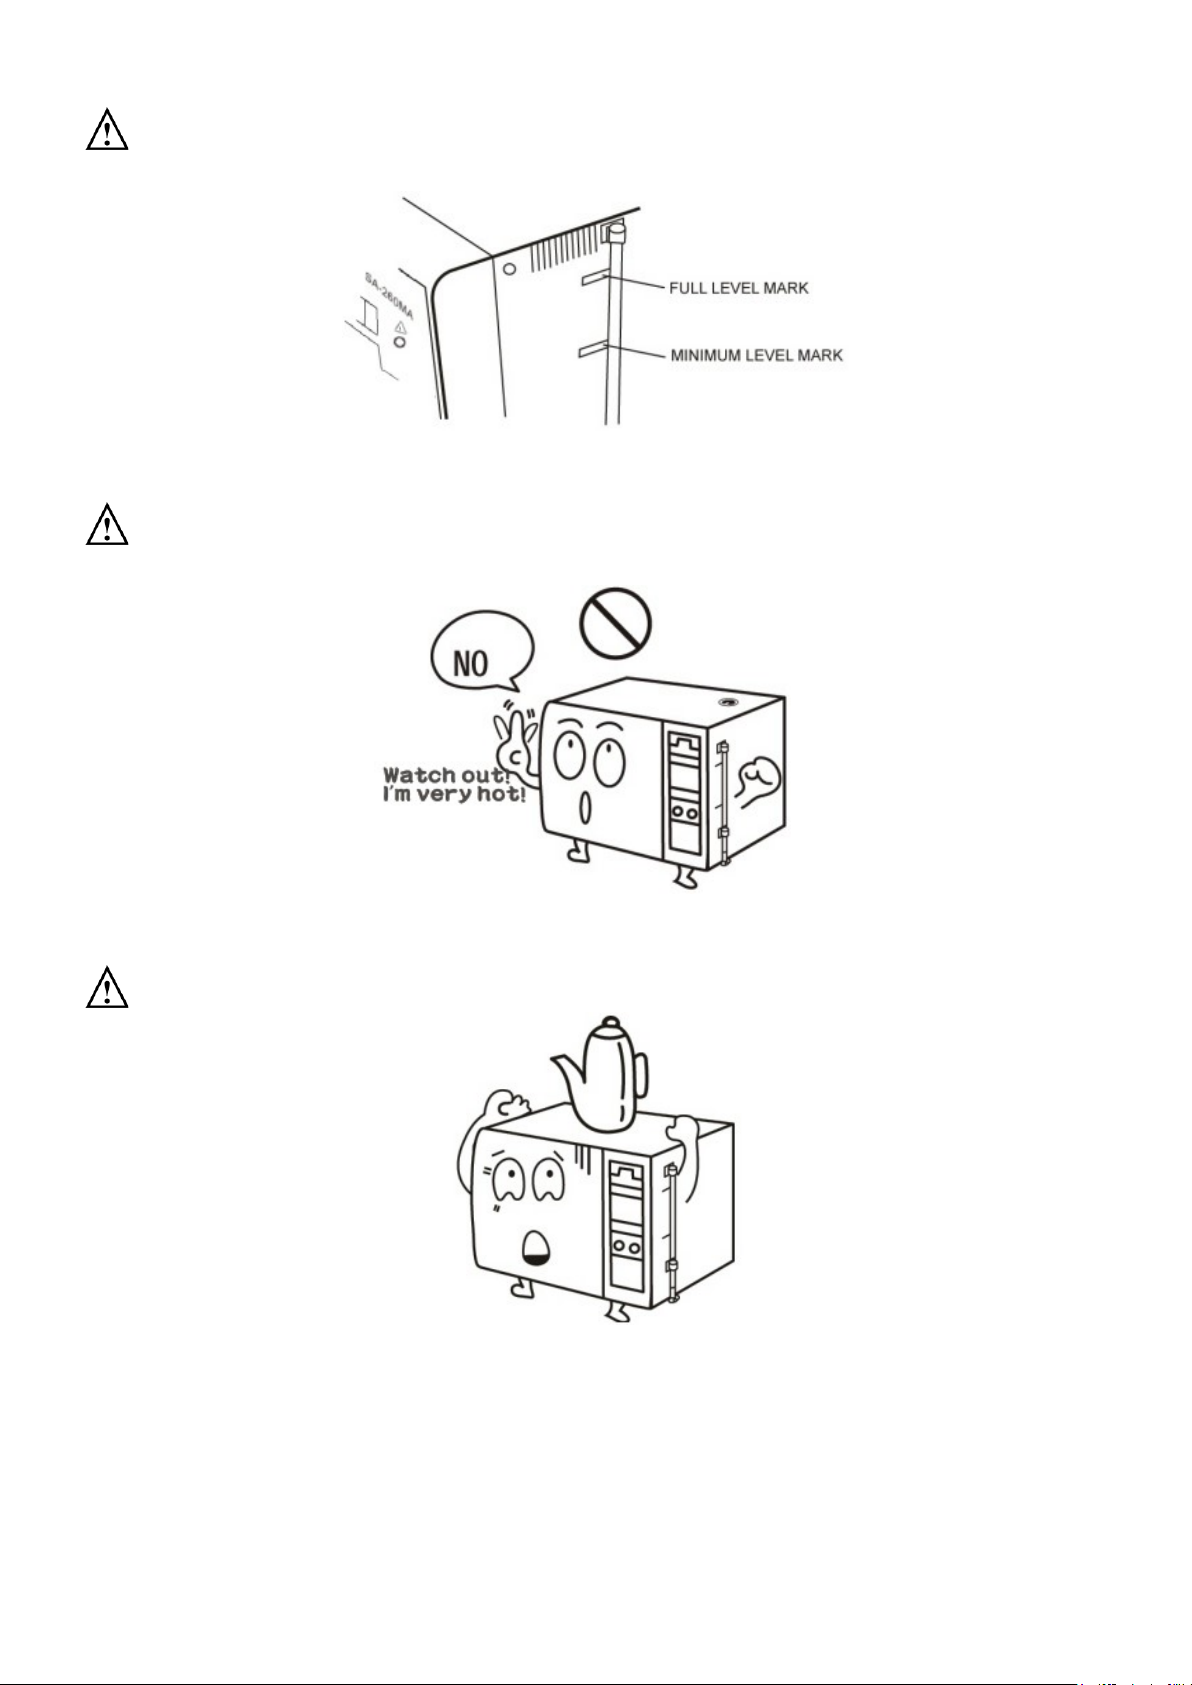
CAUTION: Do not overfill the water reservoir. The water level must be maintained
between the Full and Minimum labels on the right hand side of the sterilizer.
Figure 15
WARNING: Steam and hot water may be present when opening the door after a sterilizer
cycle.
Figure 16
CAUTION: DO NOT place any objects on the top of the sterilizer.
Figure 17

7
CAUTION: Do not tip over the unit or allow it to fall on the power plug.
Figure 18
CAUTION: It will require at least two (2) or more people to carry the sterilizer to avoid
dropping it off by mistake.
Figure 19
CAUTION: Always allow a minimum of 20 minutes between each sterilization cycle.
Figure 20
Let me cool off
for at least 20
minutes.

8
CAUTION: Please unplug the power cord and drain off water from the reservoir if the
sterilizer will not be used regularly.
Figure 21
CAUTION: Always keep the sterilizer clean.
Figure 22
WARNING: The door must be closed completely during operation of the unit. If the “Error
No. 600” displayed, it means that the door is not closed properly.
WARNING: Always check the water level in the reservoir before running a sterilization
cycle. If the “Error No. 400” displayed, it means that the water in in the
reservoir is not sufficient. Please fill the water for sterilization or distilled water
as shown in “9 Water Quality”.
WARNING: Clean the water filter located at the back of the unit at least once per month.
Refer to Maintenance Instructions.
WARNING: Failure to follow the Maintenance Instructions will adversely affect
performance and lifespan of the sterilizer, and may invalidate the warranty.
9
2. Explanation of Safety Symbols and Notes
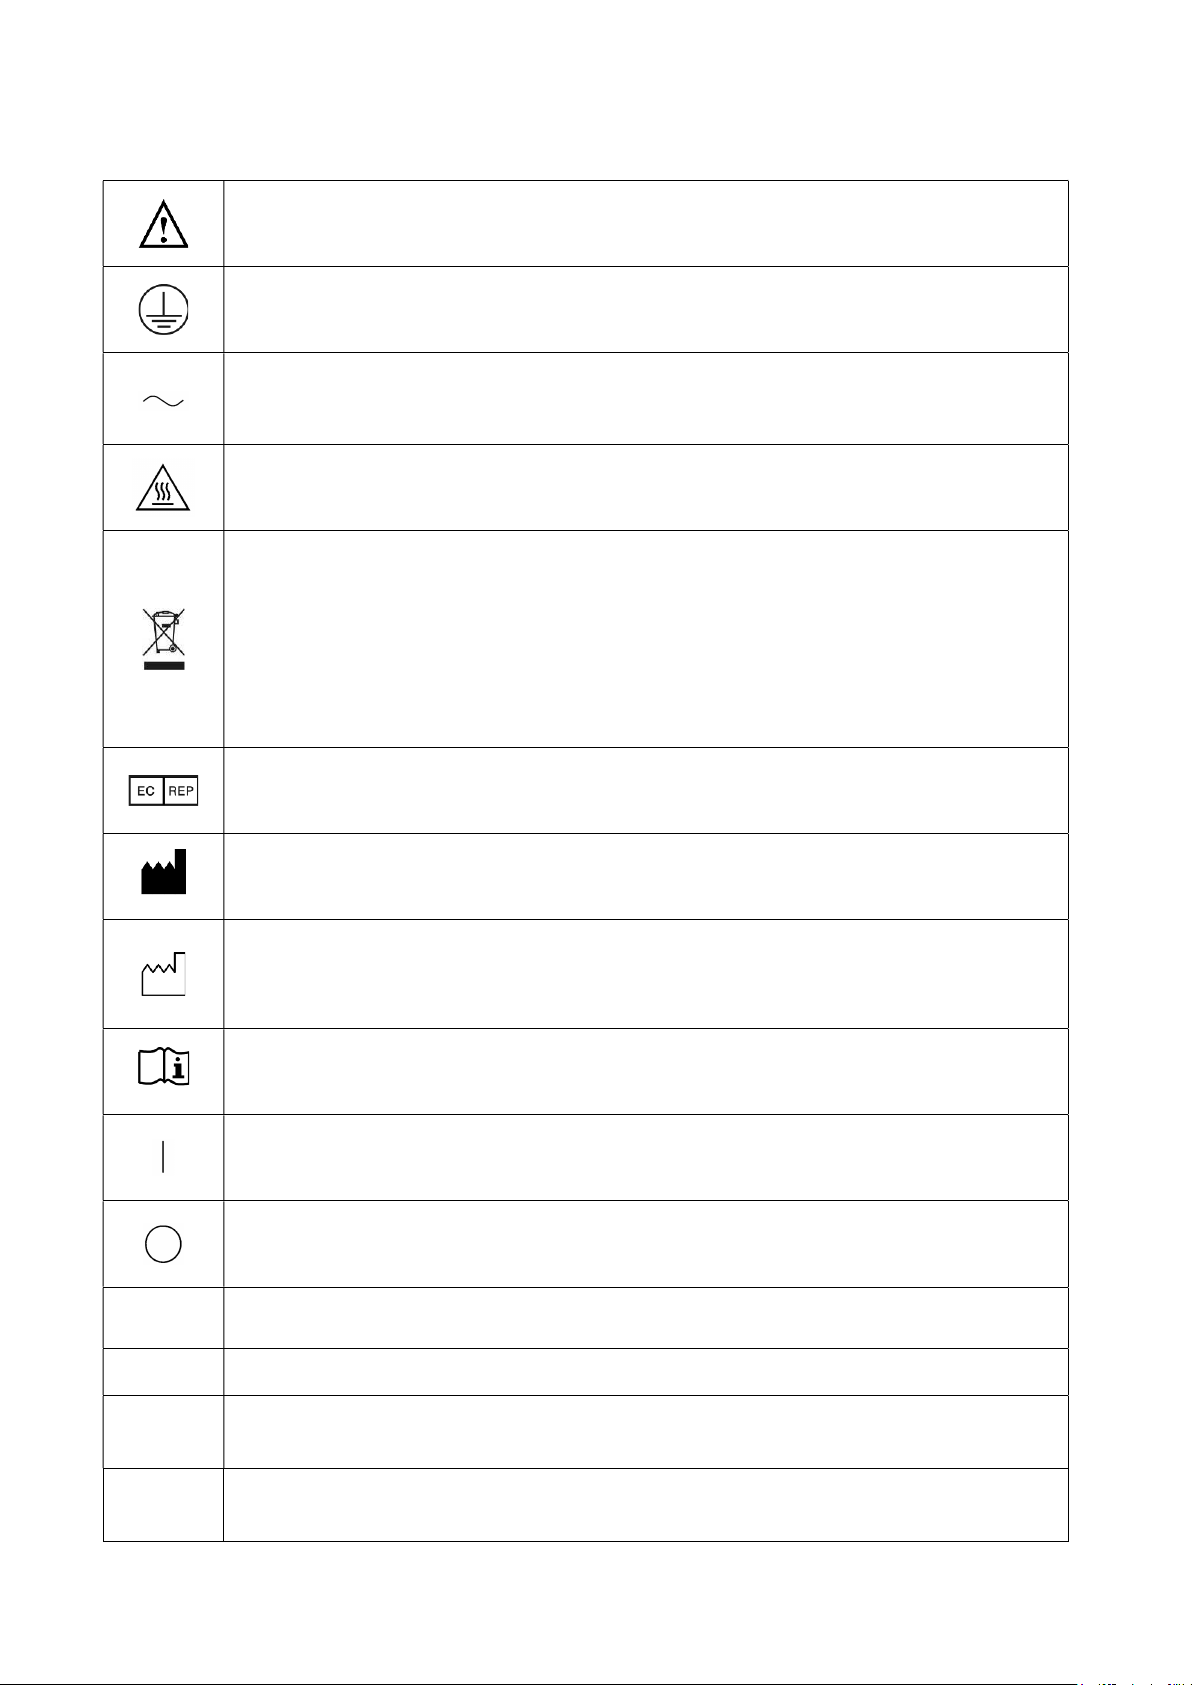
Caution, consult instruction manual for use
Protective earth (ground)
Alternating Current
Attention! Hot surface
Disposal of Electrical & Electronic Equipment (WEEE):
This product should be handed over to an applicable collection point for the
recycling of electrical and electronic equipment. For more detailed information
about the recycling of this product, please contact your local city office,
household waste disposal service or the retail store where you purchased this
product. (European community only)
Authorised representative in the European community
Manufacturer
Date of manufacture
It is a 6-digit number. The first 4 digits represent the
year, followed by 2 digits of
the month.
Consult instruction manual for use
ON, connection to the mains
OFF, disconnection from the mains
POWER
Power switch
NOTE Indicates information that user should pay special attention to.
CAUTION
Indicates correct operating or maintenance procedures in order to prevent
damage or destruction of the equipment or other property.
WARNING
Indicates correct operating or maintenance procedures in order to prevent
damage or destruction of the equipment or other property.
10
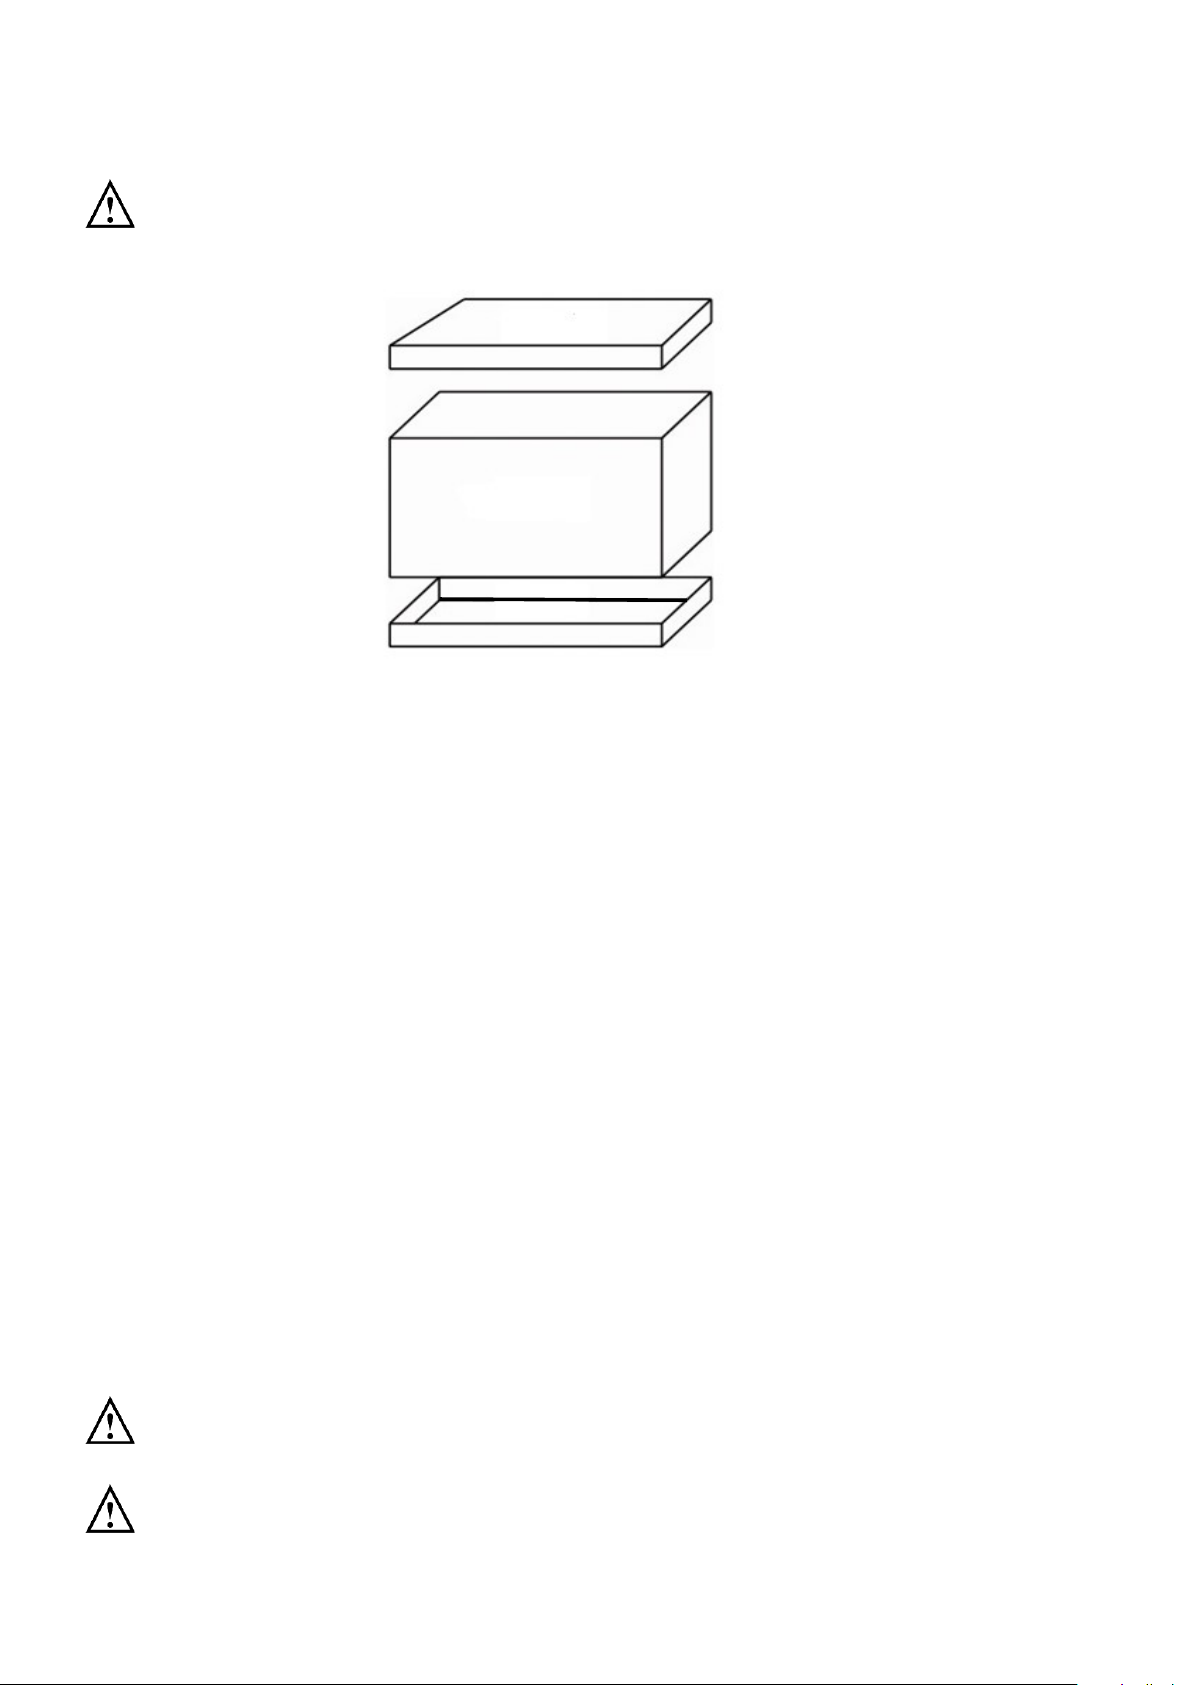
3. Unpacking
CAUTION: It will require at least two (2) or more people to carry the sterilizer to avoid
dropping it off by mistake.
Figure 23 – Unpacking
A Cut the banding
B Lift off the top cover of the carton
C Remove the wall and the foam packaging inserts
D Carefully lift the sterilizer from the packaging base
E Check all accessories are present as follows (accessories are packed inside the sterilizer
chamber):
- Instruction Manual ×1
- Heater Cover ×1
- Tray ×3 (Standard)
- Tray Set ×1 (Standard)
- Holder ×1 (Standard)
- Silicone House(2m)x2 (Standard)
- Printer paper ×1 set (5 pcs) (Standard)
- Sterilization Box × 1 (Optional)*
- Spring Holder (Optional)*
- Exhaust Tank (Optional)*
*The accessories will be different according to the order request.
NOTE: The manufacturer recommends that all packaging material is retained for
possible re-use.
NOTE: The packing material is made by corrugating medium-catalogue AA for the
purpose of Reduce, Reuse and Recycle.
Top
Wall
Base

11
4. Installation
4.1 Environment
This equipment has been designed for use in accordance with the International EMC
(Electromagnetic Compatibility) Standards. In view of different environments, please follow the
instructions given below to eliminate interference, if necessary.
- Move the equipment or rotate its direction;
- Enlarge the space between the equipment and other machines;
- Put the plug into other outlets;
- Please consult with the local distributor or qualified electrician.
- Regarding the environmental temperature for installation, please refer to “11.
Specifications”.
4.2 Install the Sterilizer
CAUTION: Please read and follow “5.2” in order to understand the operation of the
sterilizer.
CAUTION: While installation, please make sure that the bearing capacity of installation
table is enough to carry the sterilizer. For the weight information of the
sterilizer, please refer to “11. Specifications”.
CAUTION: Position the sterilizer on a stable bench or work surface, ensuring at least 10
cm clearance between the wall or other pieces of equipment and the sides of
the unit for free circulation of air.
CAUTION: Make sure that the door can be opened freely after installation.
WARNING: Do not install or operate the sterilizer in areas where flammable items or
volatile substances are used or stored. An explosion could occur, causing
personal injury. An installation site with good air circulation is required.
WARNING: Be sure to install the sterilizer on a flat surface, otherwise it may not defect the
water level correctly.

12
A. Open the water reservoir cap; pour water for sterilization or distilled water into the water
reservoir as shown in Figure 24
Figure 24
CAUTION: Please fill Water for Sterilization or Distilled Water Only into the sterilizer.
Please do not fill water over the yellow water level mark as shown in Figure 25
and Figure 37 – Front View.
Figure 25
WARNING: Do NOT fill water into the reservoir during the sterilization process to avoid
overflow. After each sterilization cycle is completed, any remaining water in
the chamber will be drained automatically.
B. Connect an external water supply to the “WATER IN” on the rear side of the sterilizer by
using the 2 m silicon house for the “Auto add water” function as shown in Figure 26.
NOTE: The pressure of external water supply should be not less than 2 Bar. It is
recommended to connect a suitable gauge.
CAUTION: Refer to “9 Water Quality”.
Yellow Water Level Mark
Water Level
Water Reservoir Cap
Water Level

13
Figure 26
C. How to set the ” Auto add water”:
Select ”system setting” as shown in Figure 27 (Refer to “6.8.4” for detail operation.)
MENU
Unwrapped 121℃
Wrapped 121℃
Unwrapped 134℃
Wrapped 134℃
Flash
PRION
LIQUID
Dry
Customization
Function Test
System Setting
Figure 27
Water Inlet

14
and then select ”Auto add water” as shown in Figure 28
System set
Date and Time
Language
Unit
Print
Auto add Water
Cycle counter
Serial Number
Calibration
Figure 28
set to ”ON” as shown in Figure 29.
Auto add Water
Auto add Water
ON
Figure 29
D. Heating water is drained from the chamber through this outlet. Connect the exhaust hose to
the “WASTE OUT” as shown in Figure 30 to drain heating water according to the local
national law.
CAUTION: The optional Exhaust Tank is capable of draining water for 3 cycles, you should
then drain out the water according to the local national law.
CAUTION: Do not obsolete, block, or twist the exhaust house.
Figure 30
Exhaust Outlet

15
E. Install the heater cover to the chamber as shown in Figure 31 (standard accessory) Ensure
the rounded edge is towards the back and the vertical front edge of the cover locates
securely into the corresponding slots in the lower part of the chamber opening.
Figure 31 – Heater Cover
F. Install the tray frame as shown in Figure 32 (standard accessory)
CAUTION: The frame should be installed as in Figure 32 below. The indention of the
frame will pass the bushing in the chamber.
Figure 32
Tray Frame
Indention
Heater Cover
Chamber
Positioning Slots
Water Stopper

16
G. Install the tray as shown in Figure 33. (standard accessory)
Figure 33 – Tray
H. Install the Sterilization Box as shown in Figure 34. (optional accessory)
Figure 34 – Sterilization Box
I. The maximum useable space is 7.5L which is 156 mm (W) x 132.5 mm(D) x 356 mm(H).
Figure 35
Sterilization Box
Heater Cover
Tray Frame
Heater Cover
Tray
Table of contents
Other Apex Digital Laboratory Equipment manuals


