manuals.online logo
Brands
  1. Home
  2. •
  3. Brands
  4. •
  5. AQUAMAXX
  6. •
  7. Water Filtration System
  8. •
  9. AQUAMAXX HOB-1.5 User manual

AQUAMAXX HOB-1.5 User manual

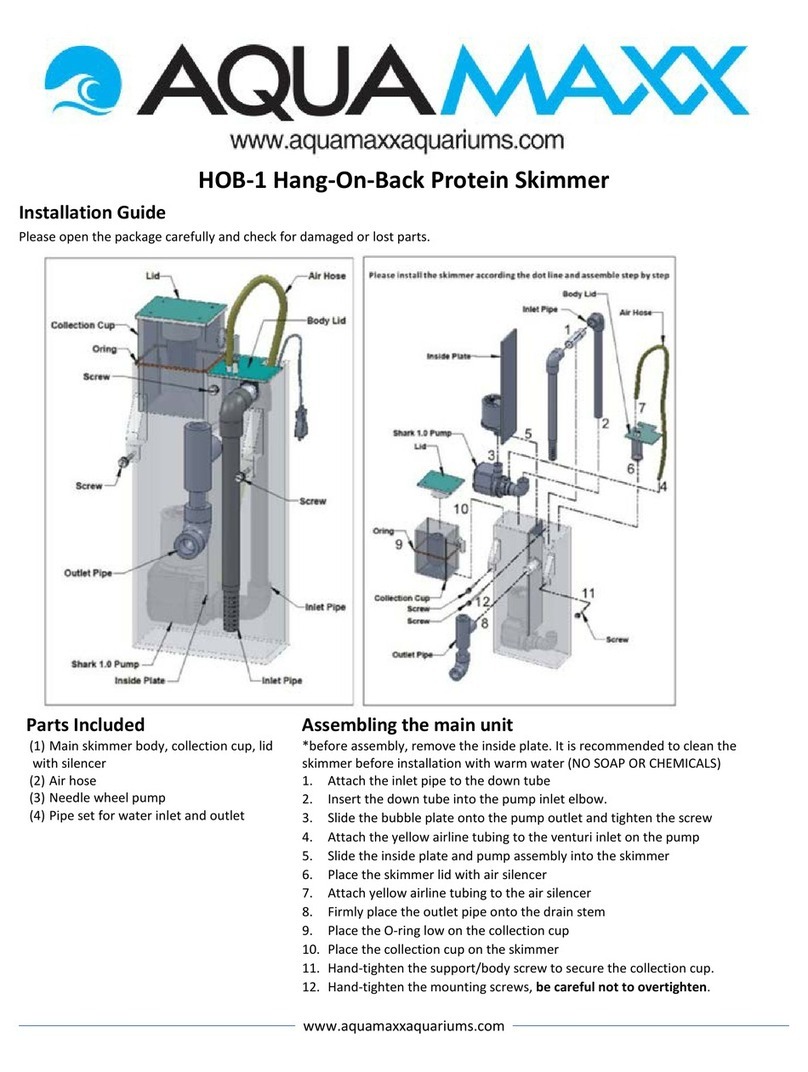
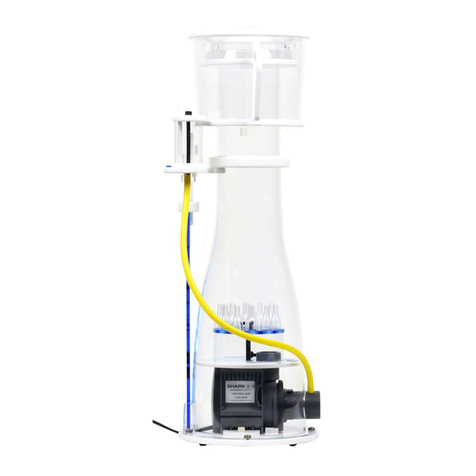
HOB-1.5 Hang-On-Back Protein Skimmer
Installation Guide
Collection Cup with
lid /
drain tube /
O-ring
Air Hose
Air Silencer with lid
Inlet set
Outlet
SHARK 1.0 pump
Diffuser
1Please open the package carefully, and check if there’s any damaged
or missing part. 2Please wash your new VS-1.5 and SHARK 1.0 pump with ONLY
warm water and sponge before assembly. Pull out the inside plate
to wash the main body. Never clean acrylic with alcohol-based
products. Use caution when handling acrylic scratches easily.
3Install the diffuser onto the pump, and tighten the screw under the
diffuser. ( DO NOT OVER-TIGHTEN)
Connect the air hose to the pump.
1
                   
                   
4Install the inlet which doesn’t have the water intake onto the pump. 6Install the inside plate.
7Install the screw(in accessories pack) into the hole on top of the main body.
8Install the small O-ring onto the short tube, then connect them with
the inlet tube that with water intake.
Complete the inlet set and install the outlet tube as photo shows.
5Gently put the pump (with diffuser and inlet) into the main body.
Make sure the base of the diffuser is attached well with the main body.
Make sure the O-ring is on
the outside.
1 2
(1)
(2)
To grab the wire, air hose and inlet tube together would
make this step easier.
Keep the wire staying close to the pump.
Tips:
12
Install the silencer with lid.
The aquarium’s water level
must not be more than 4”
from the aquarium’s rim.
9
Install the large O-ring and drain tube onto the
collection cup.
10
Install the collection cup and connect the air
hose to the silencer.
11
Select a suitable place to set your HOB-1.5
The water intake must be completely
submerged underwater when in use.
3Hang the protein skimmer on the
aquarium. Adjust the positioning
screws so the skimmer is parallel to
your aquarium.
Caution! Over-tightening the screws will
damage the skimmer!
2 3
4”
1
2
3
Fill skimmer with aquarium water until it flows out of the outlet.
To Start
Remove the air hose from the silencer, pick up the silencer and immerse in skimmer
water to prime the pump. (image )
Plug-in, and wait until the pump primes,
and no air in the inlet tubes. This may
take a few minutes (verify the air hose is
immersed in water and the inlet/outlet
pipes are tightly connected). Once it’s
done, water would be flushed out from
the outlet. (image )
4Once the pump is primed and operating normally, pull the
air hose out of water and replace it on to the silencer.
5The skimmer will take 2-4 weeks to reach optimal
operation. During the break-in period, we recommend
setting the collection cup in its highest position (with the
O-ring placed towards the bottom of the collection cup).
You can adjust the form of skimmate by simply
changing the position of O-ring.
O-ring level
skimmate color
highlow
2
2
3
image
3
image
1For best performance, clean the collection cup frequently with a sponge and warm water
2
3
It may require 2 – 4 weeks for the skimmer to reach optimal performance due to tiny amounts of oil or remnants left from manufacturing. Skimmer
performance may be erratic during this time; be sure to allow ample time for the skimmer to break-in before making adjustments. You can clean the skimmer
with warm water and sponge to shorten the break-in-period.
Regular maintenance of the pump will ensure a long life and maximum performance: recommended every 3 months.
You can disassemble the pump by following steps:
Recommendations
Warranty
(1) Take off the air hose and connector to check if there’s any clogging and clean it up. (especially the place marked on the photo)
It’s common that the carbonate (limescale) builds up to form a very hard white substance.
(2) Loosen the cover of the pump to pull out the inside parts. (3) Separate the inside parts to clean, espacially the impeller.
small washer could be
easily ignored, make sure
to put it back in positon.
AquaMaxx warrants all AquaMaxx products to be free from manufacturing defects for one year from the original purchase date when purchased through an authorized AquaMaxx
retailer. This warranty does not cover any damages caused by misuse, neglect, alterations or improper handling / transport / maintenance / installation. Physical damages are not
covered by warranty. AquaMaxx does not cover personal injury, personal loss, or other damages associated with the use of our products. In order to request warranty service, please
email us at [email protected]. A purchase receipt is required for any warranty service. Products requiring warranty service must be returned to AquaMaxx. You are
responsible for the cost of shipping a warranty claim to AquaMaxx and any damages that may occur during transit. Once a returned product has been inspected, it will be repaired or
exchanged at our discretion and returned to you. International and/or expedited shipping are not covered under your AquaMaxx warranty.
** please clean carefully with brush.
3 4
After assembly, test if the rotor could turn normally.
How to remove the limescale?
NO OTHER CHEMICALS, soak in a
mixture of 1 part water and 1 part vinegar
(citrin acid also available) for at least 24
hours. Once you finish, please rinse with
warm water.

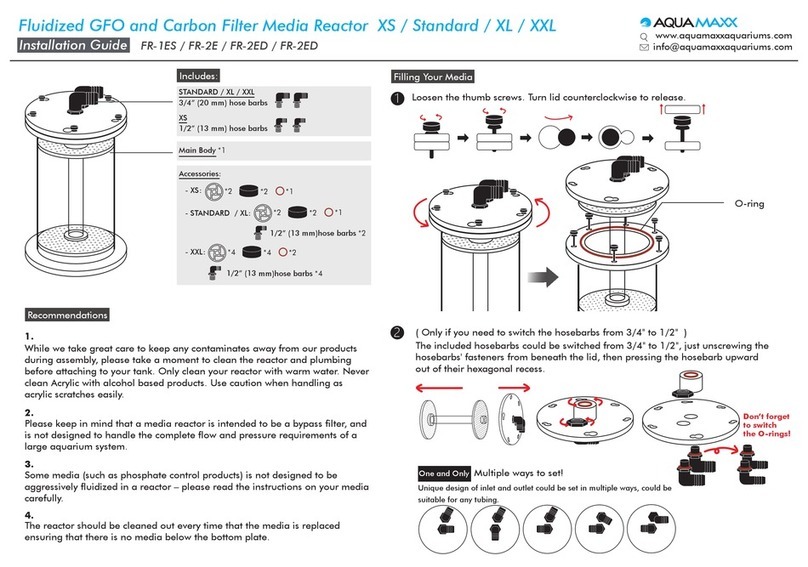
Other AQUAMAXX Water Filtration System manuals
AQUAMAXX FR-1ES User manual

AQUAMAXX

AQUAMAXX FR-1ES User manual

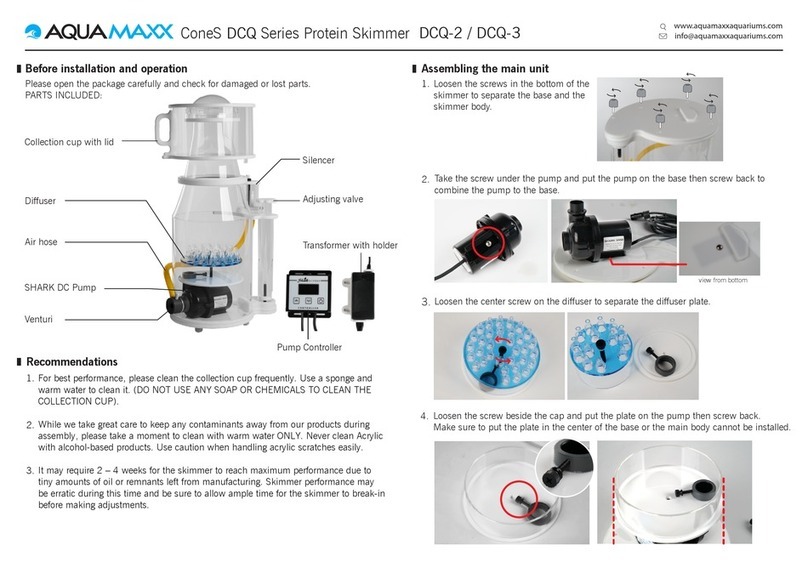
AQUAMAXX ConeS DCQ Series User manual

AQUAMAXX

AQUAMAXX ConeS DCQ Series User manual

AQUAMAXX HOB-PF User manual

AQUAMAXX

AQUAMAXX HOB-PF User manual

AQUAMAXX ConeS DRC-3 User manual

AQUAMAXX

AQUAMAXX ConeS DRC-3 User manual

AQUAMAXX Cone-S Q Series User manual

AQUAMAXX

AQUAMAXX Cone-S Q Series User manual

AQUAMAXX FR-SE User manual

AQUAMAXX

AQUAMAXX FR-SE User manual

AQUAMAXX HOB-1 User manual

AQUAMAXX

AQUAMAXX HOB-1 User manual

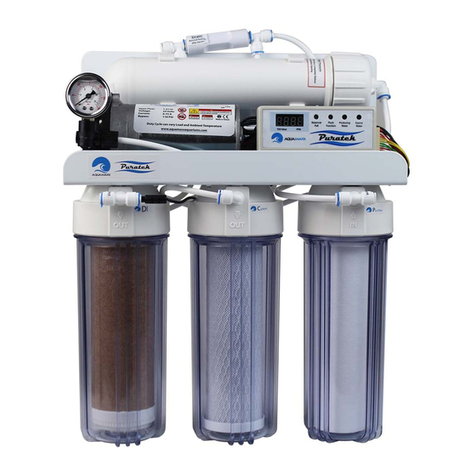
AQUAMAXX Puratek Deluxe User manual

AQUAMAXX

AQUAMAXX Puratek Deluxe User manual

AQUAMAXX ConeS DRC-2 User manual

AQUAMAXX

AQUAMAXX ConeS DRC-2 User manual

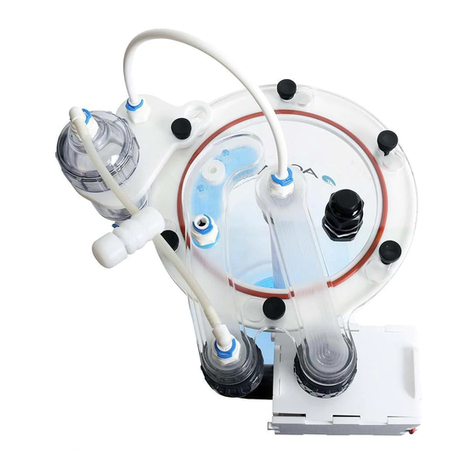
AQUAMAXX cTech Nano Calcium Reactor User manual
AQUAMAXX

AQUAMAXX cTech Nano Calcium Reactor User manual

AQUAMAXX CTECH T-2 User manual

AQUAMAXX

AQUAMAXX CTECH T-2 User manual

AQUAMAXX ConeS FC Series User manual

AQUAMAXX

AQUAMAXX ConeS FC Series User manual

AQUAMAXX ConeS RC-3 User manual

AQUAMAXX

AQUAMAXX ConeS RC-3 User manual
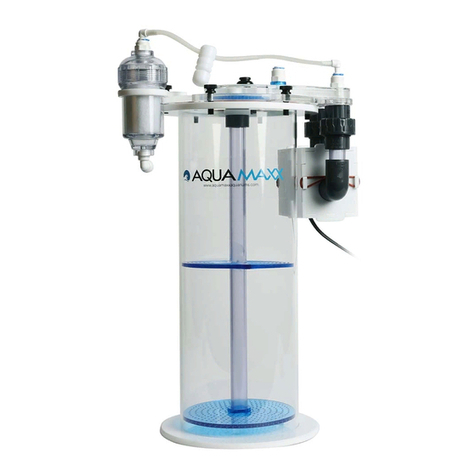
AQUAMAXX TS-2 User manual

AQUAMAXX

AQUAMAXX TS-2 User manual

Popular Water Filtration System manuals by other brands

Waterite Vectapure RSXII LITE owner's manual

Waterite

Waterite Vectapure RSXII LITE owner's manual

Drinking Fountain Doctor EHOA8 1G Installation use and care manual

Drinking Fountain Doctor

Drinking Fountain Doctor EHOA8 1G Installation use and care manual

RZ AIRflow 10048 user guide

RZ AIRflow

RZ AIRflow 10048 user guide

Honeywell kaltecSoft PW52-AS installation instructions

Honeywell

Honeywell kaltecSoft PW52-AS installation instructions

JRC NSVS1103 manual

JRC

JRC NSVS1103 manual

WilTec 51792 Operation manual

WilTec

WilTec 51792 Operation manual

HotSpring ACE Operation guide

HotSpring

HotSpring ACE Operation guide

Excalibur Water Systems Sureflo SFLC Series Installation and user guide

Excalibur Water Systems

Excalibur Water Systems Sureflo SFLC Series Installation and user guide

Mitte Home MHDE01 user manual

Mitte Home

Mitte Home MHDE01 user manual

Beko CLEARPOINT S040 Installation & operation instructions

Beko

Beko CLEARPOINT S040 Installation & operation instructions

Strix Aqua Optima Liscia Instructions for use

Strix

Strix Aqua Optima Liscia Instructions for use

CRS 202910 Operation guide

CRS

CRS 202910 Operation guide

Pool Technologie UNO LTE user manual

Pool Technologie

Pool Technologie UNO LTE user manual

Philips AWP1808 user manual

Philips

Philips AWP1808 user manual

Weq CFW320-KFA Installation, configuration and operations guide

Weq

Weq CFW320-KFA Installation, configuration and operations guide

norweco SINGULAIR BIO-KINETIC 960 owner's manual

norweco

norweco SINGULAIR BIO-KINETIC 960 owner's manual

Whirlpool WHER25 Installation and operation manual

Whirlpool

Whirlpool WHER25 Installation and operation manual

Swim & Fun 1932 user manual

Swim & Fun

Swim & Fun 1932 user manual

manuals.online logo
manuals.online logoBrands
  • About & Mission
  • Contact us
  • Privacy Policy
  • Terms and Conditions

Copyright 2025 Manuals.Online. All Rights Reserved.