manuals.online logo
Brands
  1. Home
  2. •
  3. Brands
  4. •
  5. AquaTools
  6. •
  7. Water Filtration System
  8. •
  9. AquaTools Filter Tank Kit User manual

AquaTools Filter Tank Kit User manual

Aquatools™ Replacement Upper/Lower Half Filter Tank Kit Instructions
E
R
I
A
S
E
A
L
E
R
E
U
E
G
A
E
R
G
U
S
S
R
P
C
O
L
O
M
E
V
E
K
R
M
E
V
O
R
E
K
L
C
O
K
O
L
C
V
E
M
R
O
E
RELEASE
Aquatools™
293 Wright Street, Delavan, WI 53115
North America: 800-752-0183, FAX 800-582-2217
International: 414-728-5551, FAX: 414-728-4461, TELEX: ITT 4970245
Oxnard, CA • Union City, TN • Delavan, WI • Mississauga, Ont.
© 1997 Printed in U.S.A. AT380 (Rev. 7/16/97)
Nameplate
Decal
Logo
Decal
Warning
Decal
Operation
Instructions
Decal
Hazardous pressure.
Can cause severe
injury from tank blow
up.
Release all pressure
and read instructions
before working on filter.
Figure 2 – Insert ring tab in slot in
filter body.
Figure 3 – Roll ring to one side to
loosen upper tank half.
RELEASE
RELEASE
Depress Safety Latch
to unscrew Posi
-
Lok
™
Figure 1 – Depress safety latch to
unscrew Safe-Lok™ Ring.
INSTALLING DECALS (Tank Upper Half Only):
1. Make sure replacement upper half is clean and dry. Apply decals as shown.
2. Read warning and operating instruction decals.
DISASSEMBLY:
1. STOP PUMP; CLOSE isolation valves. OPEN air release valve and
drain fitting. Drain all water from tank.
2. WAIT until all pressure is released and water drained from filter tank and
system before loosening Safe-Lok™ Ring.
3. Remove Safe-Lok™ ring as follows:
a. Press safety latch (below the ring) toward tank to release it (Figure 1).
b. Hold latch in the release position and rotate ring COUNTERCLOCKWISE
to remove. If ring is difficult to turn, tap gently with a rubber mallet.
NOTICE: DO NOT use a screwdriver or sharp blade to pry tank shells apart.
4. Separate upper and lower tank shell halves using tabs on bottom of
Safe-Lok™ ring. Insert tab into slot located at tank joint and twist ring to pry
shell halves apart (See Figures 2 and 3).
5. Remove O-ring from upper tank shell. Inspect for cuts, cracking,
deformation or signs of wear; replace if necessary.
NOTICE: To avoid strain or damage, allow filter module to drain before
lifting it out of the tank.
6. When replacing lower tank half, install internal tank parts in new tank.
Connect to plumbing as in original installation.
(Continued on back of sheet)
ASSEMBLY:
1. Inspect and clean the tank, ring threads and O-ring groove. Replace
damaged parts as necessary.
2. Install the filter module with the unplugged port over the tank outlet port.
Push down firmly to seal.
3. Ensure that the air bleed assembly on top of the module is clean and
properly mounted.
4. Lubricate O-ring only with the silicone grease provided or equivalent (Dow
Corning grade 111), as other lubricants may cause the ring to swell. DO
NOT lubricate Safe-Lok™ ring or threads on lower tank shell as this may
collect grit and make removal difficult.
5. Install the O-ring in the upper tank shell. Be sure that the O-ring is clean
and not twisted.
6. Push the upper tank shell into the lower tank shell to compress the O-ring.
7. Place the Safe-Lok™ ring squarely over the tank shell threads and rotate
COUNTERCLOCKWISE until the ring falls into the slots; then rotate
CLOCKWISE until securely latched (See Figure 4).
Safety Latch (See Figure 5)
NOTICE: The safety latch locks the Safe-Lok™ ring in position. DO NOT operate
the filter if the safety latch is damaged or will not hold the Safe-Lok™ ring in the
locked position. If the latch is damaged, replace it as follows:
1. Press down on the small catch behind the safety latch and press or tap the
latch out of the “Tee” slot in the tank (See Figure 5).
2. Snap the new latch into position.
START-UP
Be sure pump is OFF before starting procedure.
Do not operate this filter at more than 50 PSI (345 kPa) under any
circumstances!
1. Lock the Safe-Lok™ ring in place by rotating ring CLOCKWISE until one of
the ring tabs is captured by the safety latch. See Figure 4.
2. Fill trap on pump with water.
3. Open air release valve on top of filter; open isolation valves.
4. Start pump to purge air from system. When a steady stream of water comes
from air release valve, close the valve.
NOTICE: Leaking around the Safe-Lok™ ring may indicate that the ring is
not fully locked. In this case, make sure the O-Ring and seat are clean and
undamaged, and then again follow the instructions in this sheet under
“Disassembly” and “Assembly”.
See your owner’s manual for more information.
To request a copy of the owner’s manual, call
Aquatools™ customer service at 1-800-752-0183
RELEASE
RELEASE
Latch
Tab
2149 1195
Figure 4 – Rotate Safe-Lok™
Ring until tab locks behind the
safety latch.
RELEASE
RELEASE
Small
Catch
Figure 5 – Safety Latch
Part Model Numbers
Description Qty AT84100 AT84150 AT8230
Upper Tank Half Kits: Part Number
Nameplate Decal 1 27002-0041 27002-0044 27003-0044
Warning Decal 1 27001-0042 27001-0042 27001-0042
Operating Instructions Decal 1 27002-0043 27002-0043 27003-0043
Aquatools™ Logo Decal 1 27001-0040 27001-0040 27001-0040
Tank Half with Air Vent Assembly (Installed) 1 27001-0020S 27001-0020S 27001-0020S
Lower Tank Half Kits:
Tank lower Half Assemby (includes Safety Latch). 1 27001-0009S 27001-0009S 27001-0009S
Does not include reducers, check valves,
drain caps, filter module, etc. Purchase separately).

Other AquaTools Water Filtration System manuals

AquaTools AT8695 User manual

AquaTools

AquaTools AT8695 User manual

AquaTools AT11523 User manual

AquaTools

AquaTools AT11523 User manual

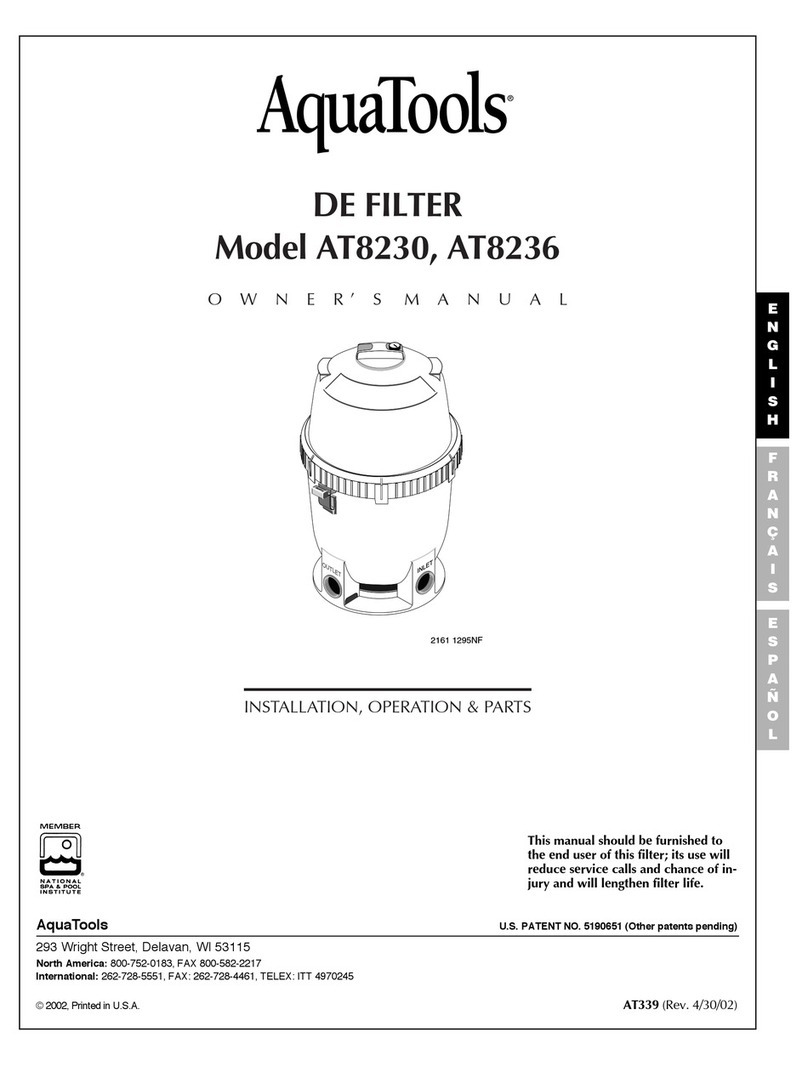
AquaTools AT8236 User manual

AquaTools

AquaTools AT8236 User manual

AquaTools AT11523 User manual

AquaTools

AquaTools AT11523 User manual

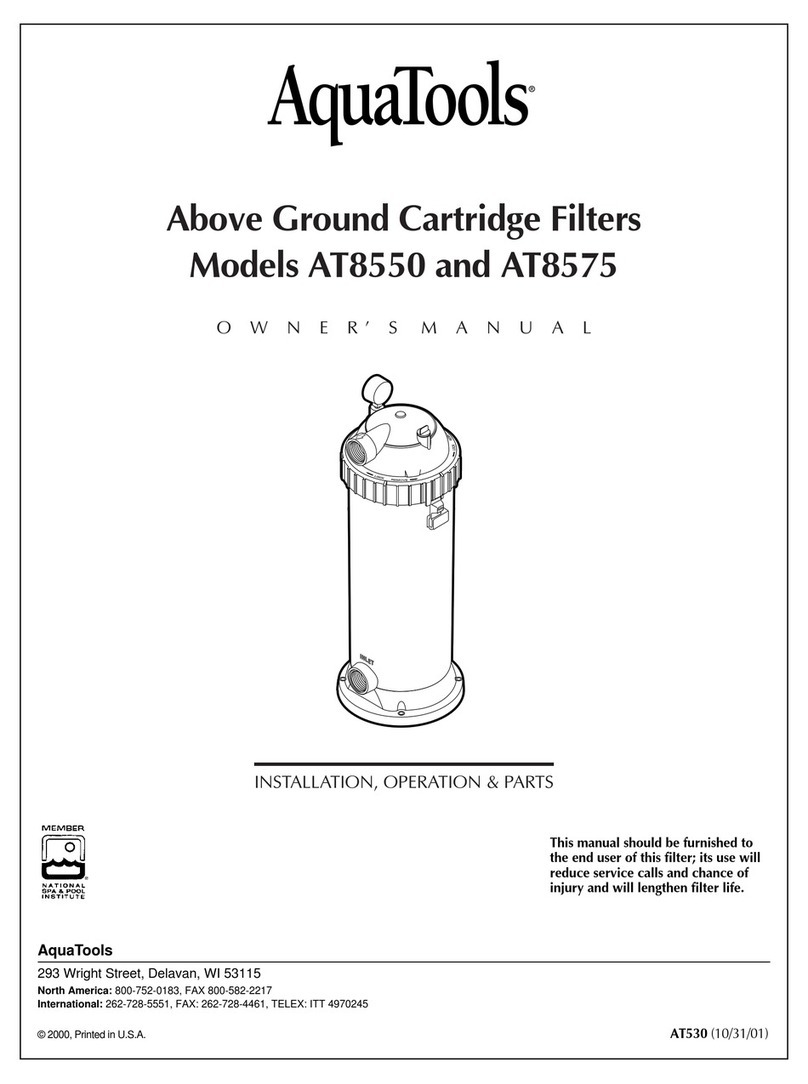
AquaTools AT8550 User manual

AquaTools

AquaTools AT8550 User manual

AquaTools FILT'RAY User manual

AquaTools

AquaTools FILT'RAY User manual

AquaTools AT8710 User manual

AquaTools

AquaTools AT8710 User manual

Popular Water Filtration System manuals by other brands

JRC NSVS616 manual

JRC

JRC NSVS616 manual

Ecosoft FK1252CEMIXC instruction manual

Ecosoft

Ecosoft FK1252CEMIXC instruction manual

Whirlpool WHELJ1 Installation and operation manual

Whirlpool

Whirlpool WHELJ1 Installation and operation manual

Angel Water PurAzone A03 manual

Angel Water

Angel Water PurAzone A03 manual

HEISSNER F30000-00 Instructions for use

HEISSNER

HEISSNER F30000-00 Instructions for use

Force of Nature FON-KIT-001 quick start guide

Force of Nature

Force of Nature FON-KIT-001 quick start guide

Intex ECO7110 owner's manual

Intex

Intex ECO7110 owner's manual

Zero B ultimate user manual

Zero B

Zero B ultimate user manual

Olympus MAJ-2308 instructions

Olympus

Olympus MAJ-2308 instructions

Lifesaver bottle instruction manual

Lifesaver

Lifesaver bottle instruction manual

Philips AWP1808 user manual

Philips

Philips AWP1808 user manual

Weq CFW320-KFA Installation, configuration and operations guide

Weq

Weq CFW320-KFA Installation, configuration and operations guide

Pontec PondoClear Set operating instructions

Pontec

Pontec PondoClear Set operating instructions

Schaffner FN 3025 Installation guidelines

Schaffner

Schaffner FN 3025 Installation guidelines

Parker Sentinel user manual

Parker

Parker Sentinel user manual

norweco SINGULAIR BIO-KINETIC 960 owner's manual

norweco

norweco SINGULAIR BIO-KINETIC 960 owner's manual

Whirlpool classic 65 Use and care guide

Whirlpool

Whirlpool classic 65 Use and care guide

AquaMaster AMS700 Owner's manual and installation guide

AquaMaster

AquaMaster AMS700 Owner's manual and installation guide

manuals.online logo
manuals.online logoBrands
  • About & Mission
  • Contact us
  • Privacy Policy
  • Terms and Conditions

Copyright 2025 Manuals.Online. All Rights Reserved.