manuals.online logo
Brands
  1. Home
  2. •
  3. Brands
  4. •
  5. Aries
  6. •
  7. Automobile Accessories
  8. •
  9. Aries 205044 User manual

Aries 205044 User manual

ARIESAUTOMOTIVE.COM •NEED ASSISTANCE? •877.287.8 634 •205044-INS-RB •PAGE 1
INSTALLATION MANUAL 205044
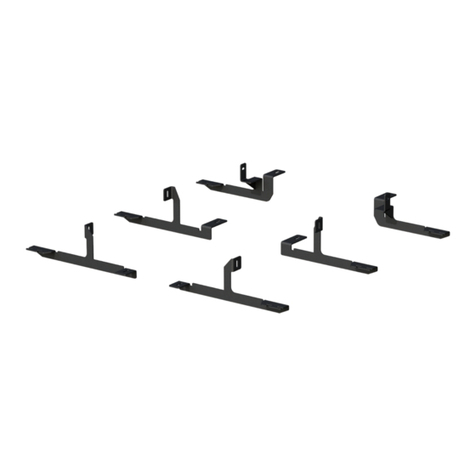
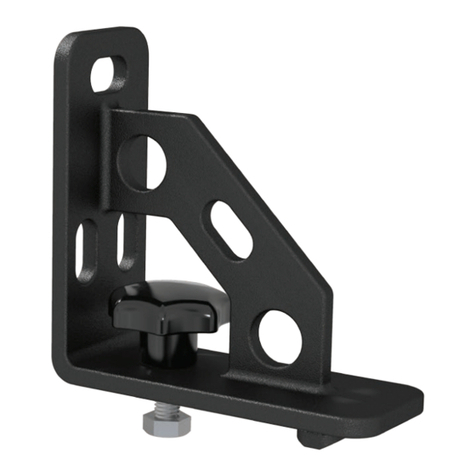
Parts List
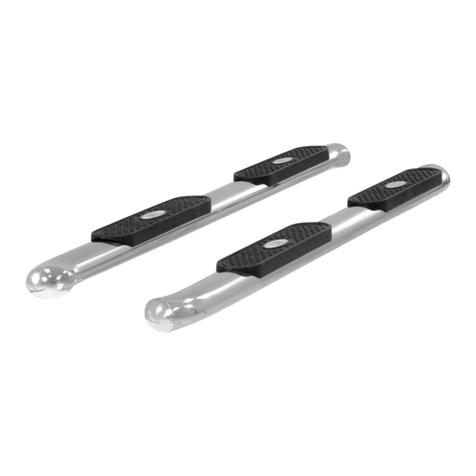
23" Sidebars
1Driver / left
front mounting bracket
1Passenger / right
front mounting bracket
1Driver / left
rear mounting bracket
1Passenger / right
rear mounting bracket
1Driver / left
front support bracket
1Passenger / right
front support bracket
1Driver / left
rear support bracket
1Passenger / right side
rear support bracket
4Hex bolts, 1/2" x 2"
4Flat washers, 1/2" x 1-1/2" x 1/8"
4Lock washers, 1/2"
12 Nylon lock nuts, 8-1.25mm
12 Flat washers, 8mm x 24mm x 2mm
* Footnote
Torque Specifications
Metric
M6 bolt 3 ft-lbs.
M8 bolt 7 ft-lbs.
M10 bolt 16 ft-lbs.
M12 bolt 28 ft-lbs.
SAE
1/4" bolt 3 ft-lbs.
5/16" bolt 7 ft-lbs.
3/8" bolt 16 ft-lbs.
7/16" bolt 20 ft-lbs.
1/2" bolt 28 ft-lbs.
Use above torque setting unless otherwise noted
Level of Difficulty
Easy
Notes and Maintenance
Before you begin installation, read all instructions thoroughly.
Proper tools will improve the quality of installation and reduce the time required.
To protect the product, wax after installing. Regular waxing is recommended
to add a protective layer over the finish. Do not use any type of polish or wax
that may contain abrasives that could damage the finish.
For polished, gloss and other smooth finishes,
polish may be used to clear small scratches and scuffs on the finish.
Mild automotive detergent may be used to clean the product. Do not use dish detergent, abrasive
cleaners, abrasive pads, wire brushes or other similar products that may damage the finish.
Refer to the last page of this manual for warranty and product registration information.
Refer to the table to the left when securing hardware during the
installation process to help prevent damage to the product or vehicle.
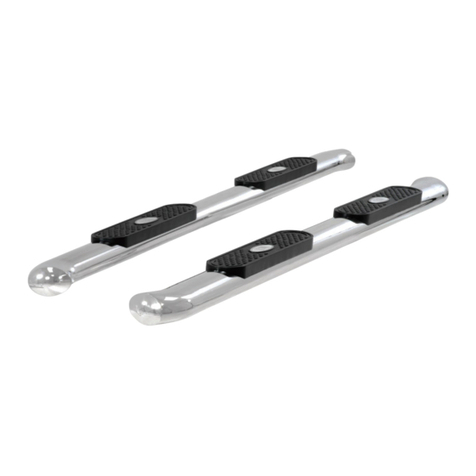
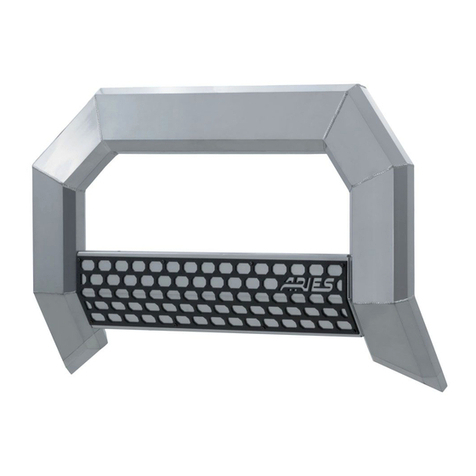
Product Photo
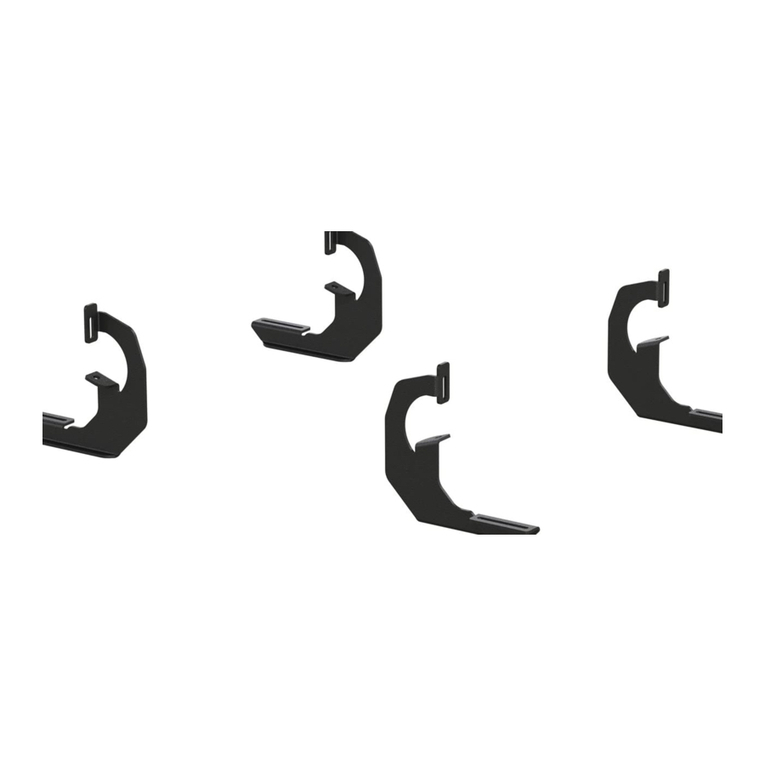
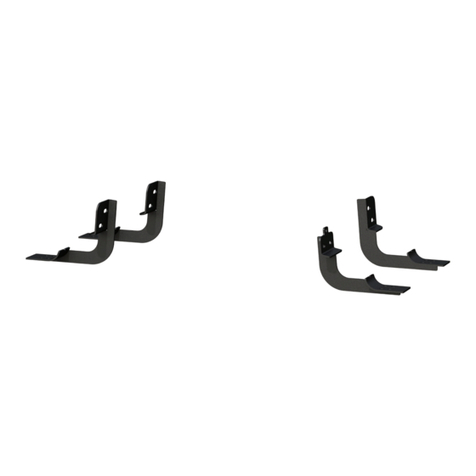
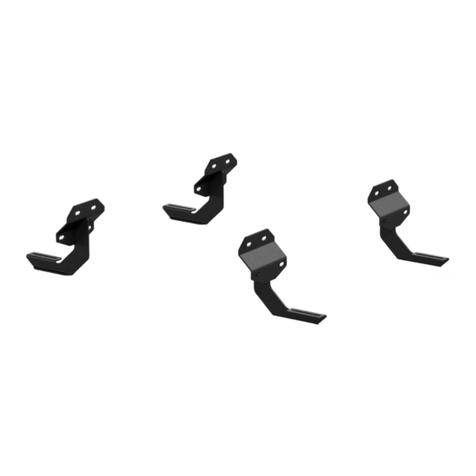
Brackets and Hardware
Front
Rear
Passenger / right
rear mounting bracket
Driver / left
rear support bracket
Driver / left
front support bracket
Passenger / right
rear support bracket
Driver / left
rear mounting bracket
Passenger / right front
mounting bracket
Driver / left front
mounting bracket
Passenger / right
front support bracket
ARIESAUTOMOTIVE.COM •NEED ASSISTANCE? •877.287.8 634 •205044-INS-RB •PAGE 2
PROCEDURE:
REMOVE CONTENTS FROM BOX. VERIFY ALL PARTS ARE PRESENT. READ INSTRUCTIONS
CAREFULLY BEFORE STARTING INSTALLATION. ASSISTANCE IS RECOMMENDED.
1. Start the installation under the driver/left side of the vehicle. Locate the front (3) factory studs along the
inner side of the body panel, (Figure 1). IMPORTANT: Use a wire brush or thread die to remove paint
buildup on the threaded studs before continuing with installation.
2. Select the driver/left Front Mounting Bracket, (Figure 2). Place the Bracket over the studs with the flat
side against the body panel. Attach the Bracket to the (3) factory studs with (3) 8mm Flat Washers and
(3) 8mm Nylon Lock Nuts, (Figures 2 & 3). Leave Bracket loose at this time.
3. Locate the front body mount next to the installed Bracket, (Figure 4). Remove the body bolt and
washer, (Figure 5). NOTE: Clean threads on body bolt to remove paint buildup before reinstalling.
4. Select the driver/left Front Support Bracket, (Figure 6). Reuse the factory body bolt and washer to
attach the upper slot in the Support Bracket to the body mount. (Figures 7 & 8).
5. Move to the rear mounting location, (Figure 9). Repeat Steps 1—4 to attach the driver/left Rear
Mounting Bracket and Support Bracket, (Figure 10).
6. Carefully unwrap and select (1) Sidebar. With assistance, line up the front end of the tube with the front
Bracket, (Figure 11). Attach the front end of the Sidebar tothe Front Brackets with the included 1/2”
Hex Bolt, 1/2” Lock Washer and 1/2” Flat Washer, (Figures 11 & 12). Do not tighten hardware.
7. Move to the rear of the Sidebar. Repeat Step 6 to attach the Sidebar to the rear Brackets, (Figure 13).
8. Level and adjust the Sidebar as necessary and fully tighten all hardware.
9. Repeat Steps 1—8 for passenger/right Sidebar.
10. Do periodic inspections to the installation to make sure that all hardware is secure and tight.
To protect your investment, wax this product after installing. Regular waxing is recommended to add a protective layer
over the finish. Do not use any type of polish or wax that may contain abrasives that could damage the finish. Mild soap
may be used also to clean the Sidebar.
Driver/left Side Installation Pictured
(3) 8mm Flat Washers
(3) 8mm Nylon Lock Nuts
(Fig 2) Attach flat side of Driver/left Front
Mounting Bracket to side of inner body panel
Front
Front
(Fig 1) Driver/left front mounting location
ARIESAUTOMOTIVE.COM •NEED ASSISTANCE? •877.287.8 634 •205044-INS-RB •PAGE 3
(Fig 3) Driver/left Front Bracket installed
Front
(Fig 4) Locate driver/left front body mount
(passenger side pictured for example)
Driver/left Side Installation Pictured
Front
(Fig 7) Reuse body bolt to attach top of
Support Bracket to body mount (Driver/left
Front Support Bracket illustrated)
(Fig 5) Remove factory body bolt
Reuse body bolt
Front
(Fig 6) Driver/left Front and Rear Support
Brackets. NOTE: Front Support Bracket
(left) is shorter than the rear (right).
ARIESAUTOMOTIVE.COM •NEED ASSISTANCE? •877.287.8 634 •205044-INS-RB •PAGE 4
(Fig 9) Driver/left rear mounting location
Rear
(Fig 8) Driver/left Front Support
Bracket attached to body mount
Front
Rear body bolt
Driver/left Side Installation Pictured
(3) 8mm Flat Washers
(3) 8mm Nylon Lock Nuts
Rear
Reuse body bolt
(Fig 11) Attach end of the Sidebar
to the driver/left front Bracket
Front
1/2” x 2” Hex Bolt
1/2” Lock Washer
1/2” Flat Washer
NOTE: The Front Support Bracket is shorter
than the Rear Support Bracket.
(Fig 10) Reuse body bolt to attach top of
Support Bracket to body mount (Driver/left
Rear Support Bracket illustrated)
ARIESAUTOMOTIVE.COM •NEED ASSISTANCE? •877.287.8 634 •205044-INS-RB •PAGE 5
Driver/left Side Installation Pictured
1/2” x 2” Hex Bolt
1/2” Lock Washer
1/2” Flat Washer
(Fig 12) Driver/left Front
Brackets and Sidebar installed
Front
(Fig 13) Attach Sidebar to Driver/left Rear Brackets
Rear
Complete
Installation
Product Registration
CURT Group stands behind our products with industry leading warranties.
You can help us continue to improve our product line and help us understand
your needs by registering your purchase by visiting:
warranty.curtgroup.com/surveys
At CURT Group, customer is king. We value your feedback and we use that information to make
improvements on our products. Please, take a minute and let us know how we are doing.

Other Aries Automobile Accessories manuals

Aries 2055180 User manual

Aries

Aries 2055180 User manual

Aries 4407 User manual

Aries

Aries 4407 User manual

Aries 2074140 User manual

Aries

Aries 2074140 User manual

Aries S223043-2 User manual

Aries

Aries S223043-2 User manual

Aries AL233043 User manual

Aries

Aries AL233043 User manual

Aries B35-2000 User manual

Aries

Aries B35-2000 User manual

Aries 2153002 User manual

Aries

Aries 2153002 User manual

Aries 2154000 User manual

Aries

Aries 2154000 User manual

Aries 205039 User manual

Aries

Aries 205039 User manual

Aries 2055100 User manual

Aries

Aries 2055100 User manual

Aries 2055117 User manual

Aries

Aries 2055117 User manual

Aries AL235040 User manual

Aries

Aries AL235040 User manual

Aries 2162001 User manual

Aries

Aries 2162001 User manual

Aries AdvantEDGE User manual

Aries

Aries AdvantEDGE User manual

Aries 1110313 User manual

Aries

Aries 1110313 User manual

Aries 2051158 User manual

Aries

Aries 2051158 User manual

Aries ActionTrac User manual

Aries

Aries ActionTrac User manual

Aries 2055130 User manual

Aries

Aries 2055130 User manual

Aries 202020 User manual

Aries

Aries 202020 User manual

Aries AL235033 User manual

Aries

Aries AL235033 User manual

Aries 2165102 User manual

Aries

Aries 2165102 User manual

Aries 205045-2 User manual

Aries

Aries 205045-2 User manual

Aries S224046-2 User manual

Aries

Aries S224046-2 User manual

Aries 1110310 User manual

Aries

Aries 1110310 User manual

Popular Automobile Accessories manuals by other brands

Silvercrest SKHU 2 B2 operating instructions

Silvercrest

Silvercrest SKHU 2 B2 operating instructions

FormFit HD 5M08 installation instructions

FormFit

FormFit HD 5M08 installation instructions

iCell S550 quick start guide

iCell

iCell S550 quick start guide

TypeS Plug & Glow LM55879-1 instruction manual

TypeS

TypeS Plug & Glow LM55879-1 instruction manual

pro user DIAMANT SG2 Assembly instruction

pro user

pro user DIAMANT SG2 Assembly instruction

TigerTough E82201B installation guide

TigerTough

TigerTough E82201B installation guide

Ezgo 72684G01 installation instructions

Ezgo

Ezgo 72684G01 installation instructions

CARFACE DO CF95924EF instruction manual

CARFACE

CARFACE DO CF95924EF instruction manual

Silvercrest SFA 30 B1 User manual and service information

Silvercrest

Silvercrest SFA 30 B1 User manual and service information

Cord Tech CEVM3T12-32 instruction manual

Cord Tech

Cord Tech CEVM3T12-32 instruction manual

Steel mate PTS810 V10 manual

Steel mate

Steel mate PTS810 V10 manual

Caraudio-Systems TV-Free TF-NTG5 quick start guide

Caraudio-Systems

Caraudio-Systems TV-Free TF-NTG5 quick start guide

HTRONIC AL 2000 user manual

HTRONIC

HTRONIC AL 2000 user manual

J. Perkins JPDA0018 Assembly instructions

J. Perkins

J. Perkins JPDA0018 Assembly instructions

SilverLeaf Electronics VMS 240 CL owner's manual

SilverLeaf Electronics

SilverLeaf Electronics VMS 240 CL owner's manual

Itec CHARGER-CARQCPD user guide

Itec

Itec CHARGER-CARQCPD user guide

Silvercrest SFA 4.1 E1 Operating instructions and safety instructions

Silvercrest

Silvercrest SFA 4.1 E1 Operating instructions and safety instructions

MRHANDSFREE QCC-300 user manual

MRHANDSFREE

MRHANDSFREE QCC-300 user manual

manuals.online logo
manuals.online logoBrands
  • About & Mission
  • Contact us
  • Privacy Policy
  • Terms and Conditions

Copyright 2025 Manuals.Online. All Rights Reserved.