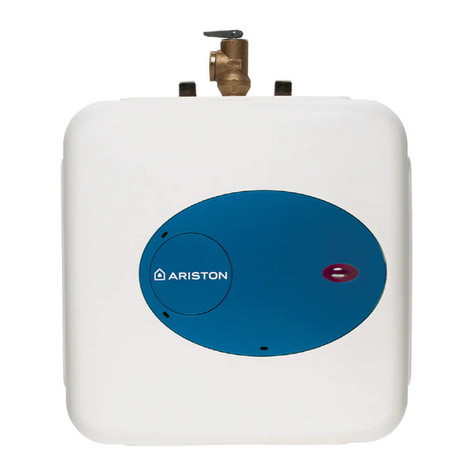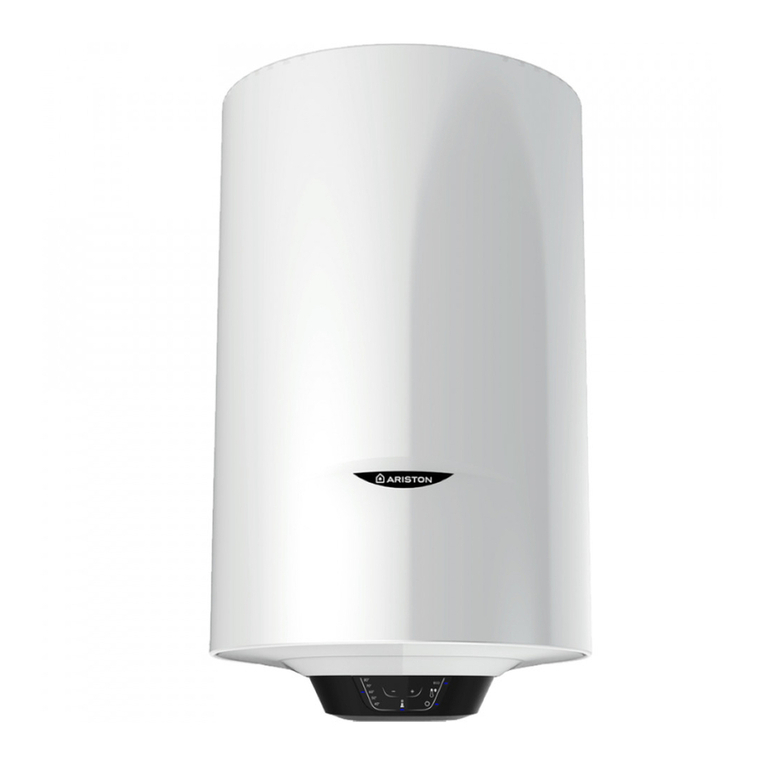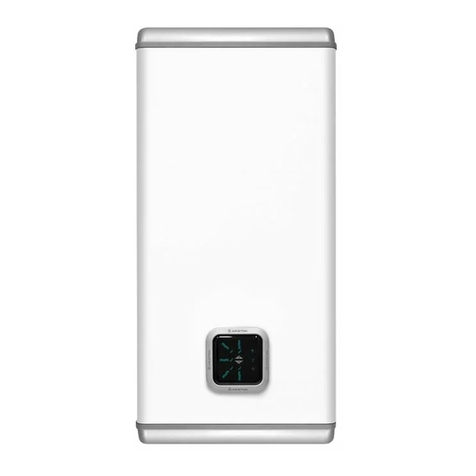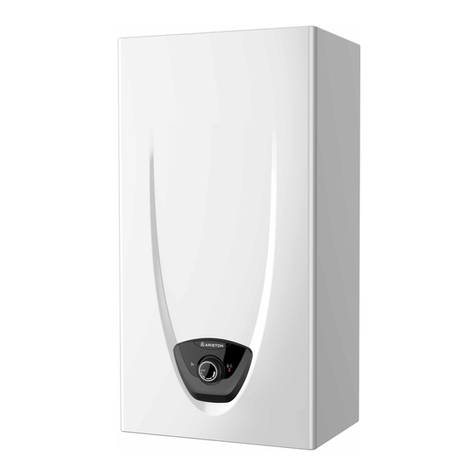
QUICK START
INSTALLATION INSTRUCTIONS
Quick Start is merely an introductory document and does not replace the manual.
Carefully read the manual prior to installing and using the product.
1 ACCESSORIES
Supplied: (A) - 1 safety valve, (B) – 1 draining valve (optional), (C) – 1 «T» piece
union (optional)
Not supplied: (D) - 2 fixing hooks (ØM12 - 90mm), (E) - 2 Fischer plugs (ØM12 -
90mm), (F) – dielectric fitting, (G) - 1 safety unit, (H) - 2 joining pipes, (I) -Teflon
tape, (J) – drill, (K) - spirit level.
2 INSTALLATION APPROACH
30 l – 40 l models: one person
50 l -65 l - 80 l - 100 l – 120 l – 150 l models: two people
3 POSITIONING THE APPLIANCE
Water heater mounting is made on the main wall. The appliance should be posi-
tioned as close as possible to the points of use, in order to limit heat dispersion
along the piping. Avoid installing the product in areas heavily exposed to water
(zones 1 and 2). To facilitate maintenance operations, allow for a clearance of
at least 50 cm around and from the ceiling – 10 cm. It is not allowed to mount
vertical models horizontally and horizontal models – vertically.
4 FIXING THE APPLIANCE TO THE WALL
Make the holes in the wall using the drill (J). Insert the Fischer plugs (E) into the
holes, followed by the hooks (D).
Place the fixing brackets on the hook and make sure that they are properly
secured . In choosing the final position, make sure that the wall is able to
withstand the product’s weight even when the latter is filled with water.
5 PLUMBING CONNECTIONS
The water inlet and outlet are marked by the following:
- blue ring for cold water inlet
- red ring for hot water outlet
Apply Teflon tape (I) to the appliance’s cold water pipes and hot water
pipes. Screw the safety valve (A) or safety unit (G) onto the cold water pipe
and connect the cold water joining pipe. Connect the water distribution pipe of
the domestic circuit to the hot water pipe . It is recommended to install a «T»
piece union (C) between the inlet and safety valve of the water heater. Connect
a draining valve (optional) (B) with the «T» piece union (C). Fill the product until
water comes out of the tap.
6 WATER DRAIN
If there is a possibility that the ambient temperature drops below 0°C in the
room where the appliance is installed, drain water from the water heater. In
order to do this you have to: disconnect the appliance from the electrical supply
and make sure that the water in the appliance is of safe temperature. Turn off
the tap of cold water supply to the water heater (6A) and turn on the hot water
tap on mixer (6B) for pressure relief inside the tank. Open the drain valve (6C).
If the “T” piece union is absent, remove the supply tube to the hot water pipe
of the water heater After draining, make sure there is no water inside the
water heater.
7 ELECTRICAL CONNECTIONS
7A If the product is already equipped with a cable and plug, simply connect it
to a power supply source (A).
7B If the power cable is not present or is not connected to the product: make
sure that the mains power is deactivated, remove the cover and pass the cable
through the hole positioned on the rear part. Connect the two wires to the two
terminals of the thermostat (B). It is compulsory to earth the appliance: perform
the operation by connecting the yellow-green wire to the terminal marked with
the symbol .
8 CONTROL PANEL
MODEL A and Model B: (A) - ON/OFF button, (B) – temperature set buttons,
(C) - ECO function, (D) – DOUBLE POWER function, (E) - water temperature
indicator. Model C: (A) - temperature regulation knob, (B) – product operation
indicator
9 SOLVING PROBLEMS
For any clarifications concerning the product or its installation, consult the com-
plete manual or contact the Ariston technical assistance service.
CAUTION! Rigorously observe the general warnings, the applicable instal-
lation rules and the instructions specified in the manual.
QUICK START (БЫСТРЫЙ СТАРТ)
ИНСТРУКЦИЯ ПО УСТАНОВКЕ
Инструкция «Быстрый старт» является ознакомительным документом и
не заменяет руководство по эксплуатации. Внимательно прочтите руко-
водство по эксплуатации перед установкой и использованием продукта.
1 АКСЕССУАРЫ УСТАНОВКИ
Вкомплекте поставки: (A) - 1 предохранительный клапан, (B) - 1 сливной кран
(опционально) (C) - 1 тройник (опционально)
Дополнительно потребуется: (D) - 2 крепежных анкера (ØM12 – 90мм), (E) - 2
дюбеля (ØM12 – 90мм), (F) – диэлектрическая вставка, (G) - 1 предохранитель-
ный блок, (H) - 2 соединительные трубки, (I) - уплотнительная лента, (J) – дрель,
(K) - уровень.
2 РЕКОМЕНДАЦИИ КУСТАНОВКЕ
Модели 30 л- 40 л: один человек
Модели 50 л- 65 л- 80 л- 100 л– 120 л– 150 л: два человека
3 КРЕПЛЕНИЕ ВОДОНАГРЕВАТЕЛЯ КСТЕНЕ
Установка водонагревателя производится на капитальной стене. Для снижения
тепловых потерь выбирайте место для установки как можно ближе кточке во-
доразбора. Избегайте установки прибора взонах, подверженных попаданию
воды (зоны 1 и2). Для проведения технического обслуживания необходимо
обеспечить вокруг прибора свободное пространство не менее 50 см, аот по-
толка – 10 см. Недопустима установка вертикальных моделей горизонтально, а
горизонтальных моделей – вертикально.
4 МОНТАЖ
Просверлите отверстия встене при помощи дрели (J). Вставьте дюбеля (E) в
отверстия, затем вкрутите крепежные анкера (D). Установите крепежные крон-
штейны на анкера иубедитесь вих правильном положении . Подготовленное
крепление должно выдерживать троекратный вес наполненного водой водо-
нагревателя.
5 ГИДРАВЛИЧЕСКИЕ СОЕДИНЕНИЯ
Вход ивыход воды имеют следующую маркировку:
- синее кольцо для входа холодной воды
- красное кольцо для выхода горячей воды
Нанесите уплотнительную ленту (I) на резьбовые соединения входа холодной
ивыхода горячей воды. Установите предохранительный клапан (A) или
предохранительный блок (G) на входе холодной воды вводонагреватель и
соедините смагистралью холодного водоснабжения спомощью соединитель-
ной трубки или гибкого шланга.
Подсоедините квыходу горячей воды из водонагревателя соединительную
трубку или гибкий шланг для отвода горячей воды кместу водоразбора.
Между входом холодной воды вводонагреватель ипредохранительным
клапаном (А)рекомендуется установить тройник (С) (опционально) иприсоеди-
ните кнему сливной кран (В)(опционально). Зафиксируйте регулятор сливного
крана вположении «закрыто». Наполните бак водой, открыв кран горячей воды
на смесителе, потом кран подачи холодной воды вводонагреватель. Как только
водонагреватель наполнится, из смесителя потечет вода.
6 СЛИВ ВОДЫ
Необходимо слить воду из водонагревателя, если вместе установки прибора
существует вероятность снижения температуры окружающего воздуха ниже
0°С.
Для этого выполните следующие действия: отключите электропитание прибора
иубедитесь, что вода внутри прибора имеет безопасную температуру. Затем пе-
рекройте кран подачи холодной воды вводонагреватель (6A) иоткройте кран
горячей воды на смесителе (6B) для сброса давления внутри бака. Откройте
кран слива воды (опционально), повернув регулятор сливного крана вполо-
жении «открыто» (6C) При отсутствии тройника (С)необходимо демонтировать
соединительную трубку (Н), установленную на вход холодной воды . После
слива убедитесь вполном отсутствии воды внутри водонагревателя.
7 ЭЛЕКТРИЧЕСКИЕ СОЕДИНЕНИЯ
7A Если прибор поставляется сэлектрическим кабелем ивилкой - просто под-
ключите его кисточнику электропитания (A).
7B Если прибор поставляется без электрического кабеля ивилки - для под-
ключения ксети электроснабжения используйте кабель соответствующего типа
(H05VV-F 3x1,5 мм, Ø 8,5 мм).
Снимите крышку водонагревателя. Проденьте кабель электропитания вотвер-
стие, находящееся вкрышке прибора иприсоедините кклеммам на термостате
(B), затем соедините кабель заземления (желто-зеленого цвета) склеммой, обо-
значенной символом .
8 ПАНЕЛЬ УПРАВЛЕНИЯ
Модель Аимодель В: (А) Кнопка вкл/выкл – (В) Кнопки регулировки темпера-
туры – (С)Функция ECO – (D) Функция DOUBLE POWER – (E) Индикаторы тем-
пературы нагрева воды
Модель С: (А) Ручка регулировки температуры – (F) Индикатор работы водо-
нагревателя
9 ОТВЕТЫ НА ВОПРОСЫ
При возникновении любых вопросов рекомендуем ознакомиться с
руководством по эксплуатации или связаться со службой технической
поддержки компании Ariston. Будем рады получить Ваши отзывы и
предложения, которые Вы можете отправить, воспользовавшись формой
обратной связи на сайте www.ariston.com.
ВНИМАНИЕ! Строго соблюдайте основные меры безопасности
при установке, эксплуатации иобслуживании водонагревателя,
указанные вруководстве по эксплуатации.

