62
SPECIFICATIONS
SPECIFICATIONS
KEYBOARD
88 Key, Advanced Balanced Graded Hammer-
actioned , Velocity sensitive keyboard
MAX. POLYPHONY
32 Note Polyphony
SET-UP
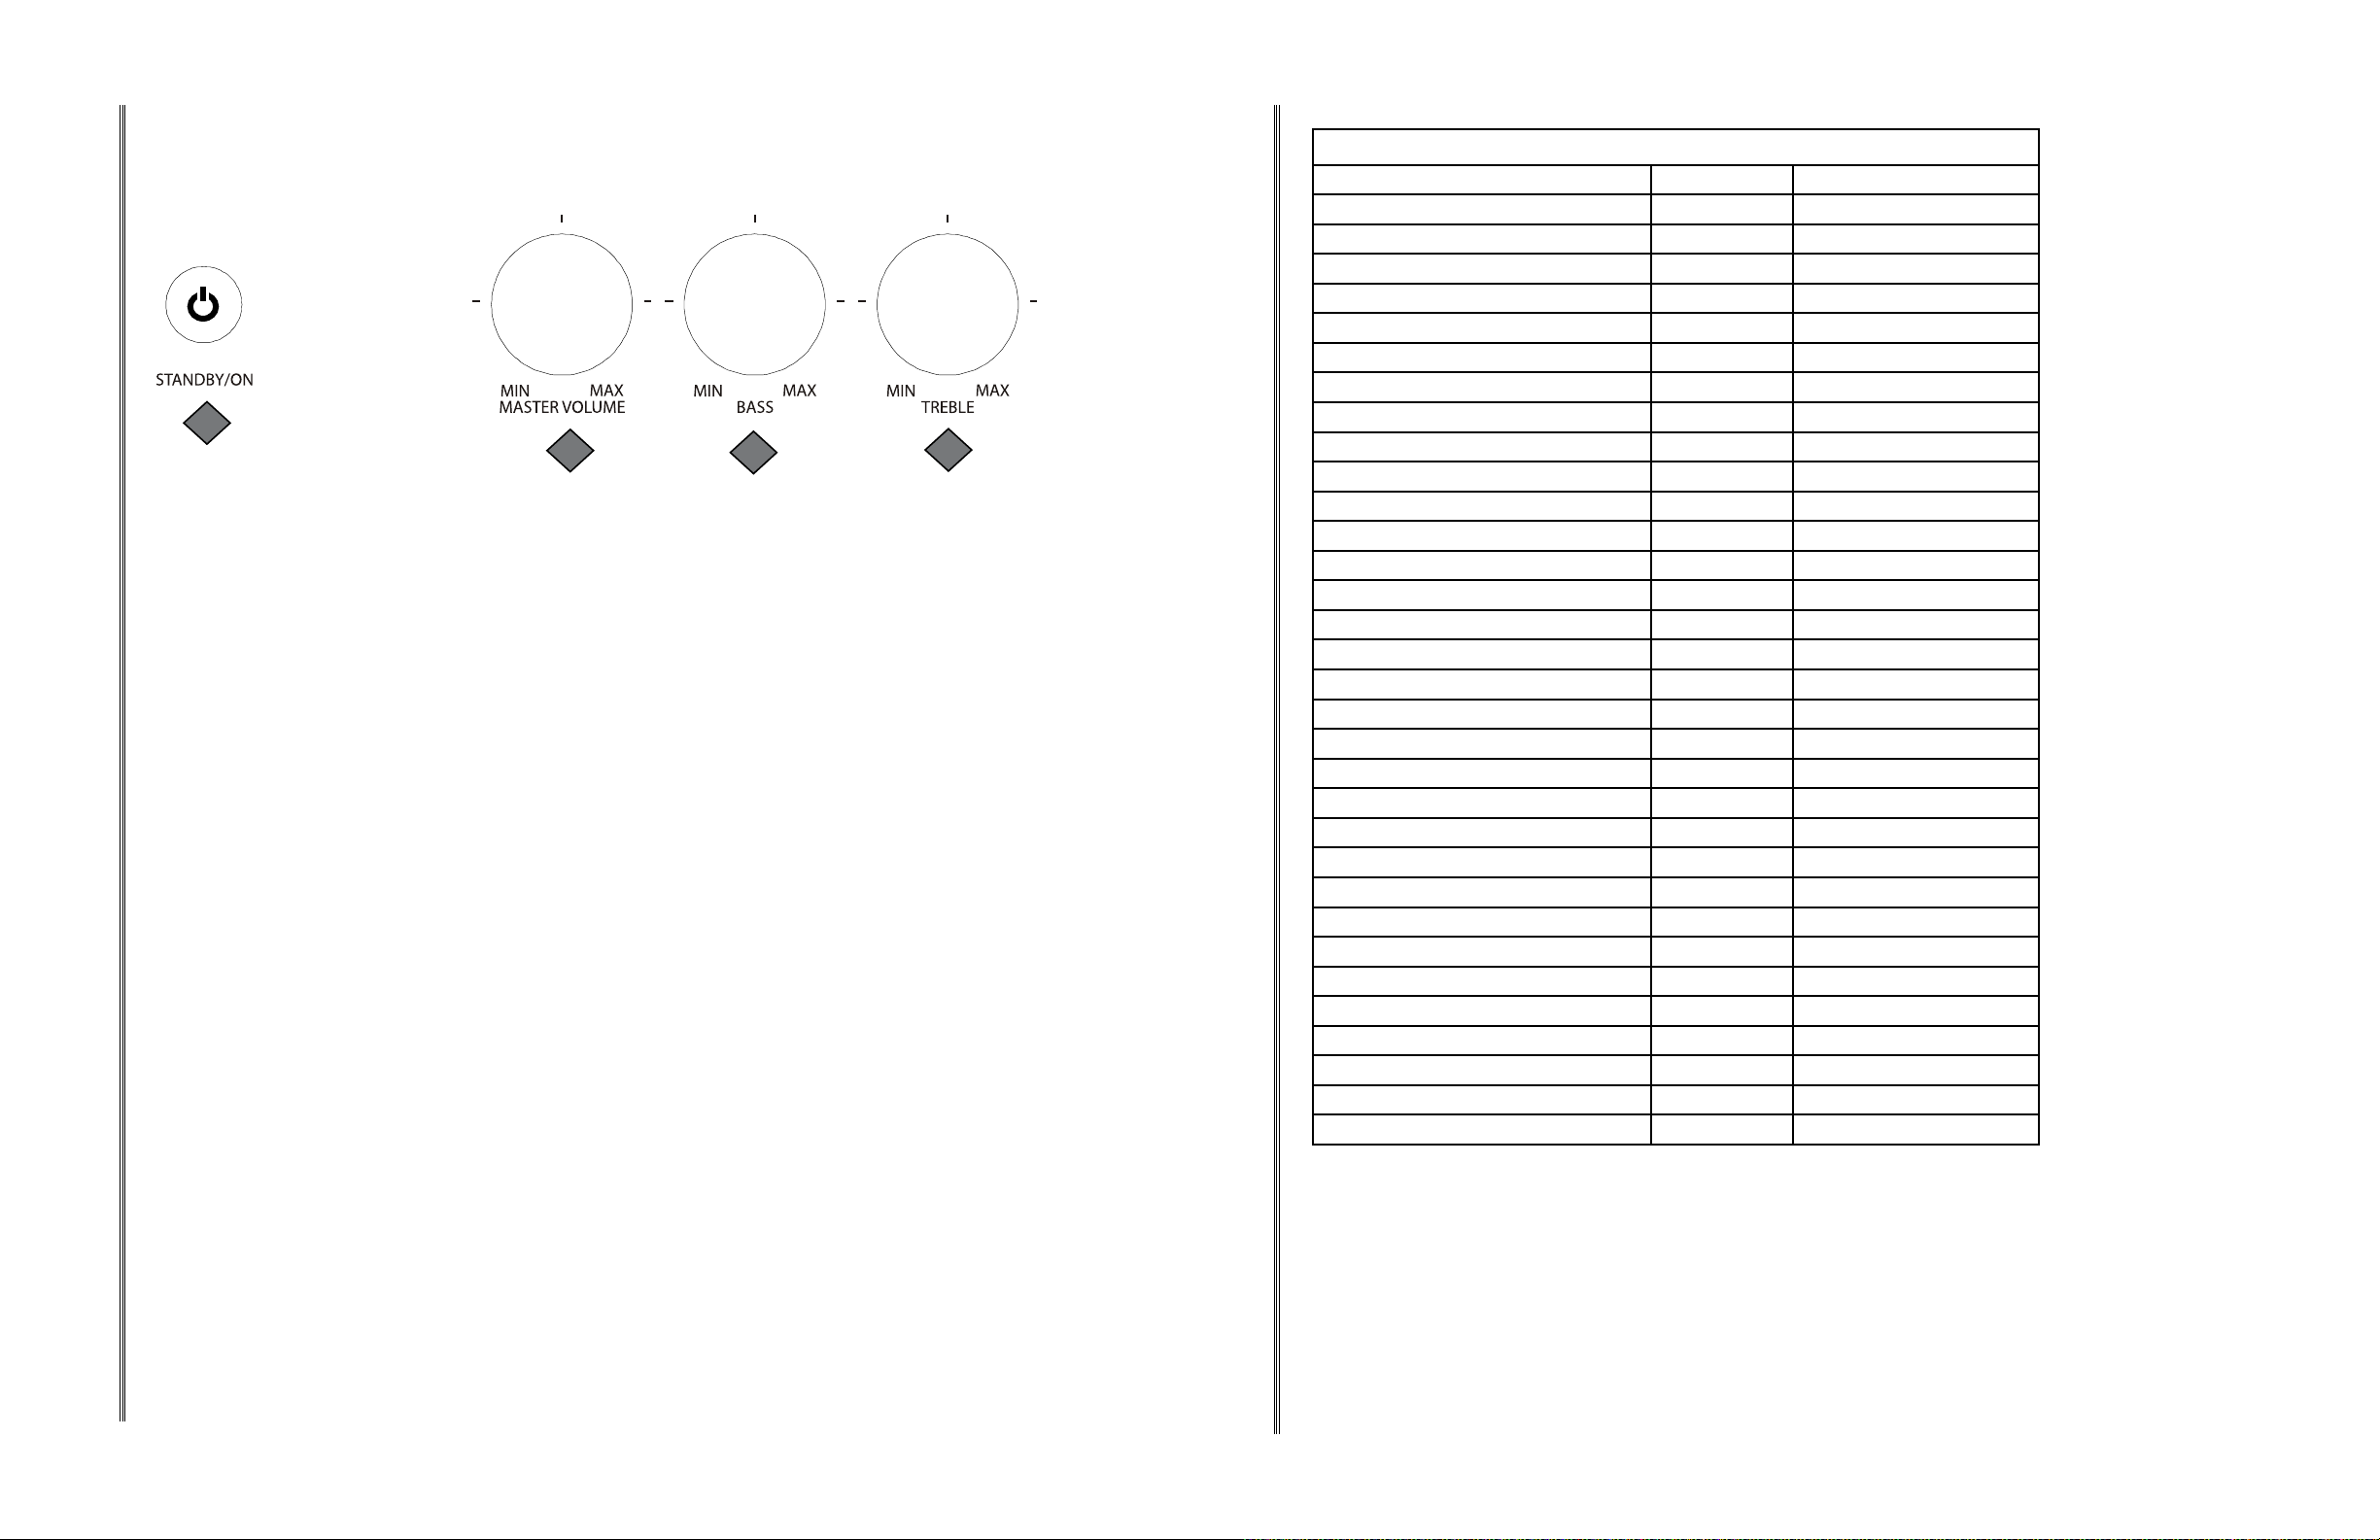
Power On/Off
Main Volume Control Min-Max
Accomp Volume Control Min-Max
Keyboard Volume
Acc. Volume
Data Wheel
VOICES
137 GM (General MIDI Voices)
8 Quick Select (one User dened)
VOICE MODE
Layer (dual) voice
Split (Lower) voice
Duet
VOICE EFFECTS:
Reverb
Chorus
DISPLAY: 16-Character LCD
REGISTRATION MEMORY: 6
DEMONSTRATION: Ten Songs
RECORDING:
One song,
2-track recording
OVERALL CONTROL
Transpose
Tempo
Touch response: soft, normal, hard, xed,
Voice split point
Accompaniment split point
AUTO BASS CHORD MODE
Single
Fingered
AUTO-ACCOMPANIMENT STYLE
100 Auto-accompaniment styles
Four quick select style buttons
ACCOMPANIMENT CONTROL
Synchronized start
Start/Stop
Introduction/Ending
Fill-In
Variation
Metronome
One Touch Settings
PLAY ALONG SONGS: 55 Songs
FUNCTION
Reverb level
Chorus level
Touch Sensitivity
Split point for voice
Split point for auto accompaniment,
Chord Type
Metronome Type and Volume
Pan
Transpose
Tune
Octave
Play Along Songs Grading and Volume
MIDI
Half Sustain
Bluetooth
Reset
Auto Power Off Time
AUXILIARY JACKS
Headphone x 2
Line Out
AUX In
USB To Host
Bluetooth Receiver
MIDI Out
Input Level Dial
PEDALS
Sustain Pedal
Sostenuto Pedal
Soft Pedal
VOLTAGE: AC 120V
AMPLIFIER: 20W x 2
DIMENSIONS
54.2 x 20 x 33.9 inches
(1377mmx510mm x862mm)
WEIGHT: 154.3 lbs (70 Kg)
STANDARD ACCESSORIES
Music rest
Owners manual
Play Along Song Book
Preloaded Kingston USB Flash Drive
Bluetooth BT-1 Wireless Receiver
OPTIONAL ACCESSORIES
Padded Bench
WARRANTY INFORMATION
This product, except the exterior cosmetic parts, is warranted to the original
purchaser to be free from defects in material and workmanship under normal
use as follows:
1. For a period of one year from the date of purchase, Virgin Musical
Instrument Company will pay the labor charges to repair the defective
product. After this one year period, you must pay all labor charges.
2. In addition, Virgin Musical Instrument Company will supply, at no
charge, new or rebuilt replacements for defective parts for a period of
one year from the date of purchase.
In the event repairs are needed, the original purchaser should contact
Virgin Musical Instrument Company, the parent company of Artesia Pianos,
at 888-998-9848. Virgin Musical Instrument Company will then repair
the product or return it to the VMI distribution center for repairs. Upon
completion of the repair, the unit will be returned to the music store, freight
prepaid.
This warranty will not apply to this product if it has been misused, abused,
or altered. Without limiting the foregoing, bending, dropping of unit, or visible
cracks and/or scratches are presumed to be defects resulting from misuse or
abuse.
This warranty is void if the product has been opened.
Neither this warranty nor any other warranty expressed or implied, including
implied warranties of merchantable, shall extend beyond the warranty
period.
No responsibility is assumed for any incidental or consequential damages.
Outside the US contact the original retailer where the product was
purchased for additional warranty details.
WARRANTY
The product is not completely disconnected from the
power supply even when the power switch is turned
o. If the product will not be used for a long time,
unplug the AC power cord from the AC outlet.
Failure to do so may cause rein case of
lightning.
Failure to do so may over-heat the product,
resulting in re.
This product may be equipped with a polarised line plug (one blade
wider than the other). This is a safety feature.
If you are unable to insert the plug into the outlet, contact an
electrician to replace your obsolete outlet.
Do not defeat the safety purpose of the plug.
When disconnecting the AC powercord’s
plug, always hold the plug
and pull it to remove it.
Pulling the AC power cord itself may damage
the cord, causing a re, electric shock or
short-circuit.
Doing so may cause the product tofall over,
resulting in injury.
Do not lean against the keyboard.
When using the headphones, do not
listen for long periods of
time at high volume levels.
Doing so may result in hearing problems.
It is a good practice to place the instrument near the AC outlet and to place the power cord plug in a
position that allows the plug to be disconnected easily in the event of an emergency. Electricity is always
charging while the plug is in the AC outlet even when the power switch is in the ‘OFF’ position.
The chair must be used properly (it must be
used only when playing the product).
Do not play with it or stand on it.
Only one person is allowed to sit on it.
Do not sit on it when opening the lid.
Re-tighten the bolts occasionally.
Doing so may cause the chair to fall over or your
ngers to be trapped, resulting in injury.
WARNING
The product should be connected to
an AC outlet of the specied voltage.
If you aregoing to use an AC power cord,
make sure that it has the correct plug shape
and conforms to the specied power voltage.
Failure to do so may result in re.
120V 240V230V
Indicates a potential hazard that could result in death
or serious injury if the product is handled incorrectly.
Do not insert or disconnect the power
cord plug with wet hands. Doing so may cause electric shock.
WARNING - When using electric products, basic precautions should always be followed,
including the following.
Do not use other AC adaptors to power this
instrument.
Do not use the included AC adaptor or AC
power cord to power other equipment.
Use only the AC adaptor included with
this instrument to power the instrument.
Do not disassemble, repair or modify
the product. Doing so may result inproductbreakdown, electric
shock or short-circuit.
IMPORTANT SAFETY INSTRUCTIONS
denotes that care should be taken.
The example instructs the user to take care not to allow fingers to be trapped.
denotes a prohibited operation.
The example instructs that disassembly of the product is prohibited.
denotes an operation that should be carried out.
The example instructs the user to remove the power cord plug from the AC outlet.
Examples of Picture Symbols
Read all the instructions before using the product.
CAUTION
RISK OF ELECTRIC SHOCK
DO NOT OPEN
AVIS : RISQUE DE CHOC ELECTRIQUE - NE PAS OUVRIR.
TO REDUCE THE RISK OF ELECTRIC SHOCK, DO NOT REMOVE COVER (OR BACK).
NO USER-SERVICEABLE PARTS INSIDE. REFER SERVICING TO QUALIFIED SERVICE PERSONNEL.
The lighting flash with arrowhead symbol, within an
equilateral triangle, is intended to alert the user to
the presence of uninsulated “dangerous voltage”
within the product’s enclosure that may be of
sufficient magnitude to constitute a risk of electric
shock to persons.
The exclamation point within an equilateral triangle
is intended to alert the user to the presence of
important operating and maintenance (servicing)
instructions in the literature accompanying the
product.
WARNING
TO REDUCE THE RISK OF
FIRE OR ELECTRIC
SHOCK, DO NOT EXPOSE
THIS PRODUCT TO RAIN
OR MOISTURE.
INSTRUCTIONS PERTAINING TO A RISK OF FIRE, ELECTRIC SHOCK, OR INJURY TO PERSONS
SAVE THESE INSTRUCTIONS
1) Read these instructions.
2) Keep these instructions.
3) Heed all warnings.
4) Follow all instructions.
5) Do not use this apparatus near water.
6) Clean only with dry cloth.
7) Do not block any ventilation openings. Install in
accordance with the manufacturer’s
instructions.
8) Do not install near any heat sources such as
radiators, heat registers, stoves, or other
apparatus (including amplifiers) that produce
heat.
9) Do not defeat the safety purpose of the
polarized or grounding-type plug. A polarized
plug has two blades with one wider than the
other. A grounding type plug has two blades
and a third grounding prong. The wide blade or
the third prongs are provided for your safety.
If the provided plug does not fit into your outlet,
consult an electrician for replacement of the
obsolete outlet.
10) Protect the power cord from being walked on
or pinched particularly at plugs, convenience
receptacles, and the point where they exit from
the apparatus.
11) Only use attachments/accessories specified by
the manufacturer.
12) Use only with the cart, stand, tripod, bracket, or
table specified by the manufacturer, or
sold with the apparatus. When a cart is used,
use caution when moving the cart/apparatus
combination to avoid injury from tip-over.
13) Unplug this apparatus during lightning storms
or when unused for long periods of time.
14) Refer all servicing to qualified service
personnel. Servicing is required when the
apparatus has been damaged in any way,
such as power-supply cord or plug is
damaged, liquid has been spilled or objects
have fallen into the apparatus, the apparatus
has been exposed to rain or moisture, does not
operate normally, or has been dropped.