Contents
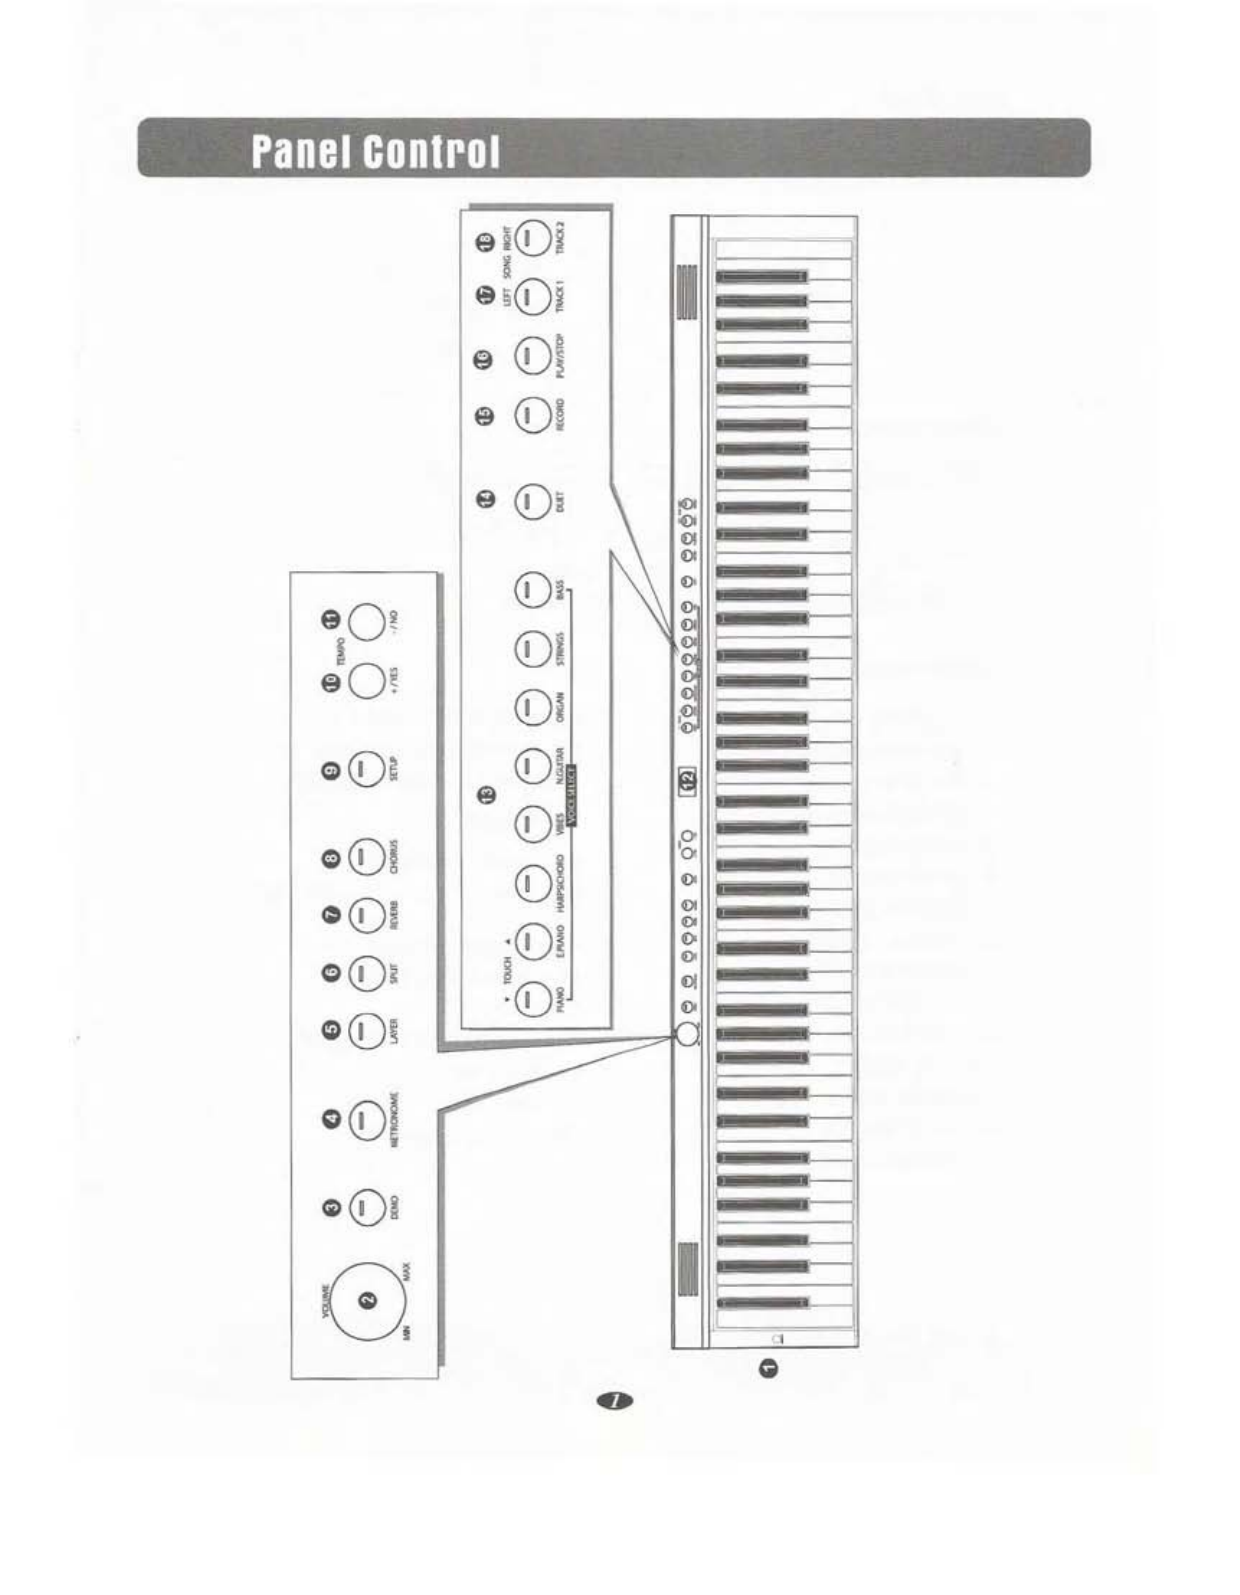
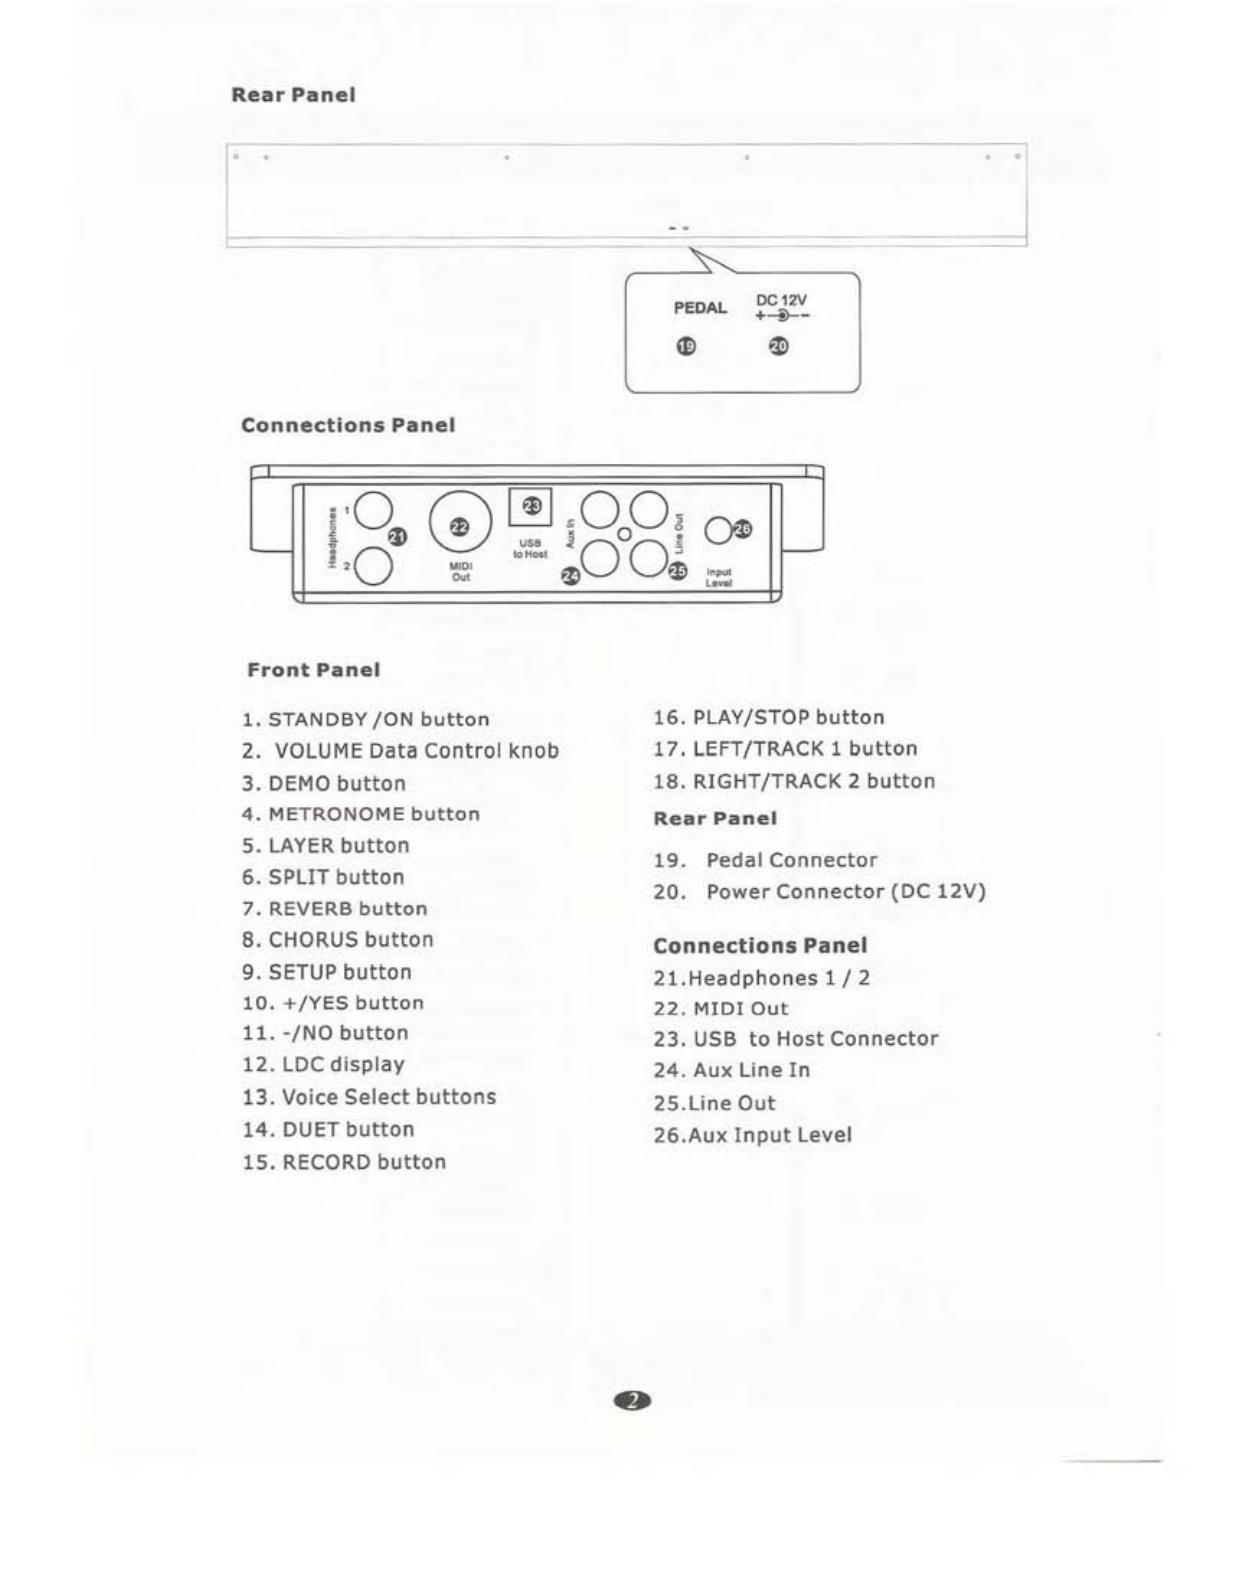
Panel Control 1
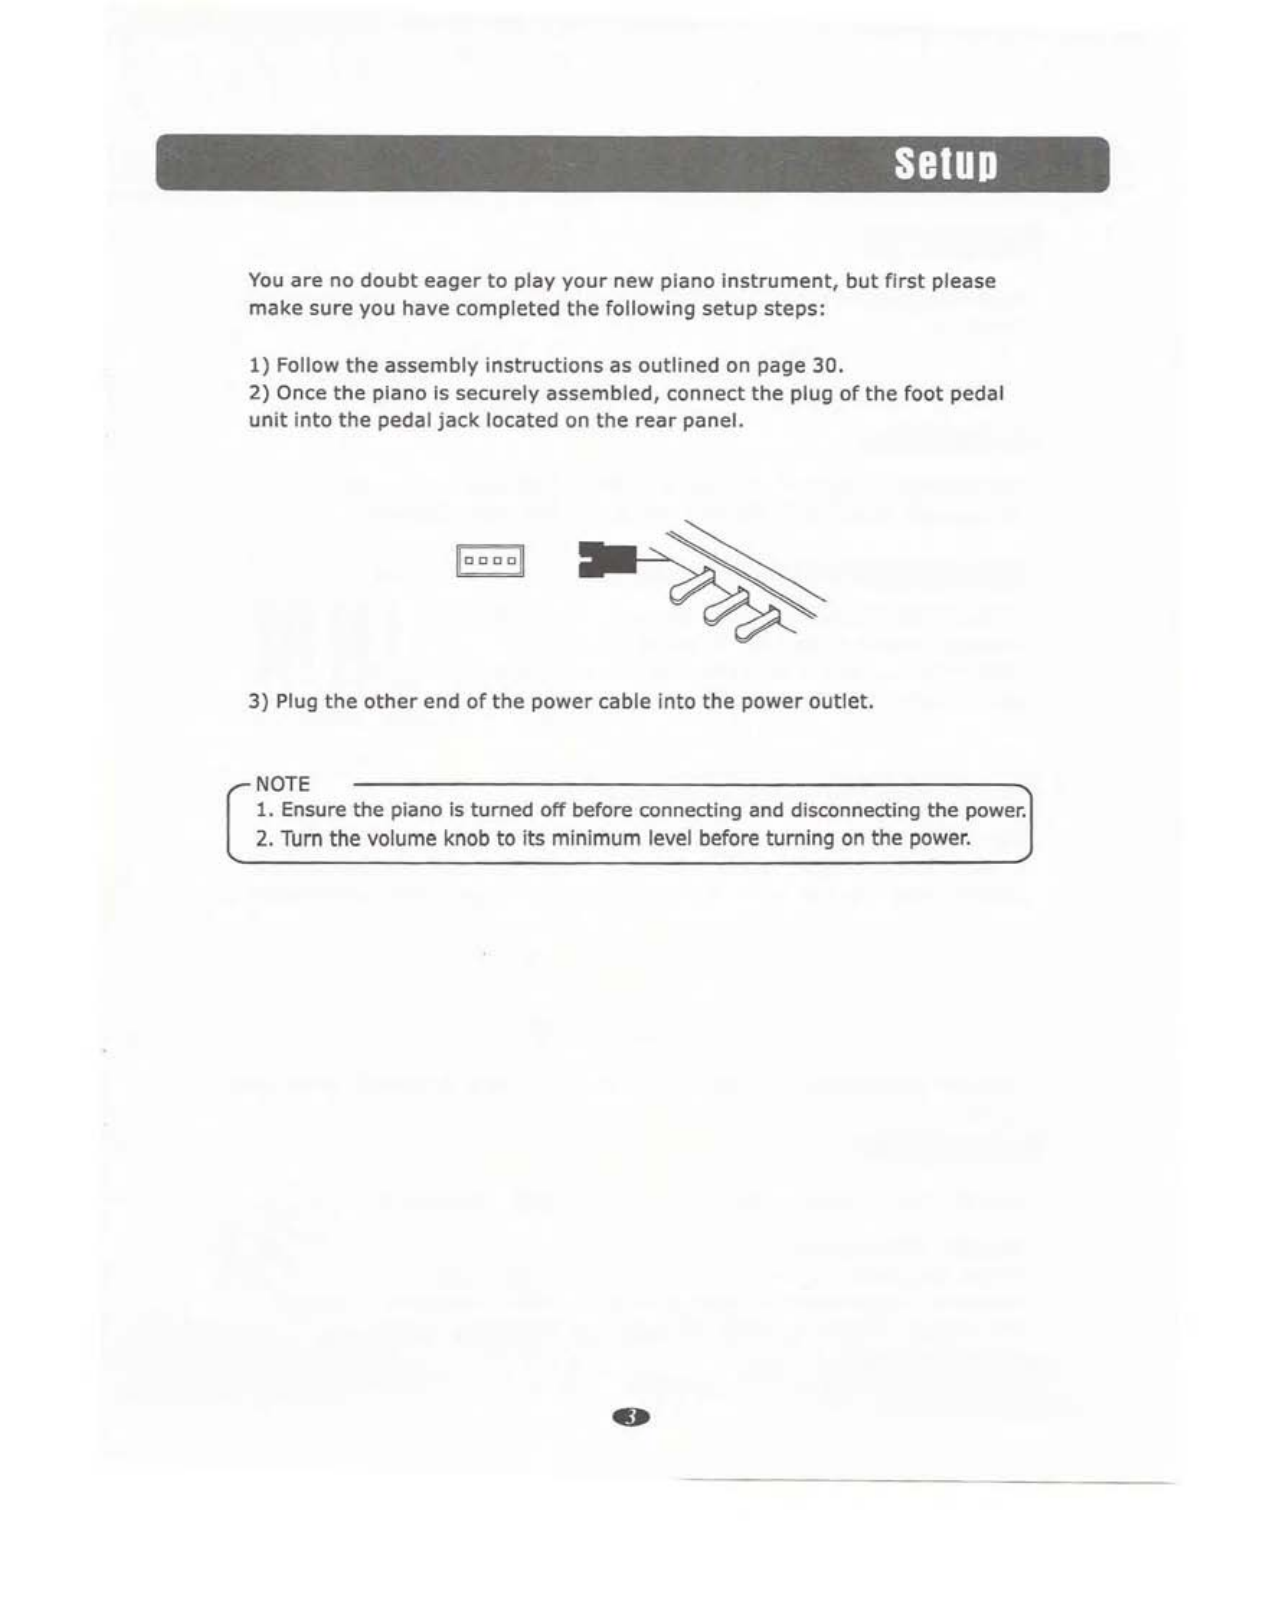
Setup
3
Basic
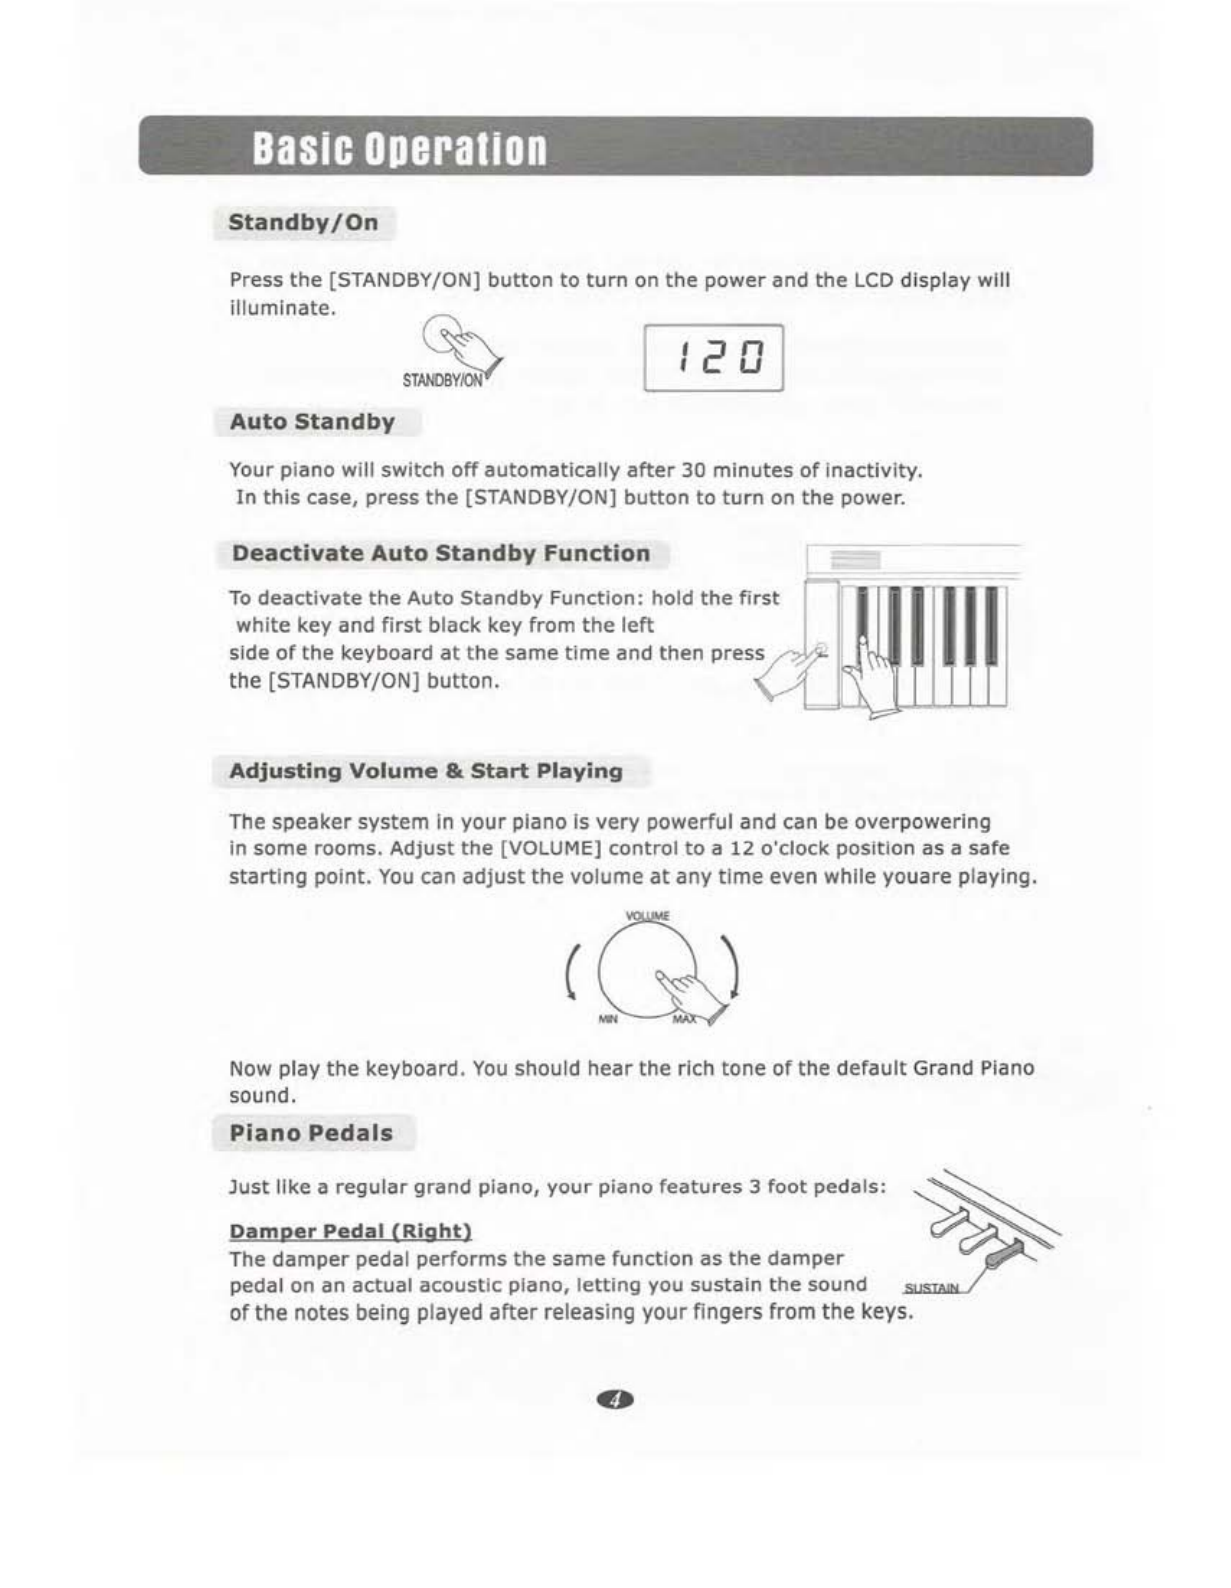
Operation
.••••••••••..••••............••••••.•••••••••••••••••••••.•................................ 4
Standby/On 4
AutoStandby 4
Deactivate Auto
standby
Function 4
Adjusting Volume &
Start
Playing 4
Piano Pedals 4
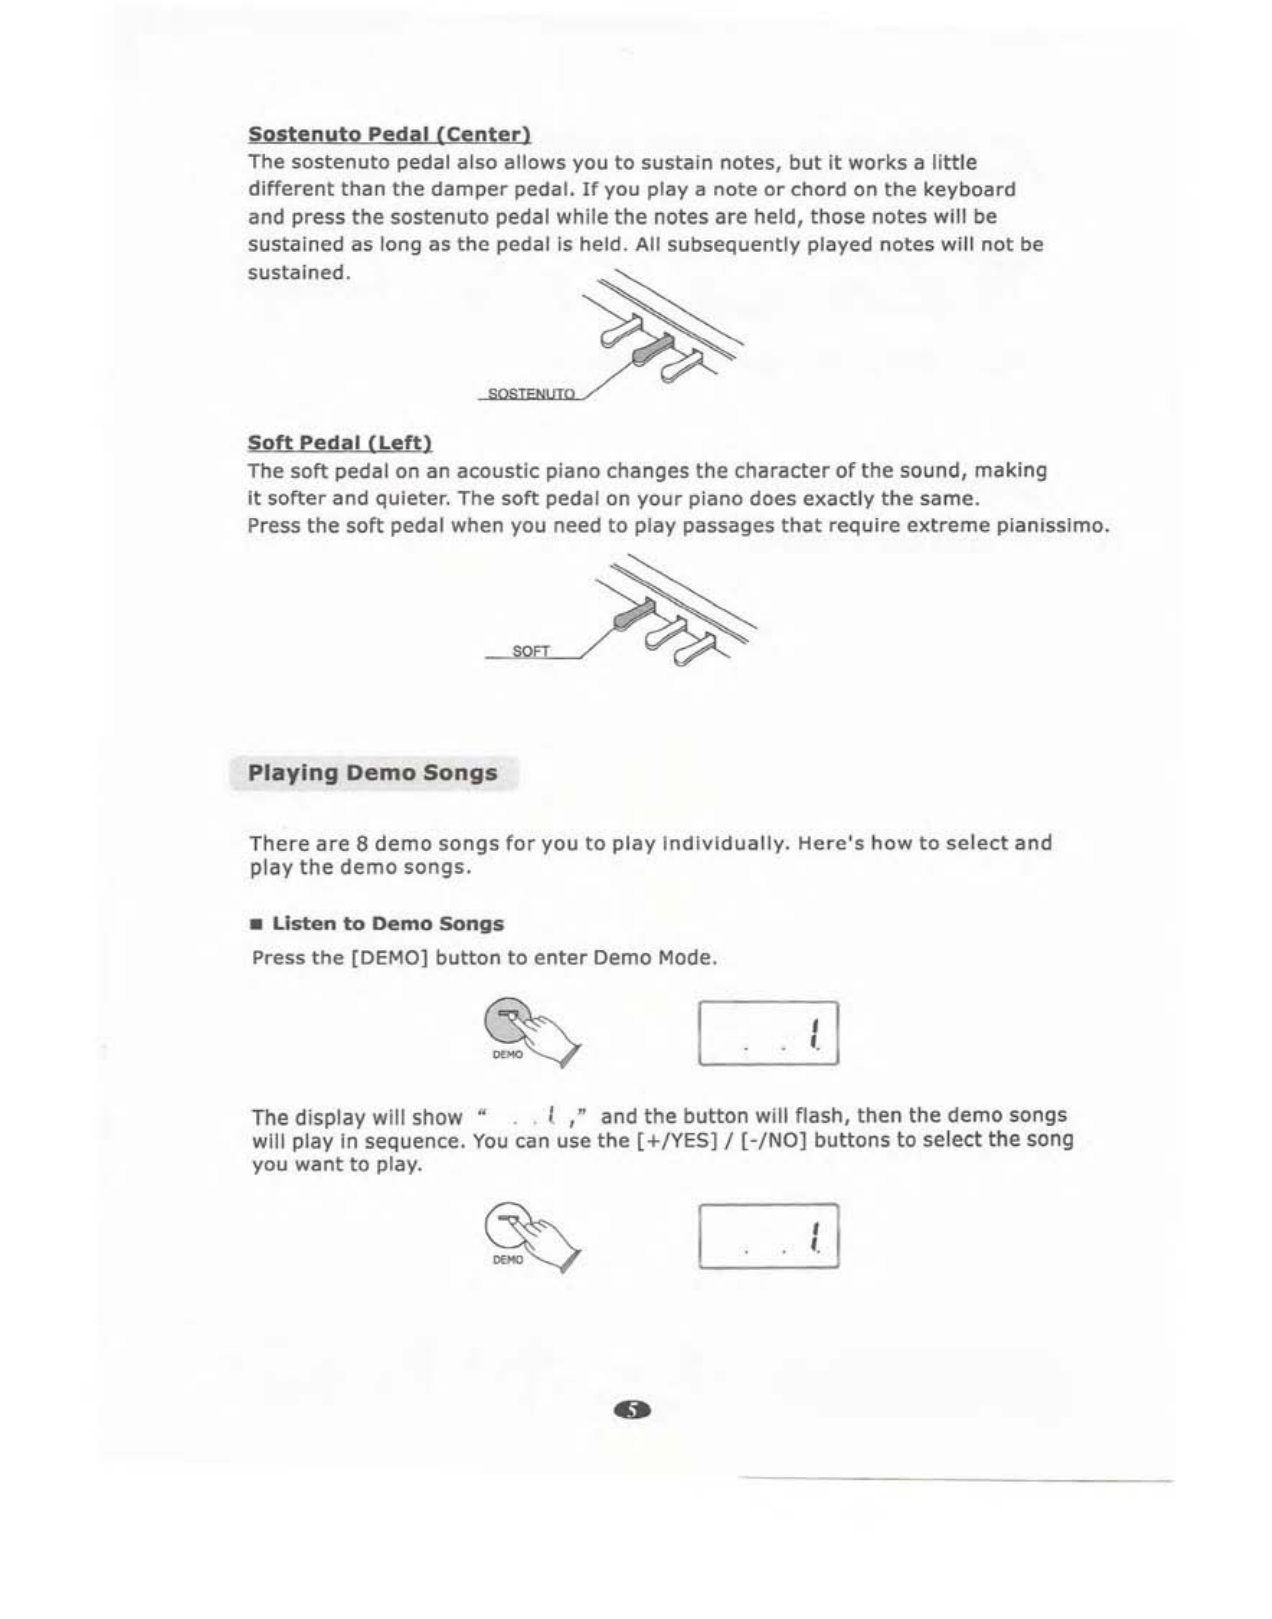
Playing Demo Songs 5
[+ / YES] &
[-
/NOl· · · 6
The
Connector Box··················································· 7
Headphones 7
MIDI
Out
7
Line
Out
8
Using
USB
MIDI/USB Audio 8
Aux
In
8
Voice/Effect
9
Selecting aVoice 9
Layer Button 9
Split
Button ···
10
Reverb
·······
..
·10
Chorus 11
Duet ··..
·····················11
Metronome
··············12
Touch ·..
···
..
·····
..
·12
Set
Up
·····················································14
Song Recording
21
Start
recording
21
Stop recording 21
Listen
to
your
recording ···
··21
Track Clear :22
Learning Function
.................................................•....
····································23
Selecting asong 23
Listening
to
the
entire
song 23
Practicing
the
right
hand
of
the
seiected song
24
Practicing
the
left
hand
of
the
selected song 24
Turn
Off
the Learning Function 24
MIDI Function ·
25
Local
On/Off
25
Appendix
••••....•••.•...••••••••••••••••••••••••••••••••••••••••••..•.•...••••.•...•.•.•.•.•.•....••.•.•.....••
26
MIDI
Implementation
Chart
26
Voice List
···········································-·27
Factory Reset
28
Specifications 29
Assembly
Instructions
·30