manuals.online logo
Brands
  1. Home
  2. •
  3. Brands
  4. •
  5. Artesia
  6. •
  7. Musical Instrument
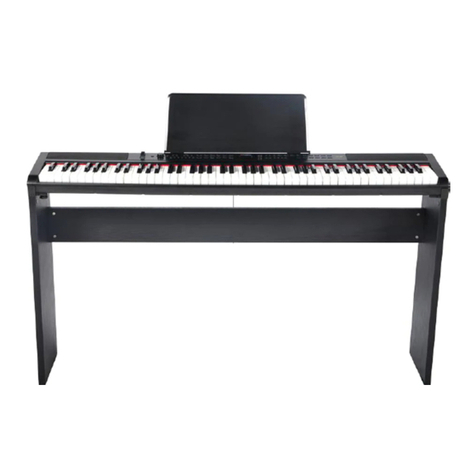
  8. •
  9. Artesia DP-3+ User manual

Artesia DP-3+ User manual

EASY ASSEMBLY GUIDE
IF YOU HAVE ANY QUESTIONS OR PROBLEMS
PLEASE CALL OUR TOLLFREE HELPLINE
ASSEMBLY GUIDE
888-998-9848
DO NOT RETURN TO THE STO R E
DP-3+Home Digital Piano
What’s Included
Piano Assembly
Unboxing Your Piano
Pedal Board
Legs (2)
Piano
Back Panel
Not pictured:
Thumb Drive/Song Library,
Documentation, USB cable,
Audio Connection Cable,
Power Adapter
2.
Begin assembly by the attaching the pedal board to
Nuts(A)
Bolts(B) M6X55 
Bolts(C) M6X16
Bolts(D) M4X12
Bolts(F) M6X20
Tapping Screws(E) ST3.9X16
Plastic Caps(G)
1.
Place the cylindrical nuts(A) into the holes on the side of
each leg with the Phillips slots facing toward you for each nut.
Use a screwdriver to rotate the cylindrical nut(A) into
position so that the nut’s threaded hole lines up with the hole on
the bottom of each leg.
Align the rear leg with the foot so the foot points away from the
back panel bracket. Then insert the four BOLTS(B) through the
bottom of the foot and screw it into the cylindrical nut until tight.
Do this for each of the nuts in both rear legs.
the piano legs. With the pedals facing forward towards
the front of the legs, attach the pedal board using four
BOLTS(F), as shown.
Place the four plastic caps(G) into the holes above the
foot in each rear leg.
G
A
Back Panel Bracket
B
F
GG
F
A
Back Panel Bracket
B
d
Phillips Screwdriver
Piano Assembly Continued
(Bottom view)
5.Finish attaching the piano to the stand by using the two
Bolts(C) to attach the bottom of the piano to its stand.
(Bottom view)
PLEASE NOTE
At least 2 people are needed to complete the assembly.
DO NOT CONTINUE WITHOUT HELP.
!
4. Li the piano onto the stand and slide forwards,
pushing the guide rods on the bottom of the piano into
the slots on the piano legs. Shown Below.
PLEASE NOTE
When lifting the piano onto its stand , be careful
not to catch/trap hands or ngers.
!
PLEASE NOTE
Tighten all screws securely to ensure that the piano
is securely attached to the stand. Failure to do so
may result in serious injury
!
Power Pedals
Bottom Front of the piano
6. Attach the AC Power Cord and Pedal Cable into their
connectors on the bottom of the piano as shown.
Bottom Rear of the Piano
PLEASE NOTE
The pedal cable is located underneath the pedal board
!
3. Using four TAPPING SCREWS(E), and two BOLTS ,
C
(D)
EEEE
D
D
C
,
attach the back panel to the stand as shown.
Lift onto stand,
slide forward,
If you have any questions about your piano please contact us
toll free at
888-998-9848
Virgin (VMI) is the Parent Company of Artesia Pianos
Virgin Musical Instrument Company
P.O. BOX 2908
LA MESA, CA 91943
info@virginmusicalinstruments.com
www.virginmusicalinstruments.com

Other manuals for DP-3+

1

Other Artesia Musical Instrument manuals

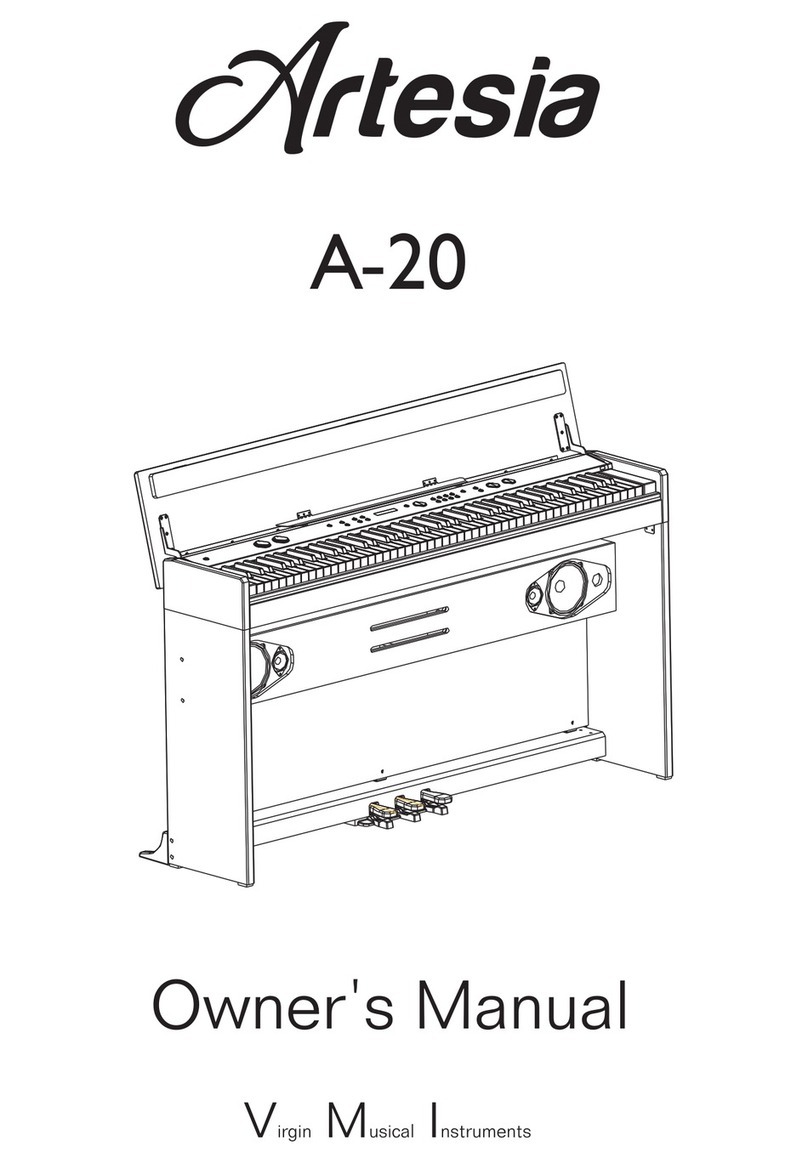
Artesia A-61 User manual

Artesia

Artesia A-61 User manual

Artesia DP-3+ User manual

Artesia

Artesia DP-3+ User manual

Artesia F-61 User manual

Artesia

Artesia F-61 User manual

Artesia AM-3 User manual

Artesia

Artesia AM-3 User manual

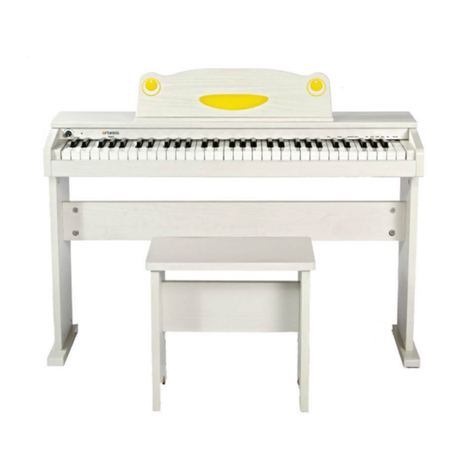
Artesia FUN-1 User manual

Artesia

Artesia FUN-1 User manual

Artesia PA-88H User manual

Artesia

Artesia PA-88H User manual

Artesia AG-41 User manual

Artesia

Artesia AG-41 User manual

Artesia Dp-10e User manual

Artesia

Artesia Dp-10e User manual

Artesia AG-28 User manual

Artesia

Artesia AG-28 User manual

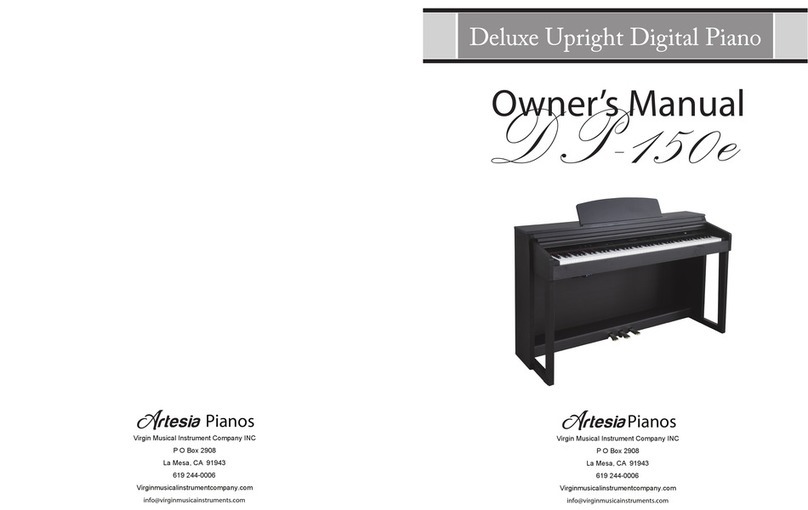
Artesia DP-150E User manual

Artesia

Artesia DP-150E User manual

Artesia A-20 User manual

Artesia

Artesia A-20 User manual

Artesia ag-40 User manual

Artesia

Artesia ag-40 User manual

Artesia PE-88 User manual

Artesia

Artesia PE-88 User manual

Artesia AP-8 User manual

Artesia

Artesia AP-8 User manual

Artesia AP-100 User manual

Artesia

Artesia AP-100 User manual

Artesia A-10 User manual

Artesia

Artesia A-10 User manual

Artesia AG-50 User manual

Artesia

Artesia AG-50 User manual

Popular Musical Instrument manuals by other brands

Ahlborn HYMNUS IV owner's manual

Ahlborn

Ahlborn HYMNUS IV owner's manual

Roland FP-90X owner's manual

Roland

Roland FP-90X owner's manual

Viscount Viva user manual

Viscount

Viscount Viva user manual

Peavey Limited Series operating guide

Peavey

Peavey Limited Series operating guide

Yamaha YRF-21 owner's manual

Yamaha

Yamaha YRF-21 owner's manual

Williams LEGATO owner's manual

Williams

Williams LEGATO owner's manual

Roli seaboard grand user manual

Roli

Roli seaboard grand user manual

Yamaha KB-180 Service manual

Yamaha

Yamaha KB-180 Service manual

Yamaha YPR-6 Mode d'emploi

Yamaha

Yamaha YPR-6 Mode d'emploi

Kawai Novus NV10S owner's manual

Kawai

Kawai Novus NV10S owner's manual

Roland RD-300SX owner's manual

Roland

Roland RD-300SX owner's manual

Yamaha Electone EL-100 owner's manual

Yamaha

Yamaha Electone EL-100 owner's manual

Medeli KURTZMAN K700 owner's manual

Medeli

Medeli KURTZMAN K700 owner's manual

Funkey DP-49 user manual

Funkey

Funkey DP-49 user manual

Yamaha CP1 brochure

Yamaha

Yamaha CP1 brochure

Yamaha Disklavier Mark II XG Series Advanced operation manual

Yamaha

Yamaha Disklavier Mark II XG Series Advanced operation manual

Kurzweil Mark Pro 2i Service manual

Kurzweil

Kurzweil Mark Pro 2i Service manual

Yamaha CN-70 Assembly procedures and owner's manual

Yamaha

Yamaha CN-70 Assembly procedures and owner's manual

manuals.online logo
manuals.online logoBrands
  • About & Mission
  • Contact us
  • Privacy Policy
  • Terms and Conditions

Copyright 2025 Manuals.Online. All Rights Reserved.